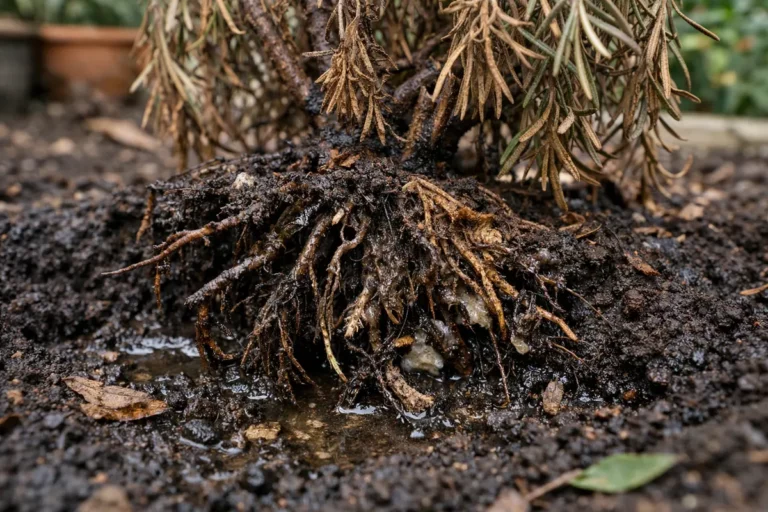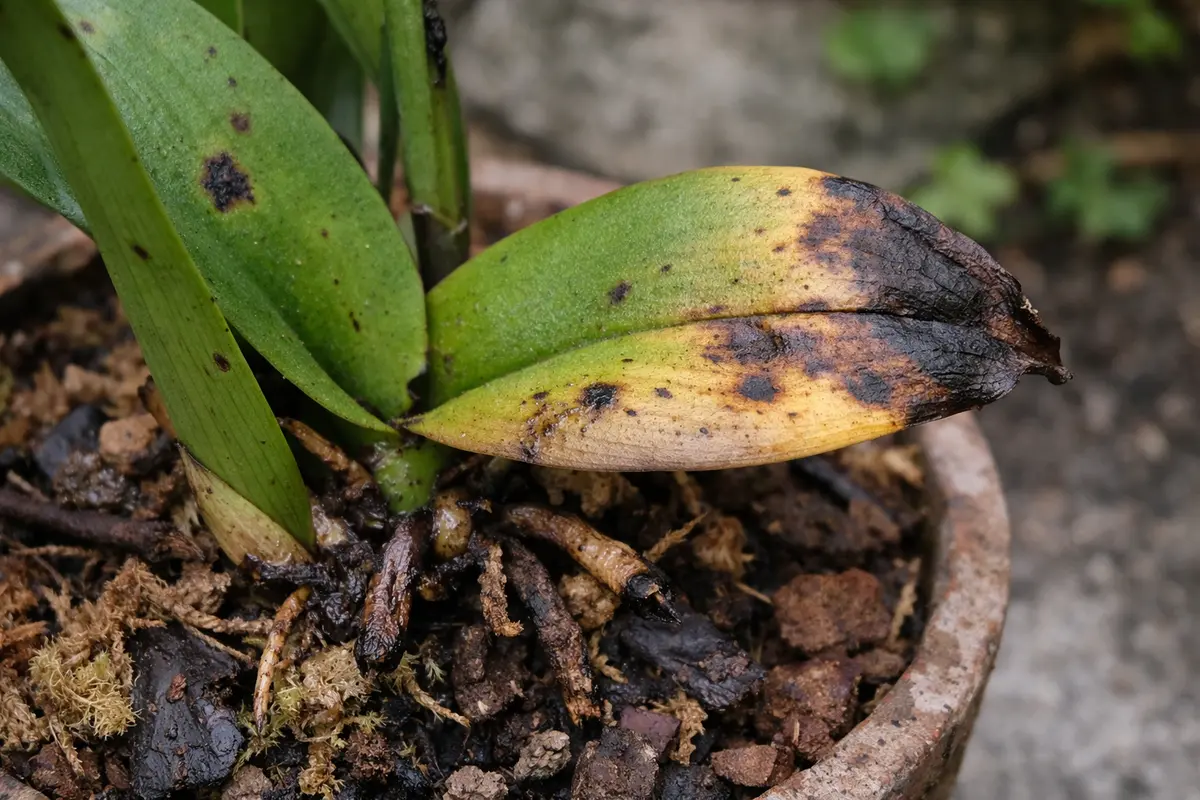
You may notice that your orchid’s roots have turned brown after repotting, which is why you need to know what to do if my orchid roots turn brown after repotting. This discoloration indicates that the roots are suffering from damage due to overwatering or insufficient drainage, often leading to mushy root tips. If ignored, the issue can spread, ultimately weakening the plant and stalling growth. Immediate steps for inspection and adjustment are crucial to the health of your orchid.
Step 1 – Trim Brown Orchid Roots Immediately
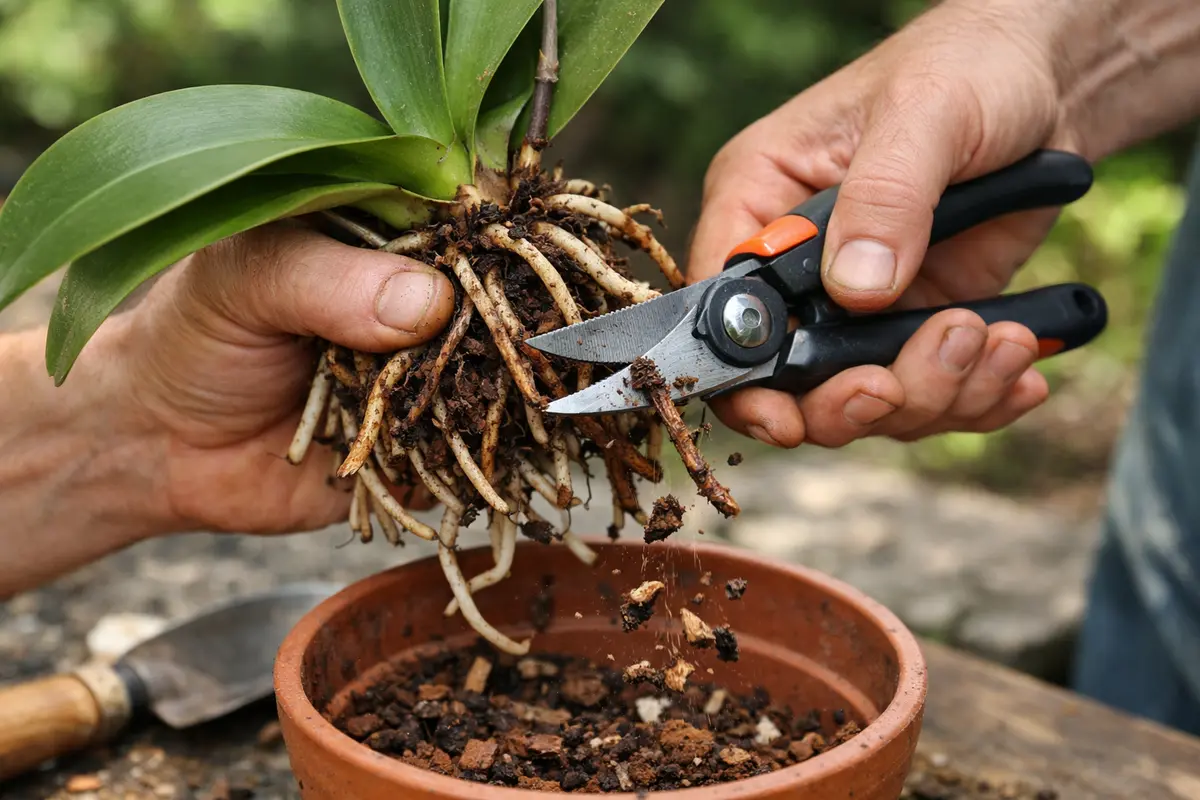
First, remove the orchid from its pot to examine the roots. Cut away any brown, mushy roots using sterilized scissors, ensuring that you also take out any dead or rotting medium. After this immediate action, the remaining roots should appear more vibrant and firm in texture, indicating that you’ve addressed the problem promptly.
Acting quickly is crucial because brown roots often indicate root rot, which can rapidly spread if not addressed. This decay hinders the plant’s ability to absorb moisture and nutrients, leading to further decline, such as yellowing leaves and stunted growth. In contrast, healthy roots will display a greenish tint and feel firm, which is essential for the plant’s recovery.
For instance, a gardener who waited too long to intervene noticed their orchid developing leaf drop after months of neglecting the brown roots. This emphasizes the significance of a timely response since delaying treatment can exacerbate the situation, leading to irreversible damage. If the roots remain soft after cutting, check for excessive moisture in the potting medium.
Acting quickly is crucial because brown roots signify rot, which can spread rapidly, jeopardizing the plant’s ability to absorb water and nutrients. If left unaddressed, the plant may succumb to irreversible damage within days, as decaying roots can lead to diminished cellular function and inadequate support for the orchid. Conversely, a timely intervention leads to rejuvenation of remaining healthy roots and new growth can initiate within weeks.
A gardener once faced a similar issue but delayed action, resulting in a full plant collapse due to the unchecked rot. Conversely, another gardener swiftly cut away the affected roots and shifted the orchid to a well-draining medium, allowing for vibrant new root growth. If you notice mushiness in roots, examine the moisture levels in your potting medium; if it’s excessively wet, adjust your watering routine.
Acting quickly is crucial because brown roots can lead to further decay if left unattended. Orchids rely heavily on their roots for moisture and nutrient uptake; when damaged roots are not promptly removed, they can inhibit the plant’s ability to reactivate healthy growth. Each delayed moment risks spreading rot to healthy roots, compounding the issue and making recovery significantly more complex. The longer rot persists, the more likely it will contaminate neighboring roots, leading to widespread damage.
In one gardener’s experience, immediate root assessment after repotting led to a successful revival of their orchid, while another delayed handling saw the condition worsen significantly within days. Often, gardeners overlook the vital inspection of roots and then lack awareness that rotting can propagate silently if corrective measures are delayed. Brown roots typically translate to compromised health; by removing them as needed, the whole root mass can more effectively support the orchid, effectively redirecting growth efforts to healthier sections. When you spot signs of soft tissue or dark spots, these are indicators that the roots have rotted and must be removed immediately to save the plant from further damage.
Many gardeners overlook the importance of this step, mistakenly allowing rotted roots to remain, hoping for recovery. Waiting too long can lead to further deterioration, possibly affecting adjacent roots as well. If a section of roots is compromised, it can prompt the entire root mass to decline, making timely removal essential. Often, the first signs of recovery after repotting become visible within a week if steps are taken immediately; therefore, an early action plan significantly enhances recovery potential.
Step 2 – Diagnose Heat Stress in Repotted Orchids
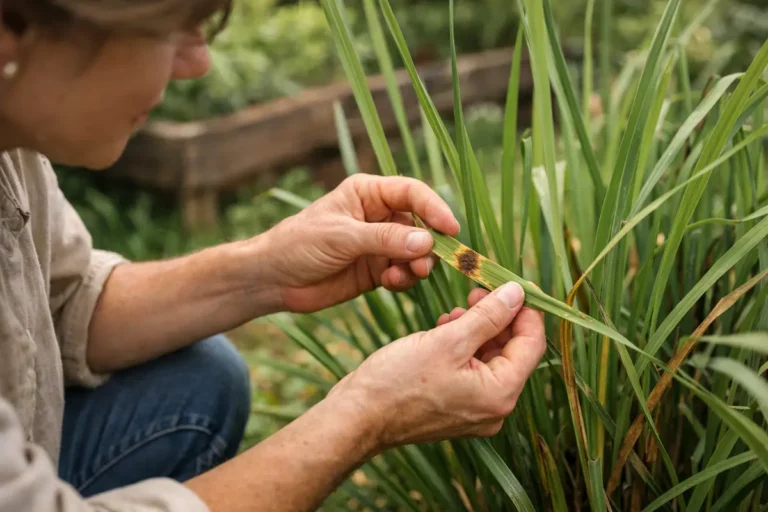
Inspect the potting medium and surrounding environment for heat stress signs. You will notice changes in moisture retention levels and the plant’s vigor as you adjust the conditions. Signs of heat stress typically manifest as wilting leaves or drooping stems, indicating that the roots are experiencing distress due to excessive heat. Ensure that the temperature around your orchid does not exceed 80°F (27°C); if your room is warmer, relocate your orchid to a cooler area.
Heat stress can occur when orchids are placed in environments that are too warm or poorly ventilated, especially after repotting. If the roots struggled to acclimatize to their new medium under elevated temperatures, they can become shocked if exposed to too much heat or direct sunlight. A common scenario involves orchids positioned too close to an east-facing window that receives full sunlight; exposure can lead to rapid heat buildup and stress. Moving the orchid to a cooler or more shaded location, such as nearer to a north-facing window, can help alleviate this stress and promote recovery within days.
If the soil smells sour or shows signs of compactness, it might indicate root rot, which could stem from heat stress. Beyond just adjusting the environment, consider repotting into a fresh medium designed for orchids that promotes better drainage. Ensure your orchid isn’t placed near heaters, radiators, or air conditioning vents, as fluctuating temperatures can exacerbate its condition. Recognizing and addressing these environmental factors significantly enhances recovery, allowing for better air circulation and maintaining optimal humidity levels that orchids thrive on. If substantial heat was a factor, you may find that root recovery might take longer; thus, always monitor carefully for full root regain before any further actions are taken.
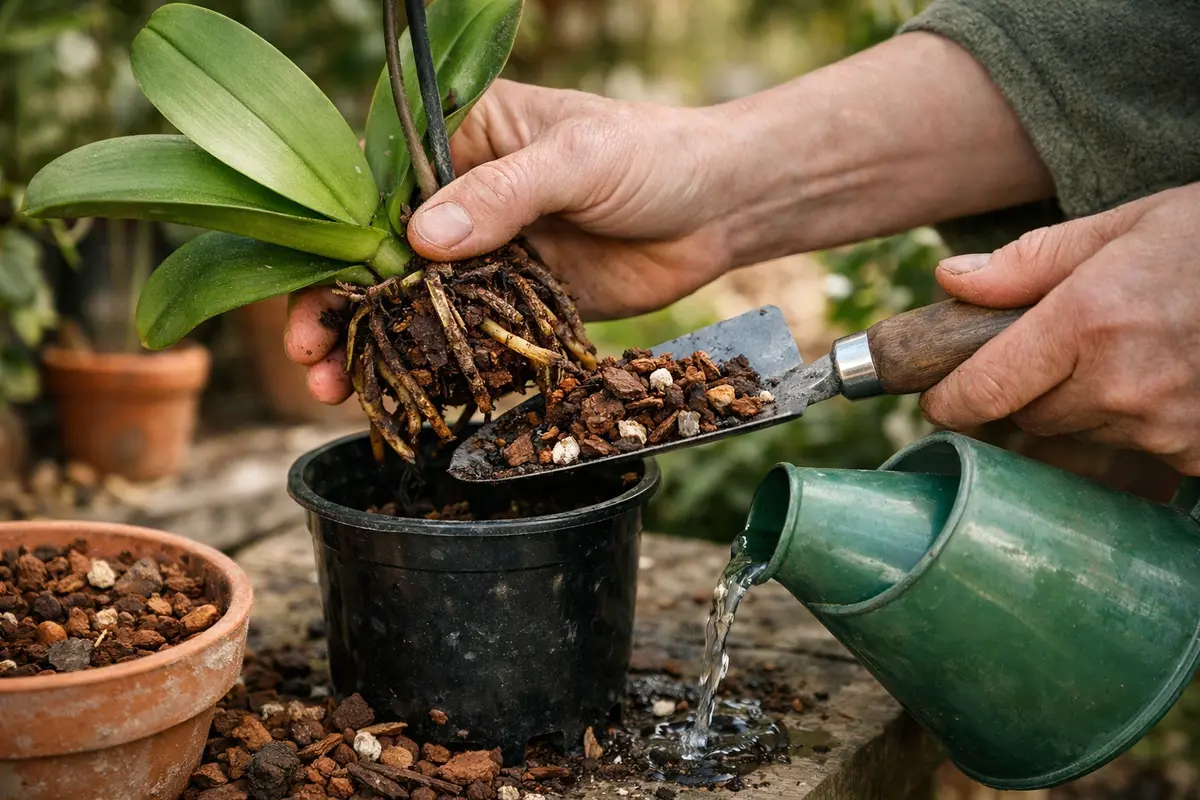
Step 3 – Repot Orchid with Fresh Mix for Recovery
Start by reducing the frequency of watering to allow the brown roots to stabilize and avoid further decay. Typically, within a few weeks, you should see new root tips emerging, which indicates the orchid is beginning its recovery phase. Consider that too much moisture could also be causing additional stress on the remaining healthy roots, thereby compressing their potential for renewal.
The recovery timeline can vary, but generally, you may begin to see significant new root growth within 3 to 6 weeks. Healthy regrowth manifests as green root tips that gradually elongate; conversely, roots that remain brown and mushy indicate ongoing issues. Optimal conditions like bright, indirect sunlight and high humidity can speed up recovery, whereas low light and dry air will hinder it drastically. Keep in mind that moving your orchid to a brighter location can greatly enhance its chances of benefiting from natural light without overexposure.
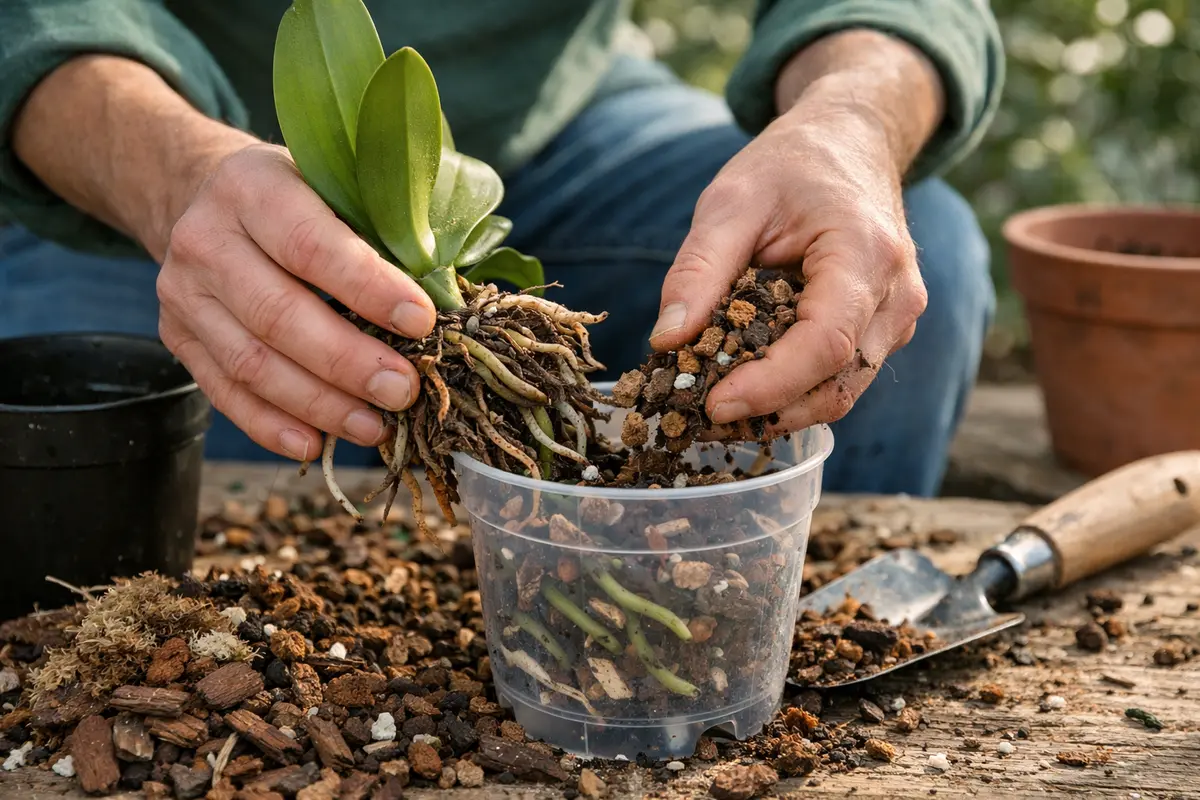
Avoid over-watering or excessive fertilization during recovery, as this can lead to further root rot. If you notice that growth stagnates for too long without improvement, check for root rot by gently inspecting the roots and ensuring they are not overly moist. In a frequent oversight, many assume that their orchid needs extra nutrients right away after repotting. It’s best to let the plant stabilize in its new environment for at least two weeks before introducing fertilizers to avoid burning the roots. Watching out for signs that the roots are stressed can lead to identifying a need for a different watering or fertilizing routine; take careful steps to avoid repeating past mistakes. If you find that your mixture is retaining too much moisture—like a pre-mixed brick—consider switching to a combination that promotes better drainage; orchid potting mixes can typically include bark, charcoal, perlite, and clay pebbles for added aeration and drainage.
Using a fresh mix helps provide the nutrients and drainage crucial for orchids during recovery. Orchids thrive best in a specific type of potting mix that allows genuine air circulation to the roots while preventing waterlogging. Ideal mixtures might consist of 30% perlite, 40% bark chips, and 30% coconut fiber, which often yield beneficial results. This allows for crucial healthy root development while encouraging moisture retention only as needed. A common error at this stage is to not monitor how the potting medium reacts in response to your orchid’s new adaptations and needs—paying attention to this is essential for long-term health.
Step 4 – Guard Against Overwatering After Repotting
Start by regularly checking the moisture levels of your orchid’s potting medium, ensuring it is neither too dry nor overly saturated. Aim for a consistent watering schedule that keeps the medium slightly moist to promote healthy root development and prevent future browning. When overly wet, roots may fail to breathe, leading to inevitable decay and disaster for your plant.
Brown roots typically indicate rot due to excessive water or dehydration. If your orchid receives too much water, it can lead to root decay; conversely, insufficient moisture will draw out vital nutrients and can weaken the roots. Establishing a balanced watering routine that targets the root cause improves resilience against recurrence. Regular watering checks can minimize unanticipated issues that arise unexpectedly.
During the warmer months, adjust your watering frequency to accommodate increased evaporation rates and heightened light levels. Conversely, in cooler months, it may be wise to reduce watering by a few days if the environment is more humid to prevent the risk of waterlogging. If the medium appears overly dry yet your plant’s leaves remain firm, gently inspect the roots beneath the surface to confirm their health and that they are not severely dehydrated. Often, orchids can thrive somewhat dry, so maintaining this balance is key.
Overwatering is a common problem, especially after repotting, as the plant can be overly reliant on its roots to absorb excess moisture in its new environment. Ensure that the pot has sufficient drainage holes—ideally, two-thirds of the container should have holes—to facilitate airflow. A prudent practice is to allow the potting medium to dry out between waterings: the medium should dry down to approximately one inch below the surface; if you insert your finger into the mix and detect dampness, wait a few days before checking again. For people who may forget this method, setting a watering schedule with reminders can help reinforce consistency.
Seasonal changes also affect your orchid’s watering needs significantly—during the warmer months, increasing complexity may be necessary, while in winter, decreasing frequency to once a month can be essential. Pay close attention to airflow within the room; stagnant air can lead to moisture build-up around the roots and foster rot. Always check the moisture level of the growing medium before deciding to proceed with watering. Remember, orchids prefer slightly drier conditions compared to many houseplants, which makes learning their unique rhythms vital.
Step 5 – Check Orchid Roots for Fresh Growth Weekly
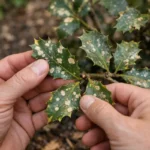
Start by checking your orchid every few days to observe how the roots are recovering. Look for changes such as the presence of green tips on the roots or new root growth emerging. If the roots remain brown or start to shrivel, recheck weekly to determine if the situation is worsening.
A fully recovered orchid will show plump, green roots that feel firm to the touch. In contrast, if brown, mushy roots reappear, this indicates a problem returning. If your orchid is still showing signs of stunted growth or its leaves are yellowing despite proper care, these symptoms require immediate attention.
If the problem persists despite following these steps, consider repotting again using fresh, appropriate medium, while ensuring that the roots are clean and free of rot. Escalate by consulting an orchid specialist if you notice continued brown roots or significant leaf drop, as these can indicate more severe issues requiring expert intervention.
A fully recovered orchid will display vibrant green roots and robust leaves, reflecting its increased health and vigor. Lack of improvement, such as continued browning roots or wilted leaves, can indicate that the problem is returning or that additional adjustments in care are warranted. Observing such changes allows for quick intervention, which is crucial in reversing any stress patterns seen in unhealthy orchids; being proactive can streamline your efforts toward a successful recovery. Remember, green roots can turn brown again if conditions worsen, often resulting from overwatering or inadequate light—continue monitoring closely.
If you notice that browning returns despite following these steps, consider re-evaluating environmental conditions or the potting medium to ensure they meet your orchid’s unique needs. Factors such as overwatering or poor light can quickly negate the recovery efforts you’ve contributed. Make adjustments, such as slightly increasing light exposure or exploring various watering schedules, to enhance your orchid’s resilience. If problems persist beyond reasonable adjustments, consulting with an orchid care expert could provide invaluable insights tailored to your specific situation.
FAQ
How long does it take for my orchid to recover from root rot?
Recovery from root rot can take several weeks to months, depending on the severity of the condition, with proper care and optimal environmental conditions. Generally, you should begin to see new root growth within a few weeks if the plant is well-cared for. This new growth typically aligns with the appearance of new leaves, indicating a positive turn toward recovery.
Can my orchid roots turn brown again after I fix them?
Yes, orchid roots can turn brown again if there are issues such as overwatering, poor drainage, or sudden changes in the environment. Continuously monitoring moisture levels and adjusting care routines—such as light exposure and humidity—is crucial to prevent recurrence, helping you maintain the overall health and vitality of your orchid.
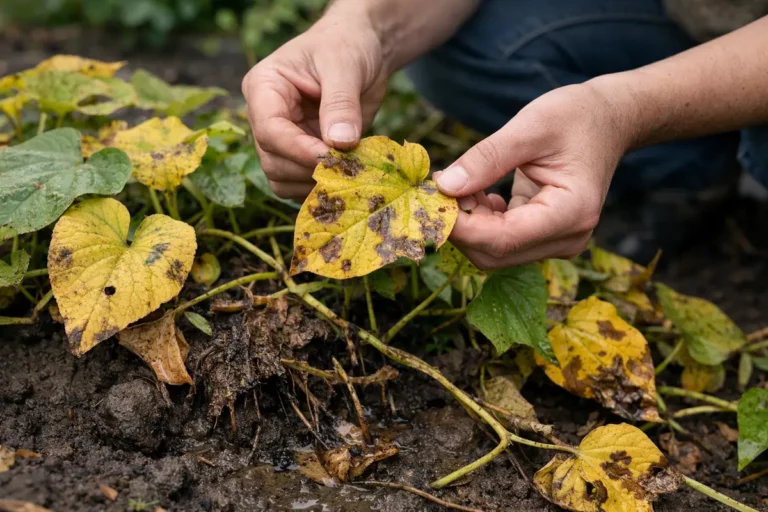
Should I remove yellow leaves from my orchid?
Yes, it is advisable to remove yellow leaves, as they can drain energy from the plant and inhibit growth. Removing leaves that are completely yellow or brown will encourage healthier growth and better nutrient distribution. Regularly assessing the foliage and promptly trimming damaged leaves will also assist in maintaining the orchid’s overall vigor, promoting more robust and healthier structures.