You may notice your spider plants drooping when the air becomes particularly dry, which is why you need to know why are my spider plants wilting in dry air. This wilting occurs because the lack of humidity causes the leaves to lose moisture faster than they can absorb it, leading to visible stress and yellowing. If left unaddressed, this problem only gets worse and can weaken the plant, but fixing it is possible now—just inspect the humidity levels and adjust your watering habits.
Step 1 – Mist Spider Plant Leaves Immediately
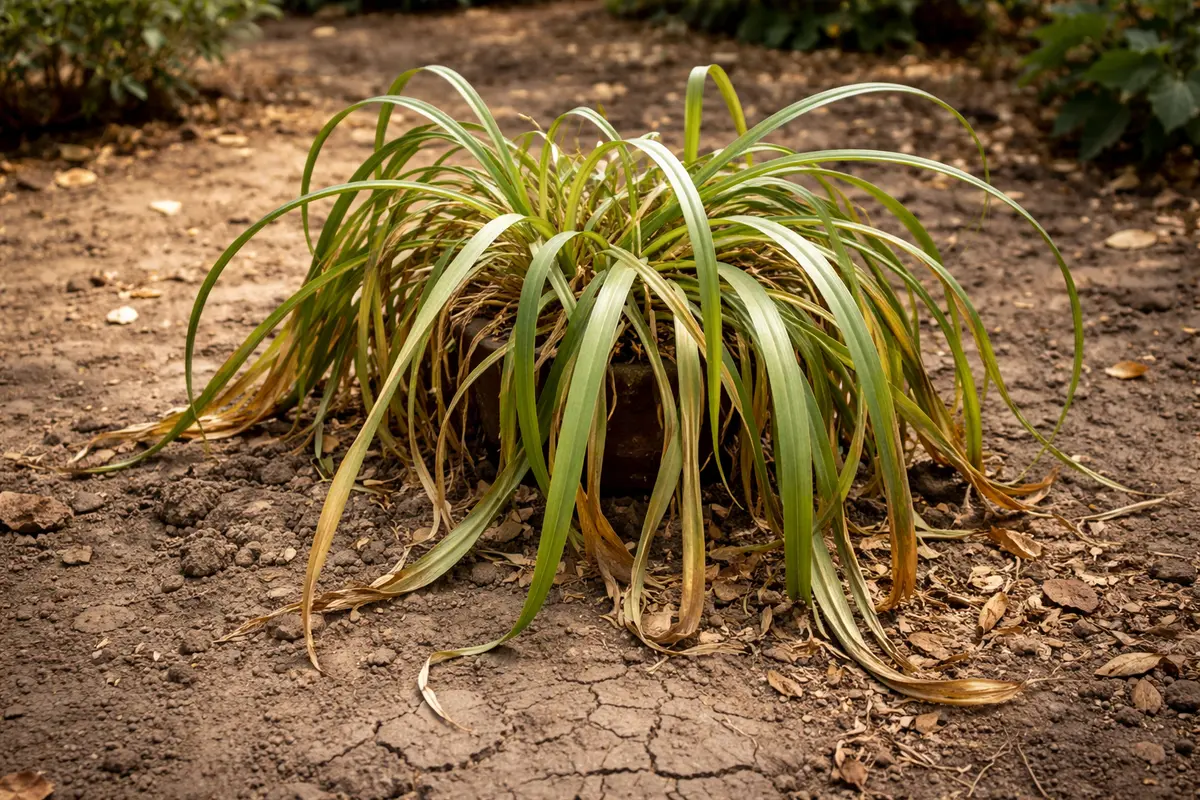
Begin by misting the leaves of your spider plant thoroughly with water. You should see the leaves regain some turgor and stand up straighter within a few hours as they absorb moisture. Misting helps to immediately increase local humidity around the plant, counteracting the dry air stress. Make sure to mist the undersides of the leaves, as this is where the stomata are located, and they play a critical role in water absorption. If you notice that the mist evaporates quickly, it could indicate that the surrounding air is particularly dry, which may require even more frequent misting. Additionally, consider the time of day; misting in the morning can help maintain humidity levels throughout the day when temperatures rise.
Spider plants thrive in high humidity environments, and drying out causes cells in the leaves to lose water, leading to a wilting appearance. By misting, you temporarily boost the moisture levels around your plant, allowing it to rehydrate quickly. Frequent misting can be particularly beneficial if the temperature is consistently higher than 75°F (24°C) because the risk of wilting increases significantly above this threshold. Aim for at least twice a day of misting during periods of dry air to keep your plants adequately hydrated; failing to do so may slow recovery significantly. If you can’t mist often due to busy schedules, consider investing in a self-watering system or humidity tray to provide consistent moisture.
Common mistakes include skipping this step entirely or using cold water, which can shock the plant. Many gardeners might only water the soil, forgetting that aerial moisture plays a vital role in improving humidity levels quickly. If misting doesn’t seem to improve the situation within a few hours, it could indicate a more severe underlying issue, such as root damage or an inconsistent watering routine, which requires further investigation. Pay attention: if your plant’s leaves still look dull or limp after misting, check for signs of root rot, such as blackened roots or a mushy texture, or make sure you’re not over-fertilizing, both of which can contribute to the wilting problem. Another common mistake is ignoring the potential buildup of dust on the leaves, which can further impair transpiration, impacting the plant’s ability to breathe and absorb moisture.
Step 2 – Diagnose Dry Air as Wilting Cause
Start by moving your spider plants to a more humid environment or using a humidifier nearby. You should see improved leaf texture and reduced wilting within a few days when moisture levels rise. Identifying that dry air is the primary culprit is essential to effectively treat the wilting; this may mean comparing the conditions in different rooms of your home to find a space that naturally retains more humidity.
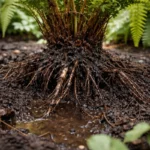
Spider plants thrive in humidity, and dry air causes the plant tissues to lose water faster than they can absorb it through their roots. This dehydration leads to wilting, as the leaves lack sufficient water to maintain their structure. In contrast, if the soil feels moist yet the leaves are still wilting, it signals a different issue, possibly root rot due to overwatering, which could complicate the treatment approach. Test the soil with your finger; if the top 1-2 inches feels dry while deeper layers remain moist, adjust your watering strategy to ensure you’re not perpetuating the moisture problem.
If the soil smells sour, it indicates root rot, which requires immediate repotting into fresh, dry soil. Conversely, if the soil feels dry and crumbly but the plant still wilts, increasing the humidity and watering more frequently is necessary to combat the dry air issue. Low humidity levels restrict the plant’s ability to absorb moisture, leading to drooping leaves and stressed roots. Checking for visible signs, such as darkening leaf tips or overall droopiness, can help in diagnosing whether dry air or another condition is at play. Additionally, assessing the proximity of your spider plants to heat sources can help; if they are next to a radiator or an air vent, move them to a more protected spot. Conduct a simple test: if your soil is dry but ambient humidity is low, then the wilting is highly likely a result of dry air. Monitoring surrounding plants for similar issues can also indicate whether low humidity is a broader problem in your environment.
Step 3 – Increase Humidity for Spider Plant Revival
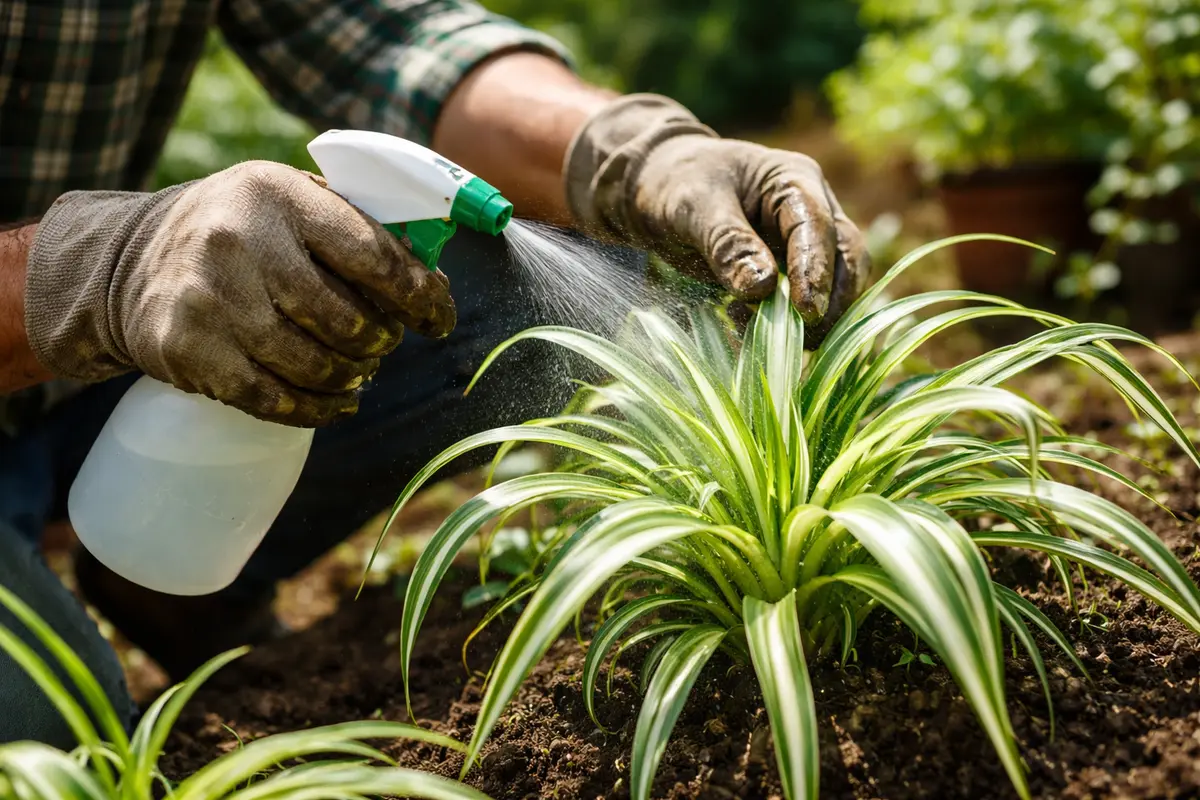
Start by increasing the humidity around your spider plants. Mist the leaves daily and place a humidifier in the vicinity to restore necessary moisture in the air. In just a few days, you should notice the leaves perk up and regain their firmness, signaling immediate recovery. When introducing a humidifier, ensure it is set to a moderate level, as excessive humidity can promote mold growth and other issues. For example, keeping humidity between 40-60% is optimal for spider plants.
In a few weeks, if humidity levels remain stable, you will see your spider plants thriving again. However, if they start to droop once more, this indicates the air is still too dry or that they may need repotting to improve drainage. Pay attention to any brown tips or edges that appear, which further signal not just dry air but also potential underwatering. During peak dry seasons, consider using a humidity tray filled with pebbles and water under your plant’s pot. This indirectly increases the moisture level and benefits the plant without oversaturating the roots. If not misting daily → check if the plant is root-bound; if this is the case, repotting into a larger pot can help improve moisture access.
A common mistake during this recovery is overwatering in an attempt to compensate for dry air. While it’s crucial to keep soil moisture consistent, too much water can lead to root rot. Adjust watering based on how quickly the topsoil dries out; if it’s overly dry in a short time, reduce the frequency of watering rather than increasing it drastically. This balance can prevent additional stress on the plant. Remember that heavy clay soils retain moisture longer than lighter mixes, so your watering schedule may need adjusting based on the type of potting mix used.
Maintaining humidity levels consistently can significantly improve a spider plant’s recovery time. A humidity tray allows moisture to gentle evaporate into the surrounding air, providing a slow and steady source of humidity that the plant can absorb. Keeping the humidity tray’s water level adequate is crucial; check it daily so that it doesn’t evaporate completely, especially in hotter months. If your initial setup does not show results after a week, consider directly misting again alongside the tray method for a more immediate effect. Also, be cautious about placing potted plants too close to one another; while grouping can create a more humid micro-climate, overcrowding may lead to air circulation issues and increase the risk of fungal problems or pests.
A frequent mistake during this phase is neglecting to refill the humidity tray regularly or placing the plant in direct drafts, which might negate the humidity increase. Instead, keep the humidity tray away from vents or heat sources. If you do not see improvement after several weeks despite these adjustments, consider exploring additional methods such as grouping plants together to create a micro-climate, which can also help them retain moisture and reduce the drying effect of your home’s heating system. Be observant; wilted leaves may signal that the humidity isn’t sufficient or that watering routines must be readjusted.
Step 4 – Look for New Growth Indications Weekly
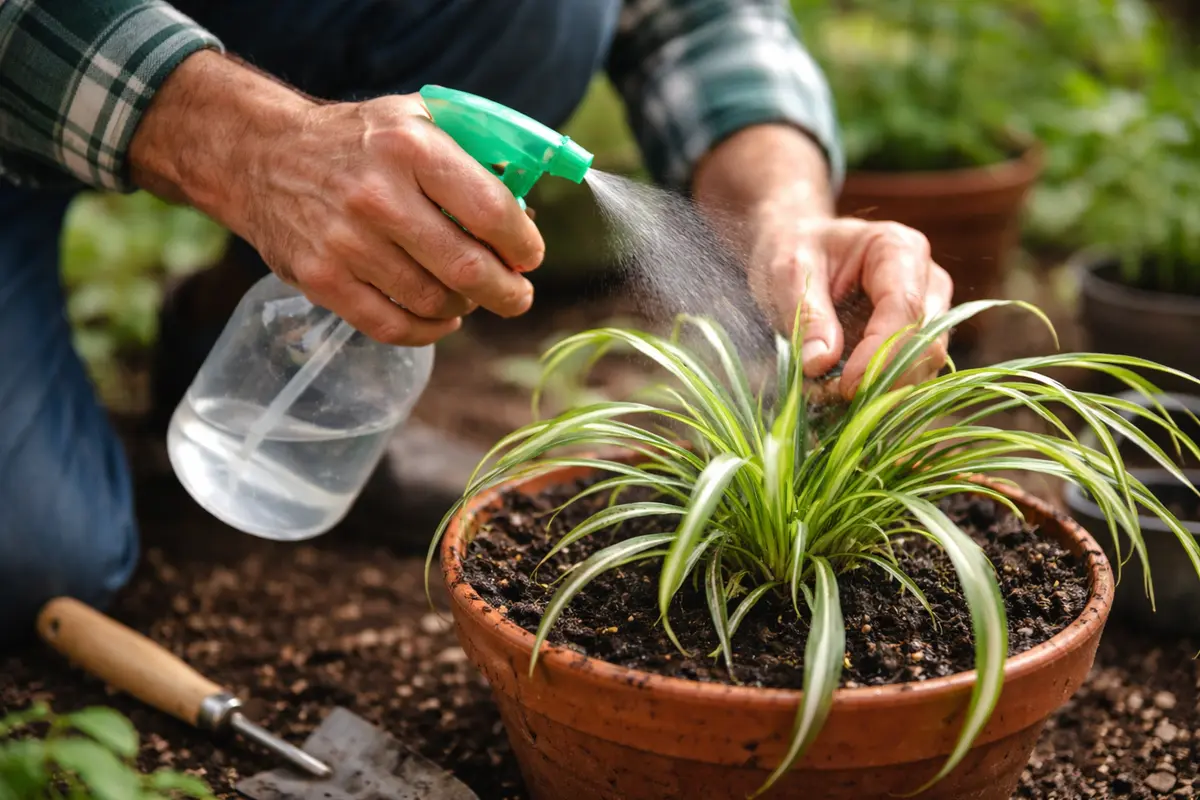
Start by checking the humidity levels around your spider plants using a hygrometer. Observe the leaves for any signs of wilting, such as drooping tips or yellowing edges, and monitor the soil moisture weekly to see if it dries out more quickly than usual. Recheck every few days to ensure that your adjustments, such as increasing humidity or watering, are effective in reversing the wilting symptoms.
A fully recovered spider plant exhibits vibrant green leaves that stand upright and feel firm to the touch, indicating adequate moisture. In contrast, if wilting returns, the leaves may start to curl again, and the tips may regain a brown, crispy texture, signaling that dry air is still affecting the plant. If not this, check the surrounding environment for any sudden temperature changes or drafts that could exacerbate the dryness.
If the problem recurs despite following previous steps, consider grouping your spider plants together to create a microclimate with better humidity. You might also place a small pebble tray filled with water beneath the pots to increase local humidity. If symptoms persist, escalate by placing the plant in a room with more stable moisture levels or invest in a humidifier.
Once the plant has received adequate care and environmental conditions improve, the signs of recovery become apparent. New growth indicates that the spider plant is regaining strength, while firm leaves suggest effective hydration. If the plant is still wilting but new growth is observed, it may indicate issues with root health. Regular inspections will provide insight into the plant’s health status while also helping to spot any inconsistencies in care that might lead to a repeat of wilting symptoms. If leaves begin to develop brown tips despite new growth, evaluate your watering regime to ensure consistency; brown tips often indicate improper watering, whether too much or too little. Stagnant water in the soil can lead to additional stressors like pests, so keep an eye on the overall plant health through these weekly checks.
If you observe no improvement after several weeks despite following all previous steps, the situation may require reevaluation or even professional assistance to explore further issues such as root rot or the need for repotting. This could involve evaluating the potting mix for poor drainage or breakdown, as compacted soil can lead to a loss of aeration and moisture retention. Check for a healthy balance of soil components; potting mixes that retain moisture well can help reduce wilting incidents. Always stay observant for signs of pests or disease, as wilting can also emerge from these stressors that were not initially addressed. Especially if your spider plant was repotted recently, check for sufficient drainage; blocking holes can retain excess water, suffocating roots and exacerbating any wilting issues. A healthy spider plant should thrive, showing vibrant green leaves and steady growth when cared for under suitable conditions.
FAQ
How long does it take for spider plants to recover from wilting?
The recovery time can vary but typically ranges from a few days to a couple of weeks depending on how quickly conditions are improved. In optimal conditions, you’ll see improvements such as the perking up of leaves and the emergence of new growth during this timeframe if the environment is adjusted to adequately support hydration.
Can dry air spread wilting to other plants?
Yes, dry air can affect nearby plants, especially those sensitive to humidity. If one plant suffers from wilting, examine others in the area for similar symptoms and consider adjusting the humidity for the entire space. Creating a more humid environment can lead to healthier plants overall, reducing the risk of widespread wilting.
Will my spider plants recover if the leaves are browning?
Spider plants can often recover even with some leaf browning, but compromised leaves may not revert to their original state. Focus on improving humidity and care while monitoring for new growth as a sign of overall health restoration. If browning is extensive, consider pruning the worst-affected leaves to allow the plant to redirect its energy toward new growth without further draining its resources.