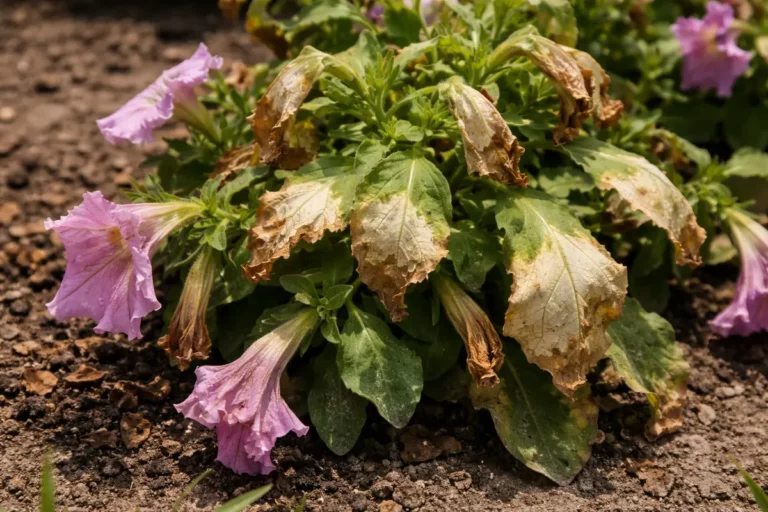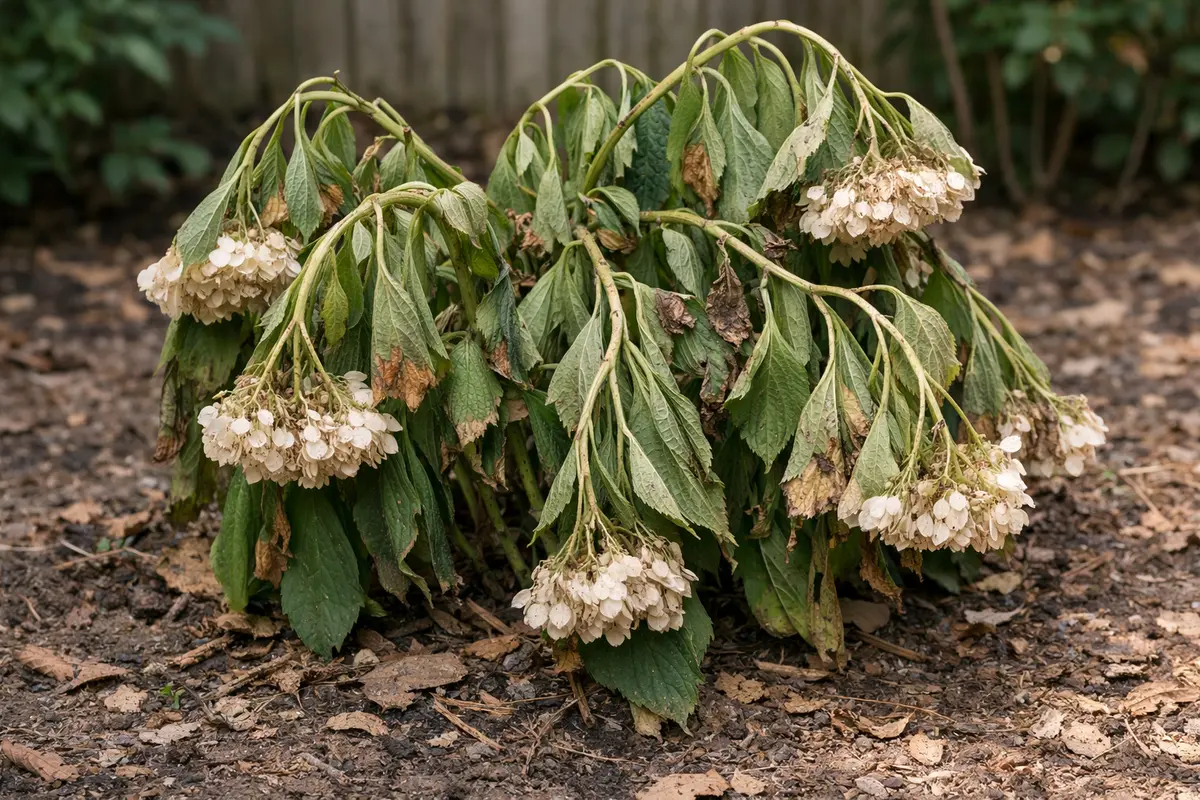
You may notice your once-vibrant hydrangeas drooping during heatwaves, a clear sign that you need to know what to do when hydrangeas droop during heatwaves. This drooping occurs as the plant struggles to maintain its turgor pressure in extreme heat, leading to wilting leaves and potential stress on the blooms. If left unaddressed, this issue can worsen and weaken the plant, but you can improve the situation now by watering deeply and checking for shade options to protect your plants from the harsh sun.
Step 1 – Water Hydrangeas Deeply During Heatwaves
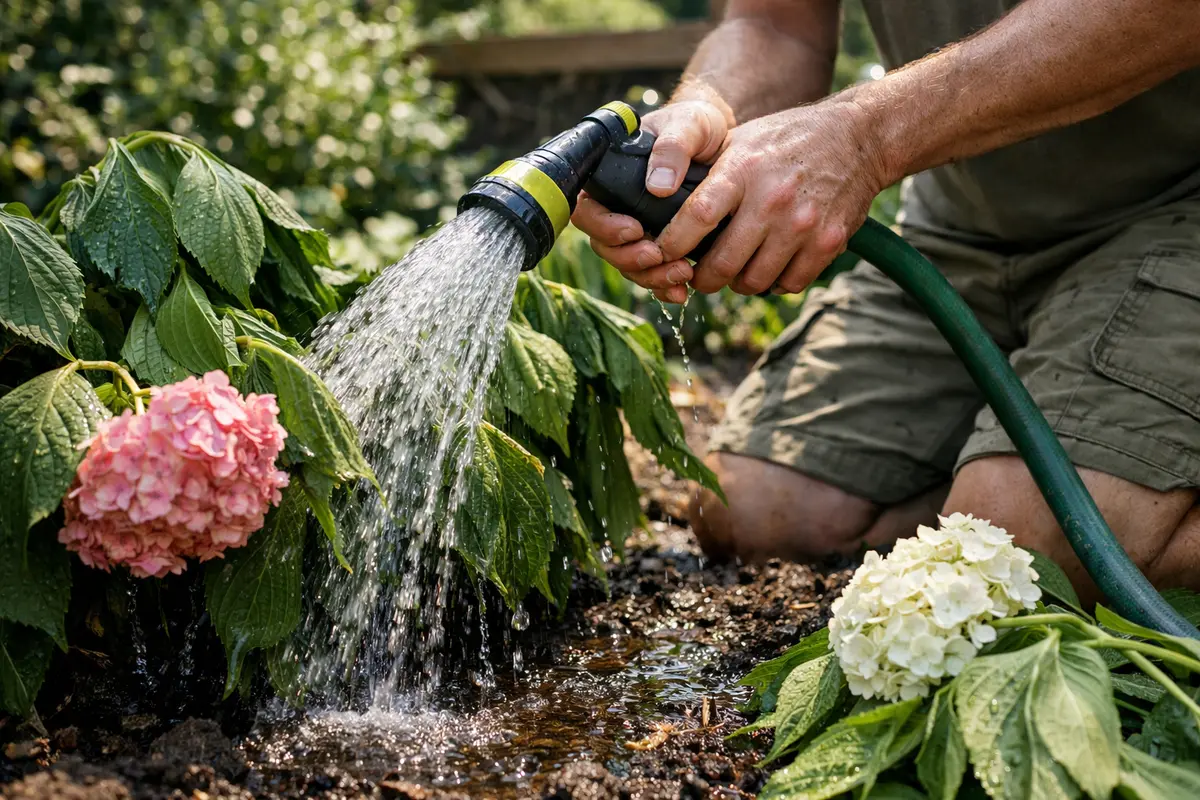
Water your hydrangeas thoroughly to a depth of at least 12 inches. You’ll notice that the leaves begin to perk up within a few hours as they rehydrate and regain firmness. This initial deep watering replenishes the moisture that has been lost from the plant’s tissues due to drought conditions. Aim to use approximately 1 to 2 gallons of water for each hydrangea, depending on the size of the plant. For large, established hydrangeas, particularly those in full sun, consider using up to 3 gallons to ensure the soil holds enough moisture.
Deep watering is crucial, especially during heatwaves, because hydrangeas have shallow roots that can dry out quickly. If the soil lacks moisture, these plants struggle to uptake water through their roots, resulting in drooping and heat stress. Providing them with ample water restores their cellular functions and helps them cope with extreme temperatures while promoting the development of a stronger root system. During periods of extreme heat, you may find that the top layer of soil dries out quickly; therefore, checking soil moisture deeper down is vital. Insert a finger or a moisture meter to assess whether or not additional watering is needed.
A common mistake gardeners make is only applying a light sprinkle of water, which may not penetrate deeply enough to reach the roots. As temperatures soar, make sure to water your hydrangeas early in the morning or later in the evening to avoid evaporation. If you see the leaves droop despite adequate watering, inspect the soil first for signs of water retention. Dry soil that crumbles when touched indicates that more water is needed, while soil that stays soggy may point towards drainage issues that need addressing. If the soil feels compacted around the roots, this may also impede water absorption; consider gently loosening the soil to improve drainage.
Step 2 – Diagnose Wilting Due to Excess Heat
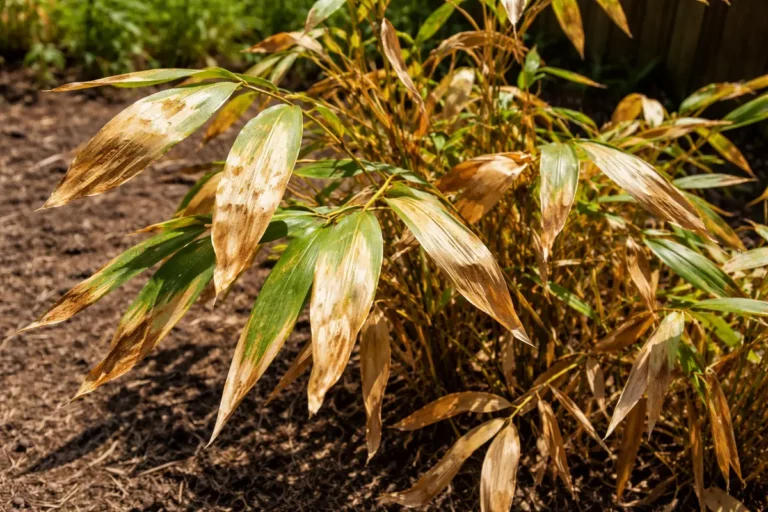
Inspect your hydrangeas for signs of excessive heat stress, such as limp stems or crispy leaf edges. If you find that the soil is dry and the roots are not visibly damaged, the cause of drooping is most likely due to insufficient water. This diagnosis will guide your next steps in recovery. In contrast, if the soil feels moist and the leaves remain limp, you may be dealing with overwatering or root rot, necessitating immediate adjustments. Investigating the color of the leaves can provide additional insight; yellowing leaves may indicate overwatering, while browning, crispy edges typically suggest underwatering.
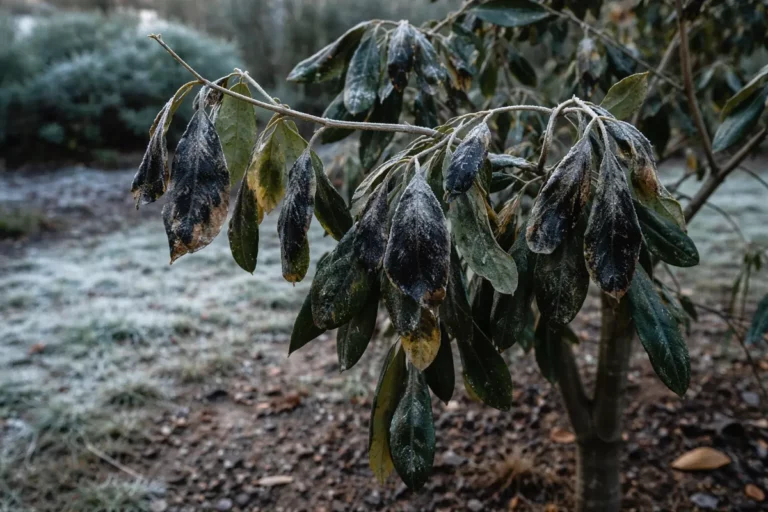
Heat stress in hydrangeas occurs when the plant loses more moisture than it can absorb. If environmental temperatures soar, the plant may struggle to draw up enough water, causing wilting. The hydrangea’s leaves may begin to curl or turn brown on the edges, signaling a need for immediate intervention. Recognizing these signs early on can mean the difference between a quick recovery and ongoing stress. If the heat stress is severe, you might see the blooms themselves wilting alongside the foliage, indicating an intense need for remedial action.
If your plants display only limp stems but the soil remains moist, check for signs of root rot. Yanking on the plant gently should reveal whether the roots are mushy and blackened. If you detect a foul smell when digging around the roots, it’s time to change your watering practices to avoid this problem in the future. Providing drier soil conditions might be necessary to allow the roots to regain strength, perhaps requiring you to switch to smaller, more frequent watering sessions. Additionally, if you discover healthy roots alongside unhealthy ones, consider trimming the rotten roots and repotting the plant in fresh soil to enhance its recovery.
Step 3 – Apply Organic Fertilizer for Hydrangea Recovery
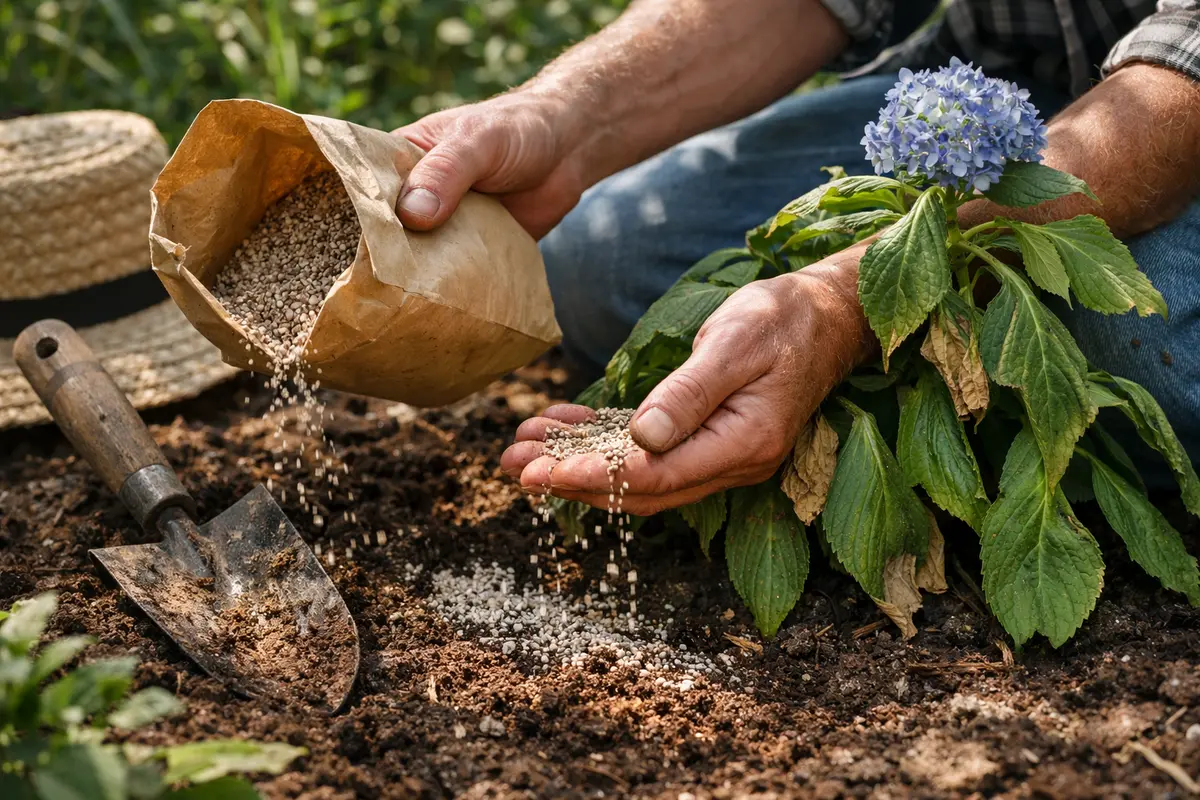
Apply a balanced, organic fertilizer to your hydrangeas a week after addressing water needs. You should start to see new green growth occur within 7 to 10 days if the plants are recovering well. This action provides essential nutrients that can rejuvenate stressed plants, aiding them in regrowing and thriving. Follow the product instructions closely, usually applying about 1/2 to 1 cup of fertilizer per plant. It’s often best to choose an organic fertilizer high in potassium which supports bloom strength and resilience under stress.
The application of organic fertilizer supports the recovery process by replenishing lost nutrients in a stressed plant. These nutrients promote healthy photosynthesis and root growth, which become especially crucial when conditions have been unfavorable. A nutrient-rich environment can help the plant rebuild its strength, setting the stage for vibrant blooms going forward. Pay close attention to how the new growth develops—if it appears weak or discolored, reconsider your nutrient regimen. Achieving a well-fed plant often requires a gradual build-up of nutrients rather than a sudden influx, particularly during recovery phases.
A common mistake at this stage is over-fertilizing, which can cause new burn stress on top of existing heat damage. If the fertilizer burns the leaves, visible as a browning along the edges, you’re likely applying too much. Ensure you’re only applying fertilizer as recommended. If you see no signs of recovery after two weeks, it may be necessary to reassess your watering practices and explore if pests or diseases are causing further issues. Checking under the leaves for any signs of pests can be an essential step in maintaining plant health. Furthermore, various pests can stress hydrangeas further, preventing normal recovery and exhibiting symptoms resembling heat stress.
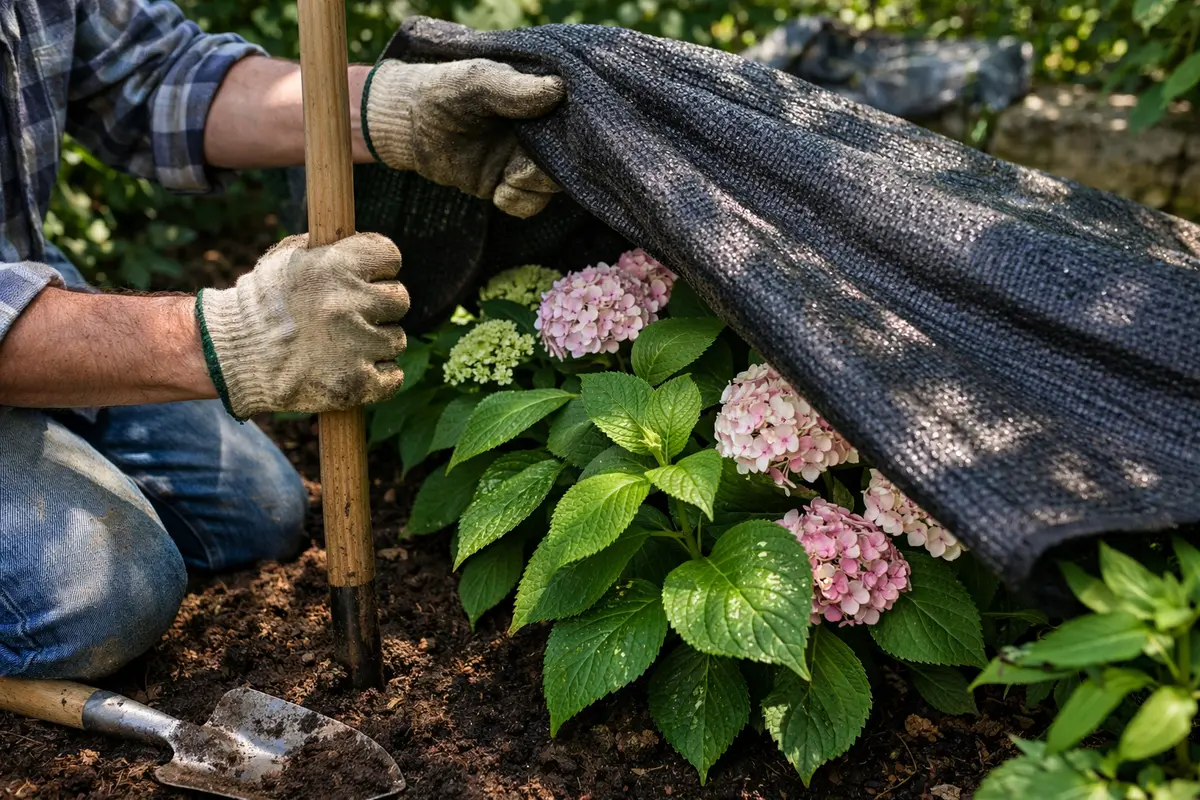
Step 4 – Shade Hydrangeas to Avoid Future Drooping
Start by deeply watering your hydrangeas early in the morning or late in the evening to ensure they receive adequate moisture during heatwaves; this routine will lock in a stable hydration level, reducing the likelihood of drooping.
High temperatures and dry conditions can trigger hydrangeas to droop as they lose moisture faster than they can absorb it. By consistently watering during cooler hours, you help maintain soil moisture, reducing stress on the plants. If your hydrangeas wilt in the afternoon sun, check the soil moisture; dry soil indicates water deficiency, while wet soil typically points to overwatering issues.
In particularly dry seasons, consider adding a layer of organic mulch around the base of your hydrangeas. This not only conserves soil moisture but also regulates temperature fluctuations, providing an additional barrier against heat stress.
Providing shade helps to shield hydrangeas from direct sunlight during the hottest part of the day, which can lower their risk of heat stress. Reducing exposure keeps the soil temperature cooler and helps retain moisture. Every hydrangea species has its specific light needs, so changing their light exposure based on what’s necessary can prevent potential drooping in the future. Additionally, remember that as the sun moves, so might your shade solution. It’s essential to ensure that your shading plan can adapt to seasonal changes in sun exposure.
As seasons change, it’s smart to reevaluate the sun patterns in your garden. If you notice consistent drooping every summer despite your efforts, consider planting hydrangeas in a location that offers afternoon shade or creating vertical structures to support shade options. Additionally, using mulch can dramatically reduce soil temperature, helping retain moisture throughout the day and supporting long-term plant health. Be attentive to your mulch layer; if it becomes compacted or decomposes significantly, it will lose its insulating properties. Plan to replenish this every few months to maintain consistent effectiveness.
Step 5 – Inspect Leaves for Signs of Stress Weekly
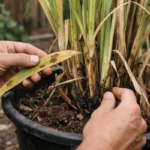
Inspect your hydrangeas weekly for signs of stress, such as discoloration or wilting leaves. You should see an improvement in leaf texture, becoming firmer and greener, within several days of implementing your recovery plan. Regular inspections enable you to catch any recurring or new issues before they escalate. Keep a journal or log to note conditions and changes, which can help track what strategies lead to the best results. It’s essential to observe for changes around the base of the leaves, where pests or diseases often first appear.
A fully recovered hydrangea will display lush, green leaves with no signs of wilting or browning. If you continue to see limp leaves after watering and providing shade, monitor closely for pests or diseases that might compromise plant health. Observing these changes consistently will help you determine what is working and what isn’t. If you notice any new spots or discoloration that weren’t present before, this could signal a fungal infection or insect problem that requires immediate attention.
If signs of stress return, revert to checking the soil moisture levels thoroughly. A sudden change in weather, such as a rain period, can lead to excess water, so it’s necessary to adapt your watering frequency. Sometimes plants miscommunicate their needs, causing drooping despite adequate care. Assess if the drooping stems feel mushy or soft; if they do, this indicates root rot, requiring immediate attention, such as reducing watering frequency and potentially applying a fungicide if conditions don’t improve. Additionally, if conditions remain unstable over a few weeks, consider consulting with a local gardening expert to explore potential root causes that may not be immediately observable.
FAQ
How long does it take for hydrangeas to recover from heat stress?
Recovery from heat stress can take around 1 to 2 weeks, depending on the severity of the stress and the care provided. Ensure consistent watering and a balanced fertilizer to support the recovery process during this period. Monitor the plants closely during this time; if signs of decline reappear, re-evaluate your care routine.
Should I remove the wilted leaves from my hydrangeas?
You can remove wilted leaves if they show no signs of recovery after a week. However, keep healthy leaves to help the plant photosynthesize and regain energy. Be cautious not to remove too many leaves at once, as this can stress the plant further and slow recovery. If the leaves are just beginning to wilt, rather than completely dead, leaving them might allow the plant to recover a little more vigor until it fully stabilizes.
Will mulching help prevent hydrangeas from drooping in the future?
Yes, mulching can significantly help prevent future drooping by retaining soil moisture and regulating soil temperature. Apply a 2- to 3-inch layer of mulch around the base of your hydrangeas to achieve these benefits. Check periodically to ensure the mulch hasn’t degraded significantly or compacted, which can reduce its effectiveness. Implementing organic mulch like shredded bark or wood chips can also improve soil fertility over time as it breaks down, providing additional nutrients to your hydrangea plants.