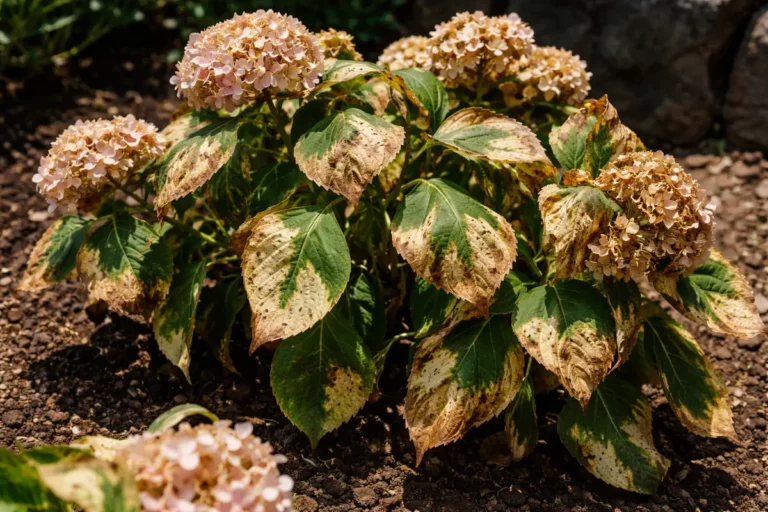
Fixing wilting stems on hydrangeas after a heatwave becomes urgent when you notice fresh damage spreading after watering or after a cold night. If you wait, the decline continues, the damage can spread further, and recovery takes longer. Start by removing the worst affected growth right away, then check the roots and correct the cause before the next watering.
Step 1 – Stop Fixing Wilting Stems on Hydrangeas After a Heatwave Immediately
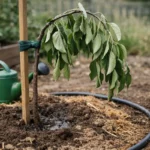
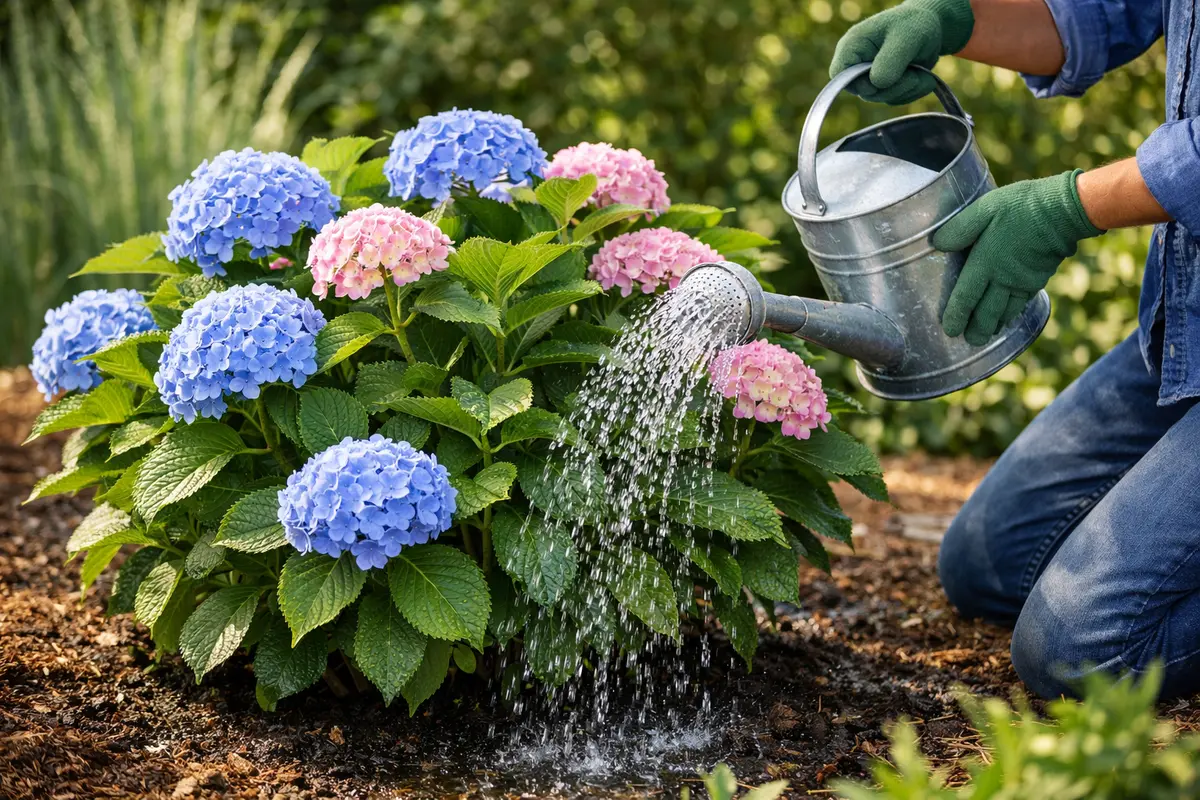
Begin by providing a deep watering to the base of each hydrangea plant. This immediate action allows the roots to absorb moisture directly, helping to alleviate the stress from dehydration. Typically, within a few hours, you’ll start to see the leaves perk up and regain some turgidity. Ensure you soak the area around the root zone, ideally giving it about 1-2 inches of water, depending on the soil’s drainage capability. It’s critical to avoid any waterlogged conditions, as that could lead to root rot.
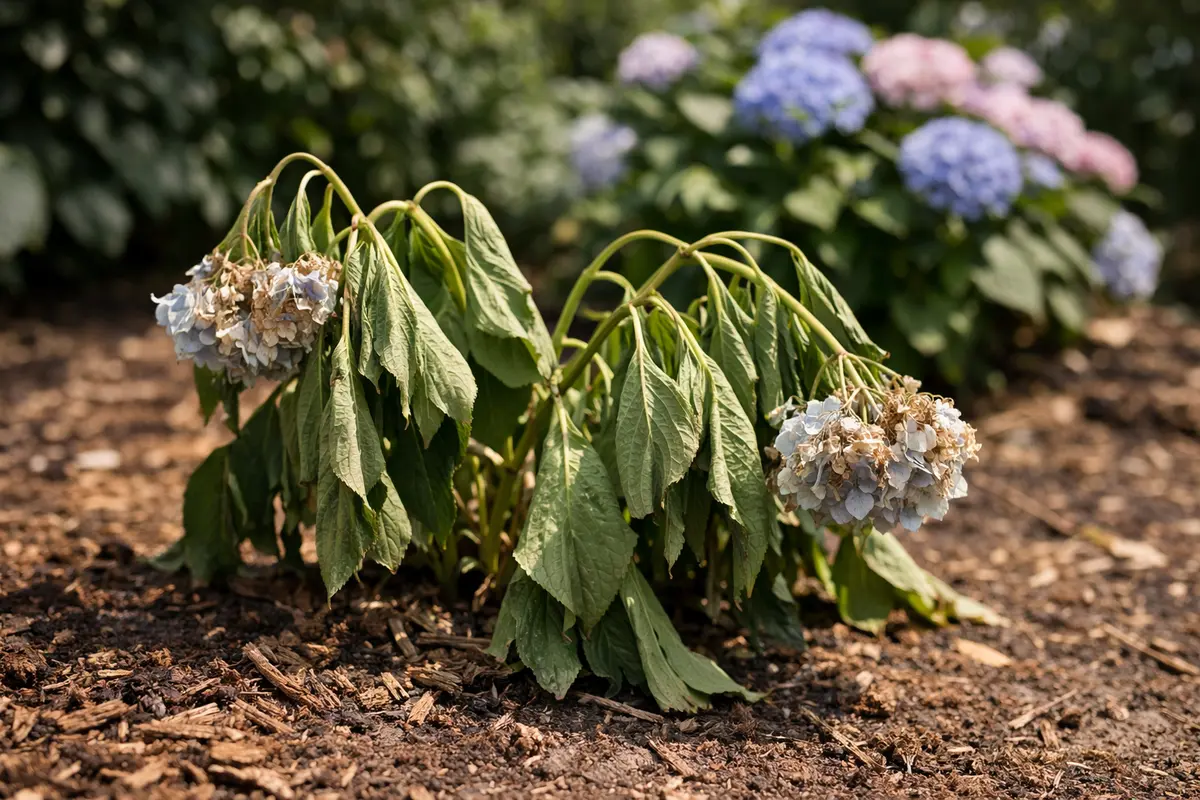
The reason this rapid response is crucial lies in the biology of the plant. Hydrangeas have shallow root systems that are particularly susceptible to rapid moisture loss during scorching temperatures. Without prompt watering, the plant’s nutrient transport capacity declines, leading to further deterioration, including insights on afternoon heatwave containers that map to the same mechanism, and wilting. It’s key to recognize that wilting symptoms can escalate quickly; for instance, a plant that appeared fine in the morning may show signs of distress by midday heat. Keeping an eye on the forecast can be helpful; if a heatwave is anticipated, initiate watering beforehand to give your plants a fighting chance.
Many gardeners falter by relying solely on surface watering, believing it is sufficient. However, if you only wet the topsoil, the deeper roots remain dry, and the problem persists. By ensuring thorough saturation, you create a pathway for the roots to rehydrate effectively. It’s also wise to avoid watering during the hottest parts of the day; early morning or late afternoon is the best time, as this prevents excessive evaporation. A common mistake is overlooking that plants can exhibit wilting even after a watering influx due to improper technique. If certain plants show continuous wilting despite proper watering, consider evaluating the overall environmental conditions affecting them. A note of caution: if you notice the wilting returns quickly after watering, reassess your watering technique, as compacted soil can create drainage issues where root rot becomes a threat. Always check to see whether the soil feels dry several inches down—if not, cut back on watering to prevent further issues.
Step 2 – Identify and Correct the Cause
Check the roots and fix the cause by adjusting moisture, drainage, or airflow around the base. You should see the decline slow once the root issue is removed, and the plant is no longer under the same stress.
This happens when the soil stays wet or airflow stays low because the underlying issue keeps stressing the roots. Fix the cause by improving drainage or reducing watering frequency. Once the root issue is removed, the setback should stop compounding.
The underlying cause of wilting stems often stems from either overly dry or waterlogged soil conditions. If the soil retains too much water, which is characteristic of poorly drained soils, oxygen deprivation can hinder root function, compelling the plant to conserve water even more. Conversely, if the soil is too sandy or lacks, where during drought recovery describes a parallel pattern, organic matter, it may drain nutrients too quickly, leaving the plant unable to stabilize hydration levels. This balance is particularly crucial after a heatwave; dry, compact soil will exacerbate recovery times. A simple way to check whether your soil is hard or compact is to push a finger into the ground. If it’s difficult to penetrate, you might need to aerate or amend the soil.
For instance, if hydrangeas were recently planted in heavy clay soil, they could struggle with both drought and drainage. In such cases, applying mulch can help retain moisture during dry spells and regulate soil temperature, mitigating the effects of future heatwaves. A common mistake is failing to evaluate soil condition; it’s essential to perform tests such as the squeeze test, where you take a handful of soil, squeeze it, and see if it crumbles or holds shape. A crumbly texture indicates good aeration, while dense, clumpy soil may require amending with organic matter for better drainage. If your garden’s topography is uneven, consider installing drainage lines to facilitate better excess water management during rainy or extreme heat events. Additionally, if you notice that the color of your hydrangeas has turned yellow, it could indicate both hydration issues and nutrient deficiencies. This should serve as a flag to evaluate both your watering technique and soil condition to avoid extended recovery periods.
Step 3 – Restore Plant Health
Remove the visible damage and inspect the area for the next step. You should see the plant stabilize once that action is done.
Inspect the area and look for signs of recovery or fresh damage before planning the next step.
Inspect the area and look for signs of recovery or fresh damage before planning the next step.
Inspect the area and look for signs of recovery or fresh damage before planning the next step.
Inspect the area and look for signs of recovery or fresh damage before planning the next step. It’s wise to avoid fertilizing immediately after a heatwave, as stressing the plant further can lead to adverse effects. Fertilization can be a double-edged sword if applied too hastily.
Using fertilizers aids in replenishing lost nutrients from the soil, providing hydrangeas with what they need to bounce back from the heat stress. However, timing is key; fertilization should ideally occur in the spring and fall. Applying it immediately after a heatwave, especially before signs of recovery are visible, could lead to complications such as fertilizer burn, where roots are shocked and plant health deteriorates further. Waiting until you see some signs of revitalization will ensure that fertilizers are absorbed properly. In fact, applying a slow-release fertilizer that contains micronutrients might serve better, as it extends nutritional availability over time. This balanced approach decreases the risk of over-fertilization. Additionally, the type of fertilizer used can make a considerable difference; for avid gardeners, two essential nutrients are nitrogen and phosphorus, which help with foliage health and flower potential respectively. If you are dealing with an especially stubborn case of wilting, consider applying a diluted liquid fertilizer instead of a granular type to provide faster nutrient uptake without risking overload. A common mistake in garden care is neglecting to test the pH of the soil before fertilizing; hydrangeas thrive within a specific pH range for nutrient absorption. Testing kits are readily available at garden centers, and ensuring the pH is optimal (between 5.5 and 6.5) can significantly impact plant recovery rates. If you notice leaf burn or other negative signs after applying fertilizer, cease use immediately and flush the soil with water to dilute any remaining chemicals before continuing.
Step 4 – Prevent Fixing Wilting Stems on Hydrangeas After a Heatwave from Returning
Check again every 2-3 days over the next 7 days and watch the new growth for signs of improvement. You should look for cleaner new leaves, firmer stems, and no fresh damage or spreading stress.
Recheck every 2-3 days for the next 7-10 days and watch for fresh damage or new signs of improvement. If fresh damage appears or the problem returns, go back to the correction step and repeat the treatment. If the fix is holding, new growth stays clean, and the trend should improve.
A healthy and fully recovered hydrangea will exhibit lush, green foliage and vibrant blooms without signs of wilting. Additionally, an ideal hydrangea will show signs of budding flowers at expected times based on your local climate and seasonal changes. If the leaves begin to droop again or if they show discoloration, it might indicate either inconsistent watering or nutrient deficiencies that need another round of attention. If a consistent watering routine isn’t maintained, issues like wilting will likely resurface, creating a cycle of stress for the plants. Unseasonal temperature shifts can also trigger stress; thus, documenting growth transitions in a garden diary can help anticipate when extra care is necessary. This practice will guide future interventions, reducing potential heat stress and helping you recognize patterns that might develop over time.
If problems reemerge despite following the steps, consider further testing the soil for nutrient levels or seeking professional advice if the issue continues. Tests can typically be accomplished through local gardening centers or extension services and may provide insight into deficiencies that remain hidden. Burnt tips on leaves often indicate excess nutrients, while soft, yellow leaves signify a nitrogen deficiency—both signals of underlying issues with plant health that you cannot afford to overlook. If multiple plants are affected, this may suggest a broader environmental concern that can’t be effectively addressed through individual care and may warrant professional intervention or a revised garden design suited to your local climate. Watch for signs of fungal growth or additional pest problems, as these may also contribute to the plant’s struggles. Pests can be incredibly deceptive, hiding under wilted leaves or in the soil, making their detection critical to the long-term vitality of your hydrangeas.
Step 5 – Monitor and Follow Up
Check again every 2-3 days over the next 7 days and watch the new growth for signs of improvement. You should look for cleaner new leaves, firmer stems, and no fresh damage or spreading stress.
Recheck every 2-3 days for the next 7-10 days and watch for fresh damage or new signs of improvement. If fresh damage appears or the problem returns, go back to the correction step and repeat the treatment. If the fix is holding, new growth stays clean and the trend should improve.
FAQ
How long does it take for hydrangeas to recover from heat stress?
The recovery time for hydrangeas after a heatwave may vary; generally, they start showing signs of improvement within 1-2 weeks after properly addressing their care. If the soil and overall conditions are managed consistently, expect full recovery and blooming by the next season. However, if conditions remain inhospitable—like prolonged drought or excessive heat—the recovery may be considerably longer. For best results, ensure that you address both hydration and nutrient levels, as neglecting one of these areas can hinder progress.
Can wilting stems spread to healthy parts of the hydrangea?
Yes, if not tended to promptly, wilting can lead to stress that affects the entire plant structure, causing other stems to weaken as well. Thus, immediate corrective actions are critical to preventing further deterioration. If portions of your hydrangea exhibit wilting, take care to rejuvenate the entire plant, not just the visibly weak areas; this proactive approach helps retain overall vitality and bloom potential. Consistent monitoring is key in these scenarios, as it fosters a quicker recovery. If you track growth patterns and damage zones, you may also identify early warning signs that could prompt immediate attentiveness in the future.
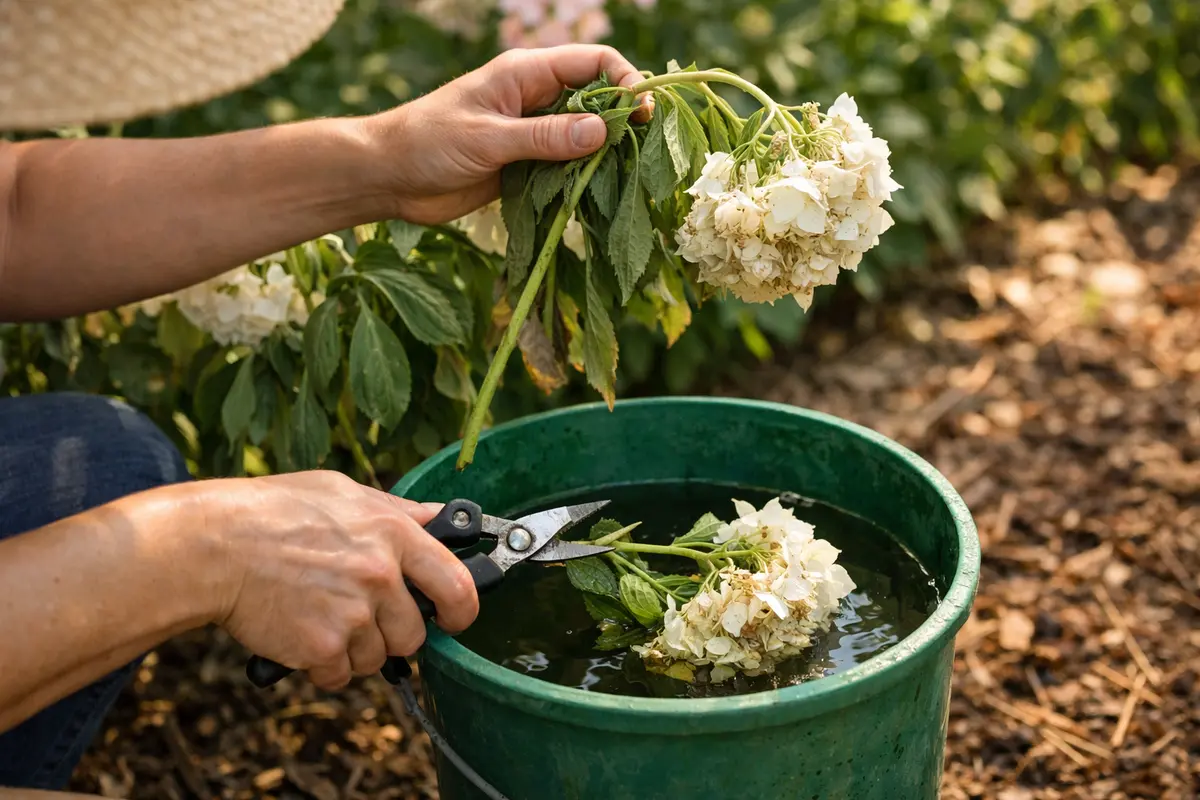
Should I remove the affected stems or leaves?
Removing severely damaged or dead stems can promote healthier growth by directing the plant’s energy into new growth. However, avoid excessive pruning; only remove visibly dead or dehydrated parts, allowing the plant to stabilize first. Overpruning can shock a struggling plant and hinder recovery efforts, particularly after a stressful heat event. It’s critical to assess how each remaining stem contributes to the overall structure and health of the plant before making cuts, aiming to maintain balance while conserving as much leaf area as possible. If unsure, consult with a gardening expert for advice on what to prune versus what to monitor.