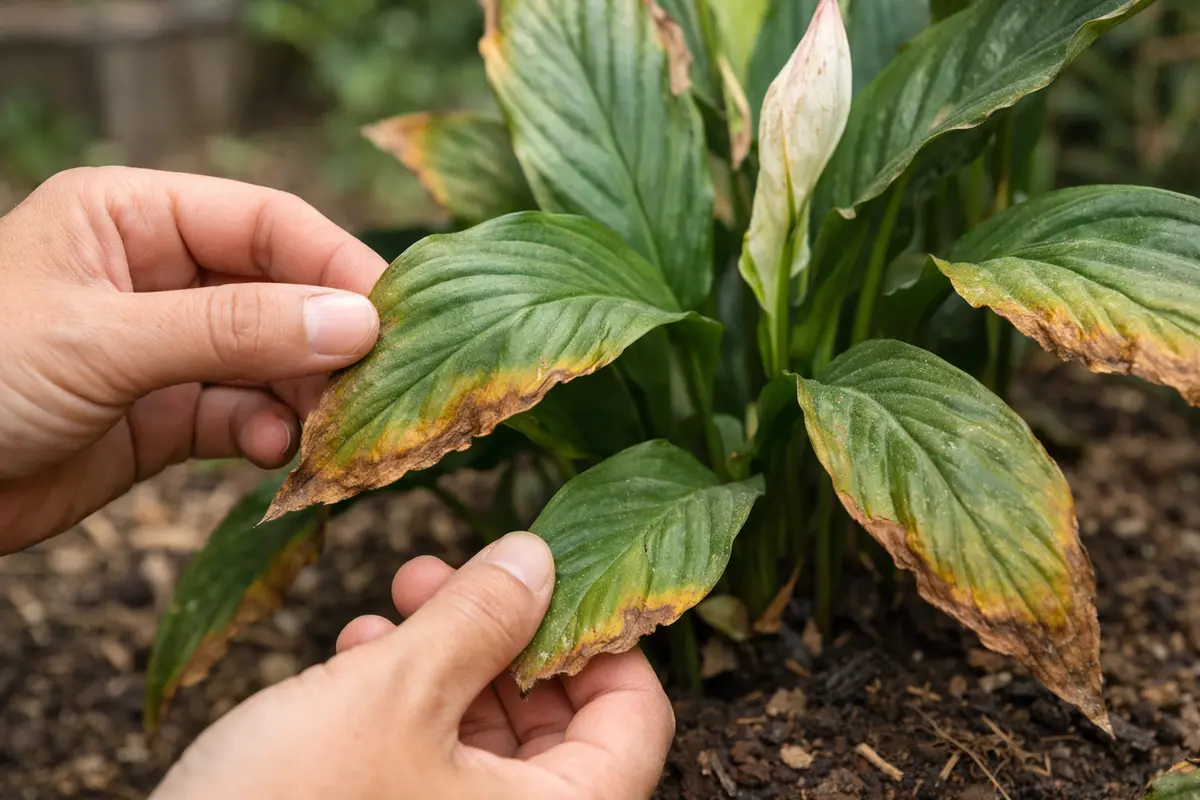
You may notice browning edges on your peace lilies when the air is particularly dry, which is why you need to know how to fix browning edges on peace lilies in dry air. This browning is often a sign of moisture stress, leading to leaf damage and overall decline. If left untreated, the problem can worsen, weakening the plant and making it harder to fix. However, you can improve the situation now by adjusting your watering practices and increasing humidity levels around the plant.
Step 1 – Trim Brown Edges on Peace Lily Leaves
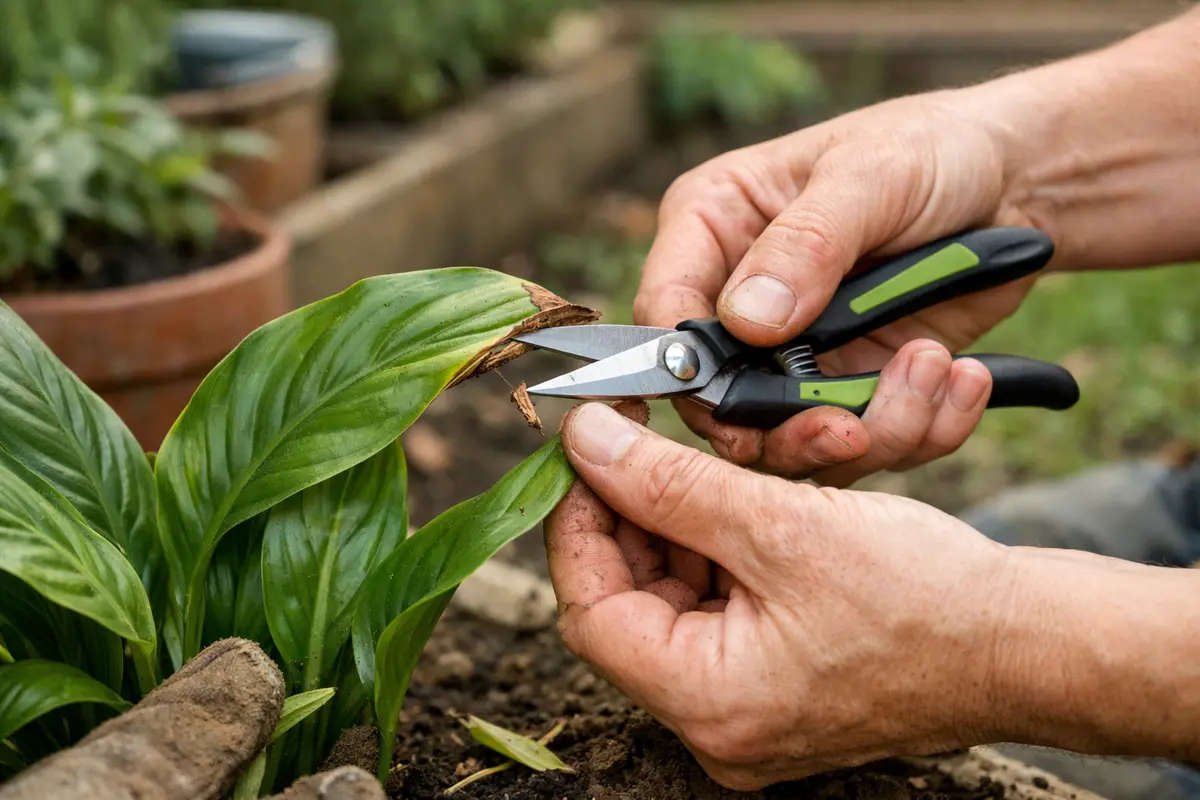
First, inspect the peace lily for signs of dehydration, such as dry soil and wilting leaves. If the soil feels dry, water the plant thoroughly until excess moisture drains from the bottom of the pot. After this immediate action, the wilting should subside, and the leaves may perk up within a few hours, showing signs of rejuvenation.
Acting quickly is vital because peace lilies primarily rely on water to maintain their internal structure. When water is insufficient, cells lose turgor pressure, leading to browning edges. If this condition persists, the plant may suffer from irreversible damage, making it harder to recover. If the tips remain browned despite watering, check the humidity levels in the environment.
A common error among gardeners is to delay watering, assuming the plant can survive longer without it due to its hardiness. For instance, a friend of mine waited too long to address the browning on their peace lily, resulting in the loss of several leaves. If you notice browning initially paired with soft, limp leaves, act fast; otherwise, the plant’s recovery may take much longer.
Acting quickly to prune browning leaves is essential, as delaying this task can lead to increased stress on the plant. When leaves are damaged, they can’t effectively photosynthesize, which causes greater depletion of the plant’s energy reserves. By cutting away the brown edges, the plant can concentrate its resources on remaining healthy foliage. Additionally, retaining dead or dying leaves can provide a breeding ground for pests or pathogens, worsening the plant’s overall health.
A common mistake many gardeners make at this stage is thinking that simply watering the plant will suffice. They neglect to check for visible damage before watering or fertilizing, which could exacerbate any underlying problems if the plant is already stressed from low humidity. It’s vital to assess for browning so that proper preventive measures can be put in place against future occurrences. Look out for symptomatic signs: if browning is present on older leaves, it may indicate chronic issues, whereas if newer growth shows browning, this could suggest immediate environmental stressors or care issues. If multiple leaves are browning, it may be indicative of more systemic issues that need addressing.
Step 2 – Check Humidity Levels for Peace Lilies
First, increase the humidity around your peace lily by misting the leaves daily or placing a humidifier nearby. You should see an improvement in the leaf edges within a week as they regain their vibrant green color, reducing the browning symptoms. If humidity is maintained at optimal levels, you can help prevent future occurrences of browning.
The browning edges on peace lily leaves are often a response to dry air, which can cause the plant to lose moisture faster than it can be taken up through its roots. When humidity levels drop, the leaves struggle to retain water, leading to tissue dehydration that results in browning margins. In contrast, if the leaves are yellowing and drooping, it may indicate overwatering rather than dry air. Observing these color changes closely can help differentiate between issues, guiding your care actions effectively. In poor drainage conditions, plants may also develop root rot in potted cacti.
If the soil smells sour or appears mushy, check for root rot, which requires immediate re-potting in fresh, well-draining soil. Additionally, if the leaves appear crispy but are not brown at the edges, adjust your watering schedule to ensure consistent moisture without waterlogging the roots. To maintain humidity levels, structuring your care routine should also involve place checks—if your peace lily is situated near air conditioning vents or drafty windows, consider relocating it to a more stable environmental area.
Humidity levels significantly impact peace lilies, as they thrive in environments around 40-60% humidity. When the air is too dry, the moisture in the leaves evaporates more quickly than the roots can replenish, causing stress to the plant. Moreover, inadequate humidity can lead to root desiccation if the environment is persistently dry; therefore, monitoring conditions is essential. If you’re using a hygrometer, anything below 40% warrants action. This might include strategies such as placing a pebble tray filled with water below the plant pot to provide evaporative humidity.
If you notice the humidity reading is low, you may resolve this by using a humidifier or clustering the plant among others to create a microclimate that retains moisture. Conversely, an overly humid environment can be detrimental, leading to problems like leaf mold or root rot. Always check for mold growth or excessive wilting leaves, which can signal that the area is excessively damp. If humidity is consistently high and the plant exhibits browning nonetheless, reassess factors such as air circulation, as stagnant air can hinder moisture uptake at the leaf level. Excess moisture often leads to problems like root rot in potted herbs.
Step 3 – Mist Leaves to Aid Recovery of Peace Lilies

Increase the humidity around your peace lily by placing a humidifier nearby or using a tray filled with water and pebbles beneath the pot. Within a week, you should notice new leaves starting to unfurl, signaling improved moisture levels and reduced browning at the edges of existing foliage. Proper misting not only hydrating the leaves but also helps restore the plant’s health more efficiently.
Realistic recovery might take several weeks, with visible signs of progress appearing as fresh, green leaves develop. If new growth emerges robustly, your plant is thriving in the adjusted humidity; however, slower regrowth could indicate insufficient moisture or improper light exposure. Alongside humidity, consider whether the plant is receiving adequate indirect sunlight, as insufficient light can also contribute to browning and stunted growth.
A common mistake during recovery is to excessively water the plant, mistakenly thinking it will help combat dry air; instead, this can lead to root rot. Additionally, avoid fertilizing immediately after starting the recovery process, as this could stress the plant further. If you notice yellowing leaves accompanying browning edges, reduce watering frequency and ensure the topsoil dries out before the next irrigation. Watch for wilting, as this indicates extreme water stress that can affect recovery.
Misting creates a more favorable environment for the peace lily, allowing the leaves to absorb moisture directly, enabling rehydration swiftly. The misting also addresses leaf-surface conditions that help combat pest infestations such as spider mites, which thrive in dry conditions and can be detrimental to your plant’s health. Regular misting offers a moisture boost without the risk of overwatering the roots, which is common when soil moisture levels are also adjusted.
Be cautious not to overdo the misting; too much water on the leaves can lead to fungal infections or leaf spots. Signs such as sticky spores or light brown spots may indicate a fungal issue resulting from excess moisture. If you notice any signs of mold or fungus after misting, reduce the frequency or intensity of your misting sessions. In cooler temperatures, misting less often can prevent leaves from becoming waterlogged, allowing them to thrive without additional stress. If the temperatures consistently dip below 60°F, consider misting with caution, as cool water beads may exacerbate fungal problems.
Step 4 – Water Peace Lilies More During Dry Seasons
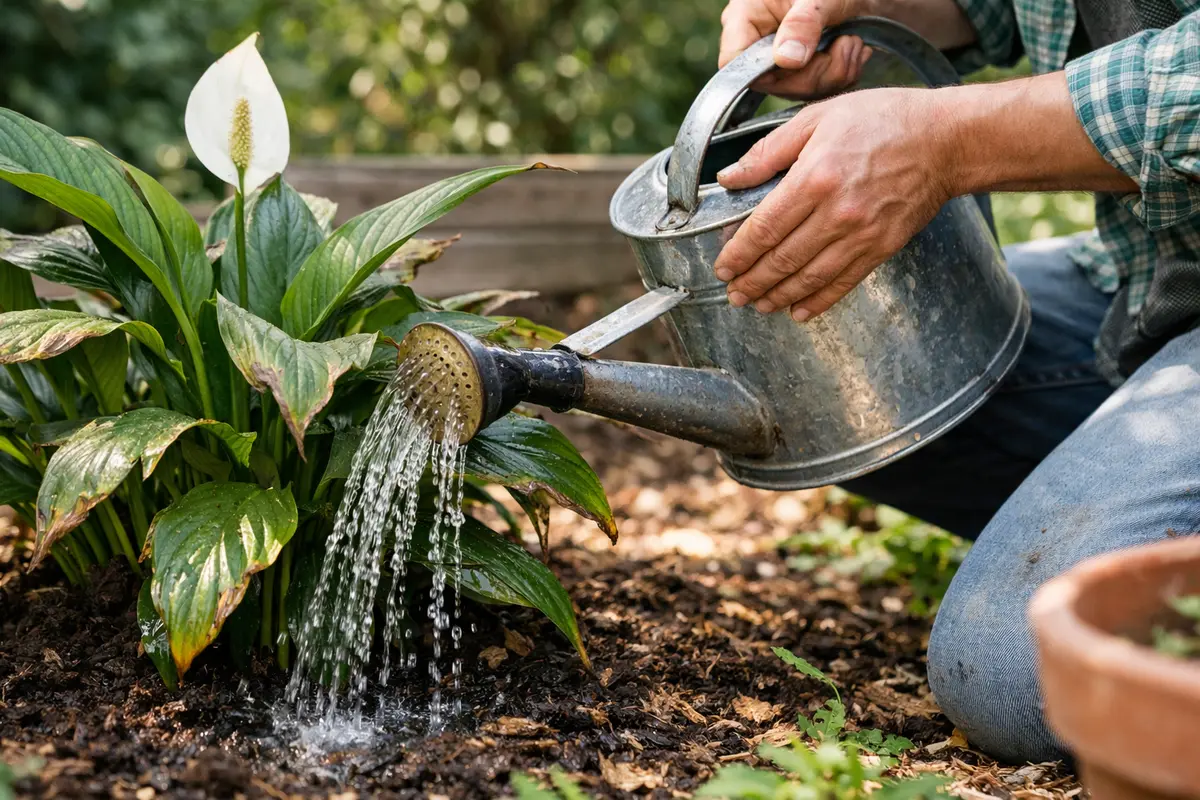
Increase the watering frequency for your peace lilies during dry seasons. You will notice a marked improvement in leaf health and reduced browning edges as the roots receive more moisture. Establishing a consistent watering schedule helps protect against further dehydration during arid periods, allowing the plant to sustain its vitality effectively.
Peace lilies prefer soil that is consistently moist but not soggy. During dry weather or heating periods, such as when indoor heating units are operating, the soil can dry out rapidly, exacerbating browning issues. A general guideline is to check the top inch of the soil; if it feels dry, it’s time to water. Implementing a regular watering schedule ensures that your peace lilies receive adequate moisture to maintain their health and prevent damage from dry conditions.
A common mistake made by gardeners is allowing the soil to completely dry out between waterings. Instead, often checking the soil moisture helps you provide water before significant drying occurs. Some gardeners might also set a schedule based on habits rather than actual conditions; always adjust according to your specific indoor climate conditions. For example, during the plant’s active growth periods in spring and summer, it requires more frequent watering to keep up with growth demands compared to when it is dormant. If browning worsens despite the watering routine, it may be useful to consider both humidity conditions and potential root rot problems. Remember that consistently moist soil is often a better indicator of health than simply relying on watering frequency. Excess moisture often leads to problems like root rot in potato plants.
Step 5 – Inspect Leaves for Browning Signs Weekly
Inspect the leaves of your peace lilies weekly for signs of browning. You should witness the new growth and improved vigor in the leaves if all corrective measures are effectively followed. Regular inspections can help catch problems early before they escalate into more significant issues, including undesirable pest infestations or fungal outbreaks.
A fully recovered peace lily will exhibit vibrant, green leaves without browning tips, signaling that it is functioning correctly within its environment. By consistently checking the plants, you can also determine if any problems are returning, indicated by soft or discolored patches reappearing on the leaf edges. The difference between new growth and stressed foliage can often be observed through color differentiation and firmness of the leaves. New growth tends to be lighter and softer than older, stressed leaves that may feel limp and weak, indicative of insufficient care.
If you notice browning returning despite your efforts, it may indicate that environmental factors or care practices are still not optimal. Assess conditions again—if humidity remains low or watering isn’t adjusted properly, returning to the previous steps may be necessary. Additionally, escalating conditions such as multiple plants showing similar symptoms in the same environment may signal systemic issues that require revisiting your entire care routine. If browning escalates rapidly, consulting a professional or seeking advice based on symptoms could lead you to resolve deeper systemic issues in your plant care practices.
FAQ
How long will it take for my peace lily to recover from browning edges?
Recovery can vary based on the extent of the damage and the effectiveness of care adjustments. Generally, you may see improvement within a few weeks with consistent humidity and proper care as new growth begins to emerge. However, it may take longer for the plant to fully regain its previous vigor, depending on environmental corrections made and how quickly the plant can adapt to improved conditions.
Can low humidity cause the browning to spread to other plants?
Yes, if similar conditions affecting your peace lily are present in other plants, there is a risk that they could also exhibit browning edges. Increasing humidity levels across all indoor plants can mitigate this issue and promote a healthier environment where plants can thrive, avoiding further damage and ensuring a more uniform growing condition.
Should I remove all brown leaves immediately?
Only remove the most severely damaged leaves that exhibit significant browning. Retaining some browning can help the plant draw from existing foliage during its recovery. Trim gradually—this minimizes the shock to the plant and avoids overwhelming it with stress from multiple cuts at one time. If leaves seem only slightly browning, consider leaving them until new growth emerges, which can more efficiently take over the photosynthetic needs. Each cut should be deliberate, allowing the plant to redirect energy wisely, which can be crucial in its ongoing recovery.