You may notice your potted cacti looking unhealthy after heavy rain, which is why you need to know how to prevent root rot in potted cacti after heavy rain. The excess moisture can lead to mushy, rotting roots, causing your plants to wilt or exhibit yellowing. If left unaddressed, the problem gets worse and can spread quickly, weakening the plant and making recovery harder. However, you can fix this now by inspecting the roots, adjusting the watering schedule, and improving drainage conditions.
Step 1 – Remove Excess Water from Cactus Pots
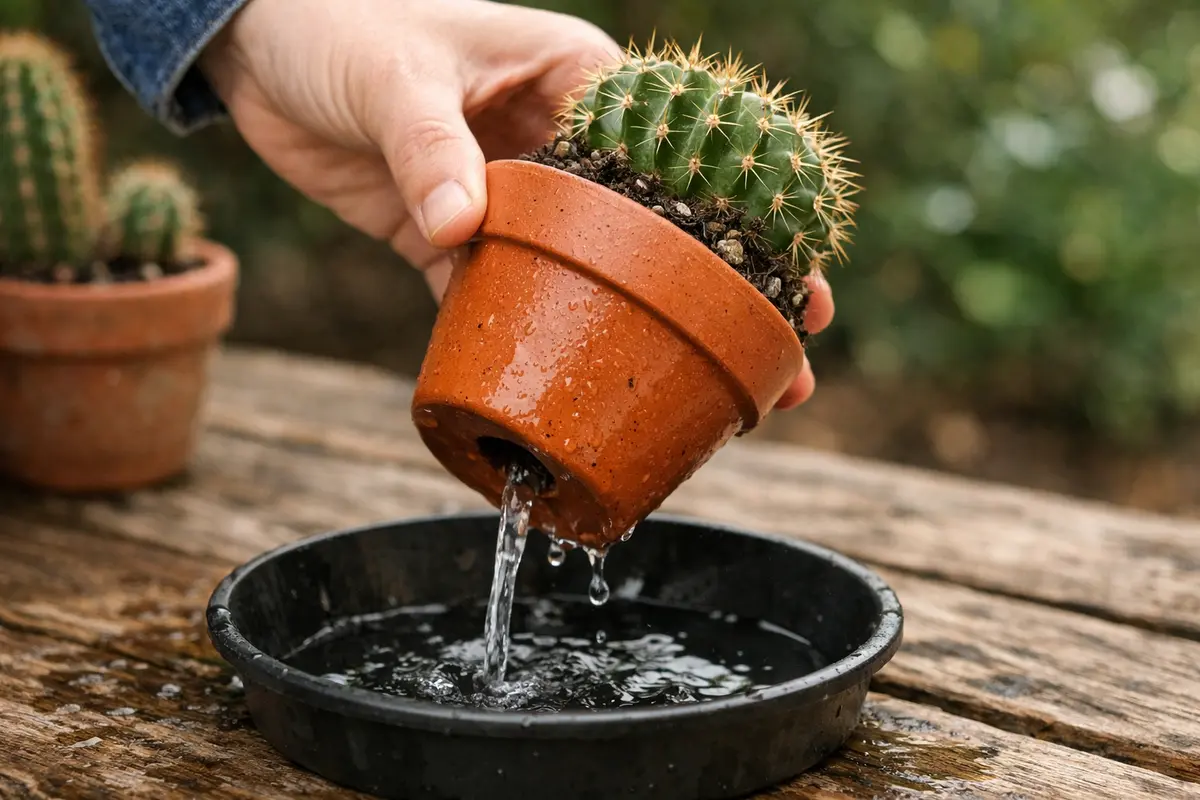
Start by tipping the cactus pots slightly to drain out any excess water. You will notice the soil lightening in color as it begins to dry out. Allowing stagnant water to remain can smother your cactus roots, rapidly progressing to rot. After draining, it’s advisable to wait approximately 15 to 30 minutes to ensure all excess water has escaped. If the temperature is particularly cool, check back after 45 minutes, as evaporation may take longer under certain conditions.
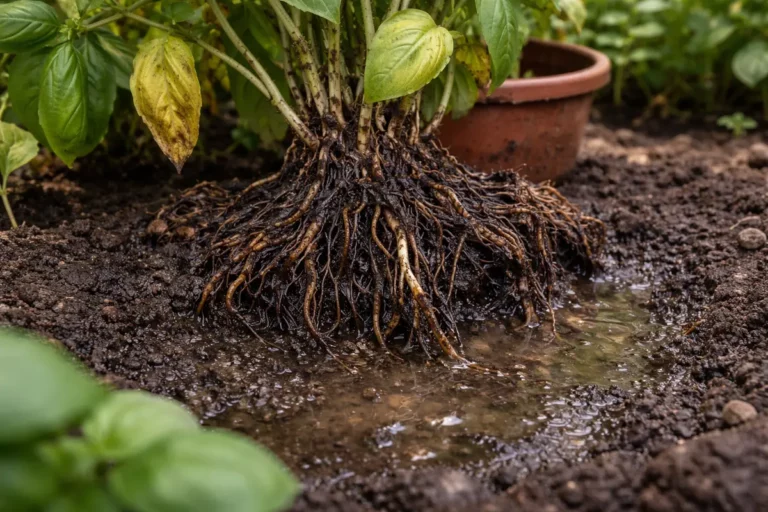
Removing excess water is crucial because cacti are adapted to arid conditions, thriving in dry soil. Their roots are not equipped to handle prolonged saturation, which stalls their ability to absorb essential nutrients and oxygen. As water accumulates, it creates an anaerobic environment, often allowing fungi to thrive, resulting in root rot. Noticeably, soil that is waterlogged will emit a musty odor, an early sign of potential rot. If, upon draining, the soil still retains an unusually wet feel, this indicates that immediate further action is necessary.
Many gardeners underestimate the speed at which root rot can set in. If you notice your cacti looking limp or see discoloration starting to occur, act quickly; even a few hours of standing water can lead to irreversible damage. Check beneath decorative pots or saucers where water often collects and ensure they are empty. A common mistake is neglecting to check recessed areas where water can pool unnoticed. Avoiding this situation requires vigilance, especially after heavy rainfall; check your cacti pots immediately and drain any excess moisture whenever it rains heavily.
Step 2 – Assess Drainage Issues in Soil
Next, inspect the drainage holes of your cactus pots for clogs. If necessary, use a skewer or a similar tool to clear them to enhance drainage. You should see improved moisture levels in the soil once water can properly flow through. Good drainage holes prevent water buildup, ensuring that cacti roots can breathe and avoid drowning. Be aware that if your cactus pots are elevated or sitting on a flat surface without sufficient drainage capability, water can accumulate more readily.
Drainage issues often arise due to the type of soil used or sediment buildup in the pots. Cacti require special soil mixes that allow water to pass through easily, such as those made with coarse sand and pumice. An ideal mix might consist of 50% coarse sand, 30% perlite, and 20% organic material like coconut coir, allowing for the essential aeration and drainage needed. Without proper drainage, roots will remain submerged, leading not only to nutrient deficiency but also to root rot, which is commonly identifiable by wilting or soft spots on the cactus.
If the drainage holes are clear but the soil is still soggy, it could indicate that the soil mix is too dense. In this case, consider repotting your cactus with a more suitable mix for optimal drainage. Pay attention to the soil composition used in both the original potting and any subsequent repotting; using a purely organic mix can create an overly heavy base that retains too much moisture. Regularly check the drainage status and soil consistency as heavy rains can accumulate sediment and debris, compromising the health of your plants. Be vigilant during prolonged wet weather; ensuring that your pots retain adequate airflow around the roots is crucial for preventing rot. If you are dealing with a related issue, petunia plants turn covers a similar problem in detail.
Step 3 – Replant Cacti in Fresh, Dry Soil
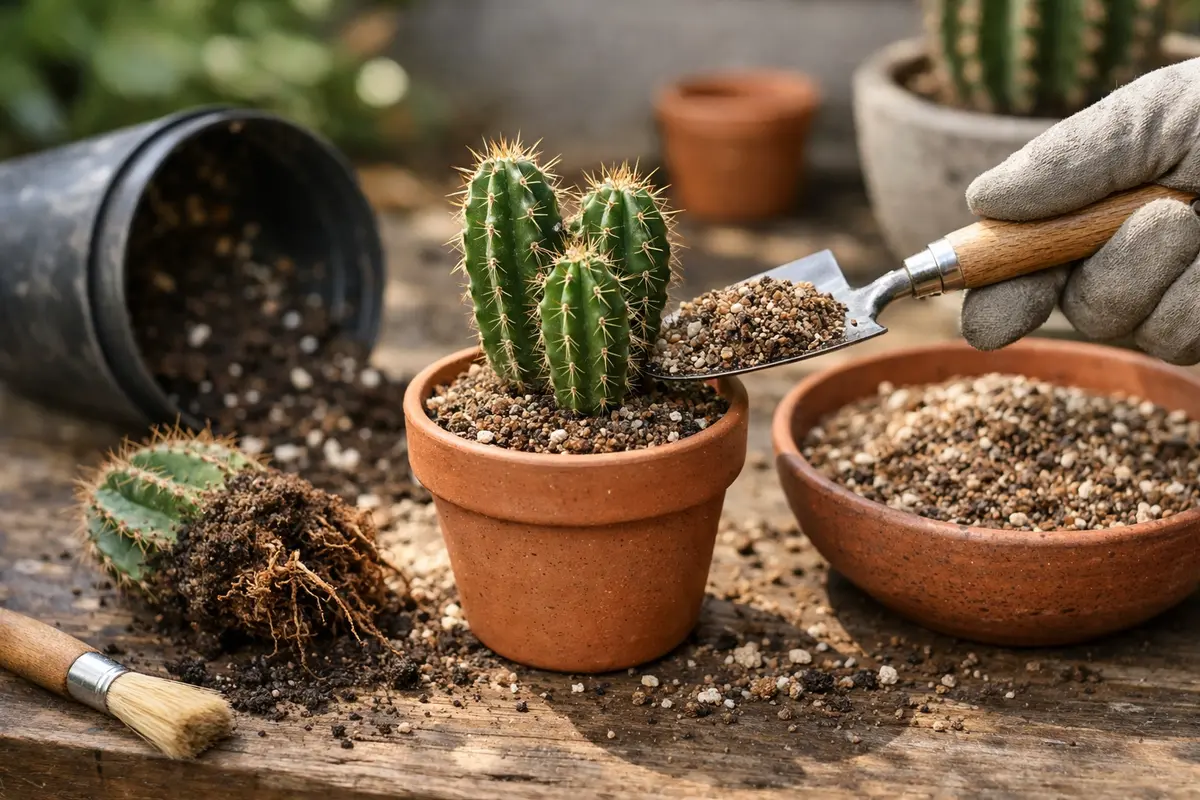
Replant your cacti in fresh, dry cactus soil to promote faster recovery from root damage. Of note, you should observe a renewed firmness in the cactus stems within a few days as they adjust to the new soil. Fresh soil will provide essential nutrients required for recovering roots and contribute to a healthier environment. Consider mixing in additional perlite or pumice to enhance drainage further during repotting; typically, adding a quarter of the pot’s volume in perlite can suffice to enhance drainage without compromising the plant’s needs.
Using fresh soil is vital for removing any pathogens that have settled in the wet soil, as old soil can harbor harmful bacteria and fungi. When the cacti are replanted, they receive a boost in nutrient availability while also decreasing the risk of disease. Healthy soil aids in supporting the regrowth of roots, allowing your plant to regain its vigor. Monitor the moisture content carefully, ensuring the new soil is dry yet still allows some moisture retention. A healthy balance usually presents as slightly crumbly soil that doesn’t clump excessively.
A common mistake after replanting is to water too frequently. Remember, after replanting, allow the soil to dry slightly before reintroducing moisture. This timeframe may vary, but generally waiting a week or so helps to ensure healthy root establishment without the risk of drowning them again. If the surface of the soil begins to feel damp before the week is out, it’s essential to check the drainage and adjust your watering plan accordingly to avoid further complications. If after three days, a slight tug on the cactus reveals no resistance, the plant may need immediate watering, but always ensure the roots have access to air.
Step 4 – Avoid Overwatering Cacti After Rain
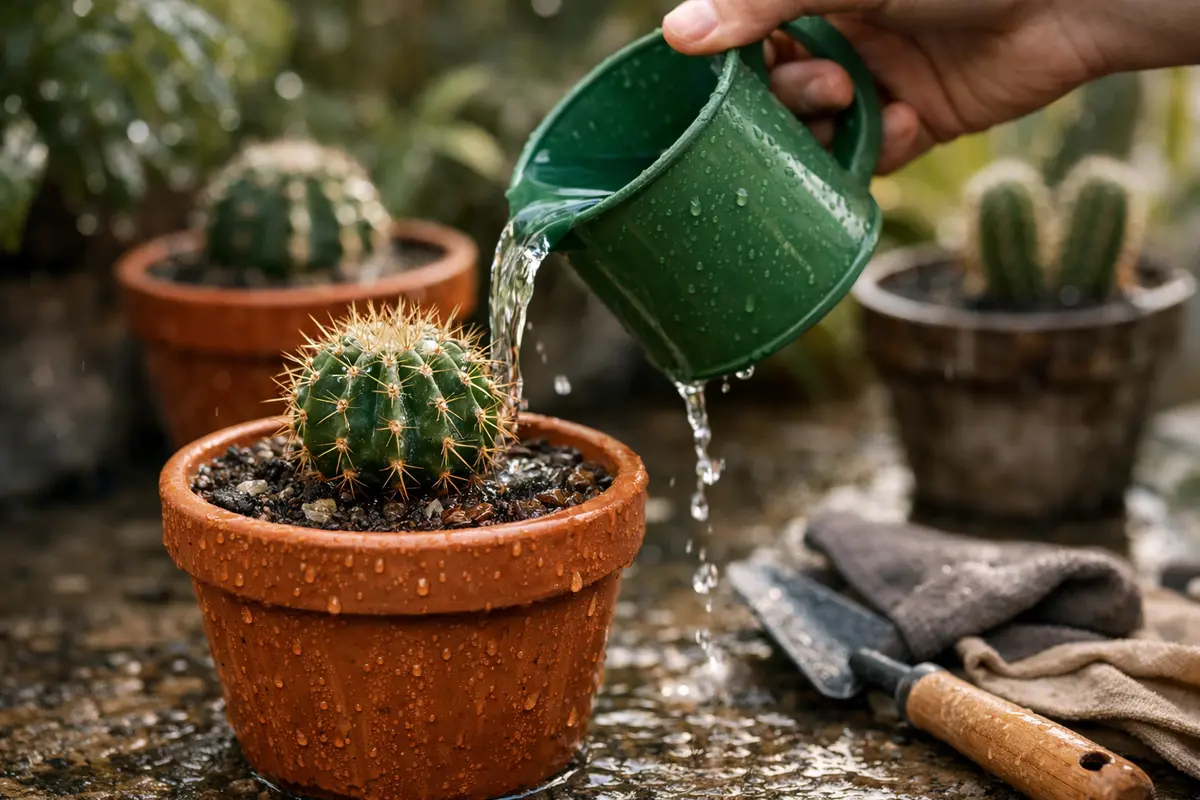
Start by elevating your potted cacti and ensuring that the pots have drainage holes to prevent excess water from accumulating. Over time, you will notice healthier roots as they avoid standing water, significantly reducing the risk of root rot.
Root rot in potted cacti often occurs after heavy rain due to soil saturation, which suffocates roots and leads to decay. By elevating pots and ensuring good drainage, you mitigate the chance of the soil remaining damp, preventing the anaerobic conditions that trigger rot. In contrast, cacti left in saucers filled with water are more likely to develop root rot, while those in well-draining setups maintain a more supportive environment.
Consider incorporating a layer of coarse gravel at the bottom of your pots as an additional preventive measure during the rainy season. This layer improves drainage and allows excess water to flow away from the roots quickly, particularly beneficial during prolonged periods of rainfall.
Overwatering after heavy rain often occurs because gardeners feel unnecessary pressure to keep their plants hydrated. Cacti naturally thrive with minimal water due to their adaptation to arid climates. For instance, during cooler seasons following rain, the evaporation rate decreases significantly, allowing soil to retain moisture longer. By adhering to a routine of only watering when the soil is completely dry—usually checking at least a couple of inches below the surface—you significantly reduce the potential for issues related to excess moisture. A related fix is explained in broccoli plants transplant if you want to compare approaches.
As seasons change or the environment shifts, be prepared to adjust your watering habits according to climatic conditions. Keep a journal of your watering history and environmental changes to observe patterns. For example, during rainy seasons, closely monitor your cacti and resist the temptation to water them simply because you believe they need it. This type of recordkeeping enhances your ability to make informed choices, maintaining the health of your cacti while better predicting when they will most need moisture.
Step 5 – Inspect Cacti for Signs of Revival
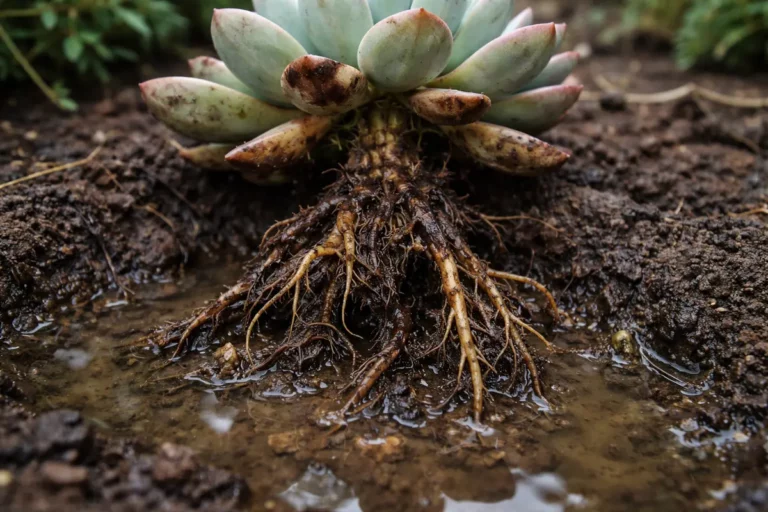
First, check the soil moisture of your potted cacti immediately after heavy rain. Use your finger or a moisture meter to evaluate the top 2 inches of soil; it should be dry. Observe for any signs of mushy, darkened roots by gently lifting the pot; if the roots appear slimy, recheck after three days to assess water levels and root condition.
A fully recovered cactus will exhibit firm and plump pads, showing vibrant color and a steady growth pattern. In contrast, early signs of root rot returning include a wrinkled appearance with dull, shriveled pads or a foul odor emanating from the soil. If you see dark spots on the stems or a decline in color saturation, investigate further.
If root rot symptoms persist despite your efforts, promptly remove the affected cactus from its pot and inspect the roots carefully. Trim away any black, slimy areas, and repot in fresh, dry soil to improve drainage and aeration. Additionally, consider using a fungicide if you find persistent fungus or mold; if conditions don’t improve, consult with a horticulturist for advanced solutions.
A healthy cactus will eventually display vibrant color and new growth, which are clear indicators that it is recovering. Inspect the potting mix; it should feel only slightly moist without being soggy. If you find the mix remains overly wet even several days after draining or repotting, this suggests that there may still be underlying drainage issues. Early signs of trouble may include wilting leaves or soft spots on the stem, indicating moisture levels may still be too high or that new infections are taking root. Such monitoring enables quick remediation to revert conditions back to ideal.
If recovery does not begin in a week or two, reassess your watering schedule and consider consulting with a gardening expert. If symptoms reappear despite following these steps, it may be time to evaluate environmental conditions like humidity and temperature affecting your cacti’s health. In some cases, transplanting to an unglazed pot can aid in moisture evaporation, reducing the likelihood of rot reoccurring by improving air circulation around the roots. Always ensure your plants are getting adequate sunlight, as insufficient light can also hinder recovery. For a closely related scenario, see watering humid weather.
FAQ
How long does it take for cacti to recover from root rot?
Recovery time for cacti can vary, typically taking about two to four weeks after you implement corrective measures. Look for signs of new growth or firming stems during this timeframe. If there’s no improvement after a month, further assessment may be needed, including evaluating the soil condition and the location of your cacti.
Can root rot spread from one cactus to another?
Yes, root rot can spread if contaminated soil is used in multiple pots or if handling infected plants occurs without proper sanitation. Always check your plants for signs of rot and work in clean conditions to prevent cross-contamination. This includes sterilizing tools between uses; any shared tools should be disinfected immediately after contacting an infected cactus, as pathogens can linger and transfer easily.
Should I remove affected parts of my cactus?
In cases of severe rot, it’s advisable to remove the affected sections to prevent further decay. Ensure that the cuts are cleanly made and the remaining parts are healthy to promote new growth. Using sterilized tools will greatly reduce the risk of infecting the healthy sections with bacteria or fungi present in the rot. Monitor the cactus closely post-trimming to ensure signs of recovery emerge; fresh growth should appear within a few weeks if the remaining plant is viable.