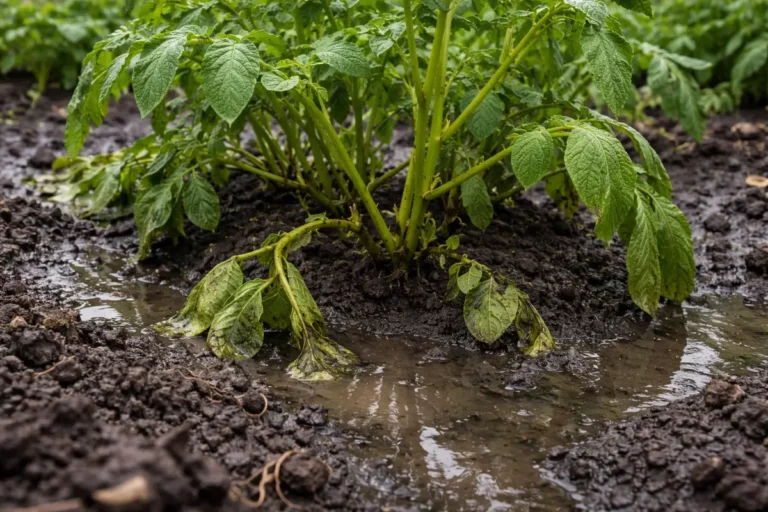
You may notice your potato plants wilting and showing yellowing leaves after heavy rain, a clear sign that you need to know how to treat root rot in potato plants after heavy rain. This rotting is caused by excess moisture in the soil, leading to mushy roots that struggle to absorb nutrients and water. If left untreated, the problem gets worse, further weakening the plant and stalling growth, but you can fix it now by inspecting the roots and adjusting your watering practices.
Step 1 – Clear Waterlogged Soil Around Potatoes
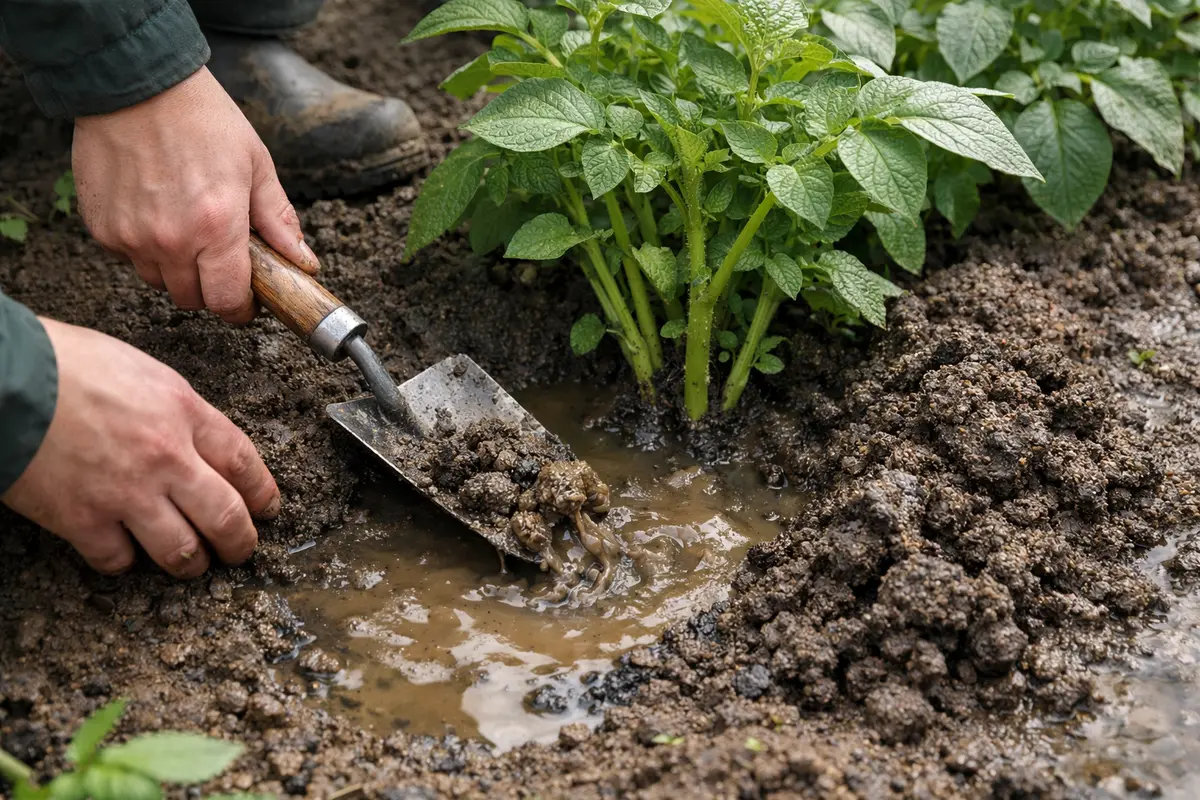
Start by removing the waterlogged soil surrounding your potato plants immediately. You will see a noticeable improvement in soil aeration and a reduction in excess moisture that harms root function. Aim to act within the first day after heavy rain to prevent prolonged saturation, which limits oxygen availability to the roots and leads to rot.
When roots lack oxygen, they can become susceptible to fungal infections that worsen the deterioration of your potato plants. Effective drainage enables roots to breathe and maintain healthy function, so swift action is crucial. The sooner you improve drainage, the better the plants can recover. If you are dealing with a related issue, cucumber plants develop covers a similar problem in detail.
A common mistake is to wait too long before addressing waterlogged soil, believing that the rain might dissipate naturally. Based on my experience, plants that undergo prolonged saturation often fail to recover, even with sunny weather in the following days, leading to stunted growth and eventual die-off. Aim to take action as soon as water pools around your plants to ensure the best chance of recovery.
Inspect the Soil Texture
When assessing the soil, ensure it feels loose and crumbly to promote root health. Heavy, clay-like soil retains moisture longer, making it prone to waterlogging. Instead, consider amending your soil with organic matter like compost to enhance drainage and improve texture.
If your soil is predominantly clay, it may be beneficial to dig deeper than the surface layer to ensure the entire root zone is aerated. A common misconception is that simply waiting for the water to evaporate will suffice — however, this often prolongs the rot condition, as pathogens can thrive in the wet soil long enough to inflict lasting damage. Checking for signs of compacted soil in your beds can also be useful.
Step 2 – Diagnose Root Rot in Potato Plants
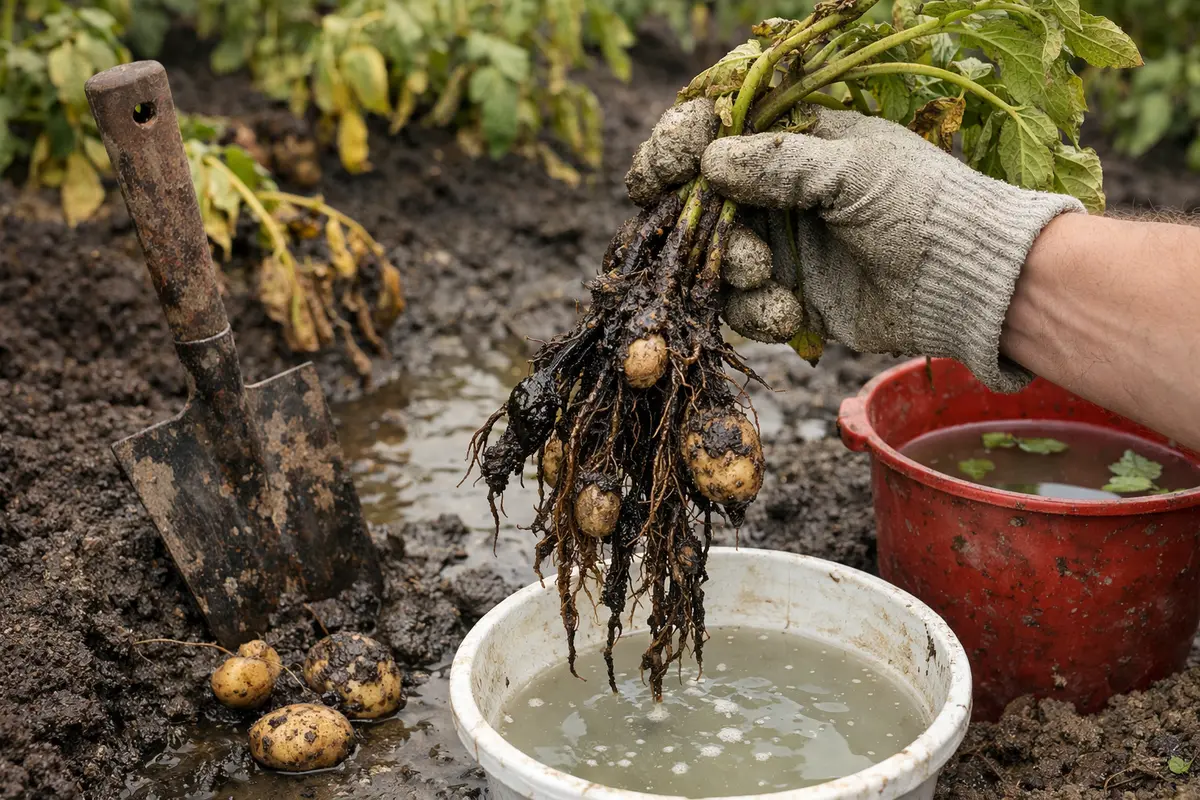
Inspect the roots of your potato plants for signs of rot by gently removing them from the soil. You will notice healthier root tissue as you eliminate any discolored or mushy roots. Act quickly, as untreated rot can spread throughout the root systems of your plants, worsening their condition.
This happens because pathogens thrive in overly wet conditions, breaking down the root structure and leading to decay. As root rot progresses, you may also see yellowing leaves and stunted growth due to nutrient starvation. Catch these symptoms right away to cut away dead tissue before it impacts nearby roots and prolongs recovery.
If you detect a sour smell while examining the roots, this indicates advanced decay, and you must replace the soil entirely around your potato plants. This action eliminates pathogens and creates a healthier environment for recovery. Alternatively, if the soil smells rich and earthy, it suggests fewer toxicity issues, allowing for a more straightforward recovery process. This crucial diagnosis step will help you determine the best actions to save your potato plants. A related fix is explained in lavender plants turn if you want to compare approaches.
Inspect the Root Color
Healthy roots appear white or light tan, while rotted roots are dark brown or black and feel mushy. The texture can be a telling factor; a healthy root system should be firm and intact, whereas a decayed root collapses upon the slightest pressure. Additionally, you might see a slimy coating or brown spots that signal fungal infections thriving in the damp environment.
Step 3 – Treat Affected Potatoes for Recovery
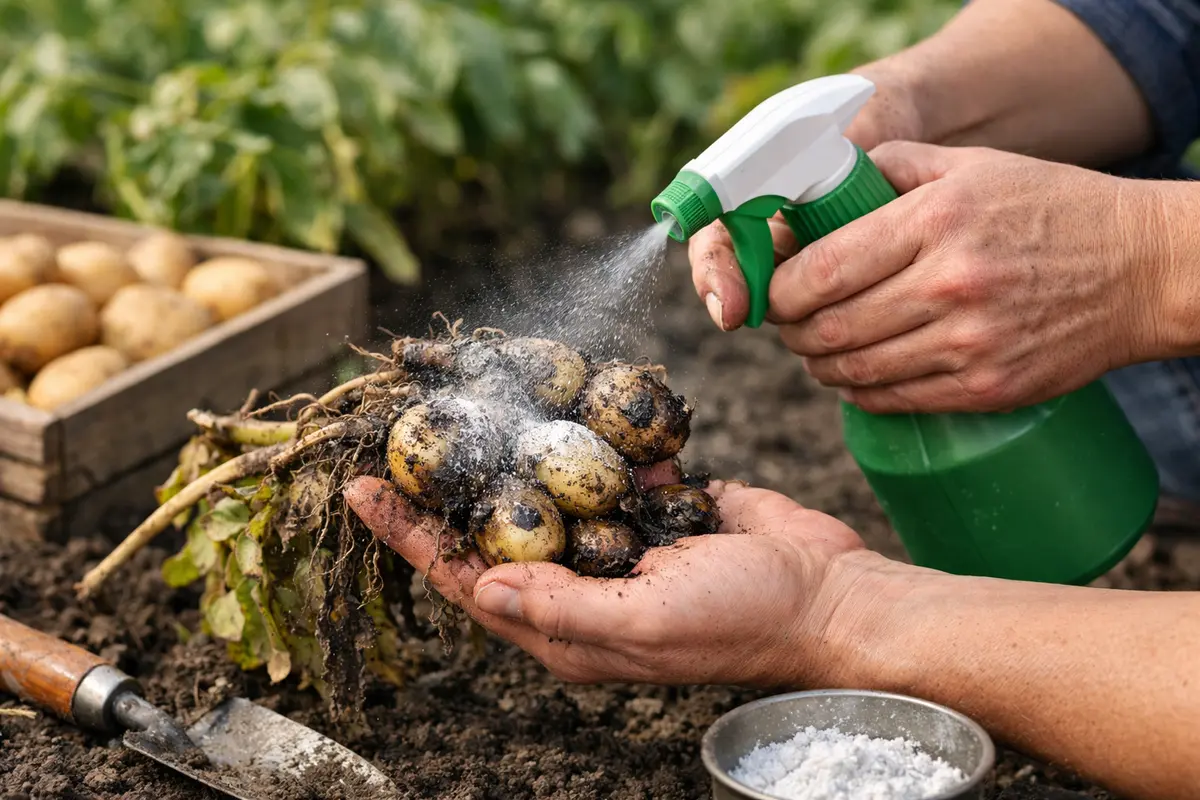
Apply a fungicide specifically designed for root diseases to your potato plants immediately after clearing out affected roots. You should begin to observe a reduction in wilting leaves and other lingering symptoms within about a week. Supporting treatment with a fungicide helps eliminate any remaining fungal spores in the soil, reducing the chance of re-infection of your plants.
While the initial signs of recovery may be subtle, patience is essential as the plants take time to regenerate healthy roots. Expect to see new growth within a week or two if conditions remain favorable. To prevent setbacks, monitor soil moisture and only provide water when the top inch of soil feels dry. This practice helps the roots establish themselves better and encourages robust growth, while also preventing re-infection. For a closely related scenario, see cucumber plants wilting.
Check roots frequently for any signs of continued decay after treatment; if you detect mushiness returning, reconsider your watering strategy. A mistake during this phase is to overwater in an attempt to help the plants recover, which can worsen root rot conditions. Adjust your care routine to focus on fostering a healthy environment for your potato plants to thrive.
Use Organic Treatments
For an organic approach, consider using neem oil or specialized microbial solutions that promote healthy root functions. These alternatives can help create a less hospitable environment for pathogens over time. However, they may require more frequent applications compared to synthetic fungicides, so adjust your treatment schedule accordingly.
Step 4 – Water Potatoes with Care to Prevent Rot
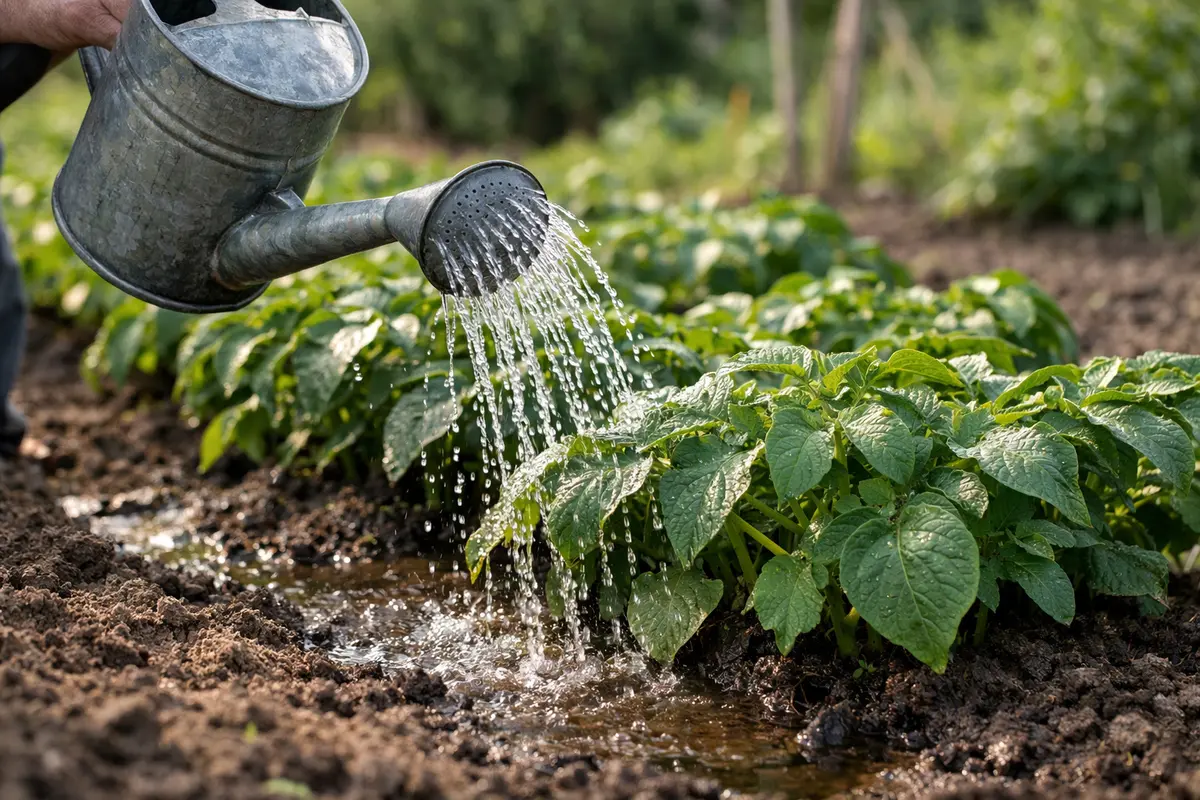
Begin by checking the moisture level regularly in the soil surrounding your potato plants. Healthy soil will dry out slightly between waterings and should not feel soggy or overly wet. Test the moisture by inserting your finger into the soil; if it feels moist down to your knuckle, avoid watering for now.
From here on, apply water in small amounts when the top inch of the soil feels dry to the touch, preventing water from pooling. This habit locks in consistent moisture levels that deter root rot. Use a moisture meter if necessary to gauge soil wetness more precisely.
Whenever heavy rain is forecasted, prepare by elevating your containers on platforms or bricks to promote drainage. This simple act stops excess water from collecting in pots, which helps maintain oxygen flow to the roots.
Additionally, create a schedule to check the drainage holes of your pots after heavy rain. If any holes are clogged, they restrict water flow. Ensure these holes remain clear to allow excess water to escape, effectively minimizing the risk of root rot.
During the growing season, prioritize using a well-draining potting mix that includes materials like perlite or coarse sand. These amendments improve drainage capabilities significantly, reducing the chances of over-saturation after unexpected rainstorms.
Finally, monitor your watering habits vigilantly, adjusting for the weather. If you notice persistent dampness around your plants, it might be time to reevaluate your frequency. Avoid sticking to a rigid watering schedule; adapt to environmental changes to cultivate a healthier growing space.
Cover the Soil with Mulch
Using mulch also keeps moisture from accumulating directly against the plant base, allowing for more balanced moisture retention. Using materials like straw or wood chips can help create a barrier that moderates soil moisture and temperature fluctuations. Make sure to maintain a distance between the mulch and stems to avoid creating a damp environment conducive to rot.
Heavy mulching can also lead to moisture holding if it becomes compacted, so monitor the thickness and adjust as needed. Regularly inspect the mulch layer to ensure it doesn’t trap too much moisture beneath it, especially after downpours.
Step 5 – Inspect Potato Foliage for Signs of Recovery
Start by checking your potato plants for any signs of recovery within two weeks following treatment. Observe the foliage for vibrant green leaves and firm stems, which indicate successful recovery and health. Regular inspections should happen every few days to monitor any changes in color or texture.
A fully recovered potato plant will exhibit vibrant green leaves and firm stems, thriving in a healthy environment. If early signs of disease return, this may present as wilting leaves that turn yellow or brown, suggesting stress or continued root rot. Additionally, affected roots may appear brown and mushy instead of white and firm, serving as a clear visual cue of a recurring issue.
If disease symptoms return despite following the initial treatment steps, promptly remove and discard severely affected plants to prevent spreading the infection. Applying a fungicide specifically designed for root rot may also be necessary if the problem persists. For worsening symptoms or a rapid spread, consulting a gardening expert or local extension service for advanced solutions is advisable.
Continual monitoring allows you to act swiftly if leaf discoloration or wilting reappears, indicating an ongoing issue requiring attention. Regular check-ins are essential for a quick intervention to avoid further stress on the plants. Should recovery efforts show no results, reassess factors such as soil compaction or irrigation practices that could interfere with healthy growth.
If rot reoccurs, enhance soil drainage and adjust your watering schedule accordingly. This might entail altering the planting location, using raised beds for better water management, or moving to a well-drained area. Persistent root rot issues indicate that the growing environment may still not be optimal. Consistent observation and necessary care adjustments are key to ensuring long-term success. In severe cases of recurring rot, seeking help from a local cooperative extension for tailored advice may be beneficial.
Watch for Weakened Leaves
Leaves that droop or turn yellow are often the earliest warning signs of insufficient recovery. If you notice several leaves exhibiting these signs, it may also indicate systemic issues with the roots or soil that need to be re-evaluated to ensure the best growing conditions for your potato plants.
FAQ
How long does it take for potato plants to recover from root rot?
Recovery from root rot can take anywhere from a few weeks to several months, depending on the extent of the damage and how quickly you implement corrective measures. Healthy signs typically begin to surface within two weeks of treatment, with more robust growth emerging over time as roots re-establish and abandoned sections are replaced with new growth.
Can root rot spread to other plants in the garden?
Yes, root rot pathogens can contaminate the surrounding soil, putting other plants at risk if they share a garden area. Ensuring good drainage and avoiding overwatering can mitigate this risk significantly. These pathogens thrive in moist conditions, so improving soil aeration and following proper watering routines can substantially decrease cross-contamination risks.
Should I remove and replace soil if root rot is severe?
If you find that root rot has severely affected your potatoes and corrective actions are failing, completely replacing the soil is often advisable. This eliminates pathogens harbored in the soil, giving your plants a clean slate for recovery. Proper disposal of affected soil and any plant material is critical to prevent the reintroduction of the disease to the garden environment.