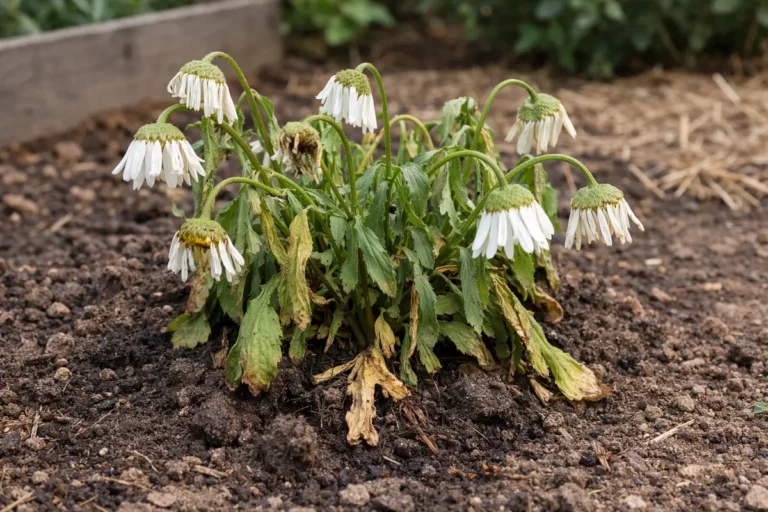
You may notice that your fern plants droop after transplanting, which is why you need to know what to do when fern plants droop after transplanting. This drooping can occur due to transplant shock, causing wilting leaves and a general decline in the plant’s health. If ignored, the problem gets worse, leading to more damage and potentially stalling growth, but you can fix it now by checking the soil moisture and adjusting the light conditions.
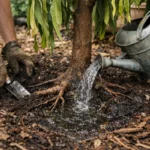
Step 1 – Water the Fern Thoroughly and Immediately
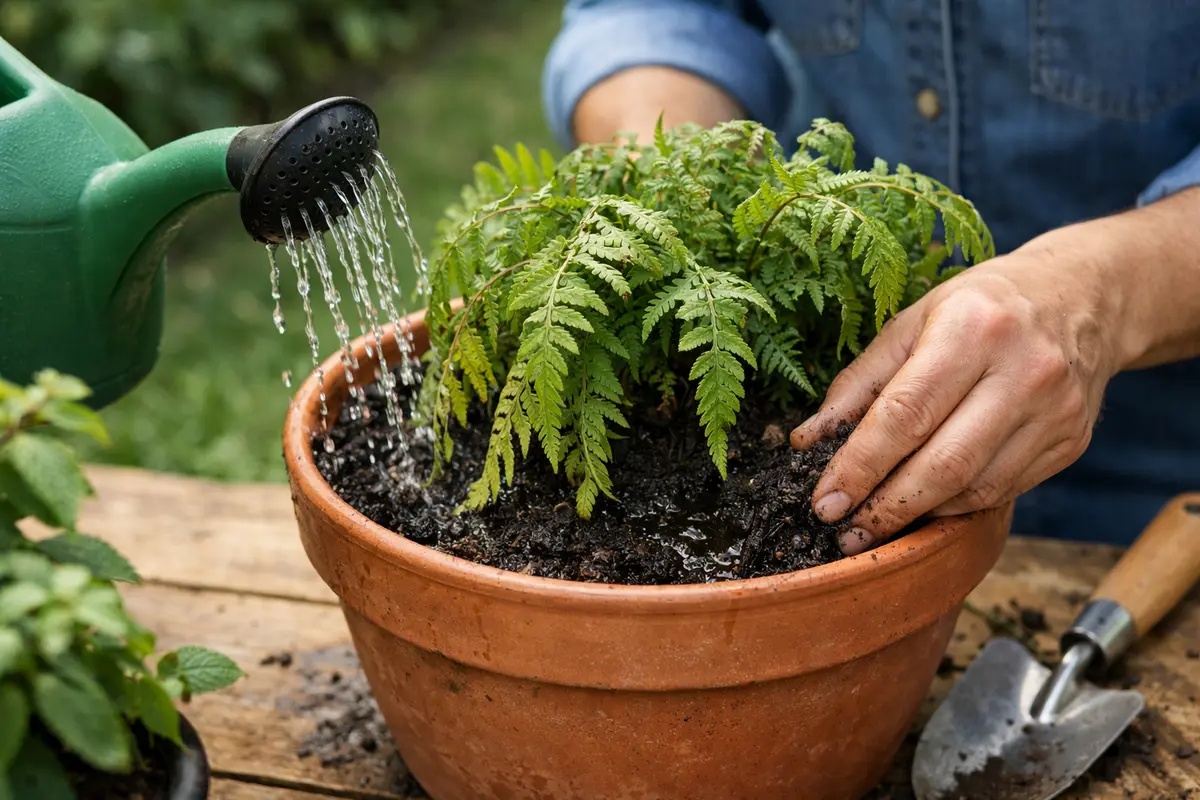
Water the fern deeply to ensure the soil is saturated down to at least six inches. You will notice the leaves become firmer and perk up within a few hours as they rehydrate. Check the soil around the base of the plant after watering to confirm there’s enough moisture; it should feel damp but not soggy. If it’s too wet and oozing or has standing water, that can indicate overwatering, which can lead to root rot.
Watering thoroughly right after transplanting is crucial because it helps reconnect the roots to the soil, providing immediate moisture to stressed areas. When fern plants experience drought, their leaves start to wilt and droop due to inadequate hydration in the cells, which affects their structural integrity. This moisture replenishment is vital in the days following the transplant; if it’s skipped, the plant may not recover effectively, leading to irreversible damage. Aim to apply about one quart of water per transplant over the first few weeks, depending on your climate and pot size. If you are dealing with a related issue, drooping leaves watering covers a similar problem in detail.
A common mistake many gardeners make is underestimating the amount of water needed right after transplanting. They might only give a small amount, thinking it’s enough, while it actually leads to dry, compact soil around the roots and a worsening droop. If you miss this vital window to deeply water your ferns, prepare to engage in potentially more arduous corrective actions later, such as dealing with root desiccation. Additionally, be aware that if the ferns are in a porous pot that loses water too quickly, you may need to adapt your watering schedule accordingly, potentially checking soil moisture levels every day for the first week.
Step 2 – Check Soil Compaction Around Fern Roots
First, assess the soil moisture around your fern plants. If the soil feels too dry, water it thoroughly to ensure the roots can absorb moisture, which will help reduce drooping. Within a few hours to a day, you should notice the fronds beginning to perk up as they regain turgidity. However, if it feels compact and dry to the touch, you’ll need to loosen it to restore airflow.
Drooping often occurs due to inadequate moisture in the soil, leading to dehydration. When fern roots do not receive enough water, cells lose turgor pressure, causing the fronds to wilt. In contrast, if the soil remains soggy and the fronds are yellowing, it indicates root rot due to waterlogged conditions, which also leads to drooping. This basal check is vital; if you see a consistent pattern of wilting despite watering efforts, the compaction issue could be significant enough to impair the root system.
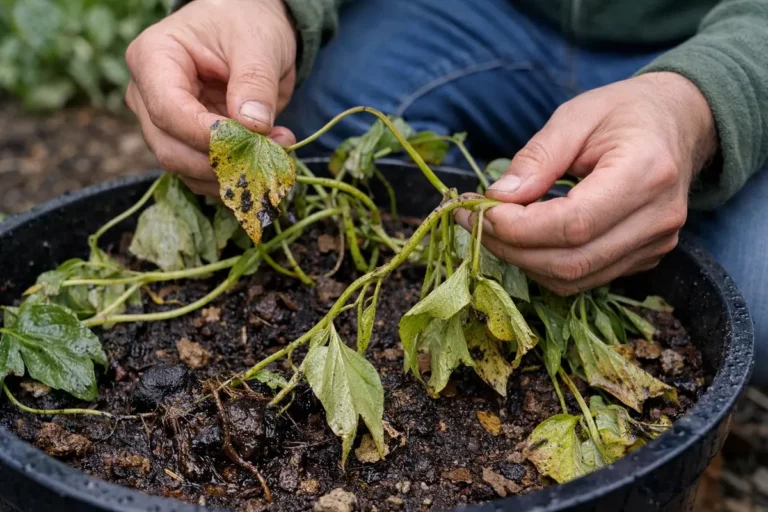
If the soil smells sour or has a slimy texture, it suggests root rot and demands immediate action—stop watering and improve drainage. On the other hand, if the soil is dry and your ferns are wilting, then hydration is your focus. This distinction will guide your next steps for recovery. Soil compaction can severely limit the fern’s ability to access necessary water and nutrients, leading to drooping leaves and stunted growth. Dense soil can isolate the root system, essentially suffocating the roots and preventing effective water and nutrient absorption. Should soil compaction persist, the plant’s recovery becomes increasingly challenging, potentially leading to chronic health issues that manifest as yellowing fronds or reduced leaf growth. If you are dealing with a related issue, during heatwave drainage covers a similar problem in detail.
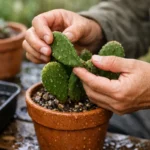
If you find that the soil is compacted, carefully loosen it with your fingers, ideally up to an inch away from the main root ball. Avoid using sharp tools that could damage the delicate roots. For more stubborn compacted areas, consider using a blunt garden fork to gently break up the soil, being cautious not to disturb the roots beyond repair. However, if your roots are overly entangled or suffering damage upon inspection, it might be best to redo the transplant altogether with fresh, aerated soil that has better drainage properties. This change will provide a more supportive environment, allowing roots to expand and absorb nutrients effectively.
Step 3 – Add Organic Fertilizer for Fern Recovery
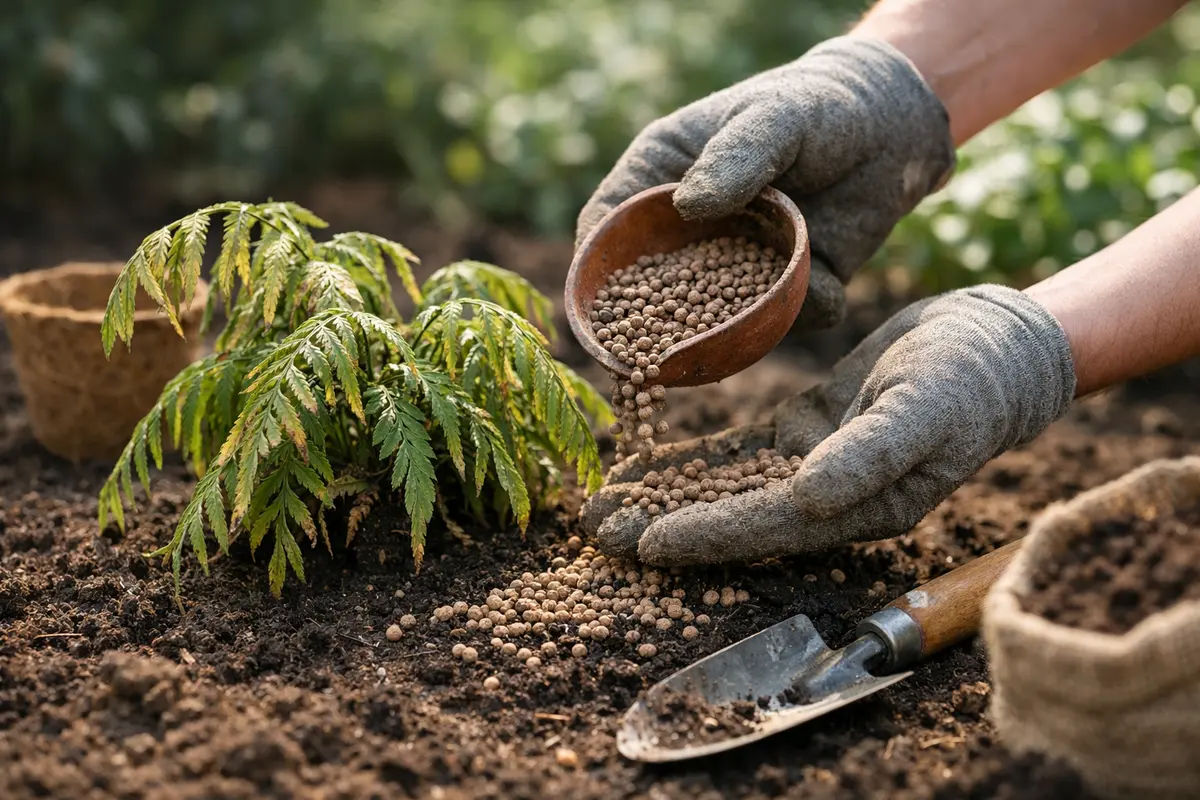
Apply an organic, slow-release fertilizer around the base of the fern, using a handful or according to the product’s directions. After application, you should lightly water the plant to assist nutrient absorption, and within about a week, if the fertilization takes effect promptly, you should start to see new leaf growth. This growth indicates the plants are beginning to recover from their transplant shock and adjusting to their new home. Fertilizers specifically designed for ferns often contain balanced nutrients tailored to their needs.
Organic fertilizers are highly effective for promoting recovery as they release essential nutrients over time, allowing the plant to assimilate nutrients in a controlled manner. Fertilizers high in potassium, such as those made from seaweed or composted materials, are particularly beneficial for ferns, as they aid in overall plant health and resilience. Nutrient-rich conditions encourage vigorous and healthy growth, facilitating the rehabilitation of damaged roots and improving the fern’s water uptake efficiency. Someone may notice that a first application doesn’t seem to yield many results, but it’s essential to stay patient for this particular stage, as changes can vary widely depending on the particular fern species.
Be cautious not to over-fertilize, as this can lead to salt build-up in the soil, which may further stress the plant. Watch for signs of improvement, such as increased firmness of leaves and the emergence of new fronds, to track recovery closely. Note that compounds like fish emulsion are gentler and mimic the nutrients found in their native habitats and can be beneficial at this stage. Proper timing is essential; avoid applying fertilizer during dormancy, as nutrient supply can lead to extra stress on the plant, thus exacerbating drooping issues. Additionally, flush out the soil with clean water every few weeks to prevent salt buildup from former fertilization.
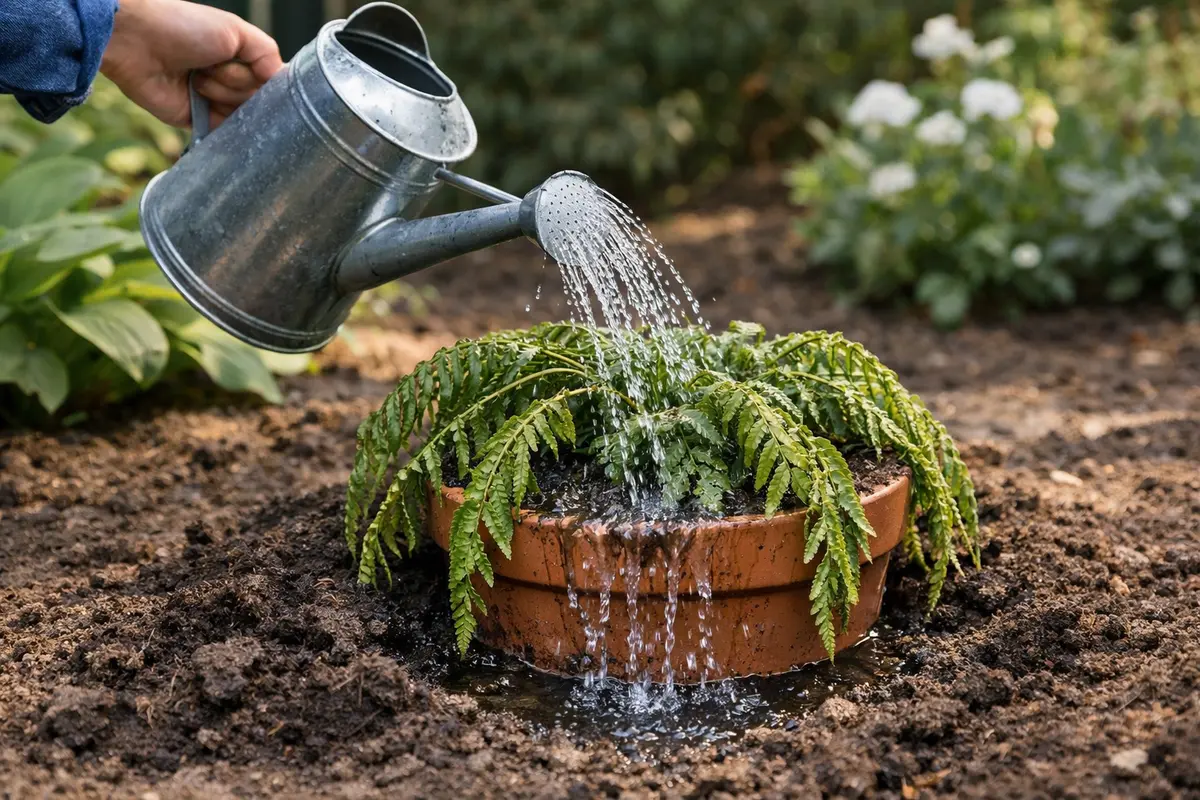
Step 4 – Ensure Consistent Moisture for Healthy Ferns
Start by ensuring your ferns are planted in a well-draining soil mix and regularly watering them to maintain consistent moisture. By following this routine, you will observe the fern plants regaining their upright position within a few weeks, indicating successful establishment in their new location.
Drooping often occurs when ferns face extremes in moisture levels, particularly if the soil is too dry or overly saturated. While under-watering leads to desiccation, over-watering can cause root rot, resulting in very similar drooping. Implementing a balanced watering schedule prevents these conditions, addressing the drooping from its source.
In spring or summer, when temperatures rise and evaporation is more pronounced, slightly increase your watering frequency to prevent the soil from drying too quickly. If experiencing drought-like conditions, check the moisture level of the soil more frequently, adjusting your routine to ensure your ferns thrive despite changing weather patterns.
Environmental stressors such as inadequate moisture or rapid temperature fluctuations often trigger drooping in ferns. By adhering to a set watering routine and ensuring the soil remains consistently damp but never soggy, you mitigate such stress, helping the fern adapt more effectively to its new home. If you see yellowing leaves, this is often a critical sign of overwatering or underwatering that you’ll need to address swiftly. In particular, check soil moisture with your finger, as it will tell you whether the surface might be dry while still concealing moisture further down.
During particularly hot summer months, adjust your watering schedule to increase frequency, ensuring that the soil retains moisture without becoming a breeding ground for root rot. Additionally, using a layer of mulch not only retains soil moisture but also helps to stabilize soil temperature, providing an added safeguard against severe fluctuations. Consistent moisture helps mimic the natural habitat of ferns, which thrive in environments with stable humidity levels. For example, indoor ferns may additionally benefit from humidity trays or misting; this practice promotes a healthier root system.
Neglecting moisture with fluctuating extremes may lead them to revert to drooping as moisture levels fluctuate wildly, causing additional stress that ultimately counteracts your recovery efforts. Moreover, be vigilant of seasonal changes that can lead to moisture fluctuations. Track evaporation rates or shifts in humidity, adjusting your strategy accordingly—understanding that warmer months need increased attention. Consider keeping a hygrometer to manage indoor humidity levels accurately. While ferns enjoy moisture, they thrive on well-draining conditions; ensuring proper balance can make or break their recovery.
Step 5 – Inspect Fern Foliage for Signs of Stress
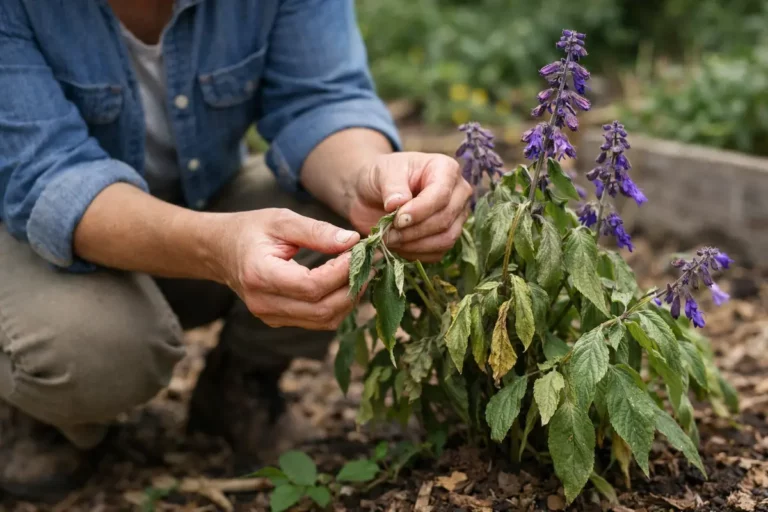
Monitor the fern’s leaves closely for signs of recovery or additional stress, inspecting them every few days. If the leaves remain firm and vibrant, the fern is likely recovering; however, if they stay limp or turn yellow, you must take further action. Regular checks will help catch any adverse changes early, before they become more severe. A shift from a deep green to yellowish hues can often signal issues with nutrient availability or root health; this is where early intervention makes a substantial difference.
Success indicators include the emergence of new fronds from the center of the plant, suggesting that the transplant shock is resolving. Observing this growth—as well as the return of vibrant color—signals that the plant is adjusting positively to its new conditions and effectively absorbing water and nutrients. If these signs are not evident within the first couple of weeks despite your care, consider reassessing environmental factors such as light conditions, water quality, or soil type. Look for supplemental indicators—if leaves are curling tightly or showing discoloration alongside wilting, it’s a red flag for underlying issues. A related fix is explained in petunia plants turn if you want to compare approaches.
If drooping returns or signs of stress reappear, escalate your care by revisiting watering habits, ensuring that they align with the plant’s recovery conditions. Consider if the soil has the capacity to drain properly; you may need to repot if you suspect repurposed soil might be too dense. Additionally, check for root rot signs, as early intervention remains vital; any visible blackened roots, unpleasant smells, or a slimy texture indicate serious issues that demand immediate action. This vigilance can save your ferns from more severe complications and possibly restore them to full health.
FAQ
How long does it take for ferns to recover after transplanting?
Ferns typically take between 1-3 weeks to show signs of recovery after transplanting, depending on the care provided. If conditions are suitable, you can expect new growth to appear within a week, indicating that the fern is stabilizing. Continuous monitoring and adjusting care during this time—especially regarding moisture and light exposure—is crucial for their recovery.
Can transplant shock spread to other plants?
Transplant shock is specific to the affected plant and does not spread to other plants directly. However, environmental conditions like poor soil quality, overcrowding, or improper watering practices could influence surrounding plants, leading them to exhibit similar stress responses. Maintaining a healthy garden environment with adequate spacing and checking soil moisture can mitigate similar issues from affecting nearby ferns.
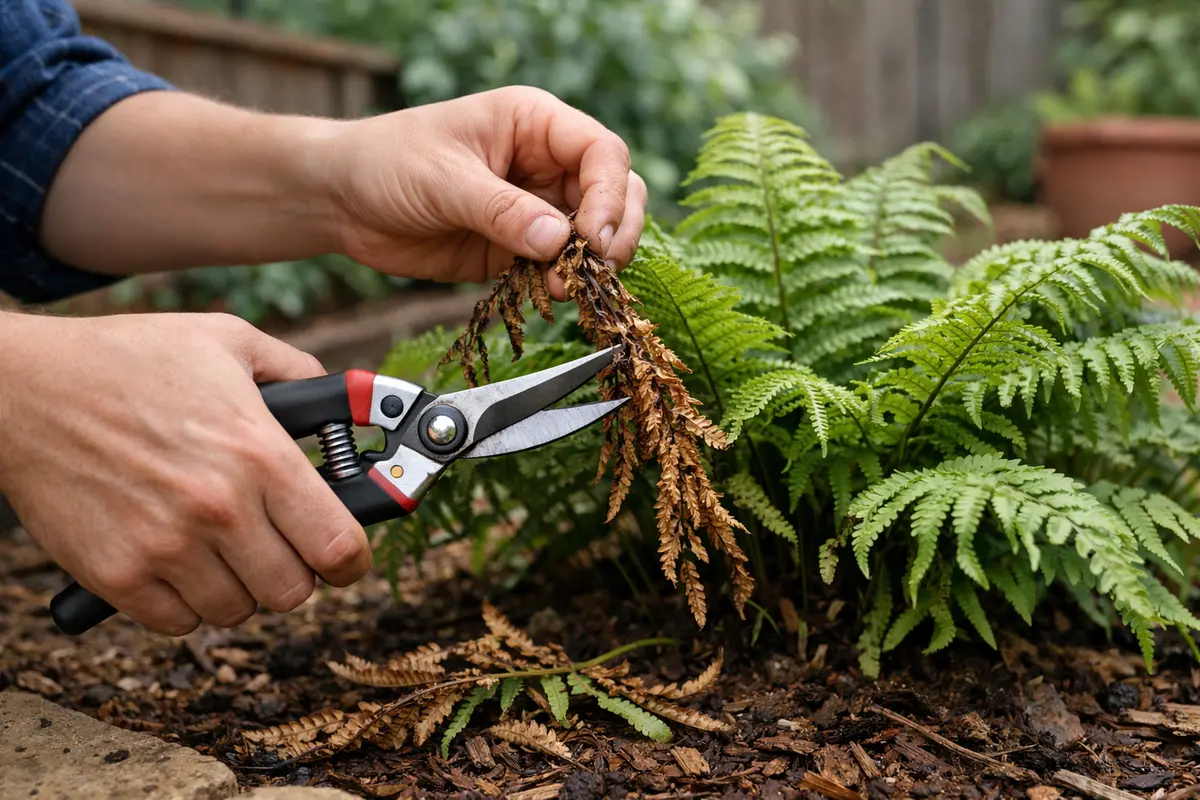
Should I remove yellowing leaves from my fern after transplanting?
It is advisable to remove yellowing or damaged leaves to ensure the plant concentrates its energy on healthy growth. Use clean, sharp scissors to make a straight cut, minimizing any potential harm to the remaining healthy fronds. Trim only what is necessary and avoid excessive pruning, as the fern still relies on its remaining foliage for photosynthesis during its recovery phase. This careful approach ensures that energy is not wasted while supporting effective recovery of the plant.