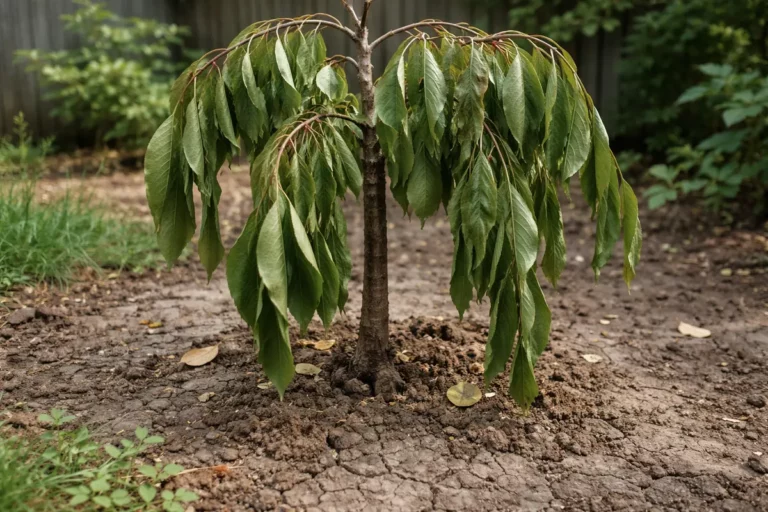
What to do if apple tree shows drooping leaves after transplant becomes urgent when you notice fresh damage spreading after watering or after a cold night. If you wait, the decline continues, the damage can spread further, and recovery takes longer. Start by removing the worst affected growth right away, then check the roots and correct the cause before the next watering. Delaying this process can lead to more severe stress on the tree, ultimately impacting its growth and fruit production long-term.
Step 1 – Stop Apple Tree Shows Drooping Leaves After Transplant Immediately
Remove the worst damaged leaves and hold off on watering until the soil surface dries. You should see the spread slow and fresh damage stop getting worse within a day or two. The objective is to speed up recovery, allowing the tree to focus its energy on healthier foliage.
Start by clearing away the worst affected foliage and stop watering for now. The first step is to stabilize the plant before you move on to the root cause. If the spread slows later the same day,, including insights on during drought recovery that map to the same mechanism, the first move is working. Ensure you remove not just the visibly damaged leaves, but also any leaves that show early signs of distress, as this could help the tree focus its energy on recovery. Proper observation of the tree’s condition can be critical during this stage.
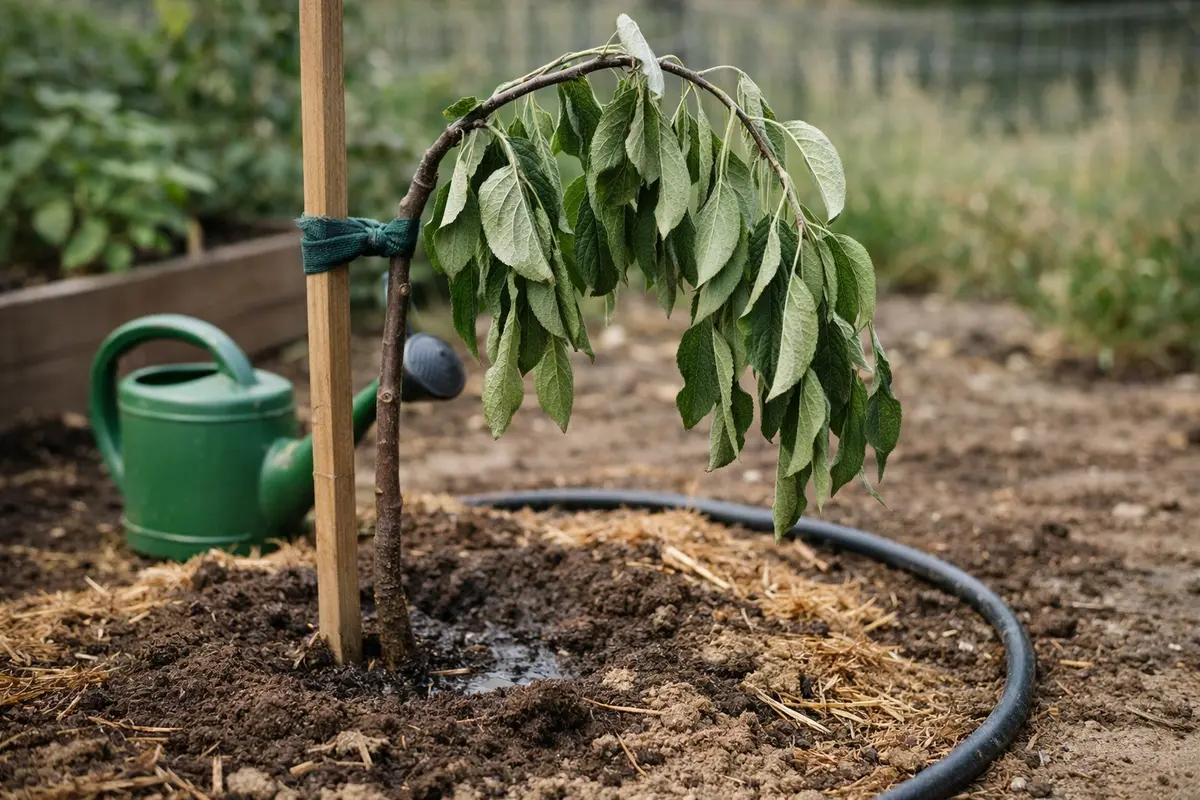
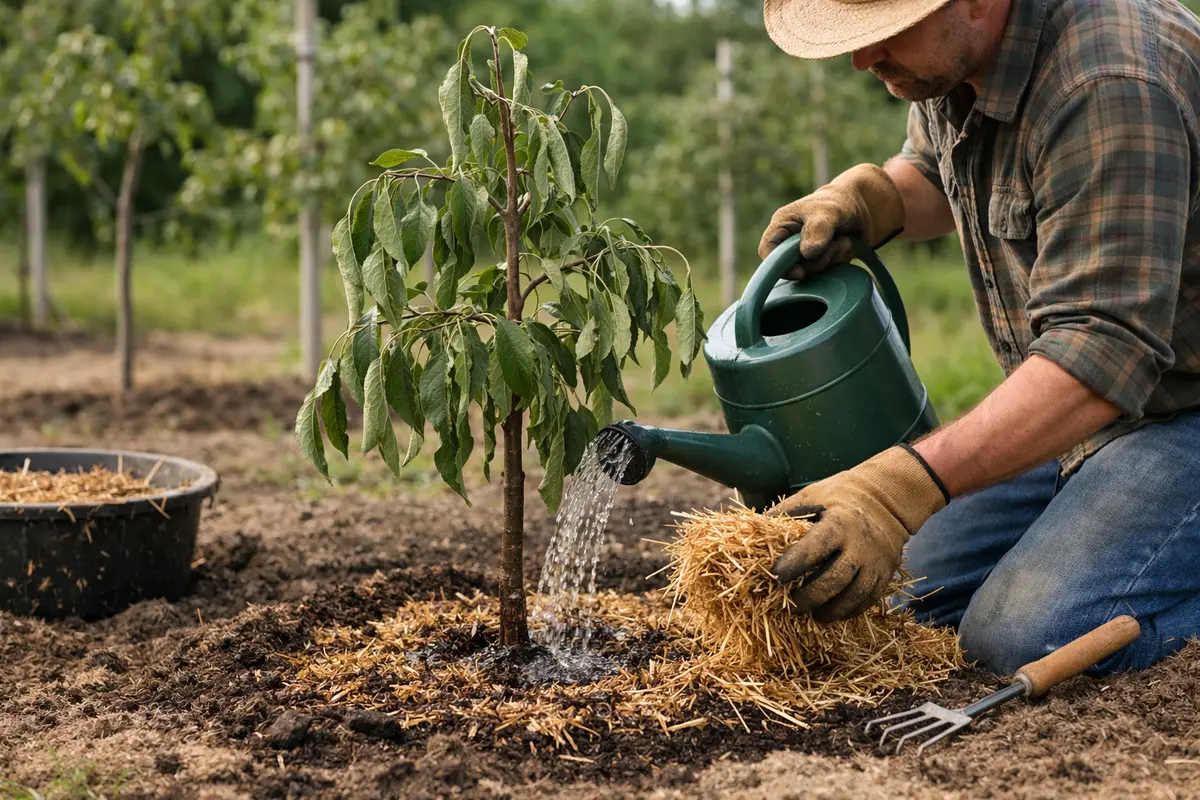
Watering deeply is crucial because, after transplanting, the tree frequently faces dehydration due to disrupted root systems. As the roots may be damaged or insufficiently developed, the tree struggles to uptake moisture. Unaddressed dehydration can lead to permanent stress, adversely affecting growth for several years. If unsure about soil moisture levels, insert your finger into the soil about two inches deep; if it feels dry, it’s time to water. Notably, if the soil has a powdery texture, this might indicate severe drought; at this point, watering immediately is critical to prevent further stress. Additionally, consider environmental factors; if temperatures are unusually high, the tree might need more immediate watering than usual.
A common mistake many gardeners make at this stage is using a sprinkler or only watering the surface. This may leave the deeper roots dry, worsening the drooping condition. Use a soaker hose or a watering can to ensure the water penetrates deeply enough to hydrate the entire root system effectively. Also, avoid watering during the hottest part of the day, as evaporation can diminish soil moisture before it reaches the roots. Remember that shallow watering is ineffective; it may lead to salt buildup in the soil, which diminishes root health over time. Also, refrain from applying granular fertilizers immediately, as they can absorb moisture and exacerbate stress.
Step 2 – Identify and Correct the Cause
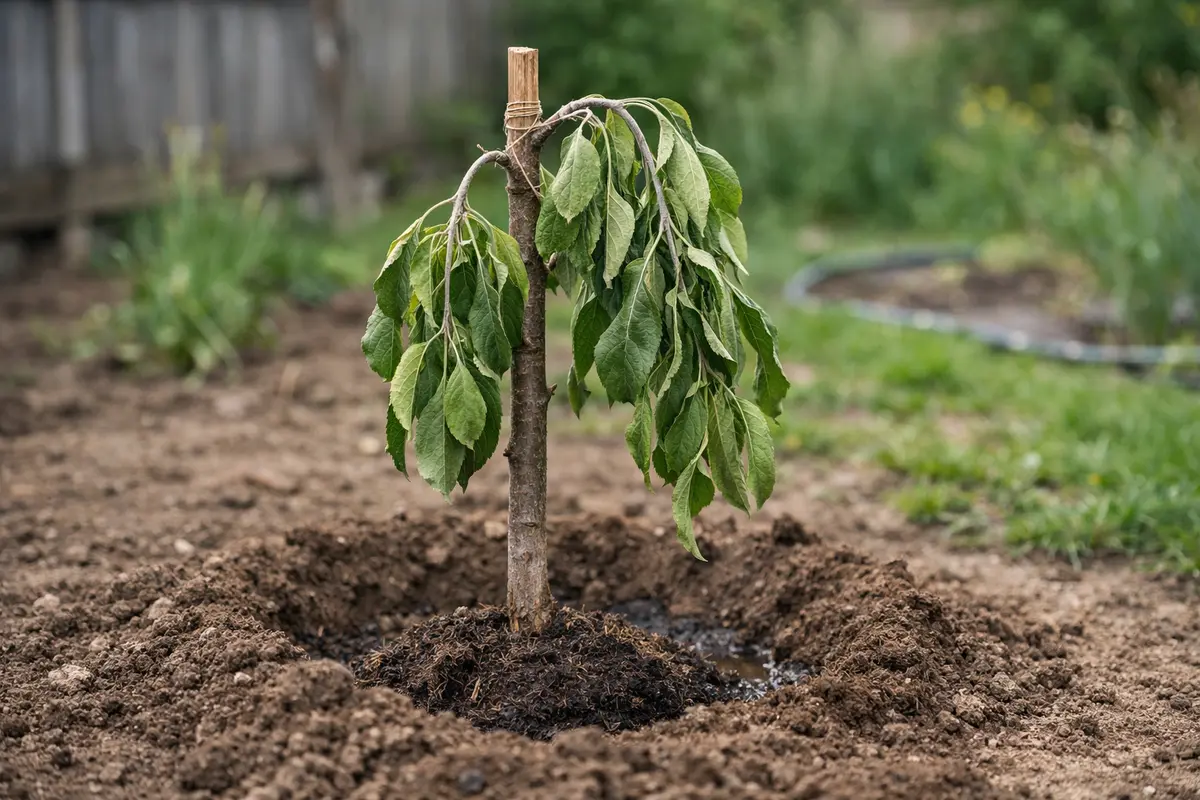
Next, inspect your apple tree for signs of root damage or compacted soil. If you suspect roots have been disturbed during the transplant, carefully loosen the soil around them to encourage healthier growth. Roots should be white or light tan; any black or mushy areas indicate rot that needs immediate attention. After addressing any compaction or damage, monitor your tree; you should notice stress indicators like drooping leaves start to diminish within a few days as the tree begins to reestablish itself.
Root damage commonly occurs during transplanting, where roots can be broken or air-pruned, which interrupts moisture and nutrient uptake. When soil is too compacted, air and nutrients cannot reach the roots, leading to suffocation and malnourishment. Over time, if not corrected, this situation can worsen, causing the tree to struggle with growth or even succumb to death. If you discover brown, mushy roots during inspection, this indicates rot and necessitates prompt repotting into healthier soil to prevent further damage.
If your soil seems overly compacted, aerate the surrounding area to enhance airflow and drainage. Use a garden fork to gently break up the soil without disturbing the roots too much. A common pitfall here is aggressively tilling the area, which could lead to more harm than good; this often results in root damage or further compaction. If the soil emits a sour smell or appears overly saturated, it indicates poor drainage or root rot that will need immediate treatment. Incorporate organic matter like compost or peat moss into the soil to improve drainage and enhance soil structure; this will create a more hospitable environment for your tree’s roots. Always check for earthy smells; if they seem pungent and sour, it indicates the presence of rot requiring swift corrective action. If you struggle with compaction or poor drainage, consider a professional soil assessment to determine specific actions.
Step 3 – Restore Plant Health
Remove the visible damage and inspect the area for the next step. You should see the plant stabilize once that action is done.
Inspect the area and look for signs of recovery or fresh damage before planning the next step.
Inspect the area and look for signs of recovery or fresh damage before planning the next step.
Inspect the area and look for signs of recovery or fresh damage before planning the next step. If any new leaves have emerged following your interventions, evaluate their color and overall vigor compared to the old leaves. Healthy new growth should be firm and not wilting, which indicates that the tree is regaining strength.
Providing appropriate nutrients helps restore balance after transplant shock, which can occur if trees lack necessary minerals. Quality fertilizers containing micronutrients like magnesium and iron are essential for achieving robust leaf health. It’s advisable to divide the fertilizer application into two or three phases during the growing season to avoid overwhelming the tree. Consistent monitoring is essential during recovery; observe leaf color and overall growth vigor. Bright green leaves and sturdy growth indicate that the tree is bouncing back from its initial stress. Consider applying a diluted liquid fertilizer for quicker absorption, initially at about half the recommended strength to minimize stress and onset of nutrient burn.
A common mistake in this phase is over-fertilizing, leading to nutrient burn, which is evidenced by yellowing and browning leaf edges. If you notice such symptoms after fertilization, reduce the application rate. Additionally, watch the phosphorus levels; excessive phosphorus can harm apple trees, especially if the soil already has optimal levels. Balancing fertilizer based on the tree’s immediate needs and soil condition is crucial for a successful recovery. Test the soil with a kit periodically; this helps guide future fertilization practices by establishing a target for optimal nutrient levels. Opt for slow-release formulations when possible, as these can provide benefits over time without the risk of immediate nutrient excess. Pay close attention in the initial days after fertilization to ensure no adverse reactions occur, as this can provide insight into the tree’s current health needs.
Step 4 – Prevent Apple Tree Shows Drooping Leaves After Transplant from Returning
Check the tree every 2-3 days over the next 7 days, focusing on new growth for signs of improvement. You should see healthier new leaves, firmer stems, and no fresh damage or signs of spreading stress. During each observation, take notes to track changes in leaf color, growth patterns, and any indications of distress, which can guide your care plan.
Recheck every 2-3 days for the next 7-10 days to monitor the progress. Be vigilant for any fresh damage or further signs of improvement. If fresh damage appears or the problem returns, revisit the correction step and repeat the, and watering humid weather shows how similar variables interact, treatment. If the fix holds and new growth remains clean, expect noticeable improvements over time. During this crucial phase, factors such as soil moisture, ambient temperature, and pest presence should also be kept in check. Shifts in weather, soil moisture, or pest presence may require adjustments in care routines.
A healthy apple tree should exhibit bright green leaves and robust new growth. Changes such as disappearing leaves, curling, or sudden droopiness can indicate water stress or potential pest infestations. Many gardeners overlook these early signs; however, catching them promptly can make a significant difference in tree health and vitality. Implement preventive measures, such as weekly neem oil treatments to fend off pests. Additionally, monitor the surrounding environment—the impact of strong winds or heavy rain can also influence soil moisture levels. If drooping recurs after all interventions, evaluate for newly emerged pests or environmental changes affecting moisture levels. Pest populations often increase after transplanting, as the tree may be more vulnerable at this time. In case of severe conditions or if symptoms worsen significantly, seek professional help—a local gardening expert can evaluate the situation more thoroughly. Understanding specific situational contexts is crucial; for instance, if drooping occurs during a heat wave, immediate watering could prevent long-term damage.
Step 5 – Monitor and Follow Up
Check again every 2-3 days over the next 7 days and watch the new growth for signs of improvement. You should look for cleaner new leaves, firmer stems, and no fresh damage or spreading stress.
Recheck every 2-3 days for the next 7-10 days and watch for fresh damage or new signs of improvement. If fresh damage, with lavender plants turn detailing the same trigger-response dynamic, appears or the problem returns, go back to the correction step and repeat the treatment. If the fix is holding, new growth stays clean and the trend should improve.
FAQ
Can drooping leaves indicate pest infestation after transplant?
Yes, drooping leaves can signify pest issues such as aphids or spider mites, which weaken the tree by feeding on its sap and nutrients. Prompt inspections can reveal these pests. Look for tiny webs, sticky residue (honeydew), or altered leaf shapes to identify infestations. It’s vital to address such problems quickly to prevent further wilting and stress to the tree. Untreated pest populations can escalate, leading to severe weakening of tree health. Management can involve targeted insecticidal soap or neem oil treatments for effective control.
How long does it take for an apple tree to recover after showing drooping leaves?
Recovery time can vary based on the tree’s resilience and surrounding conditions. Generally, most apple trees begin to show significant improvement in leaf rigidity and overall health within one to three weeks of receiving proper care. Consistent watering and nutrient provision during this recovery period maximize results. It’s crucial to note that some varieties may have longer recovery times, especially if they were already compromised prior to transplanting. After the critical three-week mark, take special notice; if little improvement is detected, it could be indicating deeper issues needing intervention.
Should I remove affected leaves from the tree?
It’s typically advisable to leave affected leaves on the tree since they may contribute to photosynthesis and overall energy production. However, if some leaves remain severely wilted, brown, or have already dropped completely, consider removing them to redirect the tree’s energy toward healthier areas. Be cautious not to remove too many leaves; excessive loss can hinder the tree’s ability to photosynthesize. Monitor leaf loss attentively, as significant dropping can signal ongoing stress or deeper issues requiring further attention. Leaf removal should align with overall assessments of tree health and subsequent strategies for recovery.