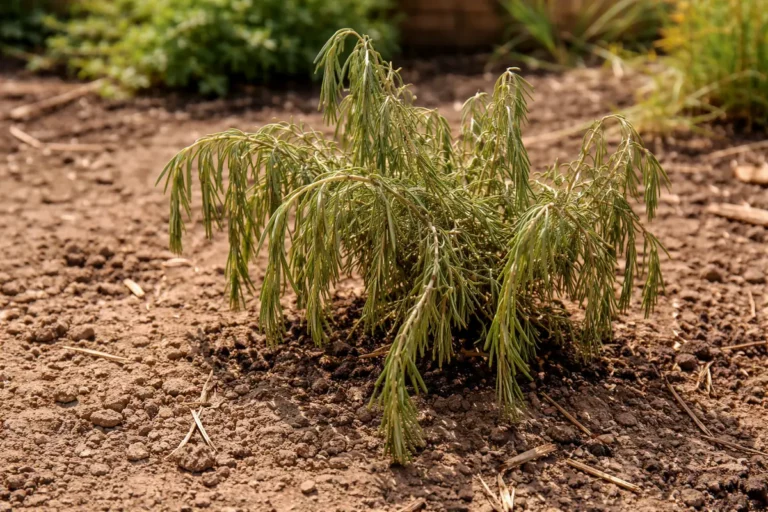
How to fix compacted soil around rose bushes during summer heat becomes urgent when you notice fresh damage spreading after watering or after a cold night. If you wait, the decline continues, the damage can spread further, and recovery takes longer to recover. Start by removing the worst affected growth right away, then check the roots and correct the cause before the next watering.
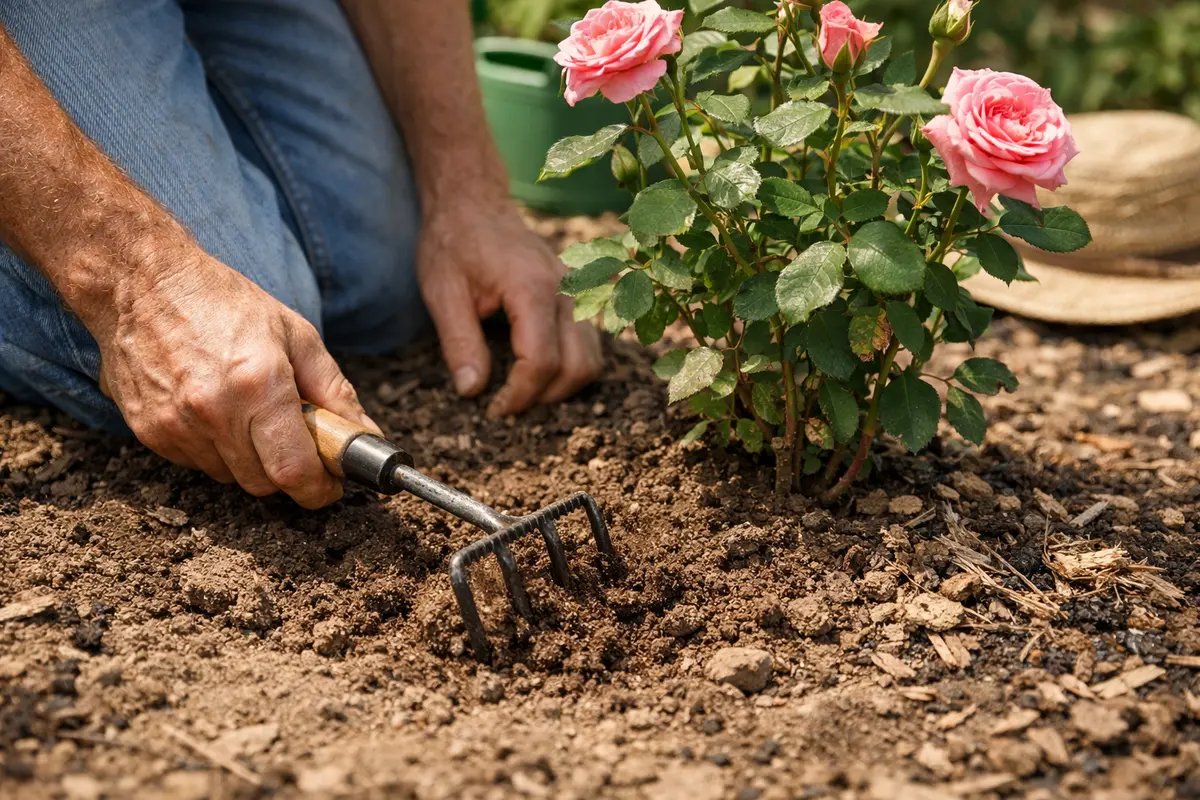
Step 1 – Stop Compacted Soil Around Rose Bushes During Summer Heat Immediately
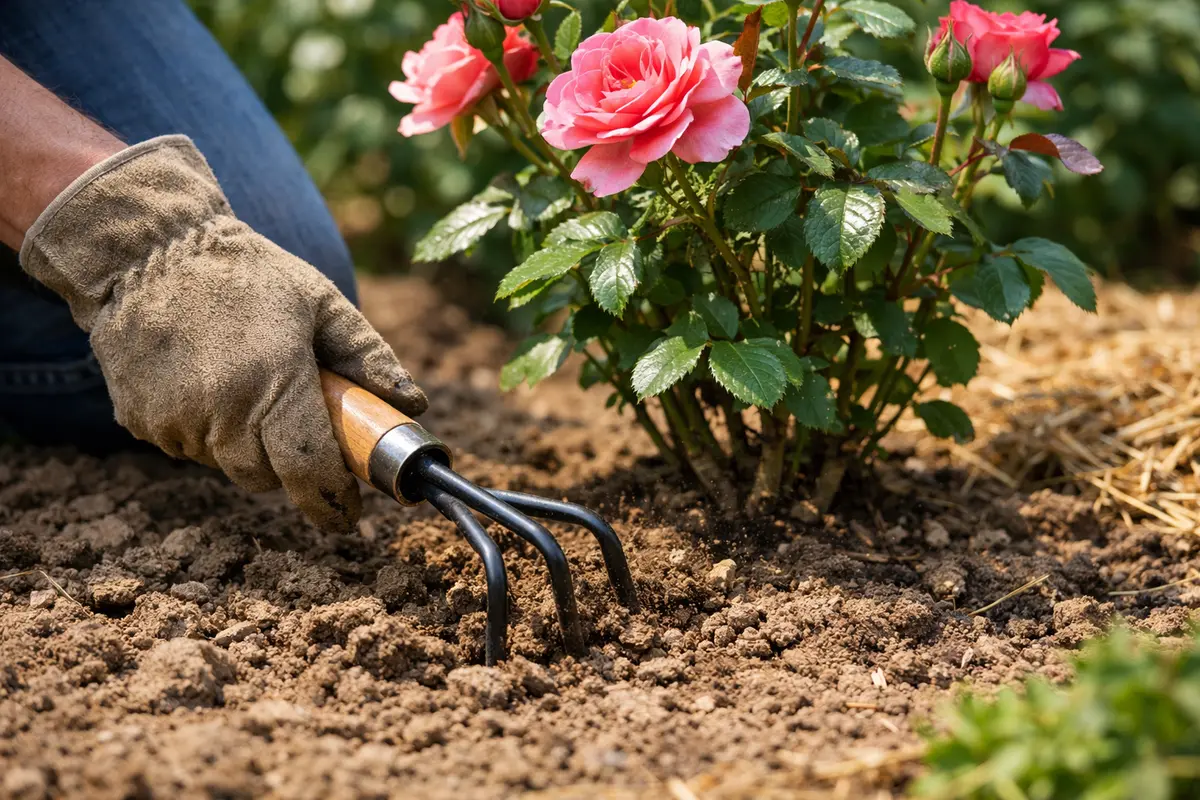
Begin by carefully loosening the soil around the base of your rose bushes with a garden fork or spade. This action can noticeably improve airflow and water penetration immediately. Make sure to aerate the soil about two feet away from the plant stems to avoid damaging the roots. Aim to create small craters in the soil, approximately three to four inches deep, to allow easy access for air and moisture. This step requires patience and attention to each section of the soil surrounding your plants, ensuring that you’re not just disrupting compacted areas directly adjacent to the stems but extending outwards to promote overall health.
This method of breaking up compacted soil alleviates stress on the root system, allowing your rose bushes to access vital oxygen and moisture. When soil becomes compacted during the intense summer heat, it creates dense layers that hinder water flow, leading to wilting and poor nutrient uptake. It’s critical to act promptly; the sooner you intervene, the less disruption occurs to root health, minimizing the chances of long-term damage. You may observe the soil starting to crumble as you aerate, which is a positive sign; soil that crumbles easily is more likely to drain well and support healthy root systems.
A common mistake gardeners make is not aerating far enough from the stem, which can inadvertently harm sensitive roots. Instead, focus your efforts about six inches away from the stems and use gentle motions to loosen the soil. This further minimizes shock to your plants, encouraging quick recovery. Additionally, some gardeners tend to apply excess force while aerating, which can lead to deeper fractures in the soil that may not close properly. Gentle, consistent loosening is essential in this case. Remember, if you notice that the soil remains hard despite your efforts, it may require more attention with specialized tools like an aerator or even professional help.
Step 2 – Identify and Correct the Cause
Inspect the soil drainage by checking for water pooling in the area surrounding your rose bushes; if you find this, immediately amend the soil. Adding organic matter like compost or peat moss can drastically improve drainage and reduce compaction. Aim for an amendment ratio of roughly one part organic matter to three parts existing soil to effectively enhance soil structure without overwhelming the existing ecosystem. This adjustment not only improves immediate drainage but fosters a balance that encourages a healthy microbial ecosystem within the soil.
The underlying issue usually arises from prolonged neglect or a lack of organic amendments in the soil, causing it to become heavy and dense. When compacted, soils can trap moisture and lead to root rot, severely affecting your roses’ health. Enriching the soil with organic amendments not only enhances drainage but also provides essential nutrients necessary for vigorous plant growth. You might notice that after adding organic matter, the soil retains a lighter, fluffier texture after a rain, which indicates improved conditions. Adapting care methods based on the season and soil type is fundamental to maintaining a sustainable environment for your roses.
If you notice that your soil retains moisture and begins to smell sour, it may indicate an anaerobic situation. In this case, introduce gypsum to break down clay-heavy soil instead, improving aeration. Gypsum works by displacing sodium with calcium ions, which assists in loosening compacted clay. Modify your approach to soil amendment based on these indicators to optimize the health of your rose bushes. Remember, if the ground remains hard even after moisture, the gypsum will require time to affect its change, potentially several weeks. This means patience in monitoring soil conditions is key, along with being prepared to adapt your methods in response to ongoing observations.
Step 3 – Restore Plant Health
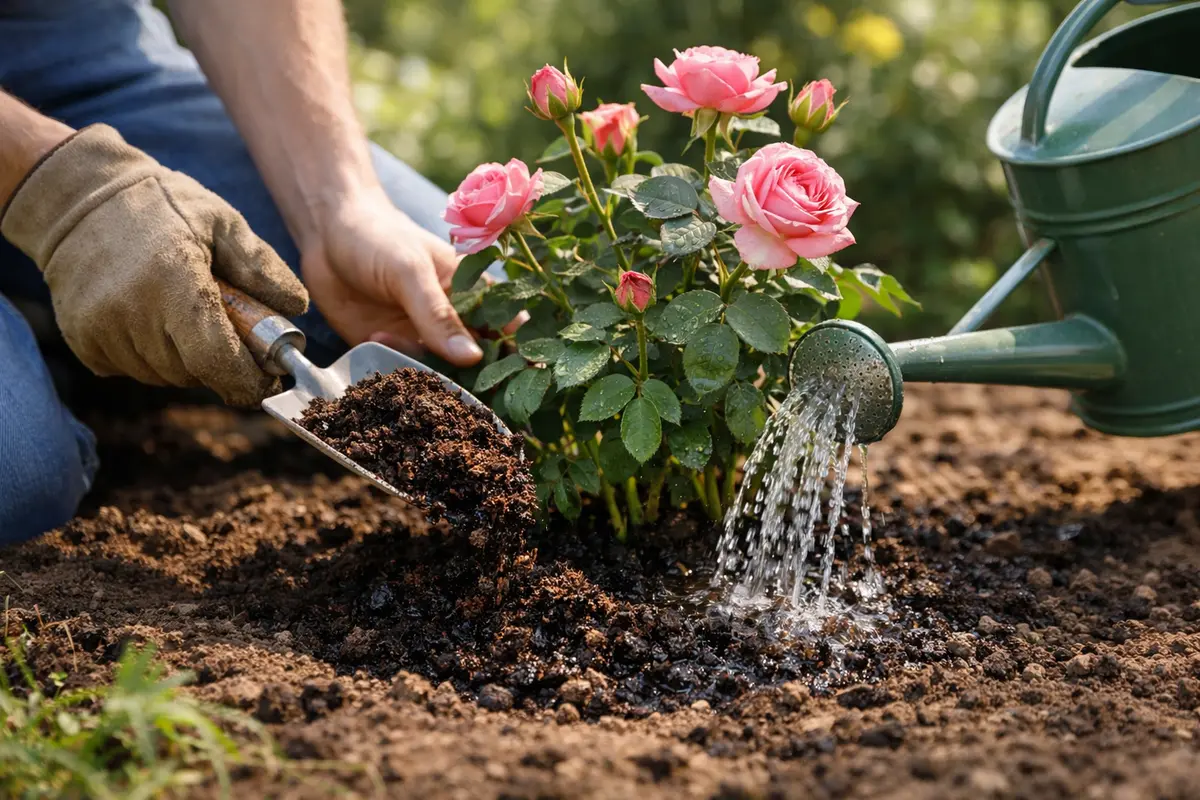
Water your rose bushes deeply after aeration and soil amendment to facilitate recovery. Following this action, visible improvement should manifest as more vigorous upright growth and vibrant foliage. Watering should be done at a depth of at least 12 inches to ensure the entire root zone is reached, aiding in deep-root establishment. Consistent, deep watering encourages strong root development enabling the plants to absorb more nutrients effectively. Consider tracking your watering patterns, noting when and how much water you apply, to ensure future waterings remain effective.
The timing for recovery can vary, but expect to see positive changes within two to three weeks, provided the soil conditions remain favorable. Healthy regrowth typically appears as thicker stems and leaves that are resilient against wilting. Monitor your rose bushes closely for any signs of resurgence; lush green foliage or new bud formations are excellent indicators that your plants are responding well. If conditions remain optimal, your roses should adapt and thrive once again. Establish a routine check every week during recovery for the first month to intercept any potential issues.
A common misstep during recovery is over-fertilizing, which can lead to leaf burn or root damage. It’s advisable to apply a balanced fertilizer only if necessary, waiting until your plants show signs of growth before introducing additional nutrients. The best practice is to apply the fertilizer once the plants have visibly adapted to the amendments made. This careful balance in fertilization will support ongoing recovery and limit any setbacks. Excessive nutrients can overwhelm your plants, triggering more stress, particularly in recovering soil environments. Always err on the side of caution with fertilizers, opting for light applications while observing how your plants respond before increasing dosage.
Step 4 – Prevent Compacted Soil Around Rose Bushes During Summer Heat from Returning
Reduce repeat flare-ups by making it a habit to inspect after watering and before humid weather. You should see steadier growth from here on once the repeatable routine is locked in. This consistent monitoring will help you identify early signs of compaction before it escalates into more significant issues. Incorporating these checks into your weekly gardening tasks ensures you stay ahead of any potential challenges.
Keep it from returning by adjusting your watering schedule and monitoring before the next wet spell. Next time conditions shift, repeat the same prevention check. The plant should bounce back faster, including insights on watering humid weather that map to the same mechanism, each time the routine is in place. Avoid overwatering; it can lead to waterlogged conditions and counteract your amendments. A practical approach is to leverage a finger test—if the top two inches of soil are dry, it’s time to water.
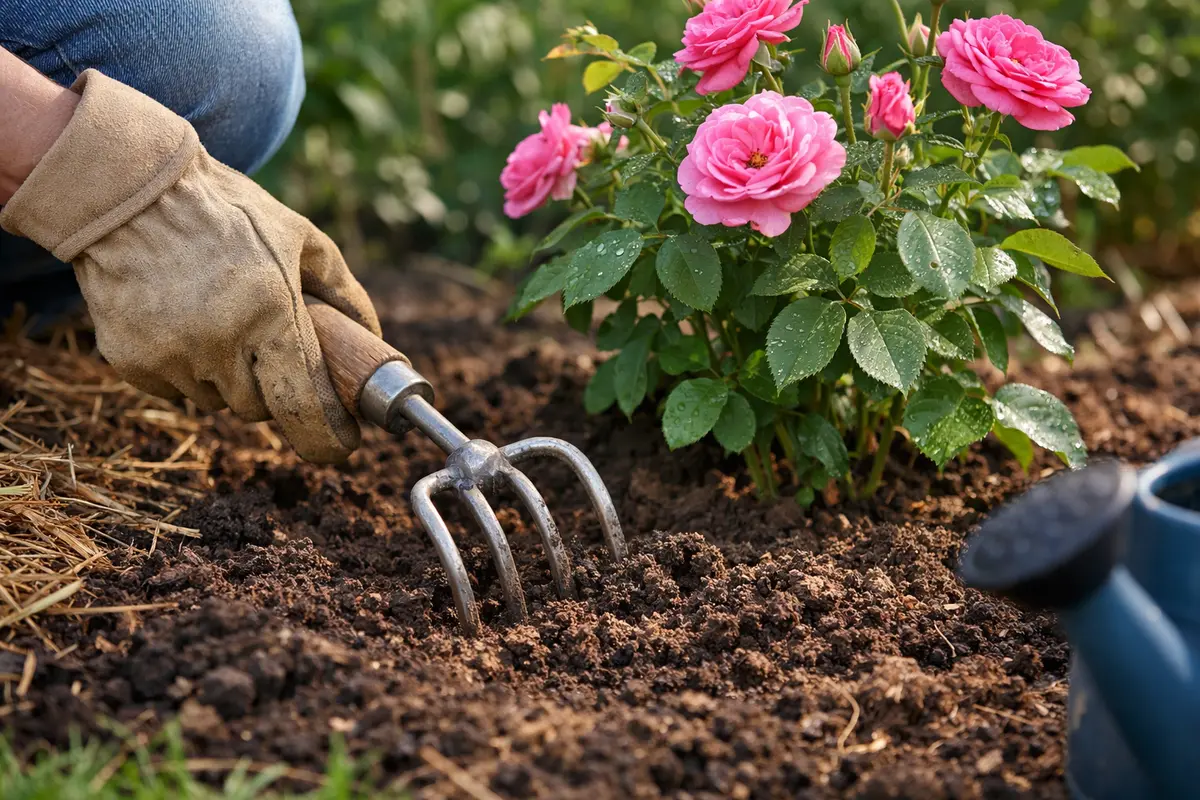
Compacted soil is often exacerbated by hot, dry weather that depletes moisture quickly, leading to hard, dry topsoil. By mulching, you minimize the impacts of the heat, keeping your soil covered and moist much longer. Additionally, mulching provides ongoing organic matter as it breaks down, thereby continuously enriching the soil’s quality up to 10%. This practice also creates a beneficial habitat for earthworms and other soil organisms that help aerate and enrich the soil further. Also, be aware of specific mulch types; for instance, shredded bark or straw works well for retaining moisture through hot summers, while pine needles can offer insulation in cooler months.
Consider adjusting your mulching materials seasonally or based on rainfall. For instance, heavier woods can be beneficial in wetter months, while lighter materials can protect during dry spells. Observe weather patterns and adapt your care routine accordingly; applying mulch before expected heat waves can significantly buffer temperature fluctuations. In late spring, around late April to early May, is a good time to freshly layer mulch to prepare for summer’s heat intensity.
Step 5 – Monitor and Follow Up
Check again every 2-3 days over the next 7 days and watch the new growth for signs of improvement. You should look for cleaner new leaves, firmer stems, and no fresh damage or spreading stress. Keeping a watering and monitoring journal can be beneficial in this phase, allowing you to note observable changes in your plants that guide future care practices.
Recheck every 2-3 days for the next 7-10 days and watch for fresh damage or new signs of improvement. If fresh damage appears or the problem returns, go back to the correction step and repeat the treatment. If the fix is holding, new growth stays clean and the trend should improve. Early identification of signs such as drooping or yellowing leaves will help you intervene before the situation worsens.
A fully recovered rose bush will show vigorous leaf growth, flower buds, and sturdy stems. Contrastingly, early signs of returning issues might include drooping leaves, dead branches, or discolored foliage indicating stress. Regularly monitoring growth and nutrient levels and adjusting your care regimen based on these signals is crucial to sustaining plant vitality. These visual cues are instrumental in determining whether your roses are maintaining a healthy status post-intervention, helping you stay proactive rather than reactive. If you notice any signs of stress re-emerging, a reassessment of the soil’s pH, nutrient levels, and aeration strategies may be necessary to ensure overall health.
If you notice any of these stress signs re-emerging despite your care, consider re-evaluating your watering habits or soil amendments. Inconsistent watering routines or insufficient soil aeration can contribute to quick re-compaction. Additionally, if the problem persists, seek assistance from a local plant specialist who can provide tailored advice based on your environmental conditions. This proactive approach can make all the difference in your gardening efforts by ensuring any emerging issues are caught early.
FAQ
How long does it take for rose bushes to recover from compacted soil?
Rose bushes can show signs of recovery within two to three weeks after you take corrective actions like aeration and soil amendment. However, full, and hydrangeas heatwave recovery shows how similar variables interact, recovery may take longer, depending on the severity of the compaction and the care given. If conditions improve consistently, the bushes should demonstrate more robust growth accompanied by healthy flowering.
Can compacted soil spread to other plants nearby?
Yes, compacted soil can negatively affect nearby plants as it restricts water and nutrient availability in the surrounding area. If untreated, the issue can worsen, leading to widespread wilting and poor health of multiple plants in your garden, necessitating immediate intervention to restore soil structure across the affected region.
Should I remove any dead leaves or stems from my rose bushes after treatment?
Yes, removing any dead or damaged leaves and stems is advisable as it allows the plant to focus its energy on healthy growth. This pruning encourages new growth and reduces the risk of disease, ultimately supporting the overall recovery of your rose bushes. Pruning should ideally be done in cooler parts of the day to minimize stress on the plant and encourage faster healing.