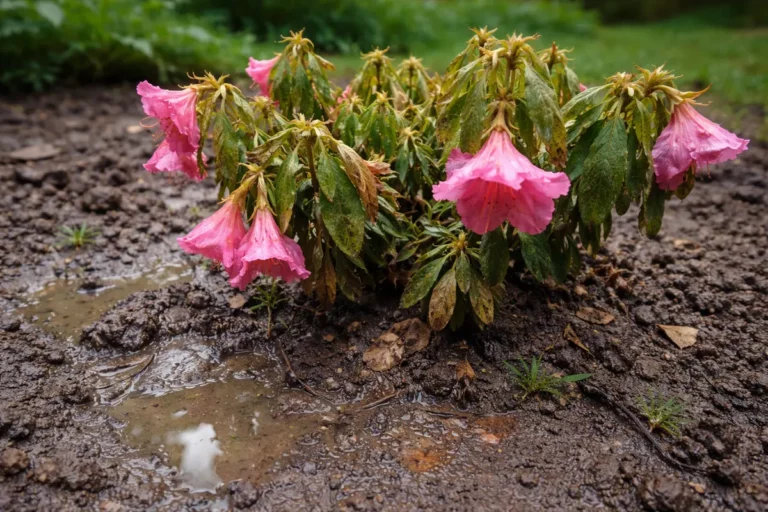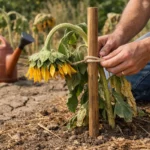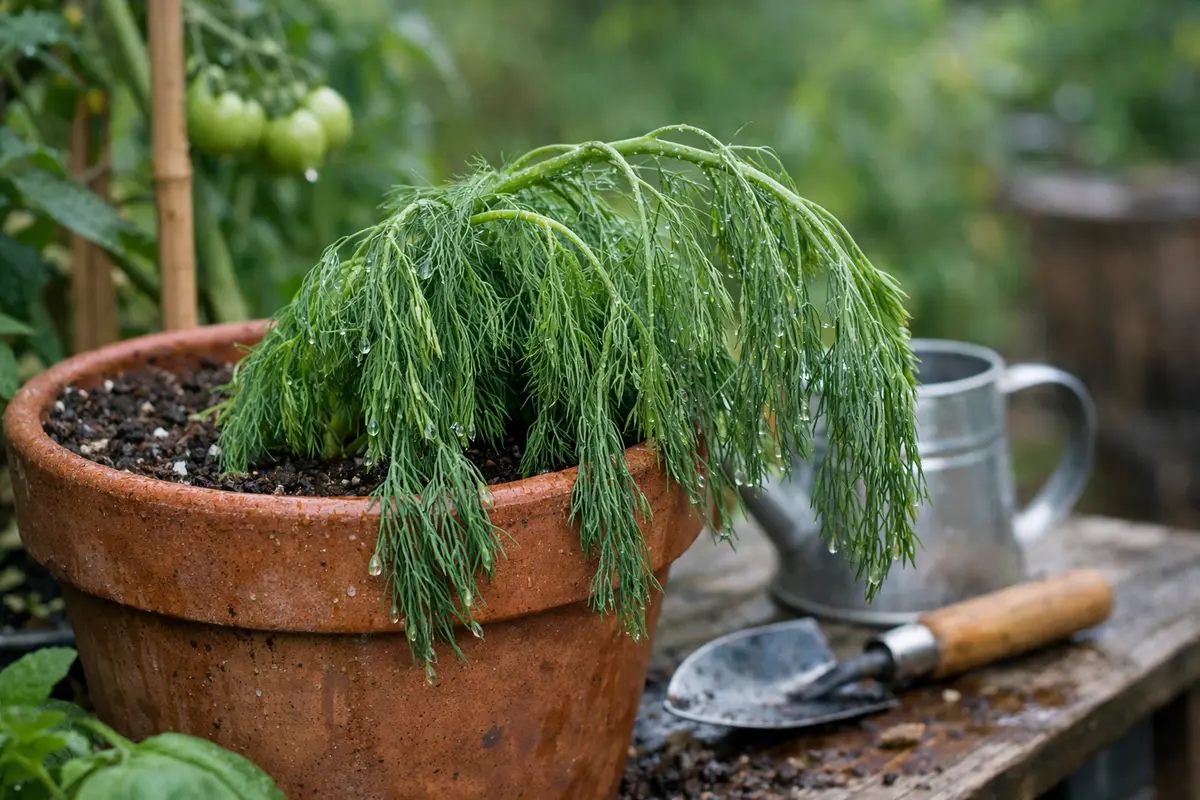
You may notice your dill wilting and drooping during periods of high humidity, which is why you need to know what to do when dill droops in high humidity. This drooping occurs due to excess moisture that can lead to stress in the plant, causing leaves to become limp and potentially rot. If left unaddressed, this condition gets worse and can weaken the plant significantly, setting back its growth. Fortunately, you can fix it now by trimming away affected areas and adjusting watering practices to improve air circulation. This proactive approach will help ensure your dill remains healthy and thriving.
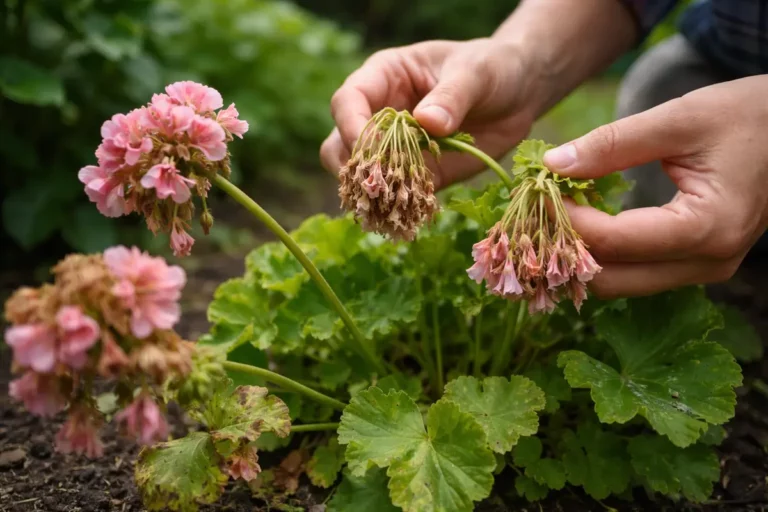
Step 1 – Trim Droopy Dill Leaves Immediately
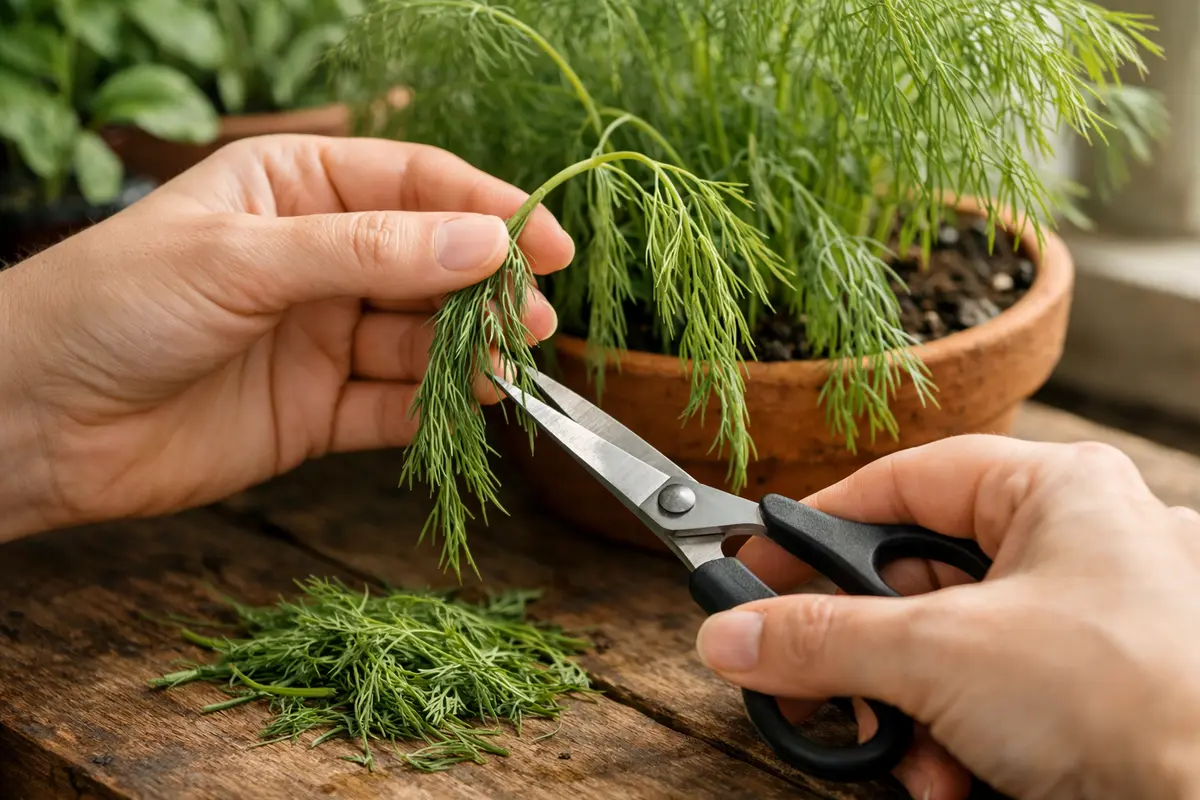
Start by trimming any droopy leaves at their base. You will notice the remaining leaves perk up within a few hours. This immediate action stops the spread of stress to the remaining foliage and conserves the plant’s energy. Ensuring that only healthy foliage remains allows the plants to redirect nutrients effectively. Aim to use sanitized scissors to prevent introducing pathogens during this process.
By removing the affected leaves, you are allowing the dill to channel its resources toward healthy areas, promoting recovery. This step is crucial because droopy leaves indicate stress from high humidity and can signal the onset of mold or mildew if left unchecked. Wilting is often a sign of over-saturation in the root zone, leading to decreased oxygen levels and weakened plant structure. If the leaves feel mushy or discolored, they are at risk of spreading pathogens to healthier parts of the plant. The key is to act quickly: waiting too long might lead to extensive damage that could require more drastic interventions. If you are dealing with a related issue, watering humid weather covers a similar problem in detail.
Many gardeners make the mistake of delaying this crucial trim, thinking the plant might recover naturally. Waiting too long can exacerbate the issue, allowing fungal diseases to take hold. It’s advisable to act swiftly upon noticing drooping; immediate intervention has led to swift recuperation in many cases. You should observe a noticeable improvement in just hours after trimming back wilting foliage, as the plant begins to redirect vital energy toward healthier leaves. Remember, removing bad leaves not only helps in immediate recovery but also allows the dill to become more resilient against future humidity stress.
Step 2 – Diagnose Causes of Dill Wilting
Reduce the watering of your dill plants immediately to allow the soil to dry out slightly, which will help address the drooping leaves. Within a few days, you should notice that the leaves start to perk up as the plant adapts to the improved moisture balance.
The high humidity can lead to excessive moisture retention in the soil, causing the roots to suffocate and preventing adequate oxygen flow. As a result, the plant’s ability to absorb nutrients diminishes, leading to drooping foliage and a weakened overall structure. Understanding this relationship between moisture levels and root health is critical for restoring your dill to its vibrant state.
If the soil has a sour smell, it’s a sign of root rot, indicating that you should immediately let the soil dry out further and improve drainage by mixing in sand or perlite. Alternatively, if you notice yellowing leaves along with the droop, it might indicate a nutrient deficiency, requiring you to supplement with a balanced fertilizer.
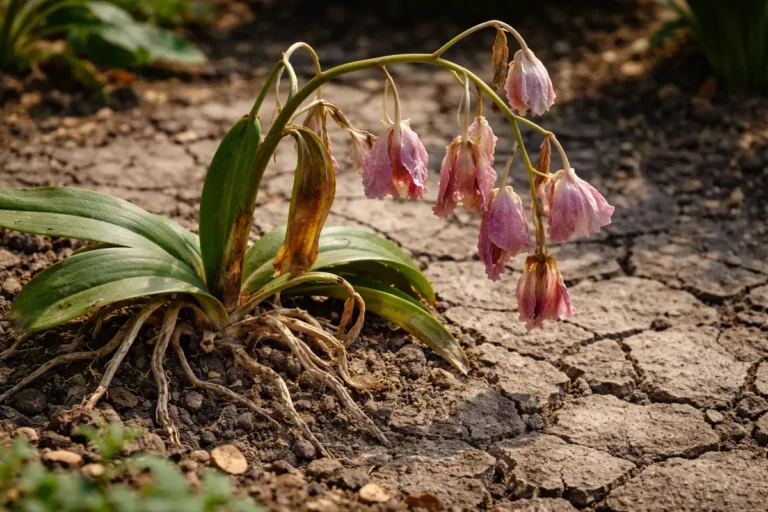
The drooping is likely caused by root stress due to excessive moisture in the soil. When soil remains wet for too long, oxygen becomes scarce for the roots, leading to poor nutrient uptake and causing the plant to wilt or droop as a stress response. A pungent odor from the root zone could indicate that root rot is setting in, further complicating the plant’s recovery.
If the soil smells sour or has a mushy texture, this indicates root rot, which requires different action. In this case, gently remove the plant and inspect the roots; if they are brown and mushy, trim them back and replant the dill in fresh, well-draining soil to restore its health. Early diagnosis is key; if you can’t see a clear culprit in moisture levels, also check for signs of insect infestations or disease among your plants that could compound drooping symptoms. A related fix is explained in cucumber plants develop if you want to compare approaches.
When dill experiences excessive soil moisture in high humidity, the roots struggle to absorb oxygen and nutrients. This oxygen deprivation leads to the symptoms of drooping leaves, as the plant cannot maintain its normal physiological processes. Checking for soil compaction is equally important; if you can’t easily push a finger into the soil, it might be too dense or compacted, inhibiting air flow. In such conditions, high humidity exacerbates the saturation, making it difficult for the roots to recover even after watering decreases. An essential step includes verifying the soil type used; sometimes, amendments like sand or perlite may be necessary to improve drainage in heavy soils.
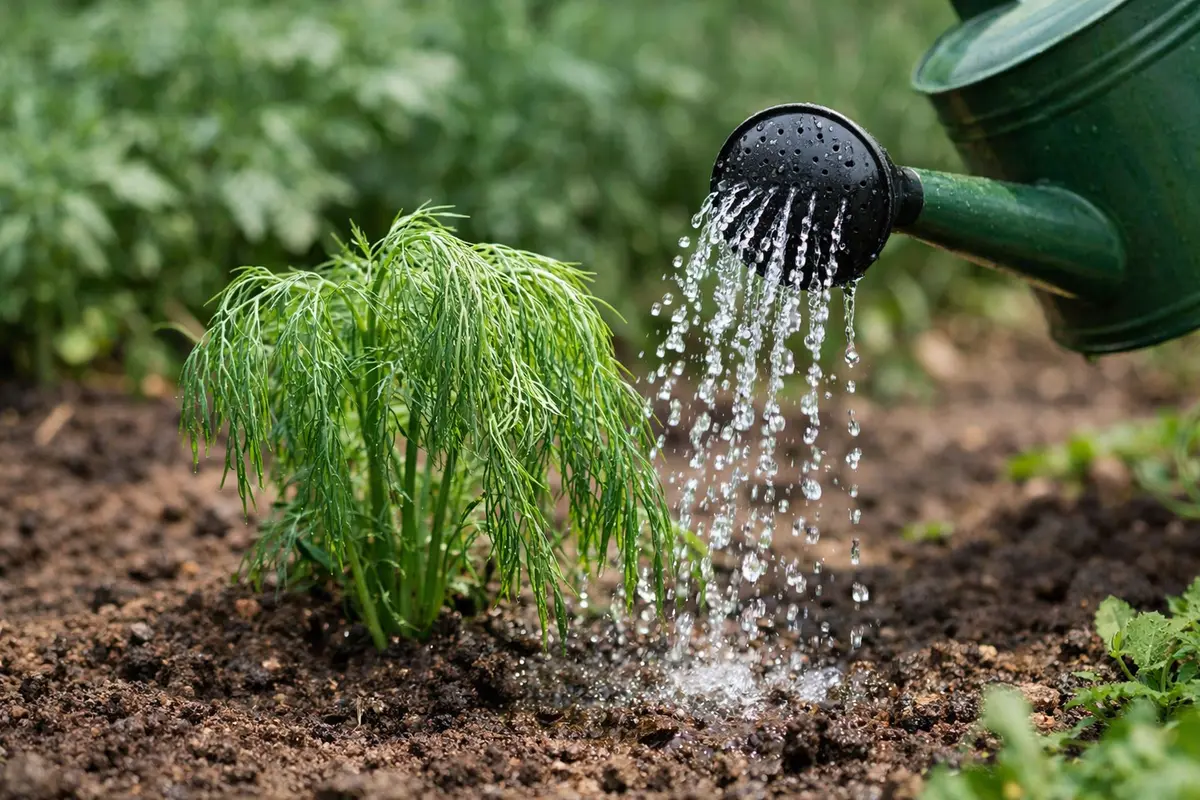
Step 3 – Hydrate Dill Deeply for Recovery
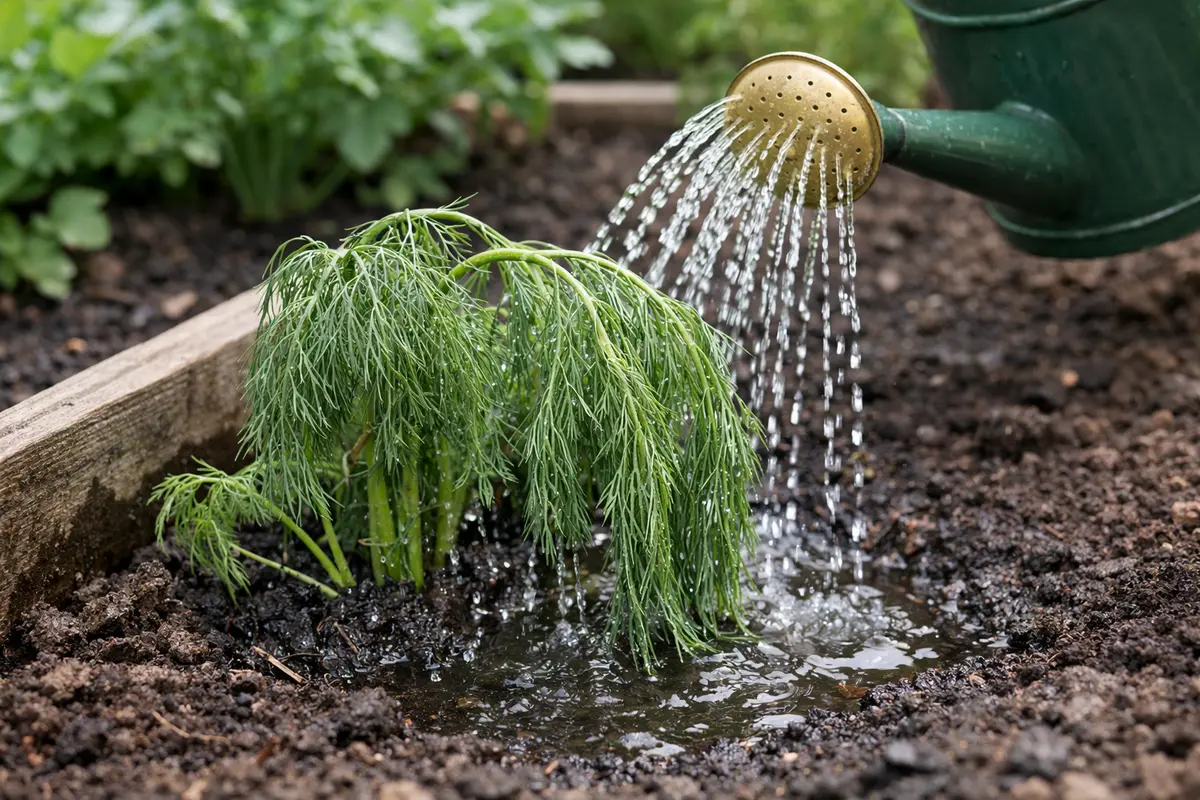
Water the dill deeply until moisture reaches 6 inches into the soil. You should observe improvement as new leaves start to emerge, and the older ones become firmer. Deep watering encourages root development, allowing the plant to absorb nutrients effectively. Aim for a thorough soak that ensures both the upper and lower roots are adequately hydrated, which is crucial for recovery. A typical deep watering might involve using 1 to 2 gallons of water, depending on the plant’s size and existing conditions.
This action encourages deep rooting, as dill prefers moisture that extends well into the root zone. By deeply hydrating, you mitigate surface dryness while encouraging roots to seek moisture deeper within the soil. A typical young dill plant may require about 1 to 2 cups of water per week under normal conditions, so adjust based on soil moisture levels and weather conditions. As you experiment with moisture levels, keep a watering log to track what works best for your dill, allowing for adjustment in future growing sessions. For a closely related scenario, see compacted soil around.
A common mistake at this stage is overcompensating for previous drought conditions by watering too frequently. If too much moisture is delivered shortly after a dry spell, the roots may not yet be ready to uptake that water effectively, potentially leading to the drooping issue returning quickly. If the plant’s leaves remain limp despite deep watering, revisit your soil’s drainage and consider switching to a pot with better airflow for a quicker recovery. Additionally, remember that freshly combined soil, especially after transplanting, tends to retain more moisture, necessitating increased observation for the first few weeks.
Step 4 – Water Dill Wisely in Humid Seasons
Water dill plants deeply but infrequently, allowing the soil to dry out slightly between watering, which will help maintain strong growth and prevent drooping. Establishing this watering routine involves checking your soil every few days; if the top inch is dry, it’s time to water again. By doing this, your dill will develop a more resilient root system, making it better equipped to handle high humidity conditions.
High humidity can lead to root rot and fungal diseases, which are exacerbated by overwatering and poor air circulation around the plants. By ensuring your dill is only watered when needed, you prevent excess moisture in the soil, addressing the root causes of drooping and promoting healthier foliage through enhanced drainage and aeration. The goal here is to create a moist environment without saturating the soil; the roots should be in a slightly damp area but never in standing water.
In hot summer months, consider using mulch around the base of the dill to retain soil moisture while minimizing evaporation. Mulching can consist of straw, wood chips, or decorative stones; this extra layer helps regulate soil temperature and moisture levels, providing an additional buffer against the stress caused by high humidity and extreme heat conditions. When mulch is used, it also fosters a stable environment for beneficial organisms in the soil, setting the stage for enhanced growth.
Properly timed watering habits mitigate the recurrence of droopy leaves in high humidity. Your dill plants can better absorb moisture when watered at cooler times, usually in the early morning or late afternoon, which significantly reduces the risk of fungal spread that thrives in standing humidity. This approach is essential, especially during summer months, when heat intensifies moisture evaporation rates. If conditions shift suddenly and you receive unexpected heavy rain, consider moving pots indoors or creating drainage channels to minimize water retention. This adjustment protects against the dilution of nutrients and root stress during extreme weather fluctuations. A good practice is to ensure that excess water flows freely from pots and that the soil comprises sufficient drainage components like perlite or sand to help facilitate proper water movement. By being proactive about environmental pressures, your dill’s health can flourish even in unpredictable weather conditions.
Step 5 – Check Dill Growth for Fresh Drooping Signs
Check on your dill plants daily during high humidity conditions, focusing on their leaf texture and overall posture. Look for signs of wilting or drooping; check for pests around the soil line, and make sure to observe the soil moisture as well, ensuring it is not too wet. Recheck these conditions every few hours to monitor any improvements or further decline. This continuous observation will empower you to respond quickly to any new signs of stress.
A fully recovered dill plant will have firm, upright stems and vibrant, deep green leaves that feel crisp to the touch. In contrast, early signs of the problem returning may include a slight droop, softer foliage, and a yellowing of the leaves, indicating stress that requires immediate attention. This often occurs when humidity rises suddenly, or if watering practices haven’t adjusted optimally. Actively adjusting conditions based on visual cues will empower you to keep control over your dill’s health.
If the drooping persists despite your monitoring and care, consider reducing the humidity around the plant further by improving airflow or moving it to a less humid location. Sometimes, simple adjustments like moving the plant to a more open area or using a fan can create sufficient airflow to mitigate humidity stress. Escalate your approach by checking for root rot and consider repotting the plant if necessary, ensuring proper drainage and soil health. This will allow the roots to breathe better and potentially avert further issues.
A fully recovered dill plant will exhibit thick and vibrant leaves, signaling it has regained its moisture balance and is no longer in distress. You should watch for clean new leaves, firm stems, and good color saturation—indicative of vibrant health. This ongoing monitoring is vital as neglecting it may result in a return of drooping symptoms, complicating recovery once again. Remember also to squeeze the leaves gently; they should feel firm and supple, not limp or squishy, ensuring they have regained turgor pressure properly. Should you notice any returning signs of drooping despite proper care, revisit your watering schedule and drainage practices.
FAQ
How long does it take for dill to recover after trimming?
Recovery typically takes about 1-2 weeks once you start providing proper care, including deep watering and appropriate sunlight. You can expect to see new growth start pushing through within a week if conditions stabilize and adequate nutrients are provided. Observe closely during this period to ensure no new issues develop.
Can high humidity spread pests on my dill?
Yes, high humidity creates a favorable environment for pests like aphids and spider mites, as they thrive in moist conditions. Regular checks for signs of these pests, especially around leaf bases and stems, will help you catch infestations early, potentially before they affect the overall health of the plant. Be cautious, as a small infestation can quickly escalate in humid weather.
Should I remove all affected parts of the dill plant?
Only remove the visibly damaged leaves and stems to promote healthy plant growth. Avoid taking too much at once, as this may stress the plant further; focus on just the severely affected parts to strike a balance between allowing recovery and removing immediate threats to health. Additionally, be vigilant for new symptoms as you nurture the remaining plant—ongoing maintenance is key to sustained health.