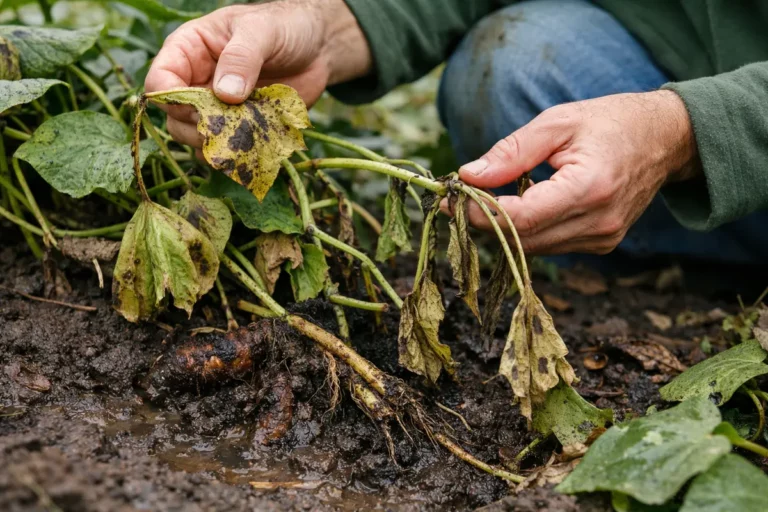
You may notice that your sweet potato plants show signs of distress with yellowing leaves after heavy rain, which is why you need to know how to fix yellowing leaves on sweet potatoes after heavy rain. This yellowing is often a symptom of root rot or nutrient leaching caused by excess moisture, leading to weakened foliage. If left unaddressed, the problem can worsen, weakening the plant and making it harder to fix, but you can turn things around by inspecting the soil, adjusting drainage, and monitoring moisture levels. Immediate action is crucial to avoid further damage and ensure a robust recovery for your sweet potato plants.
Step 1 – Remove Yellowing Leaves from Sweet Potato Vines
Start by gently removing any standing water around the sweet potato plants to prevent further root rot. Tilt the soil slightly away from the base of the plants to promote drainage, and consider adding mulch to stabilize moisture levels. You should see the soil surface begin to dry, which can help reduce stress on the foliage.
Acting quickly is crucial because sweet potatoes can suffer from root rot if moisture levels remain high for too long. When leaves turn yellow, it signals that the roots are struggling to absorb nutrients, leading to stunted growth. If action is delayed, the yellowing may progress to wilting, indicating more severe damage that could hinder recovery.
For instance, a gardener who promptly adjusted drainage after heavy rain noticed that their sweet potatoes rebounded within days, while another who delayed suffered significant root loss as they waited. A common error is to assume that simply waiting for drier weather will resolve the yellowing, while immediate intervention is often needed to protect the plant’s root system.
Acting quickly is crucial for sweet potatoes after heavy rain because excessive moisture triggers root stress, leading to yellowing leaves due to a lack of oxygen in the soil. If you delay, roots may begin to rot, further impeding the plant’s ability to absorb nutrients and water, resulting in more pronounced yellowing and potential plant death. If you notice leaves yellowing, check for drainage issues rather than simply waiting for drier weather; you might be wasting valuable time that could be spent implementing a solution.
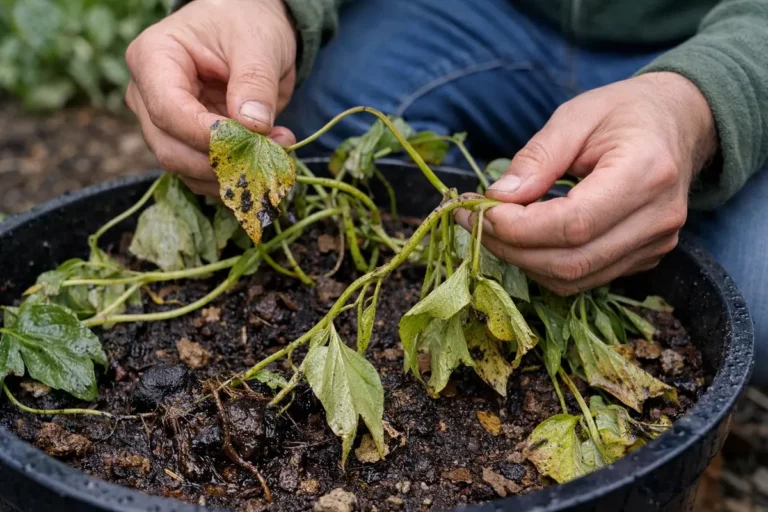
A gardener who delayed addressing waterlogged sweet potatoes last season had nearly half their crop succumb to rot, contrasting the experience of another gardener who rapidly diverted runoff and saved hers from similar damage. Many mistakenly assume that simply waiting for the rain to stop will solve the problem, but in reality, proactive measures are essential in these situations. Moreover, if you observe that many leaves have turned completely yellow, hurriedly removing them will prevent the plant from continuing to expend energy on damaged foliage, allowing it to focus on producing new growth.
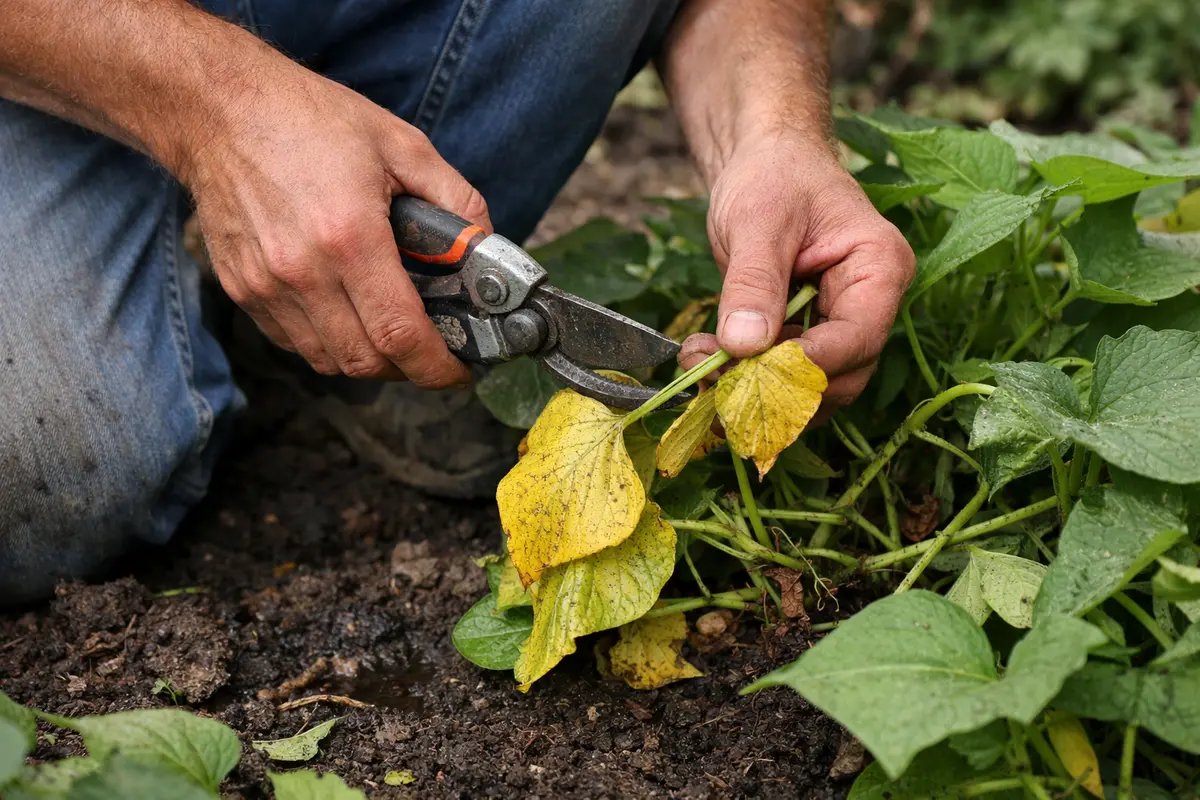
Removing the yellow leaves prevents the plant from expending energy on damaged foliage, allowing it to focus on producing new growth. Yellowing often signals that the plant is stressed, which can lead to disease if not addressed quickly. By trimming the affected areas, you reduce the risk of disease spreading to healthy parts of the plant. It’s important to use clean, sharp scissors or pruning shears to make clean cuts, minimizing tissue damage and the potential for infection. This can also introduce less stress compared to tearing leaves off by hand, which may inadvertently damage nearby healthy stems. Disinfect the tools with rubbing alcohol before use to prevent any potential disease spread. Overlooking tool sanitation can easily transfer pathogens, exacerbating the problem.
A common mistake here is delaying this action because gardeners hope the leaves may recover. However, waiting too long allows diseases to take hold, multiplying the issue. For instance, if you observe leaf spots on the yellowing area, that could be a sign of a fungal issue. It’s crucial to act quickly; the sooner you cut the damaged leaves, the better chance the plant has to recover. Aim to perform this task early in the morning or late in the day to reduce stress on the plant. If you see signs of powdery mildew or wilting that persists despite your efforts, it might be necessary to consult local agricultural extension services for further guidance.
Step 2 – Diagnose Waterlogging in Sweet Potato Soil
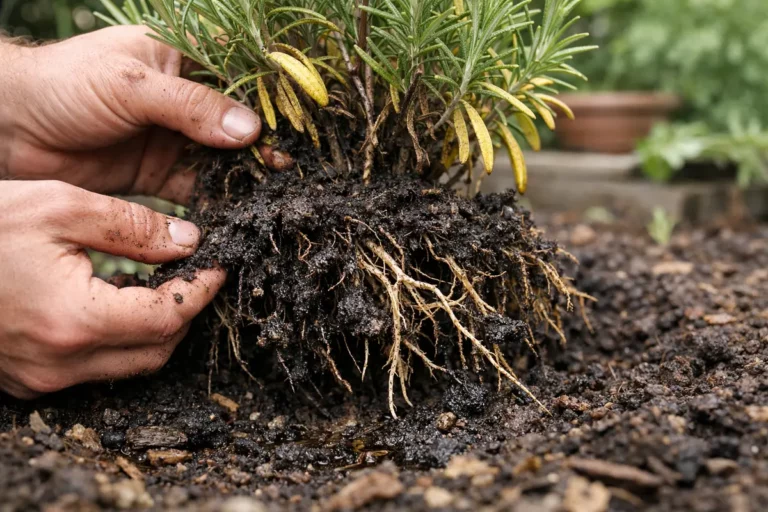
Check the soil around your sweet potatoes to confirm if waterlogging is the root cause of the yellowing leaves. You should see the soil showing signs of moisture retention or a muddy texture, indicating that excess water is present and potentially suffocating the roots. Remember to dig a few inches below the surface to get an accurate reading, as surface moisture may not accurately reflect the condition deeper down. If the soil feels crumbly and dry below the surface, then moisture retention is likely not the issue; in contrast, soil that is consistently wet may require immediate intervention.
Waterlogged conditions occur when there is either heavy rainfall or poor drainage in your planting area. Sweet potatoes need well-drained soil to thrive; otherwise, their roots begin to rot, impairing their ability to take up vital nutrients and water. If your sweet potatoes feel spongy when gently squeezed, this indicates root degradation due to excess moisture, leading to significant yellowing of leaves as the plant struggles to survive. Check for a foul odor, which often accompanies decay; this can help confirm that root rot is indeed an issue.
If the soil smells sour or has a slimy texture, you might need to amend the drainage to prevent further deterioration. Adding organic materials, such as compost or mulch, can help improve drainage and aeration. The mulch layer should be about 2-3 inches thick, which not only aids drainage but also helps retain moisture during dry periods, providing a balanced environment for your sweet potatoes. Remember that sweet potatoes prefer slightly acidic to neutral pH levels (around 6.0-6.8); hence, adjusting soil composition accordingly may be necessary. If your pH readings are off, consider adding lime to raise the pH or elemental sulfur to lower it, depending on your soil test results. Regular soil testing every season can help you stay proactive about nutrient levels.
Step 3 – Feed Sweet Potatoes with Nitrogen for Recovery
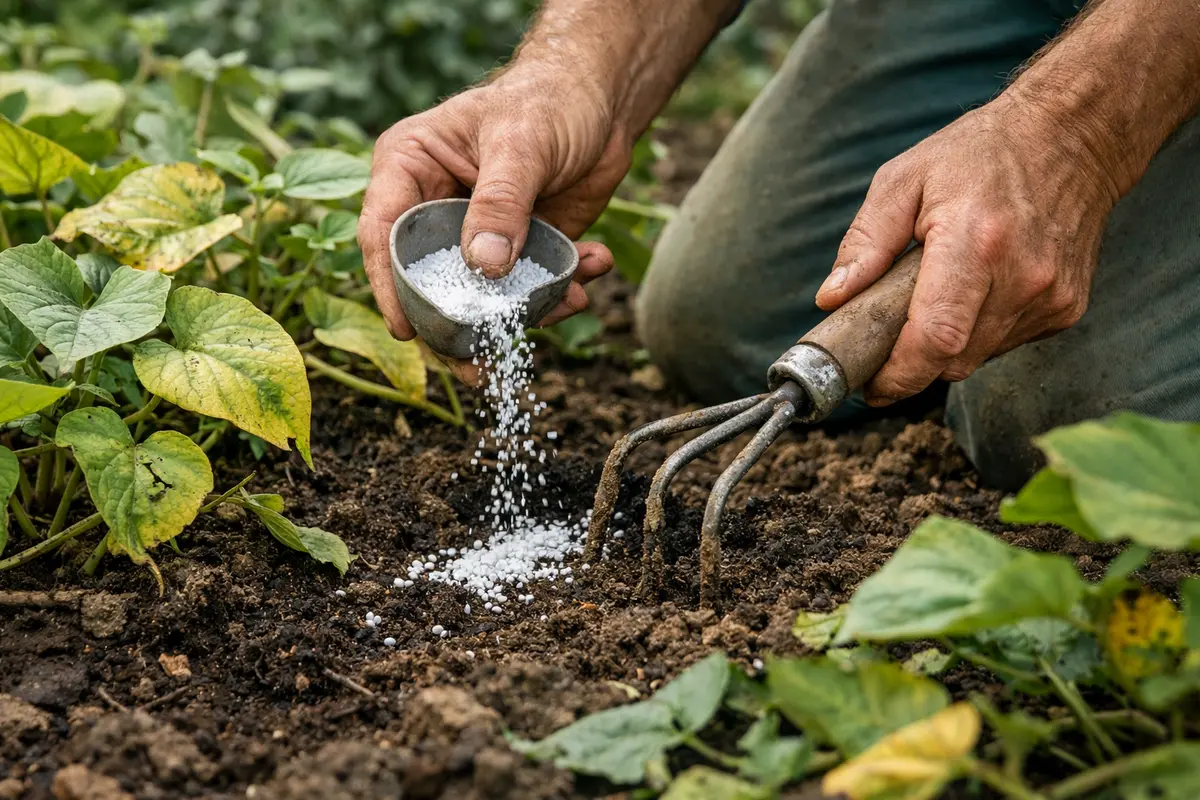
Apply a nitrogen-rich fertilizer around the base of the sweet potato plants to support their recovery. You should see improvements in leaf color and vigor start to emerge within one to two weeks as the plants utilize the nutrients to grow stronger foliage. A standard recommendation is to use a balanced fertilizer with a higher nitrogen ratio, such as a 10-20-10 or similar, ensuring you follow the application rate stated on the product label. It’s crucial to apply this fertilizer when the soil is moist but not soggy to avoid burning the roots—a situation that can lead to further yellowing or stunted growth.
Nitrogen is vital for leafy growth, and when your sweet potatoes are stressed, providing this nutrient can help invigorate the plants. Heavy rain may wash away much of the soil’s nutrients, rendering fertilization a critical step for recovery. Keeping a deficit of nitrogen can lead to stunted growth and continued yellowing, so it’s wise to reassess the fertilizer levels if the issue persists. Make sure to water in the fertilizer well after application to promote absorption into the root zone; if you notice uneven growth patterns, consider varying the application based on specific plant needs. A tangible sign of proper fertilization will be new green shoots appearing within a week or two; if the color deepens, that’s an excellent indicator of improving health.
A common mistake during this stage is over-fertilizing, which can lead to leaf burn or even further yellowing. If you notice new growth that quickly turns yellow again after fertilization, this may indicate over-fertilization rather than recovery. Check that you are not applying fertilizer more frequently than recommended or using excessive amounts at once. Additionally, environmental factors such as temperature affect fertilizer uptake; avoid fertilizing during high heat, as plants may struggle to utilize the nutrients effectively. Monitoring plant response closely post-fertilization is essential—if growth stalls or declines further, it may be time to flush the soil with water to mitigate any nutrient build-up.
Step 4 – Inspect Sweet Potato Foliage for New Yellowing
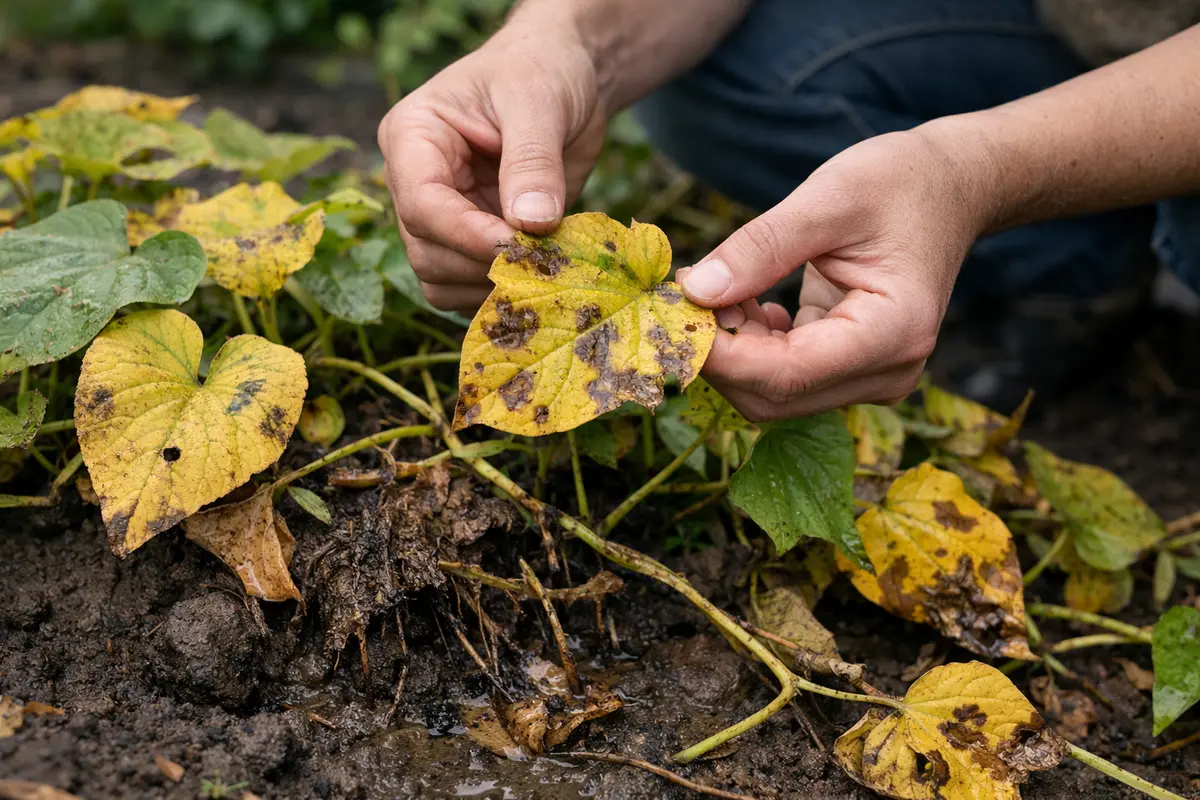
Check the foliage of your sweet potato plants regularly for any new yellowing leaves every few days. You should observe vibrant, green new growth, which indicates that the plant is recovering and beginning to flourish. Focus on the newest leaves, as they will be the first to show signs of improvement or further distress. When you notice the leaves developing a darker green color, this often signals that the plants are regaining their strength and adapting well to the care provided.
A healthy plant should produce fresh, green leaves that feel firm to the touch without signs of wilting or discoloration. If new yellow leaves appear, this may suggest that lingering issues persist, such as soil compaction or insufficient drainage that needs further attention. Regular monitoring is crucial to identify any re-emerging problems quickly. Consider tapping on the soil surface; if it feels hard or waterlogged, this indicates a potential issue with drainage to address further. Documenting the location and frequency of yellowing could prove beneficial in tracking patterns over time—softening hard soil can encourage good air circulation and remedy compaction.
If you notice that yellowing resumes despite your corrective actions, it’s essential to consider re-evaluating your watering practices or soil drainage. Compacted soil or continued waterlogging can lead to similar symptoms reappearing, inviting potential diseases. Aerating the soil around the plants by carefully loosening the top few inches with a garden fork may enhance air circulation to the roots, combating compaction. If problems persist after addressing all areas covered in previous steps, you might need to consult a local extension service or horticulturist for specific diagnosis and solutions. Consider raising beds or utilizing mounds for planting if drainage issues are chronic; this elevates the root zone above pooling water, creating healthier conditions for sweet potatoes.
FAQ
How long does it take for sweet potatoes to recover from yellowing?
Recovery from yellowing can take about one to two weeks if the underlying problems are corrected. Proper nitrogen levels and good soil drainage can shield the plants from stress and promote healthy growth. Monitor changes closely—if yellowing continues past two weeks, consider reassessing soil conditions and nutrient levels. Keep in mind that recovery will be quicker if factors such as light exposure and soil health are optimal, so ensure those are in place during this period. Moreover, actively maintaining a schedule for monitoring can provide quicker feedback on the plants’ progress, enabling end-of-season adjustments and planning.
Can yellowing leaves spread to other plants?
Yes, if the yellowing is caused by a fungal infection or root rot, there is a risk that the problem could spread to nearby plants. Always ensure that tools used for pruning or handling plants are sterilized to avoid transferring pathogens. Additionally, proper spacing between plants can mitigate the likelihood of spread. Moreover, it’s beneficial to isolate affected plants until you confirm that the solution is effective, preventing potential cross-contamination. If you notice yellowing on other plants nearby, inspect their roots and soil conditions to corroborate any systemic issues in your garden.
Should I remove all yellow leaves immediately?
While it’s good practice to remove visibly damaged leaves, be cautious not to over-prune the plant at once. Removing too many leaves can stress the plant further, potentially leading to a cascade of health problems. Aim to remove only those that are significantly yellow or damaged and observe the plant’s response over several days. If the yellowing seems to worsen over time, then you may need to increase your trimming rate, focusing on balancing leaf area with the plant’s recovery capability. A prudent approach is to evaluate the plant’s overall health and recovery status before proceeding with extensive removal.