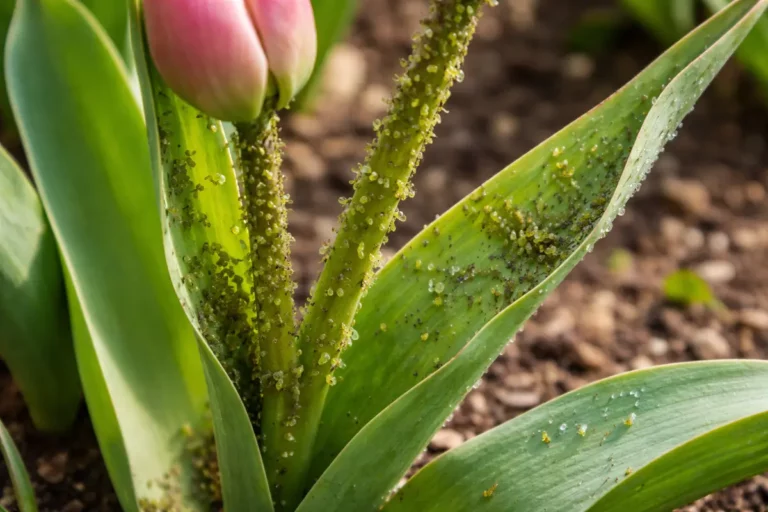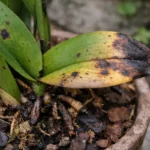
You may notice white spots appearing on your holly leaves during summer, which is a clear sign that you need to know how to treat white spots on holly leaves during summer. This condition typically arises from pests or fungal infections that cause unsightly spots and can ultimately weaken your plants. If left unaddressed, the issue worsens and can spread to other leaves, making it harder to fix later, but you can improve the situation now by inspecting your plants and removing any affected foliage.
Step 1 – Treat White Spots on Holly Leaves Quickly
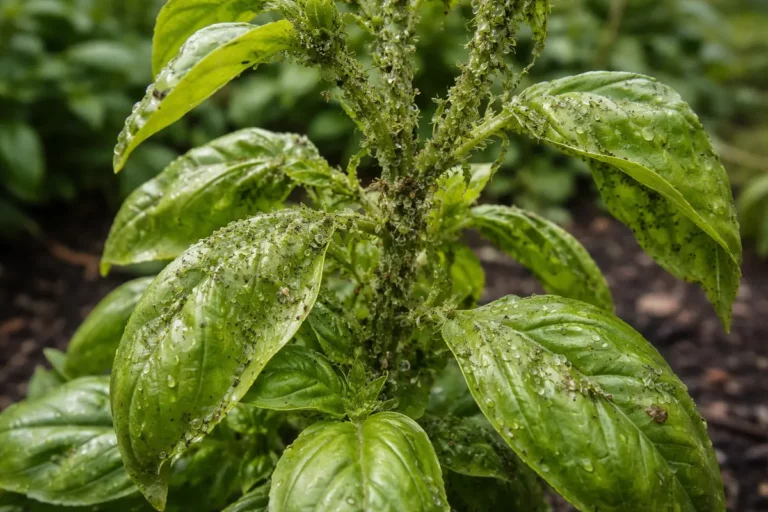
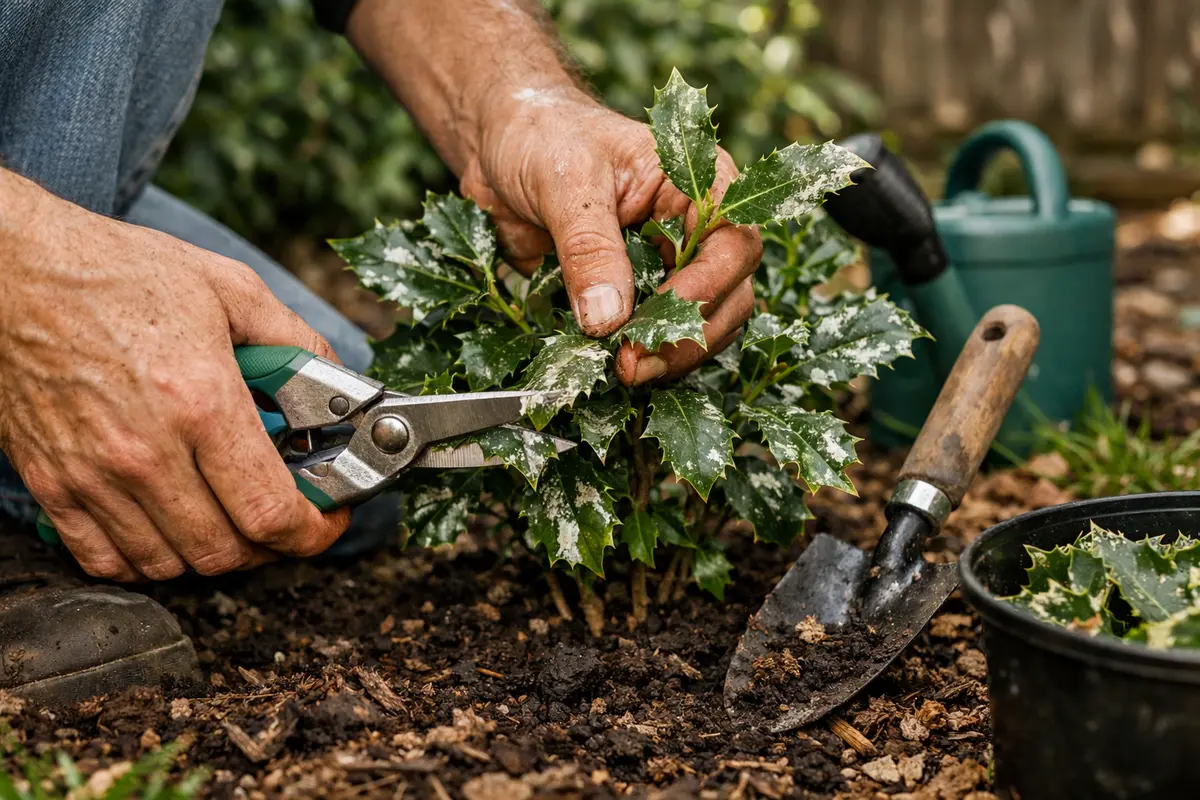
Remove all visibly affected leaves immediately. You will see fewer white spots remaining on your plant within a couple of days. Prune any branches that have more than three leaves displaying spots to limit the spread of disease. This proactive measure helps not only in managing the visible symptoms but also in staving off widespread infection. Make sure to dispose of the removed leaves properly; do not compost them, as this can reintroduce pathogens back into your garden. By treating the branches and leaves promptly, you’ll likely see healthier overall foliage returning quickly.
Acting quickly is vital because delaying treatment can lead to severe damage, especially during the summer months when the heat can exacerbate fungal infections. White spots often indicate a fungal infection that can quickly spread from leaf to leaf, declining the health of the entire plant. Regularly inspect the plants over a few days following your intervention; fewer or smaller white spots should be observable soon after removal. By removing these affected leaves, you not only reduce the infection risk but also improve airflow around the remaining foliage, which aids in recovery. When airflow is enhanced, moisture evaporates more quickly, reducing further fungal growth potential. Pay special attention during hot, humid days, as this is when fungal infections tend to proliferate most aggressively, so you might need to repeat inspections every few days during such weather conditions.
A common mistake gardeners make is waiting too long to address fungal issues. Many wait until more areas are affected, thinking the problem will resolve itself. Unfortunately, this often leads to a larger outbreak. If your holly is in a very humid or moist environment, immediate action is crucial, as these conditions favor the spread of fungal diseases. For example, if you notice moist conditions after a rain, assessing your holly promptly can prevent severe foliage damage. To ensure you’re getting all affected foliage, inspect not just the visible top leaves but also the undersides and older leaves where infections can easily hide. If you’re unsure about the extent of the infection, looking for signs of wilting can be quite telling; wilting or browning edges often indicate a more significant issue beneath the surface.
Step 2 – Diagnose the Cause of Leaf Discoloration
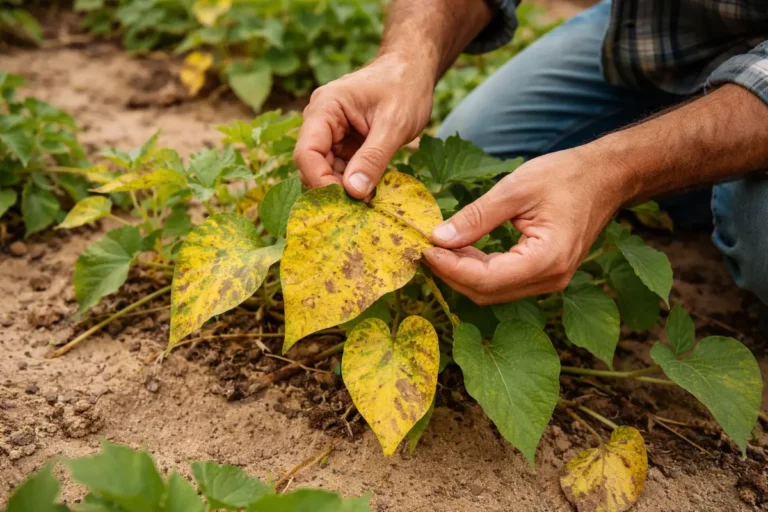
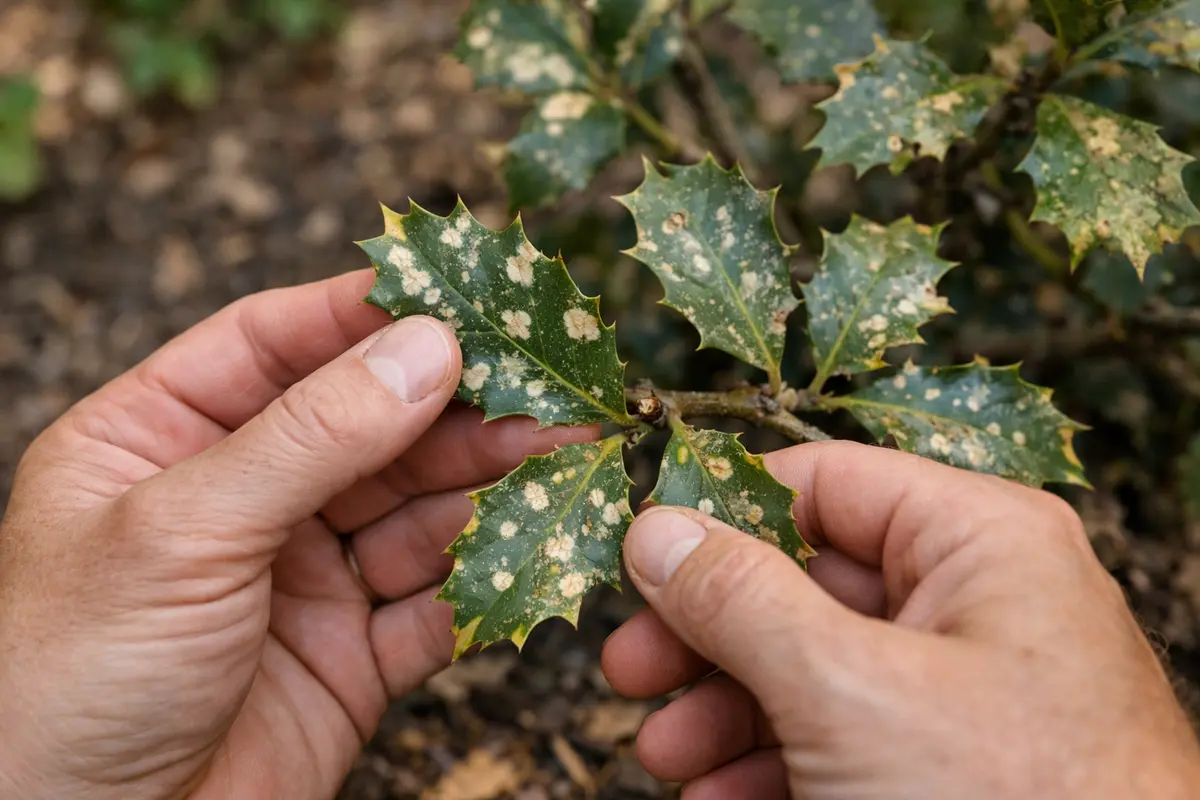
Inspect the remaining leaves closely for signs of pests or fungal spores. You should be able to identify if the problem is due to pests like aphids or whiteflies within the week. If a powdery substance or insect remains on the surface, you can confidently attribute the white spots to these causes. Early diagnosis can significantly improve treatment outcomes and enable you to tackle the exact issue rather than performing blanket treatments that may not be effective. Observe closely any patterns that appear with new spots; if they seem to localize more on younger leaves, this may indicate a pest issue rather than a fungal one.
Identifying the specific cause of the leaf discoloration is essential because it allows you to apply the most effective treatment. Fungal infections like powdery mildew thrive under specific moisture and temperature conditions, while pests react to different aspects like plant health and care routines. Gathering all conflicting observations—discoloration, sticky residue, or visible insects—helps in hypothesizing the underlying problem. For instance, if you confirm a pest presence, consider corresponding treatments like insecticidal soap or neem oil, which are effective against soft-bodied insects. Should you observe mold on the soil or a foul smell, it may suggest overwatering has created conditions ripe for fungal growth.
If you observe sticky residue on nearby leaves, it likely indicates pest activity, as they secrete this substance, which can lead to further fungal infections. You might also consider examining the soil moisture levels; if too much water is present, it could be promoting fungal growth as well. Adjust those as necessary to avoid future outbreaks. Noticing changes in soil texture—compacting or excess moisture—should prompt immediate adjustments; compacted soil often leads to root problems that exacerbate the leaves’ conditions. Always look for visible signs like discoloration and drooping to differentiate between infection types; both can occur in detrimentally overlapping conditions. If the discoloration persists despite treating apparent pests, it may be time to inspect nearby plants for movement, as pests can easily transfer between your holly and others.
Step 3 – Enhance Holly Health After Spot Treatment
Apply a balanced, slow-release fertilizer to the soil around your holly. Healthy growth should show noticeable improvement, such as green shoots and a reduced appearance of white spots within a couple of weeks. Ideally, you want to observe new leaf development as a definitive sign that recovery efforts are succeeding. Regular fertilization helps rebuild nutrient levels in the soil, promoting robust leaf growth. Opt for fertilizers labeled for holly or acid-loving plants to ensure compatibility with your plant’s needs, focusing on following application guidelines exactly.
Applying fertilizer after you spot-treat the affected leaves is critical because it enhances the overall health of your holly. Nutrient-rich soil supports leaf regrowth and resilience against pests and diseases. In essence, strong plants can better fend off or recover from infections, leading to less recurrence of the white spots. Monitoring your plant’s response to the fertilizer can help you quickly adjust feeding plans if growth appears stunted or overwhelming; observe your holly for any excessive leaf drop, which may indicate over-fertilization. Besides a fertilizer approach, observe for any signs of nutrient deficiencies, such as yellowing, which could indicate that adjusting the nutrient balance is needed.
A typical mistake here is over-fertilization, as gardeners often feel they should “fix” the plant with extra nutrients. This can lead to nutrient burn and interrupt the natural balance of soil and plant health. If you notice dark green, excessively lush growth, it might indicate an overload of nitrogen, prompting you to scale back on fertilization. Also, be cautious of applying fertilizers during extreme heat to prevent stressing the plant; it’s best to fertilize during the cooler parts of the day. Pay attention to timings—ideally applying fertilizers after rain or on damp soil allows nutrients to be better absorbed. As a rule of thumb, adjusting your feeding strategy seasonally can enhance plant responses, determining if reduced fertilization is necessary in hotter months.
Step 4 – Guard against White Spots This Summer
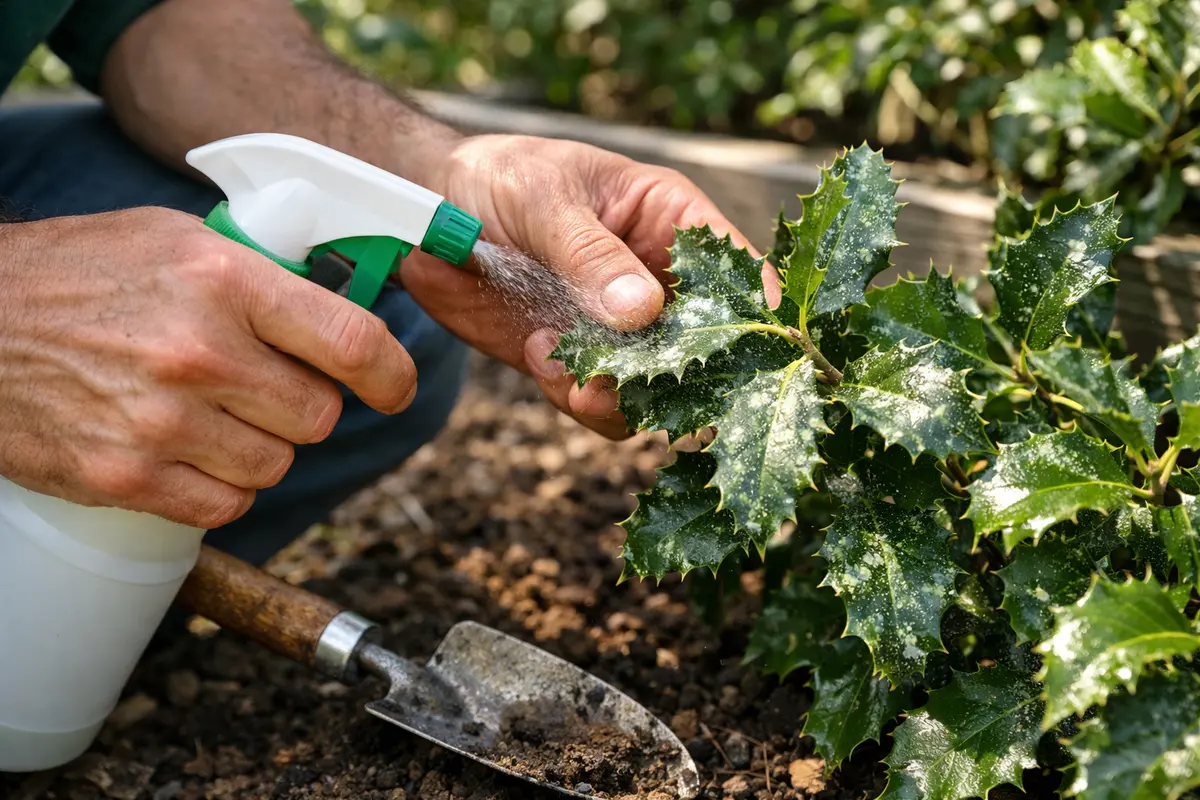
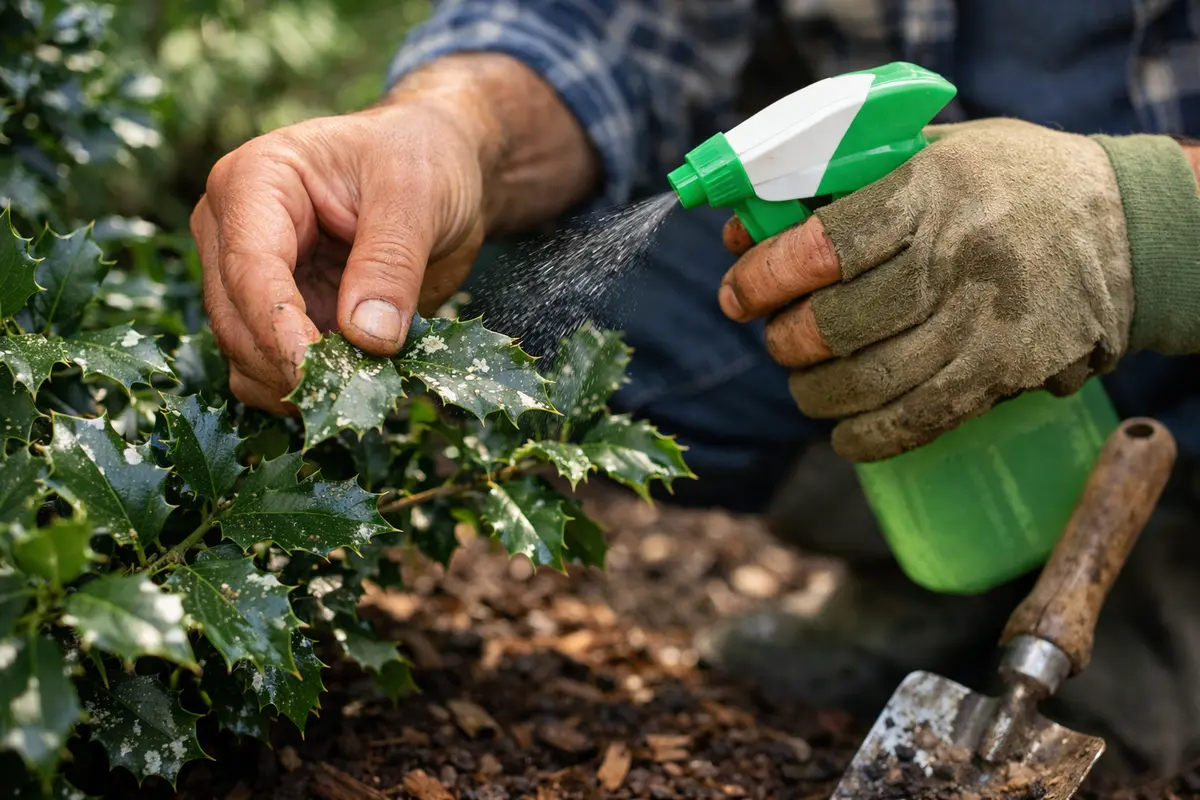
Start by regularly inspecting your holly plants for signs of white spots and applying a fungicide at the first sign of a problem. This proactive approach will lock in a routine that reduces the risk of serious infestations and helps safeguard your holly leaves from common pathogens. Control tactics need to be based on weather conditions, as higher heat and humidity alter infection risks.
White spots on holly leaves often stem from high humidity and poor air circulation during the summer months. By maintaining a consistent fungicide application schedule, you directly address the fungal spores that thrive in warm, damp environments, thereby preventing their recurrence. If you notice an increase in humidity due to summer rains, ensure your plants are spaced adequately to encourage airflow and sunlight penetration—at least two feet apart is usually advisable to promote healthy circulation.
During particularly hot or dry spells, increase your monitoring and adjust your watering practices to avoid drought stress. If you observe wilting leaves despite adequate water, check the soil for compaction or poor drainage as these conditions can weaken the plant’s defenses against fungal infections. Erratic soil moisture can greatly affect holly, especially if combined with high external humidity; establishing a deeper watering root tends to alleviate shallow-root scenarios that lead to wilting.
Maintaining appropriate moisture levels is essential for preventing future outbreaks of white spots on holly leaves during summer. Hollies do not thrive in consistently wet soils; too much water invites diseases and damages root systems. Aim for soil that is moist but well-draining, so observe your watering habits closely. If observing any signs of standing water, consider newer irrigation solutions to prevent root rot. A proper watering regimen leads to healthier plants that are less susceptible to infections, so keep adjusting based on weather feedback. Observe your plant closely after implementing a new watering schedule; if water retention persists, consider adjusting your irrigation approach or aerating compacted soil to better promote drainage. From experience, once established routines are followed precisely, leaves tend to recover, and instances of white spots often decrease significantly.
Step 5 – Inspect Holly for Recurrence of White Discoloration
Examine the plant closely every 5-7 days for any signs of returning white spots. You should be looking for any fresh spots or signs of pests; take a close inspection to ensure the undersides of leaves are also evaluated. By establishing this routine, you can catch any reoccurrence early before it spreads widely. Regular examinations, especially after rain or change in temperature, are critical. Noticing persistent sticky residue may indicate continuing pest issues that also keep recirculating spores in play. Observing these symptoms means addressing soil conditions or adjusting pest management may be necessary sooner rather than later.
A fully recovered plant will exhibit vigorous green leaves, while early signs of returning problems may show as small white outbreaks or young leaves turning yellow. Regular inspections are crucial, especially during hot periods that increase stress on the plant and make it a target for diseases. Observing changes early can mean the difference between a minor issue and significant damage. If you see an increase in light spots or a change in the coloration of the foliage, immediate action is essential to mitigate further risks. Noticing discoloration within the first few days of treatment could indicate underlying issues requiring deeper attention; in this case, reassessing your treatment protocol will be vital to avoid excessive damage.
If you notice the spots returning despite previous treatments, consider re-evaluating your watering habits or pest management strategies. You may need to apply a targeted fungicide if the fungus returns aggressively or if pests persist despite preventive measures. Engaging local experts can also give insight, particularly if new pest types are moving into your area. Consulting with a horticulturist or pest control expert can provide tailored insights, potentially leading to more suitable interventions, particularly if infestations become severe or your attempts to control them are unsuccessful.
FAQ
How long does it take for holly leaves to recover from white spots?
Recovery can take several weeks, typically 2-3 weeks, depending on the extent of the damage and the treatment applied. If appropriate care is maintained, you’ll start to notice healthy new growth appearing within this timeframe. However, if the white spots persist, be prepared to reassess both your treatment methods and plant care habits; in-depth analysis of potential environmental stressors may be necessary to ensure effective recovery strategies.
Can white spots on holly leaves spread to other plants?
Yes, if left untreated, these white spots can spread to nearby plants, especially in warm and humid conditions. Immediate removal of affected foliage helps prevent the spread of fungal spores or pests to other nearby plants. Ensuring that tools used in the process are clean and disinfected can also help mitigate any further spread. Additionally, maintaining distance between different plant types can help manage interspecies pest transfer, reducing the overall likelihood of extensive infestations across your garden.
Should I remove all the affected leaves from my holly?
Yes, remove as many affected leaves as possible to reduce the chances of infection spreading. However, be cautious not to over-prune and to leave enough foliage for the plant to photosynthesize effectively. Limiting removal to visibly damaged leaves while maintaining healthy foliage supports an effective ongoing treatment process without sacrificing the plant’s health. A thorough approach, starting with the lowest, most affected leaves, is often the best strategy, as these areas will generally show early signs of infection.