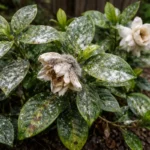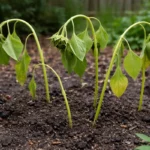
You may notice that your beautiful hydrangeas, just after a rain, have begun to fade and turn brown, which is why you need to know what to do when hydrangea flowers turn brown after rain. This discoloration is typically caused by excess moisture that leads to damage, including mushy spots on the petals. If left unattended, this issue can worsen, weaken the plant, and set it back in growth, but fixing it is possible now—just inspect the flowers, remove any affected areas, and adjust your watering practices.
Step 1 – Prune Brown Hydrangea Blooms Quickly
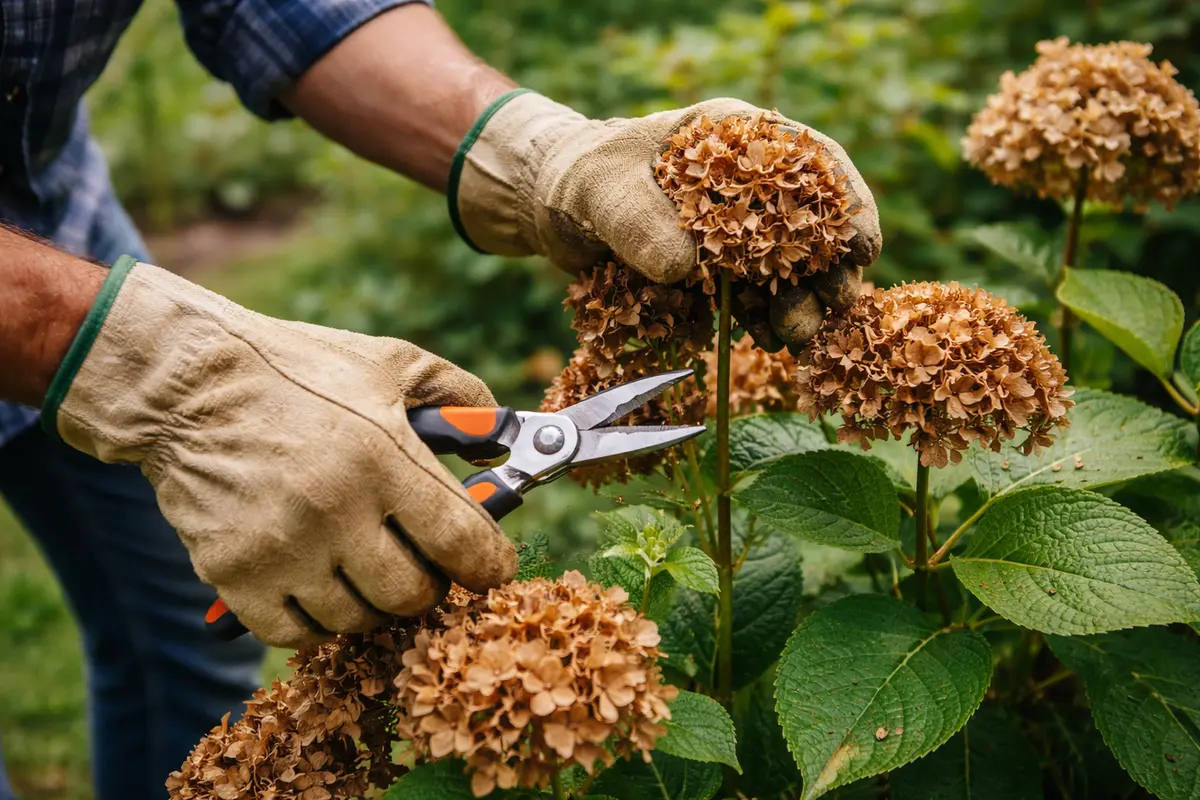
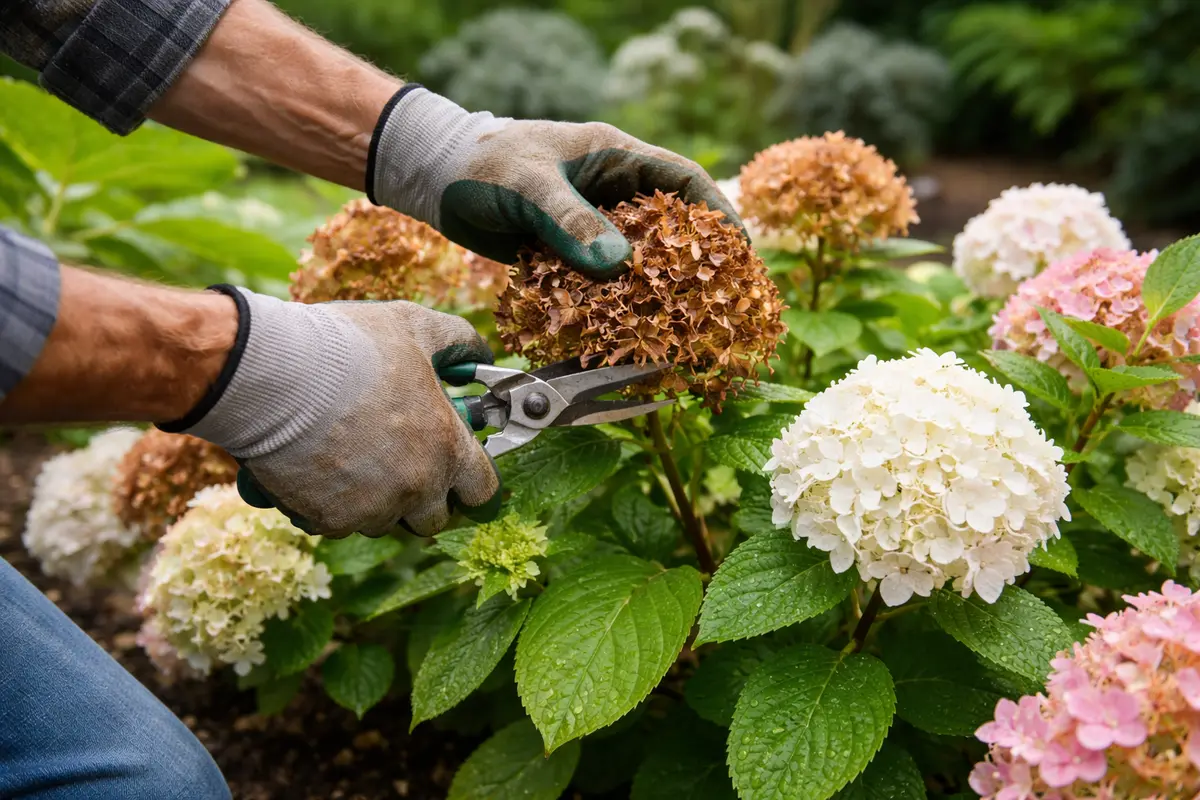
Start by removing the brown blooms from your hydrangea plants. This action stops further decay and minimizes the risk of fungal infections spreading. Take care to cut at the base of each affected bloom, ensuring you’re not damaging the healthy parts of the plant.
If you delay this action, the damp conditions can lead to issues like botrytis blight, which thrives in wet environments. This fungal infection can spread rapidly, causing not only the flowers to rot but also affecting the leaves and stems. If you notice grey mold starting to form, that’s a clear sign you waited too long and should step up your interventions.
A gardener who ignored the signs of rain-damaged blooms last spring ended up with a whole patch of bloomless hydrangeas by summer due to unchecked fungal spread. Many assume that simply waiting for the rain to stop is sufficient, but immediate action after heavy rainfall can significantly protect the blooms and encourage healthier regrowth instead.
Acting quickly prevents fungal infections like botrytis blight, which can thrive in damp conditions and lead to severe tissue decay if not addressed. If left unpruned, the damaged flowers might attract pests or other pathogens, leading to additional issues that may compromise the entire plant. If you see discolored flowers but the leaves remain vibrant, prioritize the flowers; if the leaves also appear wilted, check for signs of root rot.
A gardener faced with browning hydrangeas found success by acting swiftly, removing affected blooms, and following up with a fungicide treatment. In contrast, another gardener delayed action; their hydrangeas suffered from a spreading rot that ultimately affected new growth. This highlights the importance of timely intervention and the risks associated with inaction.
Promptly pruning the affected areas prevents potential fungal issues; it also allows the plant to redirect energy towards healthier shoots. Leaving decaying blooms may lead to further stress, as they attract pests and can lead to rot. Cutting away the damaged parts also improves airflow around the plant, which is critical in preventing additional browning from humidity. You might notice that some affected flowers are mushy or discolored, while others appear wilted — this is your cue to act. Observe how the overall bloom color changes post-pruning, as healthier flowers will stand out more distinctly.
A common mistake many gardeners make is waiting too long to prune the affected flowers, especially during high humidity periods. This hesitation can lead to accelerated deterioration of the plant since the introduced moisture creates a perfect environment for mold and pests. Acting quickly ensures that you are managing not just the symptoms but also the health of the entire plant. If more than half of the flowers are affected, it may also be necessary to cut back some stems to allow more robust canes to flourish and reduce competition for nutrients.
Step 2 – Diagnose Overwatering as Cause for Discoloration
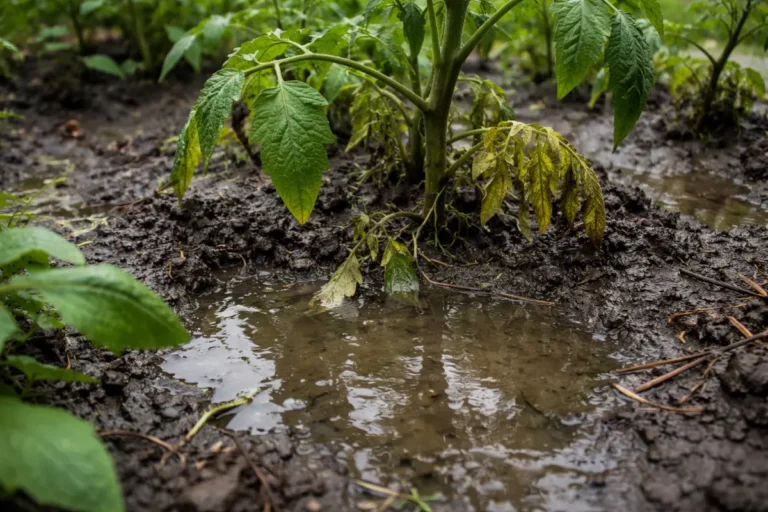
Check the soil moisture levels to confirm whether overwatering is causing the discoloration. If the soil feels soggy or excessively wet, the hydrangea is likely suffering from brown flowers due to excessive moisture. Dig down about an inch to assess conditions at the root level; consistently wet soil indicates a significant problem requiring immediate action.
The cause is that overwatering deprives the roots of essential oxygen, leading to stress and blooming discoloration. This situation often results in root rot, particularly in compacted or clay-heavy soils with poor drainage. Roots in these conditions become soft and struggle to absorb necessary nutrients, directly affecting bloom health. If you observe roots with a brownish or mushy texture, they may be rotting. For instance, if your hydrangea is planted in dense clay and shows signs of browning, it will require soil amendments to improve drainage.
To correct the issue, allow the soil to dry out thoroughly before watering again. If you notice a sour smell from the soil, trust your observation—it signals anaerobic conditions. On the other hand, if the soil feels dry yet the blooms are brown, investigate other potential issues like pest infestations or diseases. Assessing the moisture situation accurately can significantly impact your hydrangeas’ recovery. If overwatering is confirmed, reduce watering frequency and improve drainage by incorporating organic matter, such as compost, to enhance soil structure.
Step 3 – Feed Hydrangeas to Encourage Fresh Growth
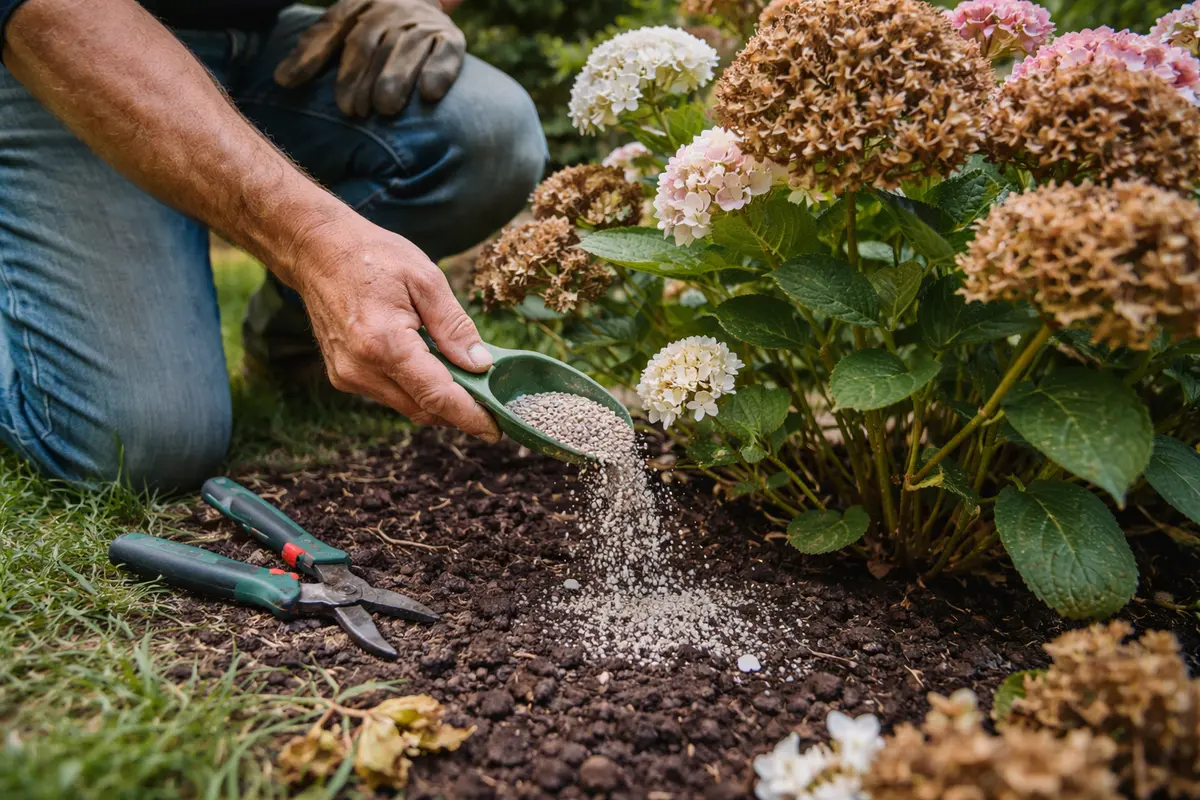
Start by gently lifting any brown, wilted flowers from the hydrangea to prevent mold and encourage air circulation. Within a few days, you should notice the surrounding leaves perk up, indicating that the plant is beginning to recover from the excessive moisture.
After heavy rain, a pronounced recovery timeline can typically range from one to three weeks, depending on environmental conditions. Healthy regrowth may present as new green shoots emerging from the base, contrasting with the drooping look of over-saturated blooms. Warm, sunny days can accelerate this recovery, while extended cloudy or wet spells may delay growth; if you see stunted growth instead of vibrant new leaves, check for possible lingering waterlogged soil.
One mistake to avoid during recovery is overcompensating with additional fertilizer, as too much can stress the plants when they’re already struggling from rain exposure. Timing is crucial; wait until new foliage begins to develop before applying any nutrients. If the blooms remain brown for an extended period despite signs of recovery, reassess the soil drainage to ensure that excess water isn’t accumulating below the surface.
Recovery begins when the plant redirects its energy into producing new shoots and leaves, which can be observed as the formation of green shoots emerging from the stems. Maintaining proper soil moisture without over-fertilizing is essential during this phase, as too much moisture can inhibit recovery and lead to root problems.
From here on, monitor the leaves closely. If the leaves turn a bright green, your hydrangea is responding positively to feeding; however, if you notice persistent yellowing or limpness, it might indicate that the soil is too soggy or nutrient-deficient. If this happens, check the drainage conditions to ensure the roots are not waterlogged.
For the next few weeks, watch for the re-emergence of vibrant blooms, particularly in sunny areas of your garden. A healthy hydrangea will show rapid growth and assume a lively appearance. If new growth is minimal or stunted, you may need to reassess your watering schedule or consider a soil amendment to improve drainage and aeration.
If your hydrangeas begin to show signs of improved vitality, like robust leaves and budding flowers, follow up with a steady but moderate feeding regimen. Watch for any signs of fertilizer burn, such as browning leaf edges; should this occur, reduce the amount applied immediately. If conditions remain optimal, your plant should begin to flourish again, displaying plenty of lush green foliage and ample bloom development.
Step 4 – Water Hydrangeas Wisely During Rainy Seasons
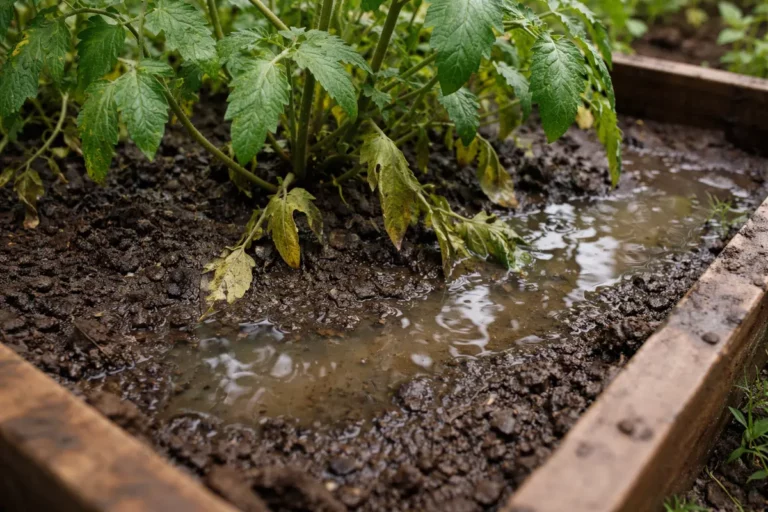
Water your hydrangeas only when the top inch of soil feels dry during rainy seasons. Establishing a routine where you feel the soil prior to watering will prevent further waterlogged conditions that can lead to additional damage. Maintaining soil moisture at an optimal level is crucial, especially during periods of increased precipitation. If you find it challenging to gauge moisture by feel, a moisture meter can provide a more accurate reading.
Establishing a consistent watering schedule tailored to weather conditions helps maintain healthy soil moisture without overwhelming the roots. Too much water during periods of high humidity or rainfall can lead back to bloom damage. Consistent vigilance also aids in determining the best times to water, which could be a few days after a heavy rain if your region experiences frequent downpours followed by dry spells. Monitoring weather forecasts for impending rainfall can also help you optimize watering intervals and ensure your plants are not over-saturated.
During particularly rainy periods, you might consider covering your hydrangeas with a breathable fabric, like horticultural fleece, to keep rainfall off them while still allowing airflow. This strategy helps to mitigate the risk of overwatering during particularly wet spells. Another option is to implement a drip irrigation system, which can help deliver consistent moisture at the root level without oversaturating them. If you see wilting or yellowing leaves despite following these measures, check drainage conditions as they may need attention. Also, consider evaluating the possibility of the foliage becoming too dense, which can impede airflow and contribute to rot — thinning plants may enhance both drainage and air passage.
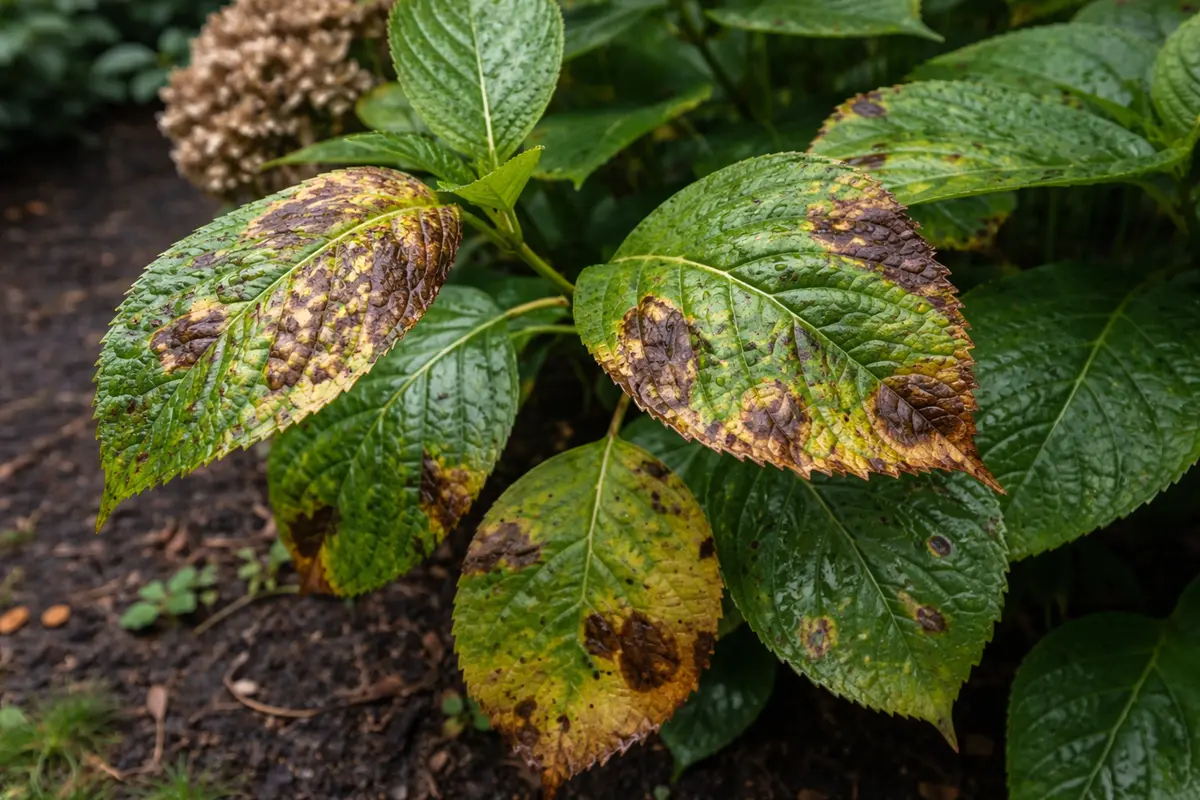
Step 5 – Inspect Hydrangea Leaves for New Brown Spots
Start by inspecting your hydrangea plants immediately after heavy rain. Check for signs of browning on the flowers, as well as any waterlogged leaves or wilting, which suggests excess moisture. Recheck the condition of the flowers within a few days following the rain to see if browning persists or worsens.
A fully recovered hydrangea displays vibrant, plump flowers with a firm texture, indicating an adequate balance of moisture and nutrients. In contrast, early signs of the problem returning include flowers that feel limp and appear dull in color, coupled with brown edges or spots that extend beyond the petals. If the hydrangea begins to exhibit wilting leaves again, look for indicators of root rot such as a sour odor from the soil.
If the browning persists despite your care, consider reducing watering to prevent further saturation and ensuring proper drainage in the soil. If issues continue, escalate your approach by applying a fungicide to combat potential fungal issues, and consult a local plant specialist for tailored advice.
A fully recovered plant will exhibit firm stems, vibrant green leaves, and the absence of further discoloration. Soft or mushy spots that may indicate the return of root rot or pest problems require immediate attention — these symptoms can signify a more systemic issue that might necessitate a more aggressive care strategy. If you continue to see smaller brown spots, it may help to ensure that your moisture balance is right, as fluctuating water levels often contribute to ongoing fungal or pest issues. Tracking recovery helps ensure you don’t miss any signs that the problem might be recurring. Healthy foliage will show a rich green color, indicating that your hydrangea is bouncing back.
If you notice new brown spots forming again, consider checking the soil moisture levels and adjusting your watering schedule accordingly. Prolonged time in soggy soil could mean the initial overwatering issue has returned, which requires immediate adjustments to your care routine. A seasonal change could also contribute to shifts in moisture retention; thus, adjusting your care techniques seasonally will support long-term health. If conditions worsen or the browning intensifies, reassess plant placement for potential sun exposure or check for pests that might be lurking underneath the leaf surface, as dealing with these factors early can prevent larger infestations later.
FAQ
How long does it take for hydrangeas to recover from brown flowers?
Typically, hydrangeas can show signs of recovery within a couple of weeks of proper care. Once the overwatering issue is addressed and the blooms are pruned, new green growth can appear rapidly, often within a few weeks, if conditions are favorable. By closely monitoring and adjusting care, including supplemental feeding and watering only when necessary, you may see improvement much sooner.
Should I remove more than just the brown flowers?
Yes, it is often beneficial to remove any weak or dying foliage as well. This practice allows the plant to redirect energy and nutrients to healthier parts, promoting vigorous regrowth. Additionally, consider cutting back the spent flowers by a third to maintain plant shape and encourage new bud formation. Regular trimming not only addresses existing issues but also helps maintain an overall healthier plant structure.
Can hydrangeas survive after extensive browning?
While extensive browning may lead to some loss of blooms, hydrangeas can generally recover well if given proper care. Immediate attention to watering practices and pruning can significantly increase their chances of bouncing back. Factors such as timely feeding and careful monitoring of moisture levels also play crucial roles in returning the plant to its former glory, setting them up for a successful blooming cycle in future seasons.