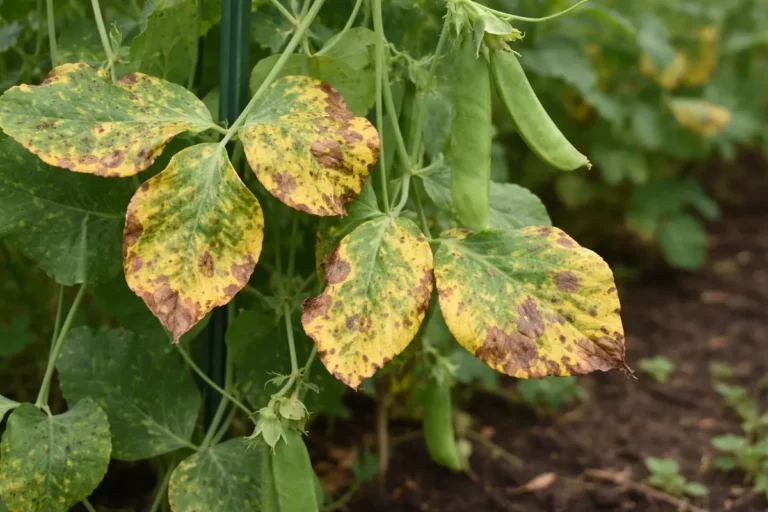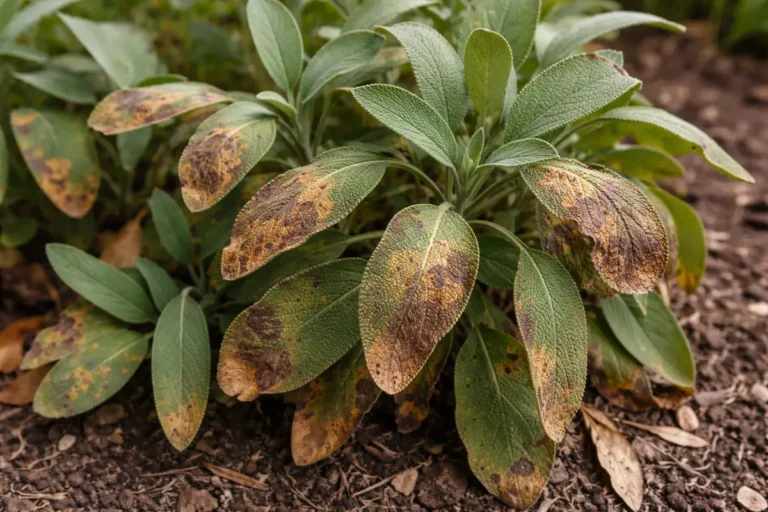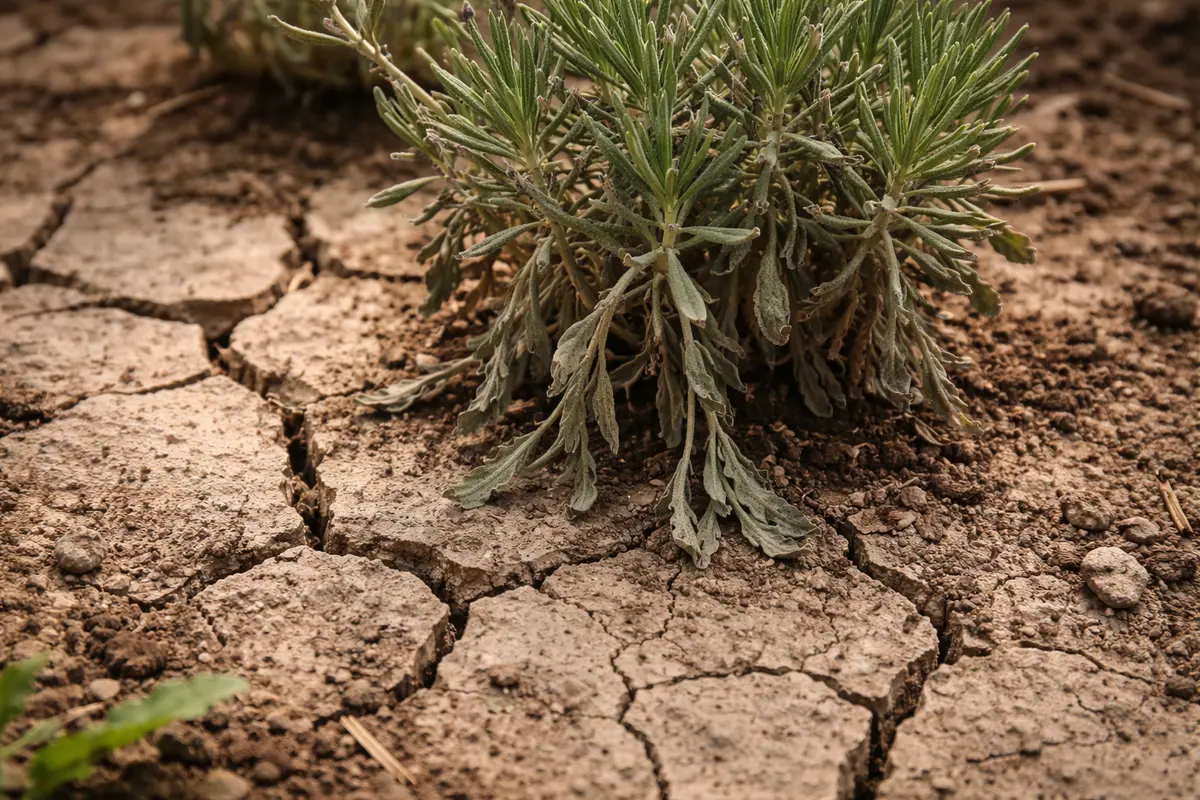
You may notice that your lavender plants are showing signs of stress during these hot summer months, specifically wondering, “Why are my lavender leaves curling during drought,” which is a clear indication of the plant’s struggle to conserve moisture. This curling occurs as the leaves attempt to reduce their surface area to minimize water loss, leading to wilting and potential damage. If left untreated, this situation only gets worse, making it harder to fix and weakening the plant’s overall health; however, you can improve its condition by checking soil moisture levels and watering carefully to revive it.
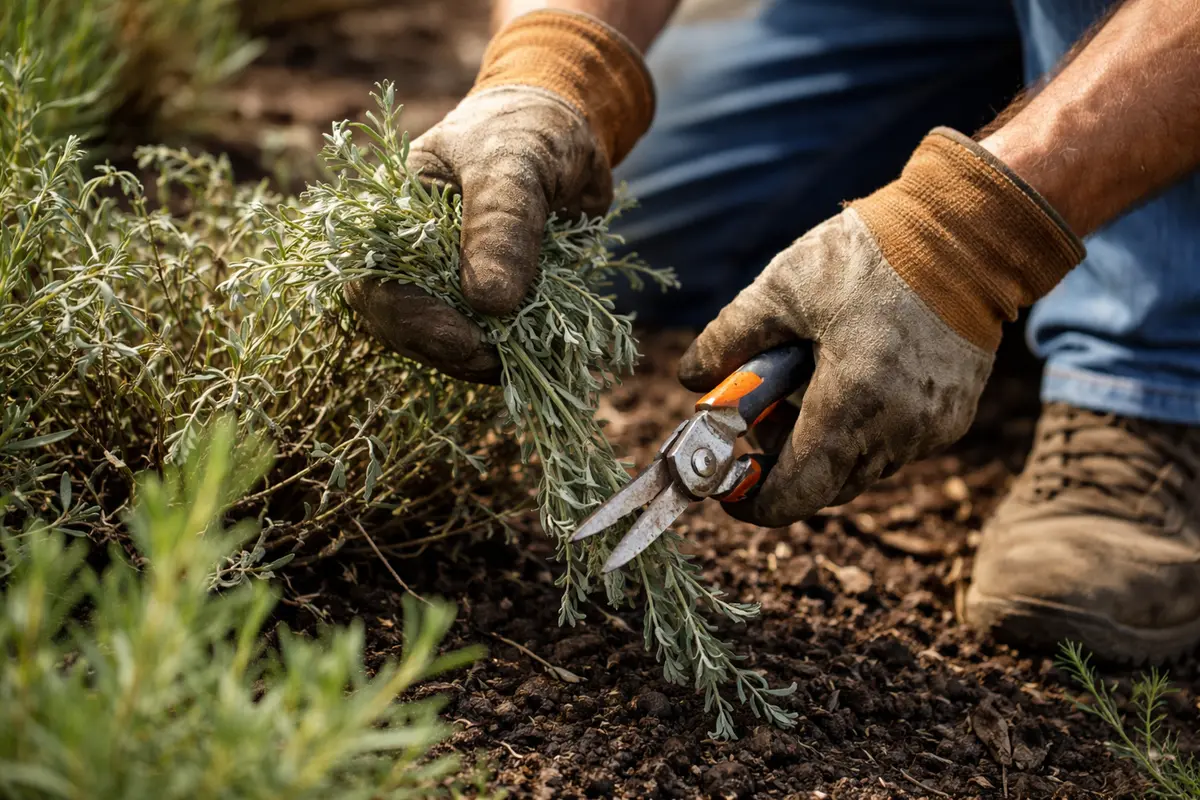
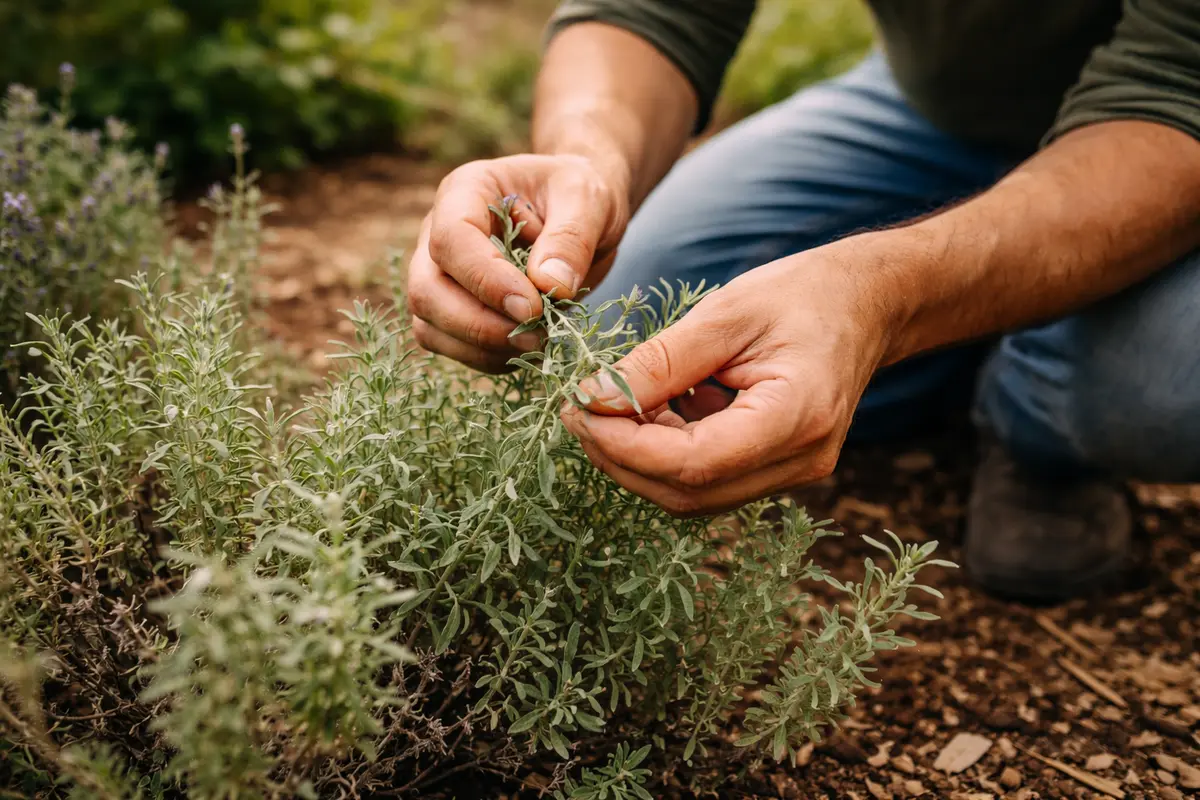
Step 1 – Trim Curled Lavender Leaves Now
First, water your lavender deeply to saturate the soil around the roots. This will provide immediate relief from drought stress, and you should notice the leaves beginning to firm up, possibly returning to their original green color within a few days as they regain turgor pressure. By ensuring the plant receives hydration before trimming, you help to minimize overall stress during this critical opening phase.
Acting quickly is crucial for lavender during drought because this plant has a specialized root system that relies on consistent moisture for nutrient uptake. If watering is delayed, the plant’s cells can become damaged, leading to irreversible wilting and leaf drop, which compromises its overall health and longevity. After giving the plant a thorough drink, if you take a look at the leaves within a few hours, you may observe horizontal grooves on the leaf surface start to flatten.
For example, a gardener who delayed watering during a heatwave found that while their neighbor’s lavender perked up after a single deep watering, theirs continued to curl and eventually succumbed to severe leaf loss. This illustrates how timely intervention can mean the difference between recovery and permanent damage; if the leaves are browning instead of curling, check the soil moisture level more urgently. A lack of hydration can cause even the most robust plant to succumb to damage, leading to costly replacements.
This action matters because curled leaves indicate that the plant is struggling to cope with its current conditions. By removing these leaves, you reduce the plant’s energy expenditure on damaged areas, allowing it to redirect resources toward its healthier foliage. If left untrimmed, the plant can lose additional leaves or suffer more extensive damage as the problem persists, causing the curling to worsen and spread to nearby healthy foliage. This neglect not only leads to greater risk of losing the entire plant but makes recovery more difficult in the long run.
Many gardeners mistakenly focus solely on watering when they first notice leaf curl, neglecting the importance of removing damaged leaves right away. From repeated observations, addressing leaf damage first can significantly speed up recovery and encourage new growth. By removing the wilted parts, you’re sending a signal to the plant that it can allocate its energy toward healthier growth rather than trying to revive the stressed portions. If you leave curled leaves on the plant, they may continue to hinder overall plant growth and health, as the tree may allocate more energy to repair the damaged sections rather than fostering new leaf development.
Step 2 – Determine Water Stress in Lavender
Check the soil moisture surrounding your lavender plants. You will feel whether the soil is dry or adequately moist, which directly impacts the plant’s ability to recover from drought stress. Use your fingers to dig a small hole approximately an inch deep. If it feels dry, it’s time to act; a routine check every few days can help you establish a water schedule that aligns with the plant’s needs.
Understanding the moisture levels is crucial because too little leads to stress, causing the leaves to curl. Lavender prefers well-draining soil that retains some moisture without becoming waterlogged. If you detect dry soil, the roots begin to dry out, leading to reduced nutrient uptake, which weakens the plant and makes it susceptible to further stress. Additionally, water-loving weeds nearby might thrive while the lavender limps along—this stark contrast can be an eye-opener and motivate swift action for your plant’s wellbeing.
If your soil is overly dry yet does not smell sour, take immediate action to rehydrate your lavender effectively. Alternatively, if your soil feels moist but the leaves are still curling, you may be dealing with another issue like root rot or salt buildup. Conduct a quick inspection: if the water drains too slowly, roots may be starving due to poor aeration—the next step would then require improving drainage rather than additional watering. Recognizing these nuances fast is vital for resolving this issue effectively. Delaying could lead to stunted growth and further complications that may require more invasive solutions to address.
Step 3 – Test Soil Moisture for Lavender Health
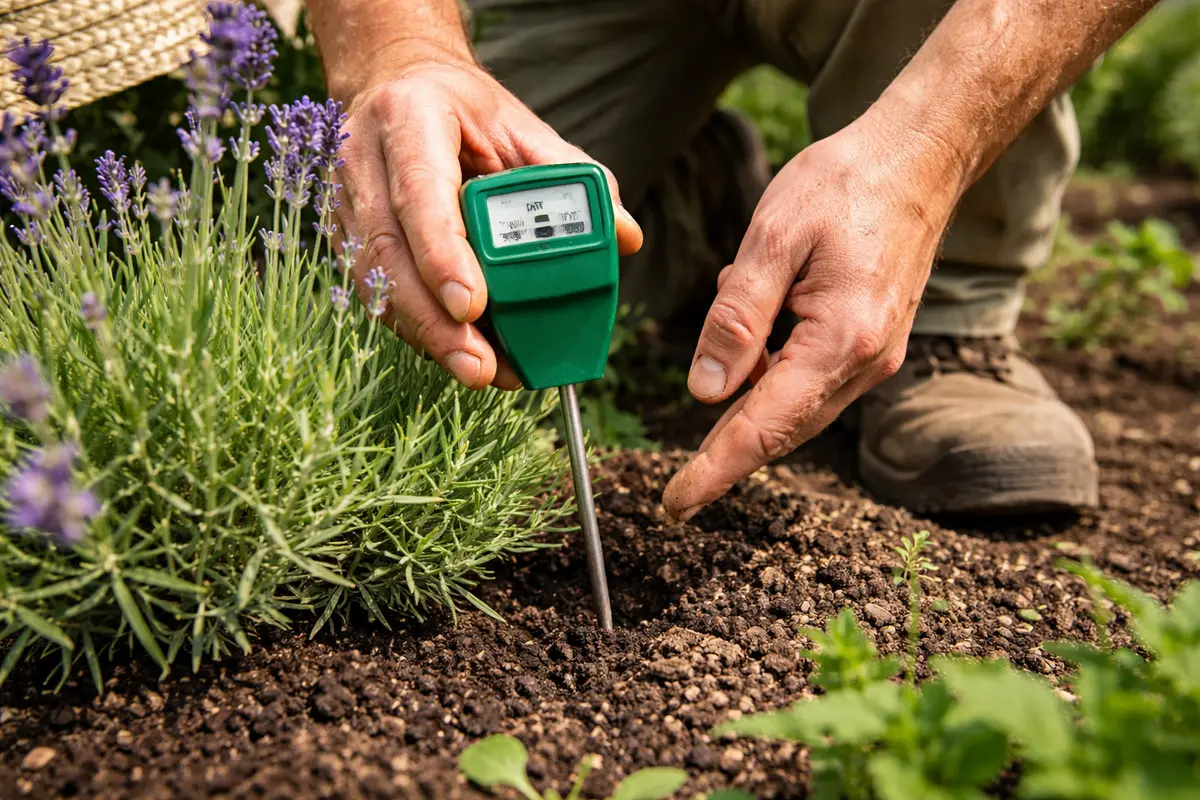
Inspect the soil moisture levels more thoroughly by digging around the base of a few plants to check the moisture depth. You will discover whether the surrounding areas, including the root zone, hold sufficient water or if the roots are parched. This close examination can reveal beyond mere surface conditions, often overlooked by many gardeners, potentially saving time and effort in treatment.
The significance of this inspection lies in understanding whether your plants are experiencing drought stress or if a different condition is causing the leaves to curl. Signs of overly dry soil include a crumbly texture when squeezed, which may lead to cracking in drought conditions. Conversely, moisture-retentive soil should feel cohesive and a bit sticky, needing to maintain the appropriate balance for lavender to flourish. Distinguishing between water-stressed plants and those suffering from root rot is essential; checking for visible fungal growth or soft, mushy roots can alert you to root problems that need to be addressed immediately.
In some situations, soil inconsistency can lead to poor moisture retention. If the soil seems moist but the surface dries quickly, consider increasing mulch for moisture retention without smothering roots. If you notice the mulch compacting too tightly or developing a crust, it can hinder water movement, resulting in dry surface layers. Regularly checking helps catch issues before they escalate, allowing you to give your plants the attention they need without unnecessary panic. A simple inspection like this can prevent severe water deficiency, enhancing the plant’s long-term resilience and flowering potential.
Step 4 – Rehydrate Lavender After Drought Stress
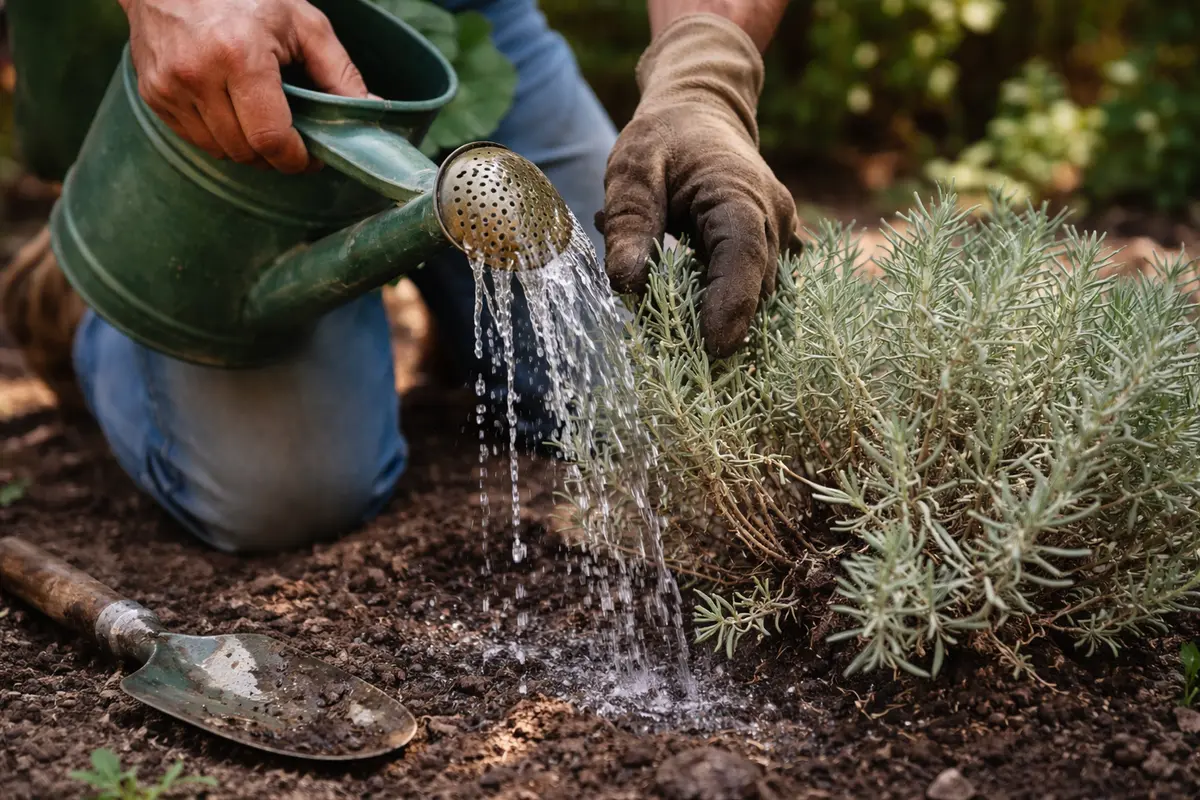
Water your lavender plants deeply until moisture reaches approximately six inches down into the soil. This method ensures that roots are eating well—essential for recovery. You should observe a noticeable perk in the leaves within a few hours, indicating a positive response to hydration. Be attentive; new growth or even the return of vibrant colors can signal that thorough watering has occurred within a day or two.
Deep watering is crucial, as it encourages roots to grow deeper into the soil, seeking moisture and nutrients. This leads to a more resilient plant in the future, capable of enduring drier spells more effectively when it has firm footing. Rapid rehydration during recovery can awaken dormant leaf buds, promoting eventual new growth over time. However, it’s essential not to overflow the area, as overwatering can incur additional stress, leading to root rot—a silent yet deadly condition that can set in if the plants remain soggy and waterlogged.
Be cautious not to rush this recovery process by overcompensating with an overwhelming amount of water. A common mistake is to assume that more water equates to faster recovery, which can instead prompt root issues. Observe the soil; if water begins to pool on the surface, it indicates you’re saturating the area too quickly, which can lead to root suffocation. Monitor your lavender closely for wilted or yellowing leaves shortly after watering—they may be symptoms of overdoing it, which can be just as damaging to plant health as stress from drought.
Step 5 – Water Lavender Consistently During Hot Days
Start by establishing a consistent watering routine, ensuring your lavender receives deep watering once a week. As you stick to this regimen, you should see the leaves regain their lush green color and resilience against curling within a few weeks. Healthy plants thrive on predictability, especially during fluctuating weather.
Hot and dry conditions often lead to moisture stress, causing lavender leaves to curl as a defense mechanism. Implementing a dedicated watering schedule directly targets this stress by ensuring the plants have adequate moisture levels during extreme weather. Without this regular water supply, uncurled leaves can signal that the lavender is merely surviving rather than thriving—a condition you want to avoid at all costs.
During the peak summer months, adjust your watering frequency to every five days if temperatures exceed 85°F. If you notice your lavender’s soil drying out faster, check for signs of rootbound plants, which need transplanting to avoid further stress. Rootbound conditions can also contribute to nutrient deprivation, compounding the stress your plants face, leading to a cycle of decline.
Lavender requires precise watering routines to avoid stress during peak heat when evaporation rates skyrocket. Consistent moisture helps maintain balanced growth, enhancing the plant’s capacity to withstand remaining drought conditions. Established, healthy plants can still face stress, but proactive measures will keep damaging symptoms at bay. As summer progresses, remember that soil moisture needs may change; staying vigilant allows you to adjust your care accordingly.
Additionally, altering your watering frequency depending on seasonal changes can prevent recurrence. When temperatures rise significantly or you notice signs of drought, think about watering more frequently to promote optimal conditions for your lavender. Implementing these adjustments will improve root stability and growth while supporting effective photosynthesis as your plants absorb sunlight, helping them combat stressors more efficiently.
Step 6 – Inspect Lavender for New Curl Patterns Weekly
Start by inspecting your lavender plants closely at least once every few days. Look for signs of wilting or discoloration in the leaves, which indicate stress due to drought. Healthy lavender should show vibrant green leaves, while curled or browning edges suggest that your plants need immediate hydration and care to recover.
A fully recovered lavender plant will exhibit lush, upright leaves with a vibrant green hue and a pleasant fragrance when disturbed, indicating it has rebounded from stress. In comparison, early signs of the problem returning include leaves that appear dry, curled, or pitted, often displaying a dull color. If the leaves lose their firmness and start feeling papery, this confirms a need for further attention.
If the curling returns despite proper watering and care, check for root rot or insufficient drainage, as they can exacerbate drought stress. In this case, consider addressing issues like soil composition or pot size to enhance drainage. When these complications are ruled out, re-evaluating your watering schedule or protecting the plants from harsh sunlight may be necessary.
A fully recovered lavender plant displays lush, green leaves that are firm to the touch and free from curl. In contrast, early signs of the problem returning might include leaves that begin to crinkle again, appearing limp and starting to turn a dull yellow. If the leaves remain brittle or the plant is not producing new growth, check the soil’s drainage as poor conditions can exacerbate stress.
If curling returns despite following these care steps, consider using mulch to retain moisture around the base of the plant. If problems persist, escalate the situation by assessing for root rot or transplanting to a better-draining location, as stagnant water can lead to additional stress on the lavender.
Observing how the plants respond after treatment offers insights into the effectiveness of your recovery strategies. A fully recovered plant will typically show healthy, upright leaves with vibrant colors. If you notice leaves start curling again, consider this a warning sign; wilting or browning may indicate that stress returns and that immediate action is needed. Regular inspections can allow you to spot issues before they escalate into serious problems, which usually helps maintain plant health over time, especially after environmental changes.
If you notice signs of curling returning, consider implementing additional strategies, such as adjusting your watering schedule or checking the location for adequate sunlight and airflow. Some situations may require a soil mix change or improved watering methods, especially during fluctuations in weather or humidity levels that challenge lavender’s innate resilience. Consistency and patience are vital during this phase to ensure overall success, so be prepared to modify your care routine as conditions change.
FAQ
How long does it take for lavender to recover after curling leaves?
The recovery time for lavender after curling leaves can vary, but you may start to see improvements within a week of proper care. With consistent watering and attention, you might notice new leaf growth and a return to health within 2-4 weeks, provided you have effectively tackled any underlying issues. Consistent monitoring throughout this period can enhance recovery opportunities dramatically.
Can overwatering cause lavender leaves to curl as well?
Yes, overwatering can also cause lavender leaves to curl, but the symptoms will differ from drought stress. If the soil remains consistently soggy, plants may exhibit yellowing, wilting, and possibly a sour odor from overly damp conditions. These are signs of root stress or disease, which could lead to more serious issues down the line if corrective measures aren’t quickly employed.
Should I remove all affected leaves from my lavender plant?
It is advisable to remove significantly affected leaves to allow the plant to focus on healthy growth. However, if some leaves still show signs of health, leave them intact to support ongoing photosynthesis and energy generation. Retaining healthy foliage is key; this balance encourages more vigorous growth while minimizing the stress of total leaf loss on the plant. An incremental approach often yields the best results in promoting recovery and generating new growth on healthy plants.