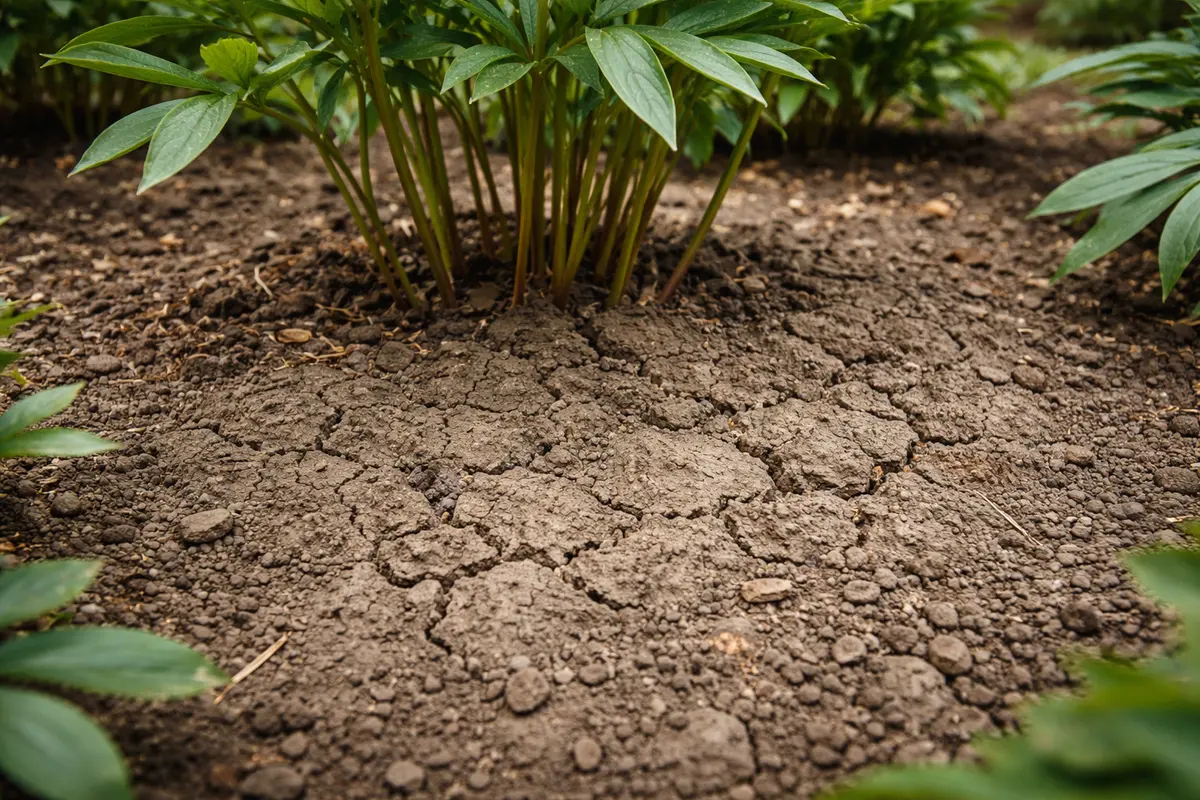
You may notice your peonies struggling during spring, often displaying signs of wilting and poor growth, which is why you need to know how to fix compacted soil around peonies during spring. This problem arises when the soil becomes dense, restricting root growth and preventing water and nutrients from reaching the plants, resulting in yellowing leaves and drooping blooms. If left unaddressed, the issue can worsen, stalling growth and leading to more damage, but it’s possible to improve the situation by aerating the soil and adding organic matter to restore vitality.
Step 1 – Loosen Compacted Soil Around Peony Roots
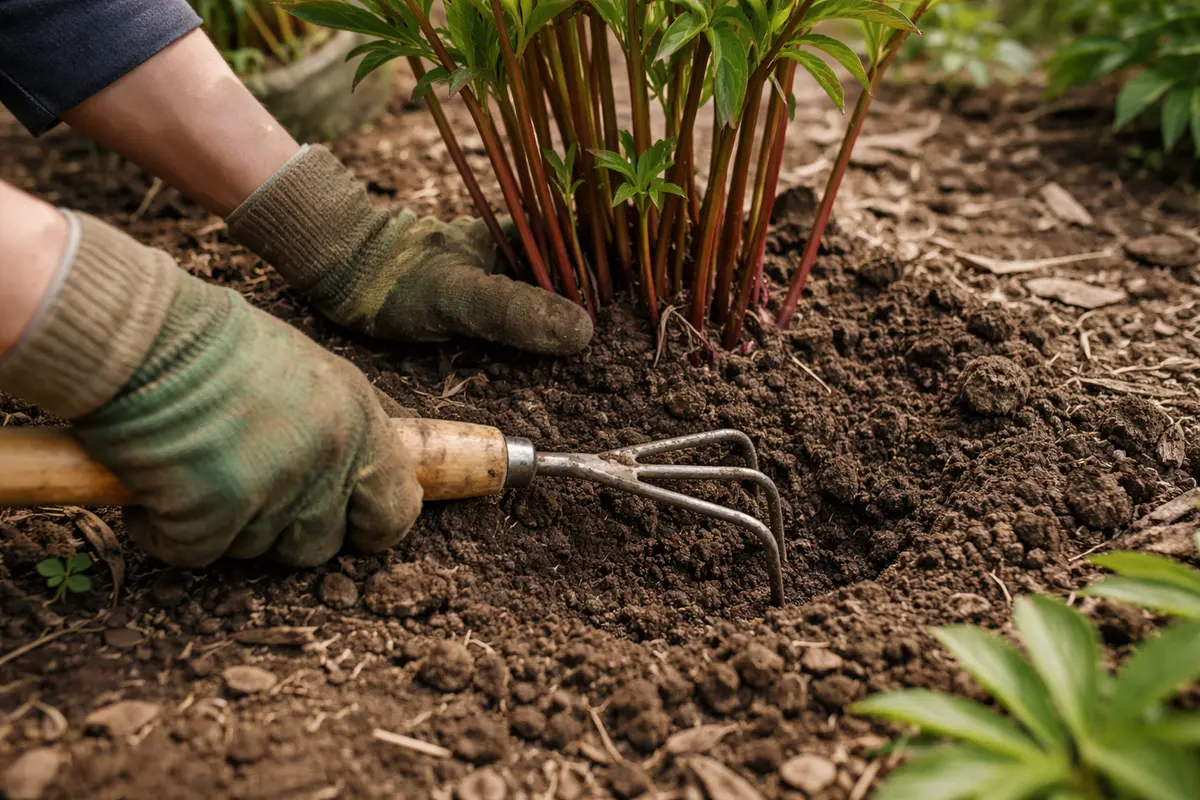
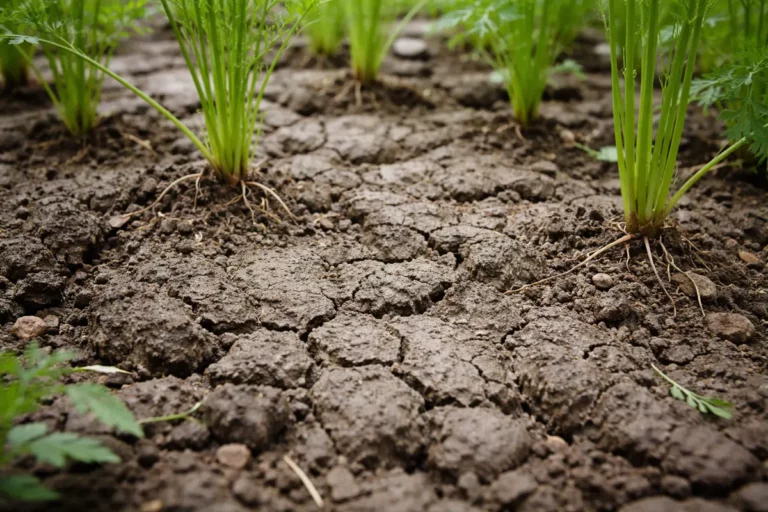
Start by loosening the compacted soil around the roots of your peonies. You should see the soil appear more crumbly and aerated just a few hours after this action. Using a garden fork, gently penetrate the soil at least 6 to 8 inches deep, being careful not to damage the roots. Insert the fork at a slight angle and lift the soil, which allows more air circulation. After loosening, the soil should easily crumble between your fingers, indicating successful aeration.
This action is critical because peonies require well-aerated soil to absorb necessary nutrients and moisture. Compacted soil restricts roots’ ability to expand and access air, making them prone to diseases and nutrient deficiency. If you delay in loosening the soil, the plants’ poor condition will only worsen, and root rot could become a serious risk if moisture is trapped in the tightly packed earth. Compaction can also lead to stunted growth and less flowering in the current season. You can confirm soil compaction by pushing your finger into the soil; if it requires significant effort, it’s too compact.
A common mistake during this process is to apply excessive pressure when using tools, which can inadvertently hurt the plant roots. Avoid stabbing too hard or overturning large clumps of soil to maintain the integrity of the root system. If you feel resistance as you work, reconsider your angle and depth to avoid causing distress to surrounding roots. If you experience difficulty loosening the soil, this could be indicative of deeper compaction issues requiring a different approach, such as incorporating soil amendments. Remember, your goal is to create a space for air and moisture without inflicting harm, which can be achieved through gentle movements while digging.
Step 2 – Test Soil for Compaction Issues
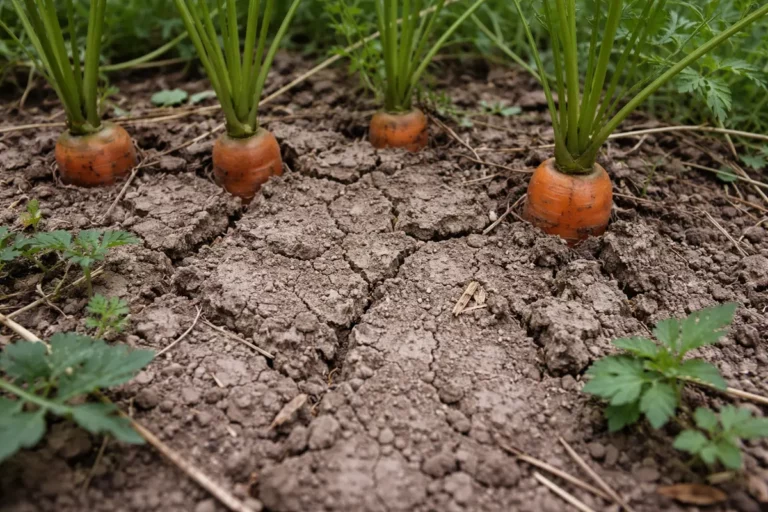
Check the soil’s moisture and porosity to gauge its condition. You will notice the soil’s texture change as you dig into the layers; it should feel loose and crumbly. This process will help identify whether the issue stems from overwatering, poor drainage, or simply compaction. Use your fingers to feel for compact layers; if they feel hard and solid, compaction is the likely culprit, indicating a severe need for correction.
When soil is compacted, pore spaces between soil particles are reduced, hindering air flow and water infiltration. As a result, it can lead to a scenario where moisture accumulates, restricting root growth and risking root rot. Alternatively, if the soil is dry and hard, this indicates that water is not being absorbed effectively, a consequence that directly ties back to compacted soil. Probing deeper areas of soil can provide insight; a 6-inch depth should yield softer, more pliable soil, indicating successful water penetration.
If you discover that the soil produces a sour smell, this suggests anaerobic conditions, requiring immediate intervention to amend soil structure. Implementing soil amendments such as compost can improve aeration and drain excess moisture, promoting healthy root systems. Alternatively, if the soil texture remains hard and solid, even after loosening, this indicates that the amendments need more time to work. If this sour smell persists even after loosening, it may sometimes indicate ongoing rot or disease, urging you to treat the roots with care and consider alternative pathways for improving drainage. If the soil feels overly saturated and gives off an unpleasant odor, it might also suggest the necessity for further drainage solutions or a reevaluation of your watering schedule.
Step 3 – Water Generously to Aid Peony Recovery
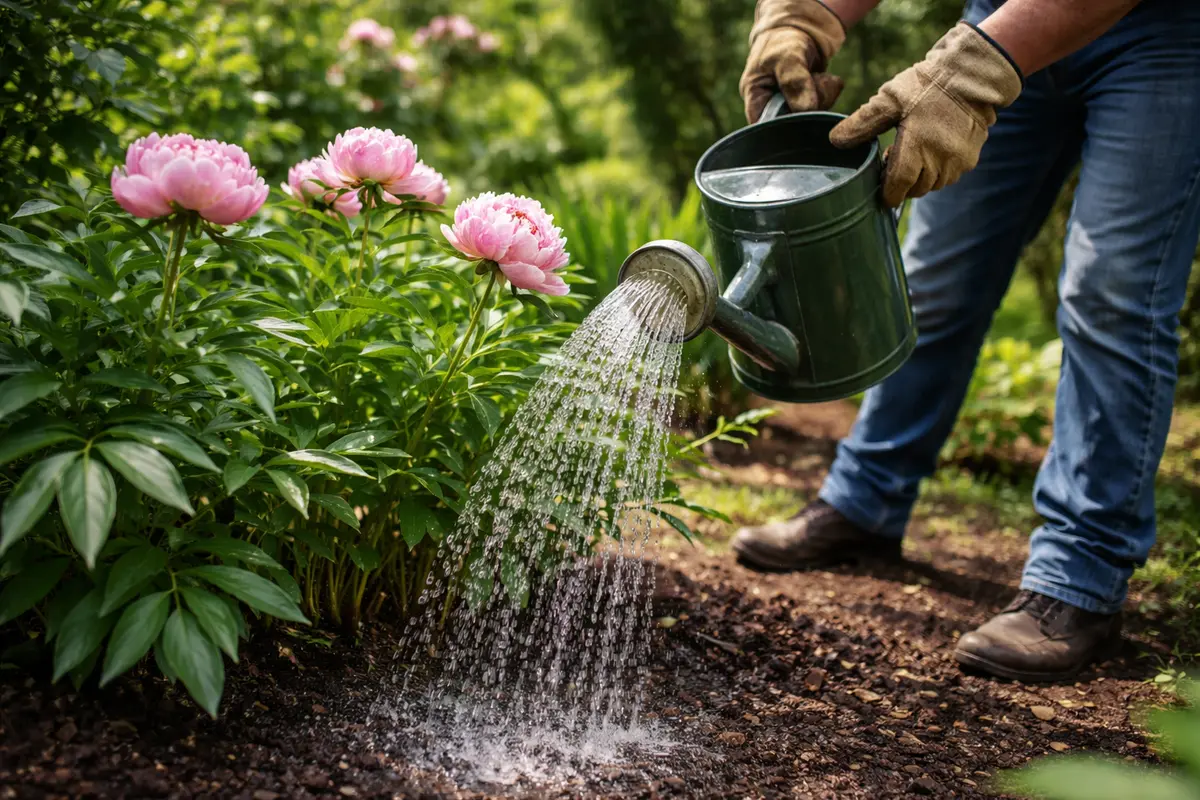
Water the peonies thoroughly after aeration to help revitalize their conditions. You should see a noticeable improvement in their leaf texture and overall vitality within a week. Make sure to saturate the soil until it is evenly moist but not waterlogged; approximately 1 to 2 inches deep of watering is ideal to facilitate proper nutrient absorption. This creates a balanced environment for the roots to flourish, promoting healthy growth.
Adequate watering boosts nutrient uptake and supports the recovery process by encouraging the roots to re-establish themselves in the loosened soil. This action is essential, especially after you have aerated the soil, as it will knit the soil particles together while maintaining a healthy moisture level. Watching for runoff can also be indicative; if you see water pooling on the surface instead of soaking in, this is a sign to adjust your watering technique. If insufficient or excessive watering occurs, the existing compaction issue can exacerbate, leading to a ripple effect of stress on the plants.
During this recovery phase, be cautious about over-watering as it can lead to further compaction or root rot. It’s best to check moisture levels visually and by feeling the soil about two inches down; if it feels dry to the touch, it’s time to water again. Avoid the temptation to flood the soil, as this will not help the peonies speed up their recovery and may result in a soggy environment that can lead to more compaction. If you notice sogginess even a day after watering, consider postponing your next session until the soil dries out a bit. If, on the other hand, the soil appears too dry despite recent watering efforts, reassess your watering frequency and consider adjusting the amount to suit the plant’s needs.
Step 4 – Encourage Drainage to Prevent Future Compaction
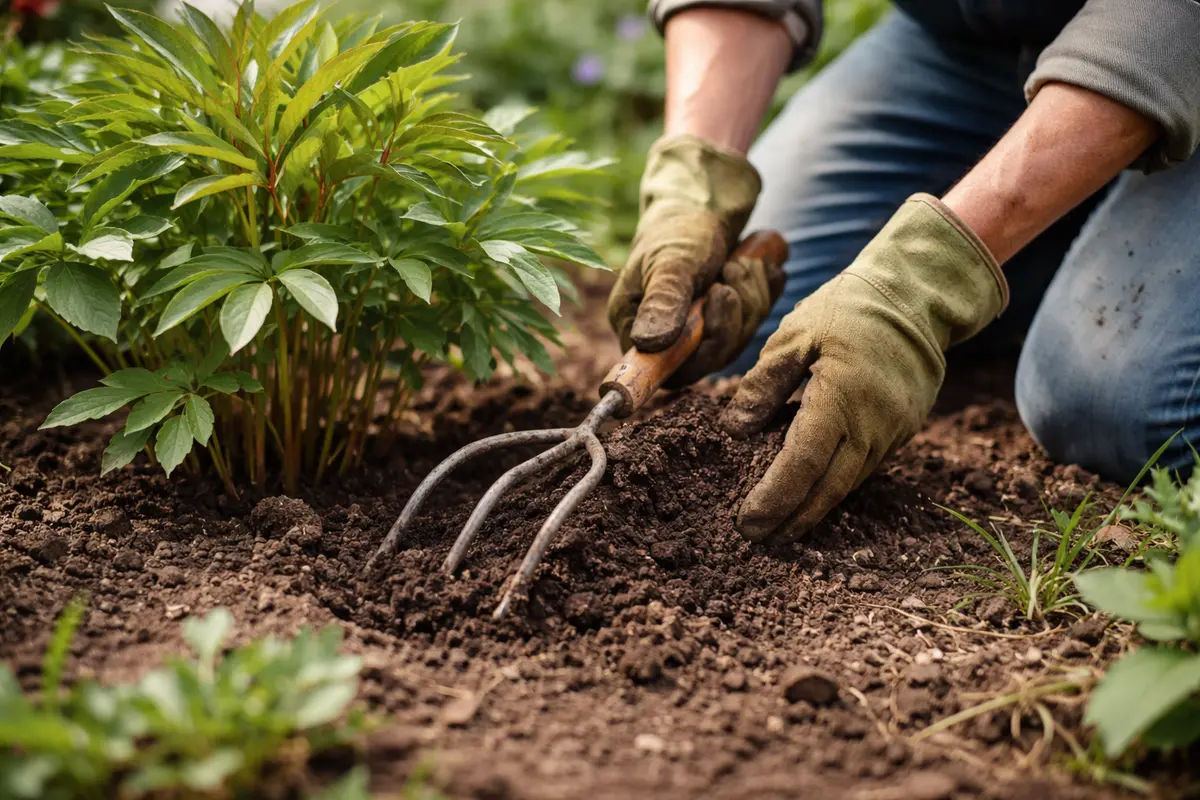
Start by loosening the compacted soil around your peonies with a garden fork or tiller to a depth of at least 12 inches. This will improve aeration and drainage, leading to healthier root development and robust blooms.
Compacted soil commonly arises from heavy foot traffic or overwatering, which creates dense layers that restrict root expansion. By aerating the soil in spring, you reduce waterlogging and allow essential nutrients to reach the roots more effectively, creating a thriving environment. If you notice a lack of drainage during rain, it confirms compaction; if not, check for other issues like fungal infections or root rot.
In seasons of high rainfall, consider adding organic mulch to maintain moisture without risking further compaction. Alternatively, if your area experiences dry spells, implement a regular watering schedule to keep the soil from hardening again, ensuring that your peonies continue to thrive without interruption.
Adding organic materials improves soil structure, enhances drainage, and increases aeration, effectively buffering against future compaction. Moreover, utilizing mulch not only helps retain soil moisture but also suppresses weeds that can compete with peonies for nutrients. Make sure to apply a 2 to 3-inch layer of mulch, which will gradually decompose and add valuable nutrients back to the soil. These compounds can add beneficial organic matter that further reduces compaction risks when combined with rainwater or nutrients released gradually.
During dry spells, it’s crucial to adjust your watering plan to maintain soil moisture without risking compaction. If your area has heavy clay soil, consider incorporating sand or gypsum to improve drainage capacities and lower compaction risks during rainier periods. A common oversight is failing to apply these amendments, which can lead to perpetual issues with compaction, especially after heavy rains. If left unaddressed, compacted soil can become a repeat issue every spring, tight and resistant to nutrient uptake; consistent preventive measures will keep peony roots thriving in a supportive environment.
Step 5 – Inspect Peony Leaves for Signs of Stress
Monitor your peonies regularly for signs of stress, focusing on their leaf texture and color. You should check the leaves for any yellowing or wilting within the first couple of weeks post-intervention. Making these checks every week will help you gauge their recovery effectively and catch any issues early. Healthy peony leaves should show a vibrant green color with no curling or wilting, indicating successful recovery.
As the peonies recover, look for new growth, vibrant green leaves, and an overall return to vigor. However, if the yellowing or wilting persists, it may indicate underlying issues such as root rot due to prolonged compaction or continued plant stress. By assessing both the leaf texture and the overall health of the plant, you can determine the need for further intervention, prioritizing healthy growth factors. Keeping a close eye during the recovery phase ensures any lingering issues can be resolved before they escalate into major problems.
If signs of stress return, it may require going back to earlier steps, including re-loosening the soil or adjusting your watering regimen. Always assess if the area may need amendments or whether nearby plants may influence the health of your peonies with their own resilience or drainage patterns. Early detection and intervention can help nip any developing issues in the bud—like intervening at the first sign of stress can often turn a potential disaster into a simple fix. Consider setting a schedule for regular inspections, especially after adverse weather conditions, to maintain optimal health.
FAQ
How long does it take for peonies to recover from compacted soil issues?
Peonies typically start showing signs of recovery within one to two weeks after addressing soil compaction and adjusting watering levels. Full recovery, which includes new growth and a return of vigor and blooming, may take several weeks, depending on environmental conditions and how severely the problem was addressed before. Ongoing care will further enhance the recovery timeline.
Will overwatering lead to more compaction in peonies?
Yes, overwatering can exacerbate soil compaction by forcing air out of the soil and causing the soil particles to become denser. This creates a cycle where roots struggle to access water and nutrients due to excessive saturation, worsening the problem over time, leading to disease and possible root death. It’s essential to balance watering based on real-time soil observations to prevent this from occurring.
Should I remove any yellow leaves from my peonies after fixing the soil?
Yes, removing yellow or damaged leaves helps the plant conserve energy for healthy growth. This also prevents potential issues like pests and diseases, which are more likely to thrive on weak or dying foliage. Regularly checking and trimming back those leaves can also identify underlying issues before they escalate; targeting any affected leaves can assist overall health, especially after stress conditions like soil compaction.