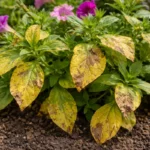
You may notice your basil plants exhibiting stunted growth after heavy rain, which is why you need to know how to fix stunted growth in basil after poor drainage. The excess moisture can lead to yellowing leaves and wilting stems, indicative of stress from inadequate drainage. If left unaddressed, this issue gets worse and can spread, ultimately weakening the plant’s vitality. Fortunately, fixing it is possible now; you can inspect the soil, adjust its drainage, and improve air circulation around your basil to encourage robust growth.
Step 1 – Prune Overwatered Basil Stems Now
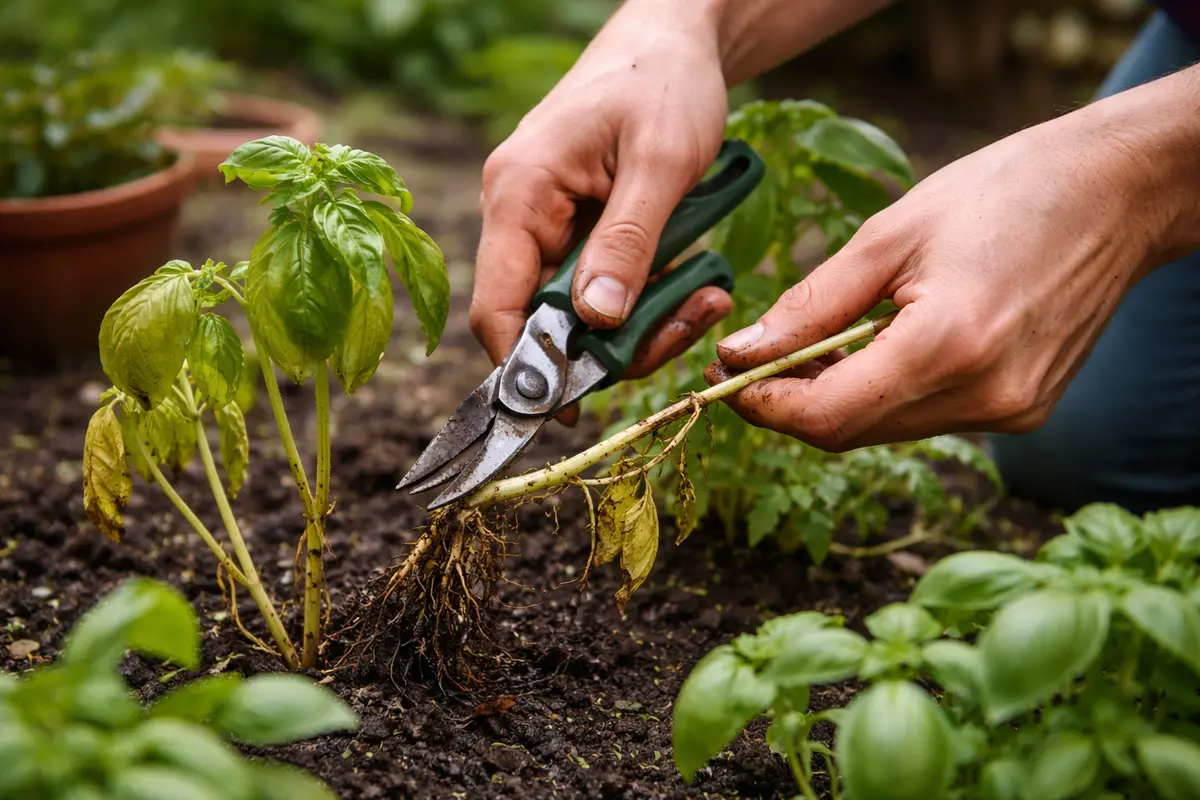
Begin by removing any discolored or mushy stems from the basil plant to prevent further damage. You will notice healthier foliage remaining, which can aid in the plant’s recovery. Ensure that the cut stems are at least an inch above any affected tissue to maximize the chances of regrowth.
Acting fast is critical; basil struggles in poorly aerated soil, and overwatering can lead to stunted growth due to a lack of oxygen at the roots. If you see yellow or wilting leaves, it indicates that the plant is not getting the necessary nutrients and is under stress. Taking prompt action can halt the deterioration and provide a path to recovery.
A common oversight is neglecting the pot’s drainage holes; if they are obstructed, water will accumulate, worsening root rot. For instance, one gardener lost an entire basil crop because they overlooked water pooling at the base of the pot. If your basil is wilting, check to see if the drainage holes are clear and that excess water can escape to prevent similar issues.
Immediate action is vital for basil; prolonged wet conditions can cause root rot, which disrupts nutrient uptake and damages overall growth. If you observe yellowing foliage alongside stunted growth, this could indicate root stress. After confirming the roots’ health, replanting into fresh, well-draining soil may be necessary to aid recovery.
Often, gardeners hesitate to intervene, mistakenly believing the growth issues will resolve with time. A proactive gardener who cleaned their pot drainage noted considerable recovery within a week, while another who delayed saw their plant succumb to rot. If your basil is wilting yet you don’t see any drainage issues, inspect the soil moisture levels to avoid overwatering pitfalls.
Pruning immediately channels the plant’s energy to healthier stems, minimizing the risk of attracting pests or diseases that thrive in weakened plants. By directly addressing the affected leaves, you’re reducing ongoing decay while helping the plant to signal improved conditions. Within days of pruning, you may see a return of a brighter green hue in the remaining stems, showing they are responding positively. If the growth seems weak or elongated, this could suggest the plant is still struggling to recover.
It’s a common mistake to delay pruning, hoping the plant will self-correct. However, ignoring the need for immediate action can give rot the chance to spread if damaged stems remain. This could result in more significant foliage decline, needing severe measures like replacing the entire plant. Prioritize this step to stabilize your basil and create a foundation for recovery. Notably, if you notice blackened stems, this is a clear indication that rot has set in, and those sections must be cut back without delay to prevent further issues. Make sure to also evaluate the surrounding soil, as healthy roots indicate that moisture issues were likely the primary concern.
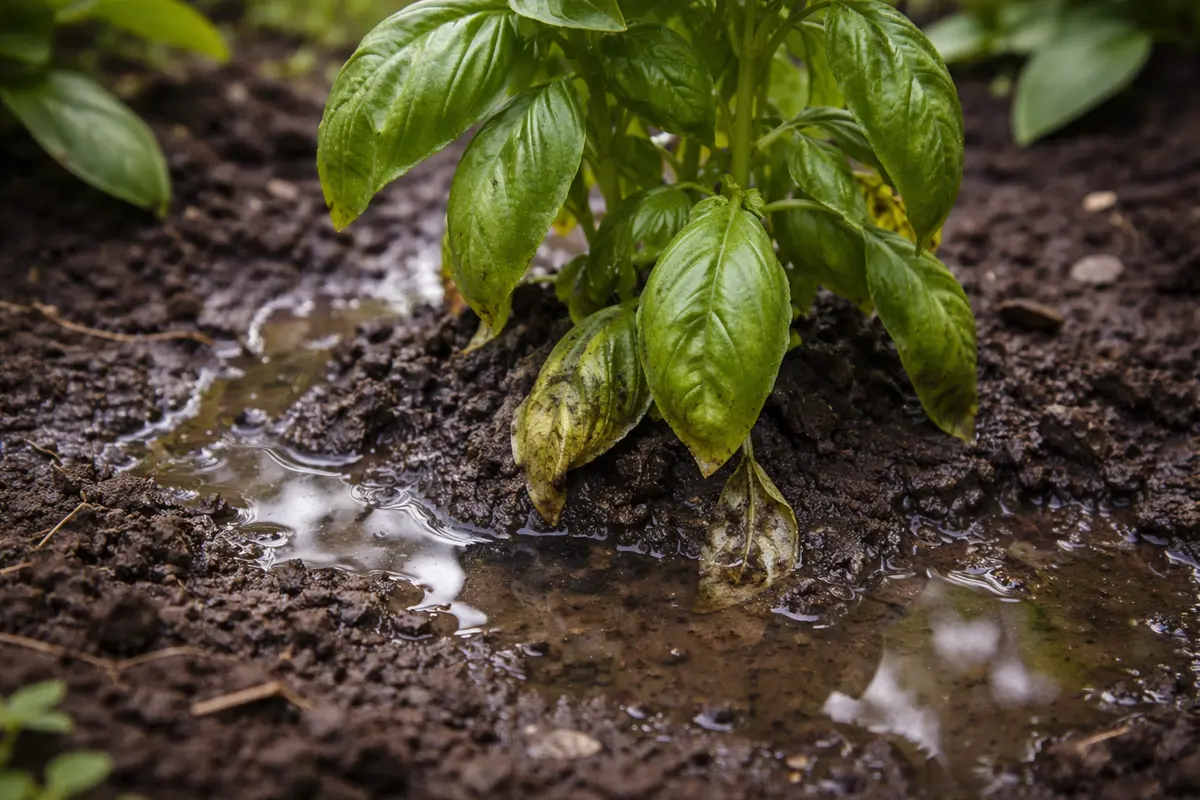
Step 2 – Diagnose Poor Drainage Issues in Basil
Inspect the soil for signs of water saturation and poor drainage. If the top inch of soil feels overly wet, you’ll notice slower recovery in your basil, leading to worse symptoms over time. The first visible indicators of poor drainage often include water pooling on the surface or a longer-than-normal wait for the soil to dry out after watering. In addition, look for any algae growth on the surface, which can signal excessive moisture in the soil. A pro tip is to perform a “lift test”: gently lift the pot to assess its weight; a waterlogged pot will be noticeably heavier compared to a well-drained one.
This situation arises because healthy basil requires well-aerated soil to thrive. Poor drainage leads to root suffocation and reduces the plant’s capacity to absorb nutrients and moisture adequately. Over time, this can manifest through symptoms such as wilting leaves, stunted growth, and even total plant failure. To illustrate, imagine roots that are consistently waterlogged; they can’t access the oxygen they need and become mushy and brown from decay, compromising their ability to support the plant. If you observe these signs, immediately assess your soil mixture. For correction, ensure the drainage in your pot is adequate by repotting basil into a high-quality, well-draining soil mix, ideally one for herbs, as garden soil often retains too much moisture.
If you notice a sour smell coming from the soil, it’s a clear sign of decay and requires prompt action. Repot the basil in a new, well-draining mix, ensuring your pot has sufficient drainage holes to prevent water from pooling, which commonly adds to the problem. If the holes are blocked, take time to clear them and ensure that excess water can escape easily. In the future, consider using containers made of porous materials like terracotta that encourage evaporation and reduce moisture retention for better drainage. Additionally, avoid planting in garden soil mixed with compost, as they typically retain excessive moisture.
Step 3 – Fertilize Basil to Encourage Healthy Growth
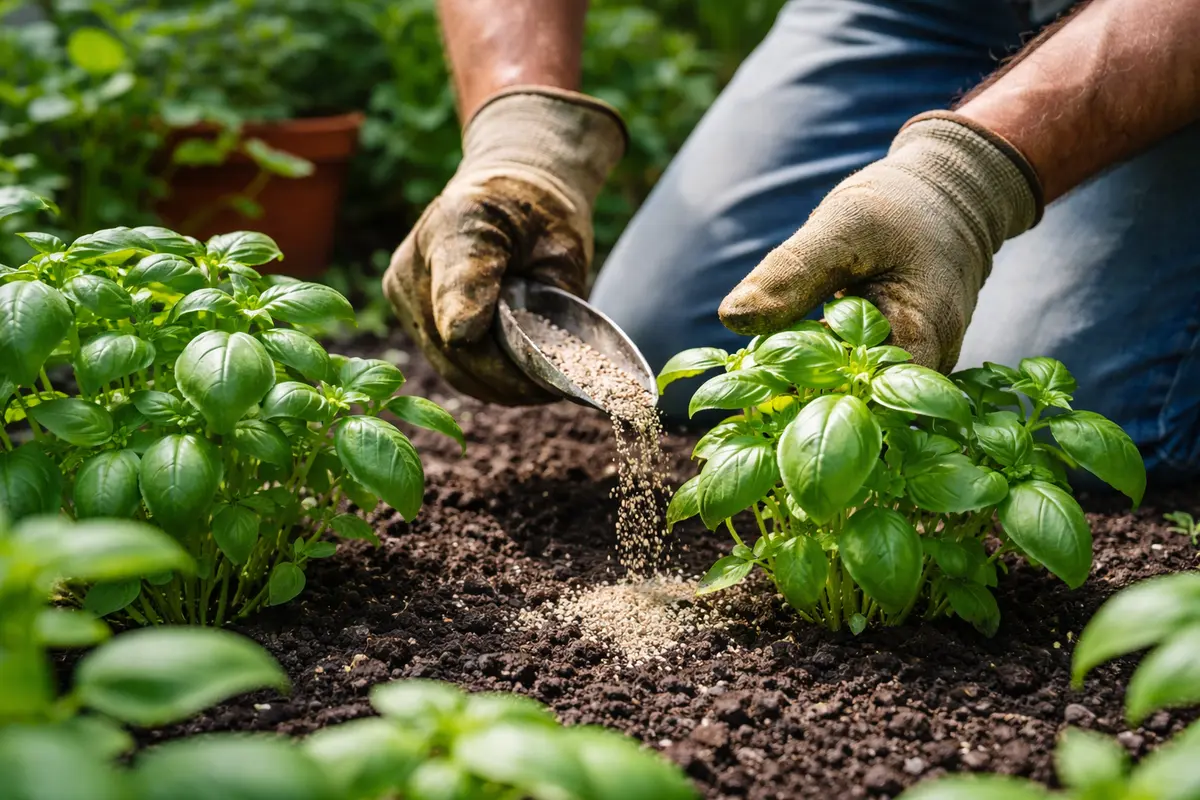
Apply a balanced, organic fertilizer to the soil around the remaining healthy basil roots. Within a week, new growth should appear at the nodes, and the leaves should regain their vibrant green color. Monitor the plant daily to track signs of recovery, as healthy leaves will start to unfurl and become more robust.
Recovery begins when fertilization replenishes the nutrients lost during the overwatering phase. If the leaves begin to produce a more lush, verdant shade, this indicates the basil is responding positively to nutrient replenishment. However, if the leaves turn dark green with a waxy sheen, it shows the plant is healthy and processing nutrients effectively. Be cautious, though; applying too concentrated a solution can overwhelm the plant, especially if it is still in recovery mode. For optimal results, mix according to package instructions, generally one tablespoon per gallon of water, and target the soil directly with the solution to maximize nutrient uptake.
A common mistake is to over-fertilize in an attempt to hasten recovery, which can lead to nutrient burn. Watch for symptoms such as dark, crispy edges on leaves, indicating stress from excess fertilizer. If the basil displays stress signs again after fertilizing, skip the next application or switch to a less concentrated solution. Continually check the improvements in leaf coloration and growth pattern; vibrant, healthy basil should exhibit robust and lush foliage. If you notice the opposite, consider checking the soil’s pH; it should ideally be between 6.0 and 7.0 for optimal nutrient absorption.
Step 4 – Water Basil Only When Soil Is Dry

Start by checking the top inch of the soil for dryness before watering your basil. When this layer is dry, you prevent overwatering, ensuring healthier root growth. Use your finger to test; if it feels damp at 1 inch deep, wait to water. Also, using a moisture meter provides accuracy in determining when to water.
From here on, maintain a consistent watering routine, checking soil moisture every 5-7 days depending on environmental conditions. Basil thrives with slightly dry soil between waterings, avoiding conditions that suffocate its roots or invite disease. Adjust your schedule with warmer seasons, as soil tends to dry out more quickly. If the basil is in bright light and the soil dries too rapidly, consider moving it to a spot with indirect sunlight to mitigate evaporation.
In hotter months, increase your moisture checks to every few days; conversely, reduce watering frequency during cooler periods as the plant’s growth naturally slows down. If you notice drooping leaves, it indicates the plant is thirsty, requiring immediate watering to revitalize it. To prevent overwatering in unpredictable weather, consider setting up a drip irrigation system for even moisture distribution without flooding the roots. Also, ensure that your pots have appropriate drainage, as some materials can retain excessive moisture, affecting the basil’s health. If the drainage appears inadequate, check the potting mix; a coarser mix can enhance air circulation and allow moisture to escape more effectively.
Step 5 – Check Basil Leaves for New Growth After Care
Inspect your basil leaves every 3-5 days for signs of new growth. You should observe fresh, healthier leaves sprouting from the stems, indicating recovery. For the next few weeks, watch for new growth that is upright and bright green, expanding out from the central stem. If this healthy growth isn’t visible after one week, it may indicate that the soil conditions or watering practices need further adjustments.
After a successful recovery, a fully revitalized basil plant will display vibrant, upright leaves with a rich green hue, sharply contrasting the depressed and yellowing leaves from the stunted growth phase. If you notice any wilting leaves or yellowing reappearing, this could suggest that the underlying issues have recurred, indicating potential waterlogging. Make it a habit to inspect for discoloration, as quickly addressing these signs can save your plant from further decline. If not this—proceed to reevaluate both your watering habits and soil conditions.
If growth does not improve or worsens, consider re-evaluating your potting mix for drainage capabilities or repotting altogether. Assess whether the current soil retains excess moisture and, if necessary, transition to a mix designed specifically for herbs. Sometimes, despite thorough monitoring, switching to a more suitable soil with improved drainage characteristics—such as one containing perlite or sand—may be warranted. When repotting, adding a layer of gravel or stones at the bottom of your pot can further enhance drainage and facilitate airflow to the roots.
FAQ
How long does it take for basil to recover from stunted growth?
Typically, basil can show signs of recovery within 1 to 2 weeks after addressing drainage issues and implementing proper care routines. New growth may start to emerge once the plant stabilizes and is no longer exposed to overly wet conditions. During recovery, maintaining a consistent watering and feeding routine can accelerate this process further. Expectations should be realistic; sometimes initial recovery may be slower, particularly if the roots were severely damaged.
Can poor drainage spread to other plants?
Yes, poor drainage can create a conducive environment for root rot, which can affect nearby plants if they share the same pot or soil. It’s essential to monitor the moisture levels across all plants in your garden to avoid widespread issues, as moisture-loving fungi can quickly expand their reach, compromising multiple plants. Consider preventive measures such as separate potting for different plant types where drainage issues have previously occurred. Regular checks can help mitigate risks before they escalate into full-blown problems.
Should I remove any affected parts of the basil plant?
Yes, pruning off any wilted or yellowing leaves as soon as you spot them is crucial. This action supports the plant in directing energy towards healthy growth, significantly enhancing its recovery potential. By maintaining only healthy foliage, you also minimize the risk of drawing pests that can contribute to further plant stress. Keeping an eye out for pests such as aphids or whiteflies during this period is also prudent; early detection keeps the plant from becoming overwhelmed. Consider using insecticidal soap if pests recur, as this can effectively combat minor outbreaks.