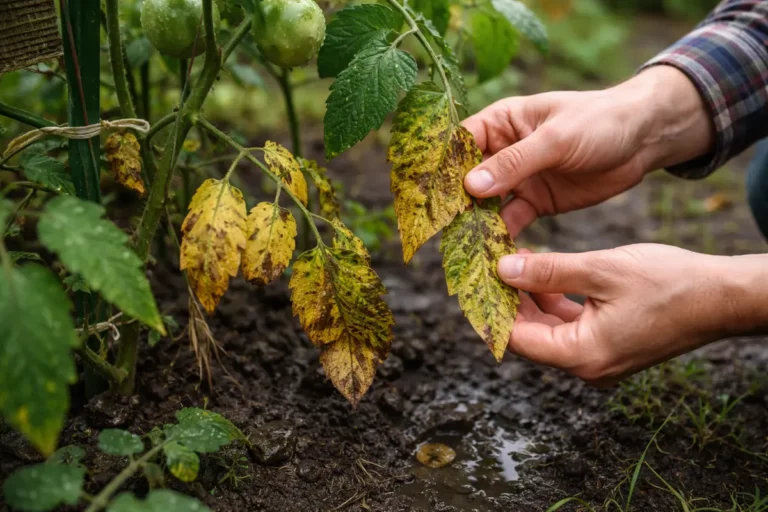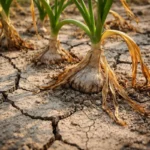
You may notice that your tomato plants are exhibiting yellow leaves during periods of heavy rainfall, which is why you need to know what to do when tomatoes turn yellow after heavy rainfall. This yellowing is often caused by excess water and nutrient imbalances, leading to wilting and leaf drop. If ignored, the problem can spread and weaken the plant, but fixing it is possible now—just check the soil moisture and adjust your watering schedule accordingly.
Step 1 – Inspect Yellow Tomato Leaves Promptly
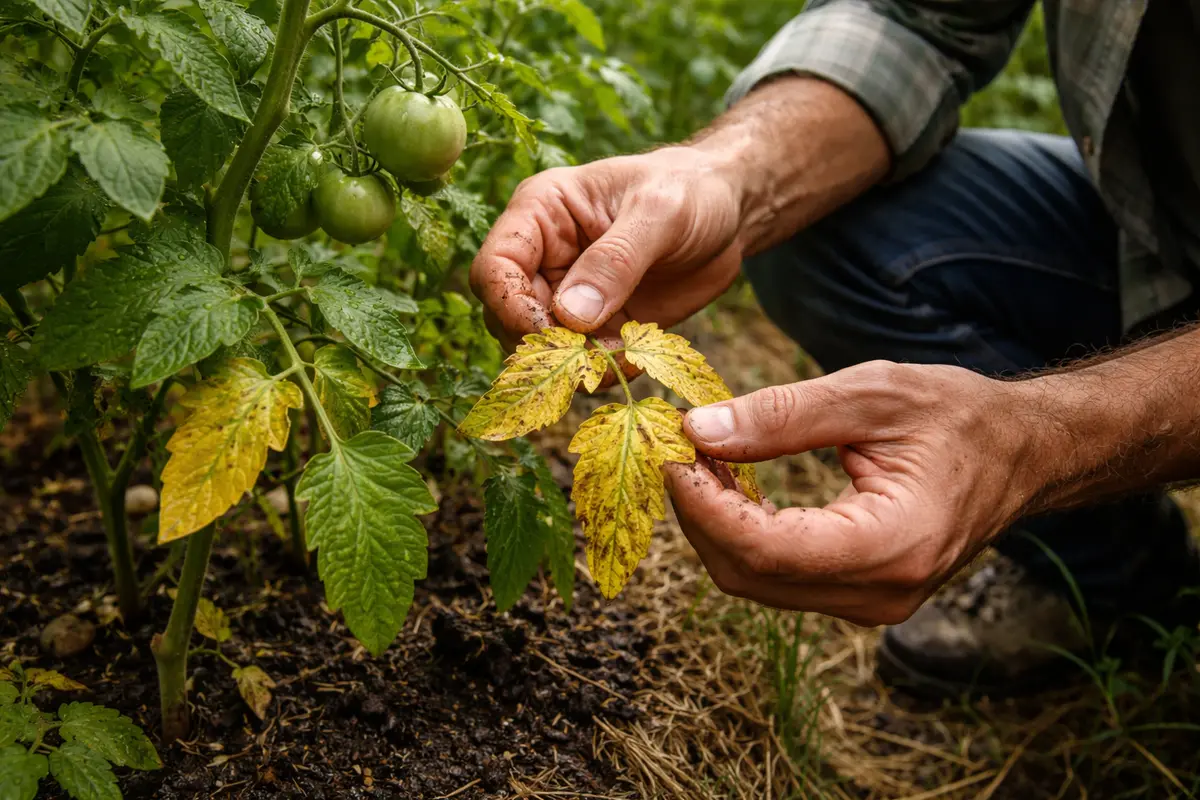
Start by checking the soil drainage around your tomato plants; ensure it isn’t waterlogged and that excess moisture is escaping. If you find water pooling near the roots, gently loosen the soil to promote air circulation and facilitate quicker drying. After taking these actions, you should notice an improvement in the soil’s moisture levels within a day or two, which can help prevent further yellowing of the leaves.
Acting swiftly to improve drainage is crucial because tomatoes are sensitive to overwatering, which can lead to root rot and nutrient deficiencies. Within 24 to 48 hours of heavy rain, if the soil remains saturated, the roots can start to suffocate, leading to cellular damage that manifests as yellowing leaves. If left unaddressed, the plant may completely lose its leaves, while a timely intervention can stabilize the situation and restore the plant’s vigor.
For instance, a gardener who waits too long to address poor drainage may find their plants not only yellowing but also wilting, while another who acts quickly can see gradual recovery and a return to green foliage. A common mistake at this stage is to apply fertilizers when the plant is suffering; this can exacerbate nutrient burn. If leaves are yellowing but not wilting, check for nutrient deficiencies instead.
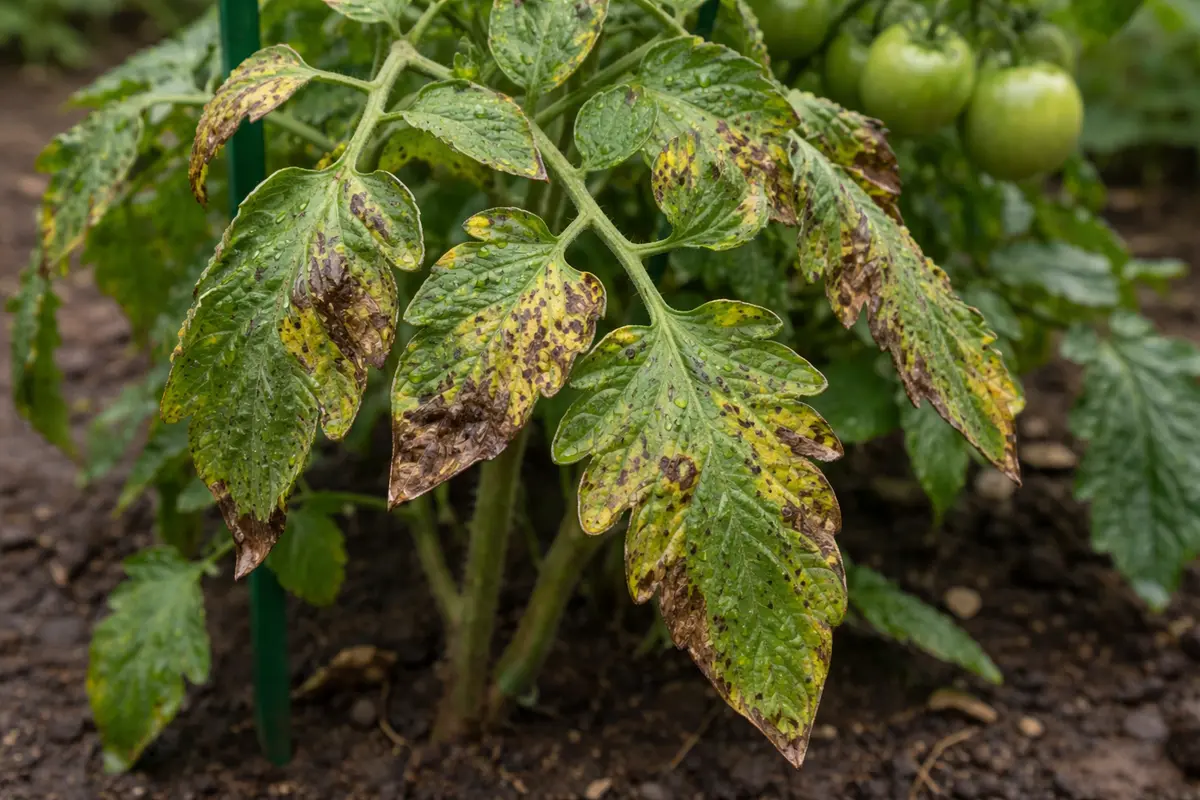
Yellowing leaves can occur due to excess water experienced after heavy rains, which can lead to a lack of oxygen in the soil, impairing root function and nutrient uptake. Over time, unchecked saturation causes nutrient deficiencies, primarily nitrogen, which reduces photosynthesis and overall plant vitality. By acting now, you can prevent further stress on the plant and facilitate a quicker recovery. If you observe that the edges of the yellowing leaves are browning, it indicates a more severe nutrient deficiency that needs immediate attention. Distinguishing between general yellowing and localized browning can help you prioritize interventions for the most affected areas.
A common mistake at this stage includes immediate pruning of the affected leaves without proper diagnosis. While removing yellow leaves might seem like a good idea, it can further stress the plant if the root cause hasn’t been addressed. Thus, take the time to assess the entire plant to ensure that root issues or waterlogging are contributing to the problem. If you start pruning without first ensuring that the roots are not compromised, you risk compounding the issue by removing key foliage needed for photosynthesis. Instead, focus on establishing a thorough understanding of the plant’s condition before proceeding with drastic actions like pruning.
Step 2 – Diagnose Excess Water Impact on Tomatoes
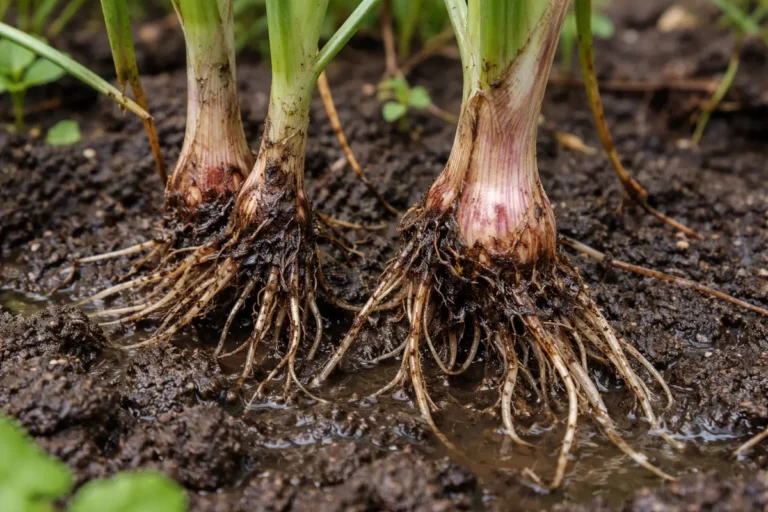
Check the soil’s moisture level by inserting your finger two inches deep into the soil around the roots. You should feel whether the soil is waterlogged or maintains a suitable moisture level. Identifying excess moisture allows you to take corrective actions swiftly. If you notice that the soil clumps together rather than crumbles, it is likely saturated, indicating that steps need to be taken to improve drainage. If the soil feels muddy and appears darkened in color, this further confirms the issue with water saturation.
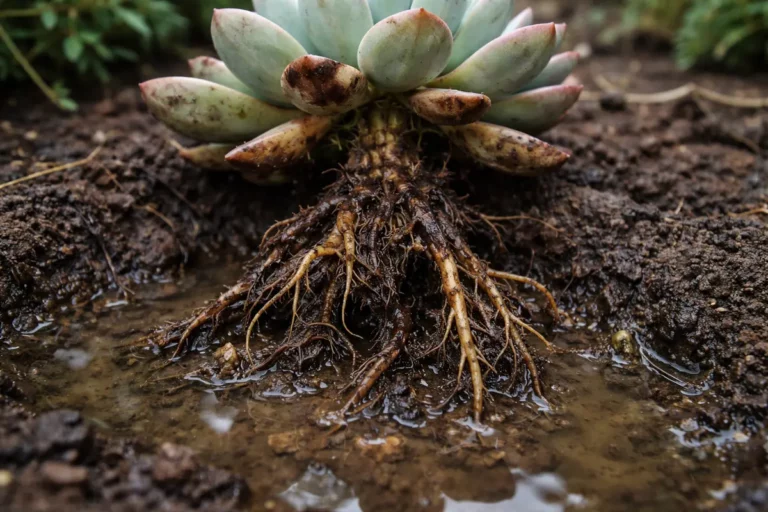
If the soil feels overly saturated, it indicates potential root suffocation; this impairs nutrient absorption, leading to the yellowing leaves you’re observing. If such saturation continues, the roots may begin to rot, which can severely affect plant health, especially in young tomato plants that are less resilient. Addressing the underlying waterlogging quickly is essential to restore balance and prevent further deterioration. In highly compacted soil, you might also notice a slight odor, which can signal anaerobic conditions not suitable for healthy root development. If the soil has an unusually sour or rotten smell, it is a clear red flag for root rot, necessitating immediate action.
If the soil has a sour smell or exhibits poor drainage, implement drainage solutions like digging trenches or incorporating organic material to enhance aeration. Conversely, if the roots feel firm but the leaves are still yellowing, consider checking for nutrient deficiency caused by salt accumulation from fertilizers. Gradual salinity buildup can occur if fertilizers are applied heavily without proper water management, further complicating nutrient uptake. If yellowing persists despite proper drainage, consider conducting a soil test to identify nutrient levels. Proper diagnosis is vital; acting on visual cues will help tailor the solution for your specific situation, speeding up recovery.
Step 3 – Fertilize Affected Tomatoes to Aid Recovery
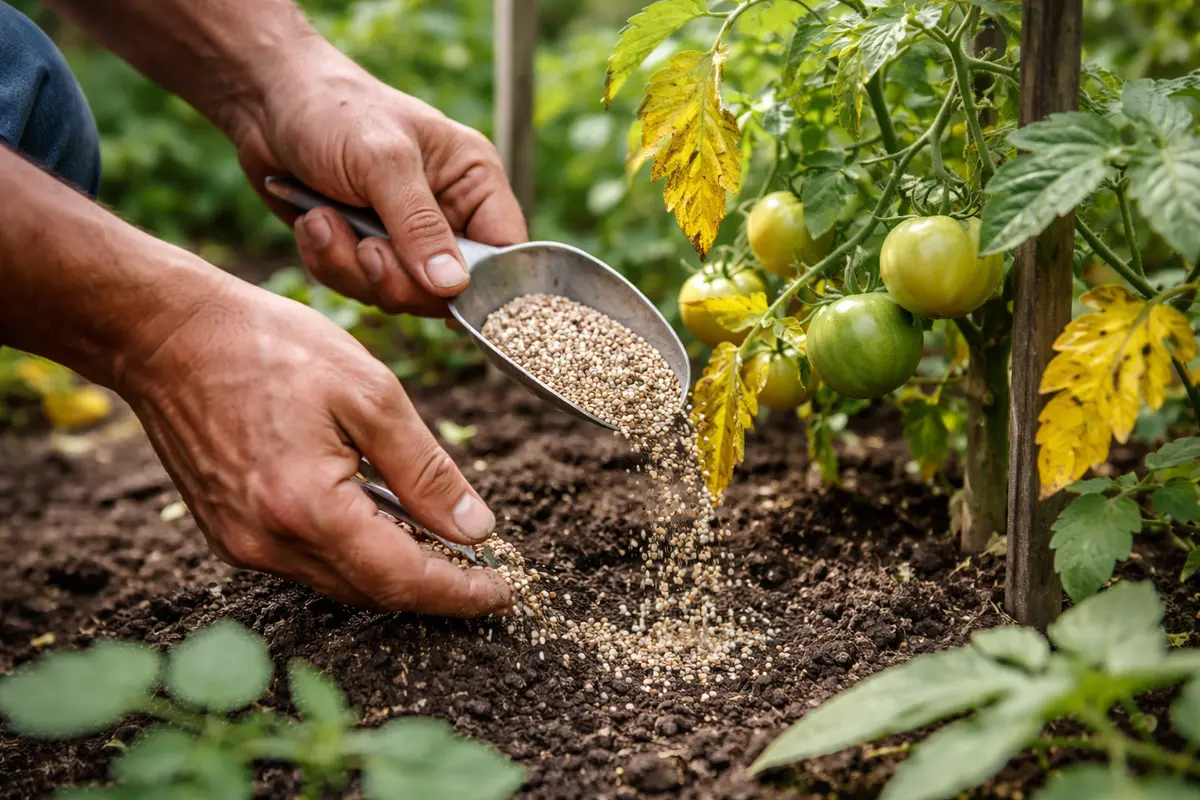
Apply a balanced fertilizer specifically formulated for tomatoes to the affected plants. You should notice a gradual improvement in leaf color and overall plant health within a week. This action will provide the necessary nutrients that the overwatered plants may have lost. Aim to use a fertilizer that contains a balanced ratio of nitrogen, phosphorus, and potassium, such as a 5-10-10 formulation, as this will promote both leaf and fruit development effectively. Ensure you follow the instructions on the fertilizer package closely to avoid over-fertilization later.
Tomato plants require adequate levels of nitrogen, phosphorus, and potassium. Fertilizing will replenish depleted nutrients, aiding in chlorophyll production, which contributes to green color and promotes energy production through photosynthesis. Additionally, using a slow-release fertilizer ensures the roots will absorb nutrients gradually, supporting steady growth during their recovery phase. It’s wise to water the plants lightly before applying fertilizer; this helps the soil absorb the nutrients more effectively, preventing potential root burn. Attempt to fertilize when the soil is moist but not overly wet to enhance absorption.
A common recovery mistake involves over-fertilizing, which can lead to additional stress and chemical burn. Stick to the recommended application amount and frequency to avoid overwhelming the plants. Monitoring the forecast is also crucial; if rain is expected soon after fertilization, consider adjusting the timing to prevent nutrient leaching. If the plants show signs of stress after fertilization, such as curling leaves or brown tips, reduce the fertilizer amount in subsequent applications. It’s also useful to space out fertilizations; typically every four to six weeks is appropriate for tomatoes, rather than applying a heavy dose all at once.
Step 4 – Protect Tomatoes from Future Excess Rainfall
Start by ensuring your tomatoes receive adequate drainage by amending garden soil with organic material and creating raised beds. This action will prevent waterlogged roots, promoting a healthier growth environment where yellowing is minimized.
Heavy rainfall often saturates the soil, leading to root rot or nutrient leaching, both of which contribute to yellow leaves. By enhancing drainage and improving soil structure, you address these problems, allowing roots better access to nutrients and moisture, thus preventing reoccurrence of yellowing after future rains. If you observe yellowing despite these measures, check for compacted soil or fungal infections that may have gone unnoticed.
During particularly rainy seasons, consider installing a drip irrigation system that can provide precise watering when needed without saturating the soil. This secondary prevention technique ensures a consistent moisture level, an important factor especially when rainfall is erratic, helping tomatoes maintain their vibrant color and health even in wet conditions.
Heavy rainfall presents challenges such as soil compaction and water pooling, which can damage plant roots and lead to recurring plant issues. By installing effective drainage systems and raised beds, you can combat moisture retention, improving air circulation and overall soil drainage. Regularly amending the soil with organic matter, like compost or peat moss, will also bolster drainage and create a nutrient-rich environment. Monitor soil texture regularly; it should feel loose and crumbly, indicating good air circulation. If the soil remains dense and hard after rain, you may need to consider aerating the soil or adding organic material more frequently.
In climates with sudden, intense thunderstorms, using temporary coverings like tarps can protect your tomatoes from heavy downpours during storms. Implementing a drip irrigation system can also help control water levels more precisely. Be mindful of how often you may need to implement these solutions, especially during the rainy season, to prevent long-term damage to your garden. Failing to adapt to changing weather conditions might leave plants vulnerable and expose them to the hazards of excess moisture. If you notice areas of localized flooding, consider creating swales or channels to redirect water away from your tomato beds.
Step 5 – Check Tomato Foliage for Signs of Improvement
Start by checking the soil moisture and drainage around your tomato plants after heavy rainfall. Observe for signs of waterlogged conditions, such as excessive puddles or saturated soil. Recheck the moisture level 24 to 48 hours after the rain has ceased, ensuring that the soil has started to dry out and that your plants show no further signs of yellowing leaves.
A fully recovered tomato plant displays vibrant green foliage and firm, plump fruit that appears juicy and well-formed. In contrast, early signs of the problem returning include yellowing leaves that feel soft and limp, indicating distress. If the leaves instead remain bright green but have a leathery texture, this suggests the plant has begun to recover from the initial stress.
If yellowing persists despite proper drainage and monitoring, consider applying a balanced fertilizer rich in nitrogen to help the plant bounce back. If the issue continues, escalate your response by inspecting for root rot or other diseases that can arise from prolonged wet conditions, assessing the health of the roots to determine if replanting is necessary.
A plant that is recovering will display firmer and greener leaves with new growth starting to emerge from the tips. If yellowing persists or you notice wilting, this could indicate a continuing problem, such as root rot or a new nutrient deficiency, which may require further investigation. Immediate attention to new symptoms is crucial to preserve plant integrity and optimally manage your tomato garden. Moreover, examining the stems for signs of firmness and overall health can provide additional cues about plant vitality. Inspect the base of the plant as well for any signs of discoloration or decay, indicating root issues.
If the yellowing returns despite implementing corrective actions, consider approaching the potential issue with a soil test to check for nutrient levels or pH. A dramatic pH imbalance could hinder nutrient absorption, so monitoring soil acidity may be needed. In severe cases, where recovery is not observed after several adjustments, it may be time to consult an expert gardener or agronomist for tailored advice specific to your unique soil and plant health conditions. Always document the changes and attempts made, as this data can assist in diagnosing persistent issues moving forward.
FAQ
How long does it take for tomatoes to recover from yellowing leaves?
Recovery can take about one week to ten days, depending on the severity of the issue and care provided. If the right adjustments, such as proper watering and fertilization, are made, signs of improvement should be noticeable within this timeframe, particularly as fresh growth appears. The adjustments you made will take some time to reflect visually on the plants, but patience is essential.
Can yellowing leaves spread to other plants?
Yes, yellowing leaves can indicate underlying conditions that could affect other nearby plants. If excess water or disease relates to the yellowing, moving affected plants away from healthy ones can help minimize the risk of spread, particularly if pathogens are involved. Maintaining good airflow around plants can also hinder the spread of any potential diseases.
Should I remove yellow leaves from my tomatoes?
While it may seem beneficial to prune yellow leaves, removing them should be carefully weighed against the overall health of the plant. If the plant is actively recovering, retaining some leaves might still contribute to photosynthesis and enhance recovery, although severely damaged leaves should be pruned to redirect the plant’s energy to healthier areas. Ensure that your actions do not compromise the plant’s overall ability to thrive during recovery.