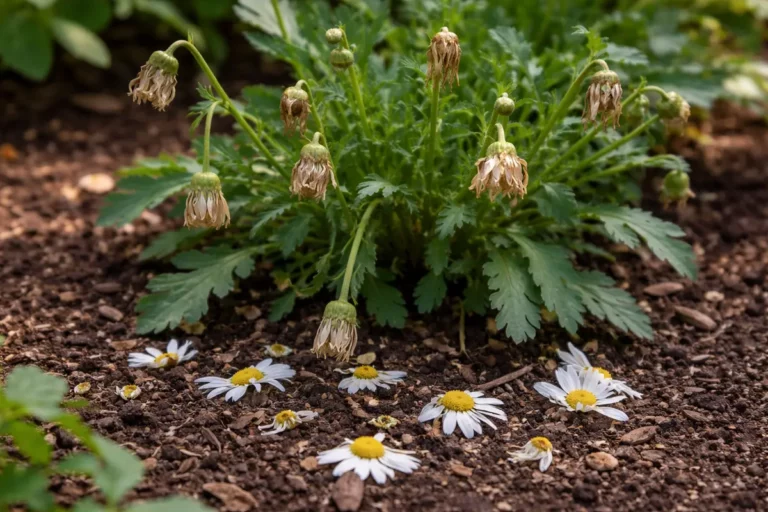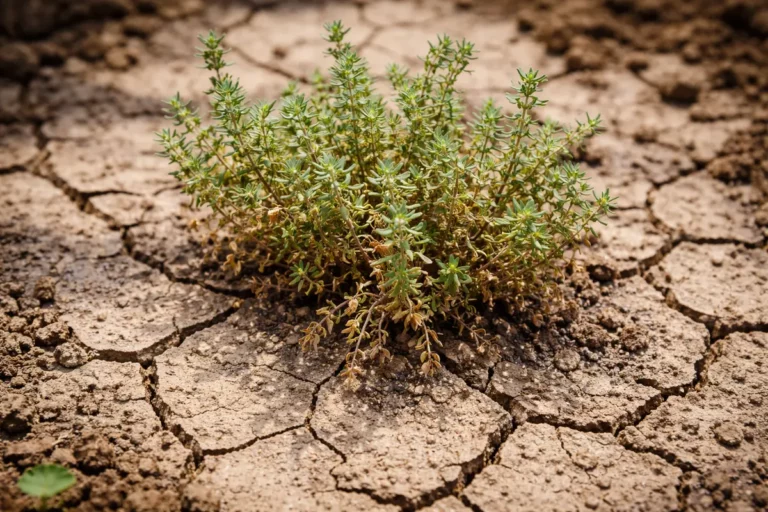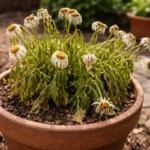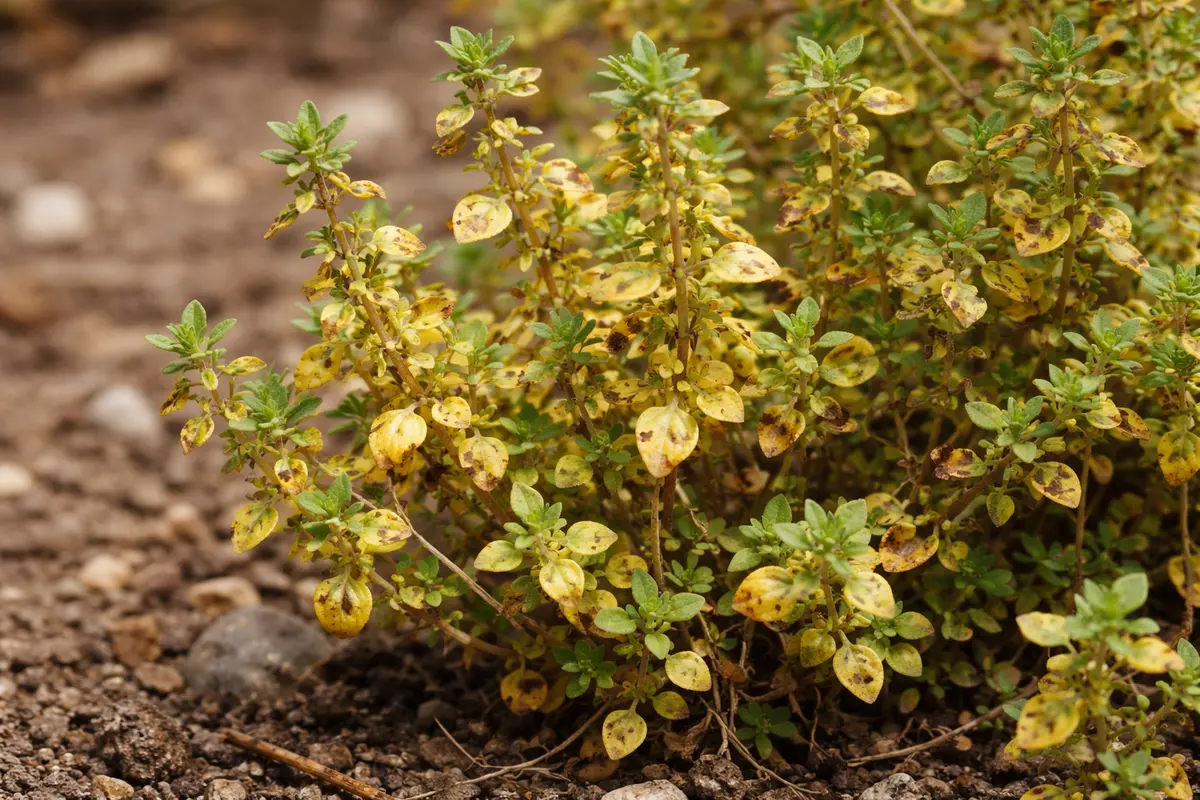
You may notice your thyme exhibits a frustrating change after a prolonged heatwave, which is why you need to know “Why does my thyme turn yellow during hot spells.” This yellowing can indicate stress, often caused by insufficient moisture or nutrient depletion, leading to noticeable leaf drop. If left unattended, this condition can worsen and ultimately weaken the plant, but fixing it is possible now—just inspect the soil, adjust your watering schedule, and monitor the plant closely for signs of improvement.
Step 1 – Water Thyme Deeply During Heat Waves
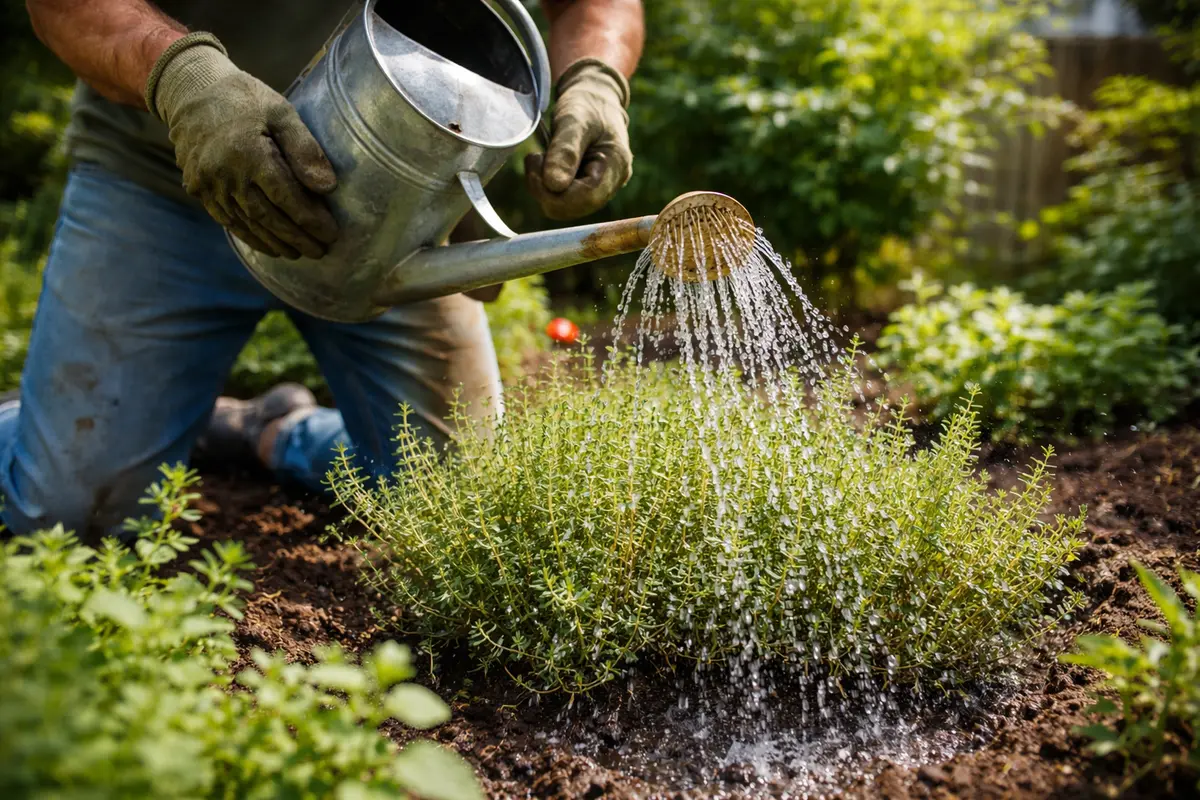
Water thyme deeply, ensuring moisture reaches at least six inches below the surface. By doing this, you will see the leaves perk up visibly within a few hours after proper watering, showcasing a noticeable recovery in their color and firmness. Aim to provide approximately one to two inches of water per week, accounting for rainfall if present. This target can also be adjusted based on temperature fluctuations; for example, during extreme heat periods, consider increasing watering to three inches.
Deep watering allows the roots to absorb moisture effectively, which is crucial during hot spells when evaporation rates are high. The goal here is to establish a moisture level that prevents the upper layers of soil from drying too quickly, especially in sandy soils that drain rapidly. When soil moisture is adequate, thyme can maintain its structure while reducing yellowing caused by dehydration. Without it, water stress leads to wilted leaves that are more susceptible to further discoloration and decay. Inspect the soil before watering; if the top inch is dry, it’s time to soak the plants thoroughly. Consider using a moisture meter for accurate readings or stick your finger into the soil to feel the moisture levels. If you detect excessive dryness at deeper levels, gently aerate the soil using a fork to help improve water penetration.
A common mistake many gardeners make is to lightly water thyme, thinking that will suffice. However, deep soaking encourages deeper root growth and better resilience against heat stress. For example, a friend neglected to water his herb garden adequately during a heatwave, and the thyme turned yellow and wilted, requiring a longer recovery time than if he had watered deeply upfront. If you notice your thyme showing signs of yellowing again days after watering, consider increasing the frequency or volume of watering to combat the heat effectively. If the soil frequently dries out too fast, it may be beneficial to investigate amendments such as organic matter to improve water retention.
Step 2 – Diagnose Yellowing from Overexposure to Sunlight
Inspect the thyme plants to determine if the yellowing is due to overexposure to sunlight. If the leaves appear bleached or scorched, consider relocating the plants to a shadier spot or using shade cloth for protection. Observe the plant during the hottest part of the day, typically between 10 a.m. and 4 p.m., to see if the exposure is indeed contributing to the yellowing. If you notice the leaves curling or developing crispy edges, this is a strong indicator that sunlight exposure is too intense.
Thyme thrives in full sun but can suffer if exposed to intense afternoon light without any shelter. This overexposure can cause the plant tissues to break down, resulting in yellow leaves as chlorophyll degrades. Noticing burnt edges or a pallid color can be key indicators of sun damage. Observing the plants at different times during the day can help pinpoint if sunburn is the issue. Additionally, inspect for any differences in leaf orientation; leaves that are curling or drooping may indicate heat stress due to excessive sunlight. If you see considerable color change primarily in the upper leaves, consider adjusting their placement.
If you notice scorch marks only on particular leaves and not all over, adjust the exposure for those specific plants by moving them or adding protective measures like a temporary shade cloth. In contrast, if yellowing occurs uniformly across the plant, you might need to check for root-related issues or nutrient deficiencies, as these can also mimic symptoms of sun damage. Ideally, thyme should receive partial shading during extreme heat, especially for young plants. Be sure to evaluate the surrounding landscape; for instance, if neighboring trees or structures are casting shadows, it may be worth moving the thyme to a more balanced spot for sunlight exposure. If possible, evaluate the soil temperature as well; overheating roots can contribute to overall heat stress on the plant.
Step 3 – Revitalize Thyme with Balanced Nutrients
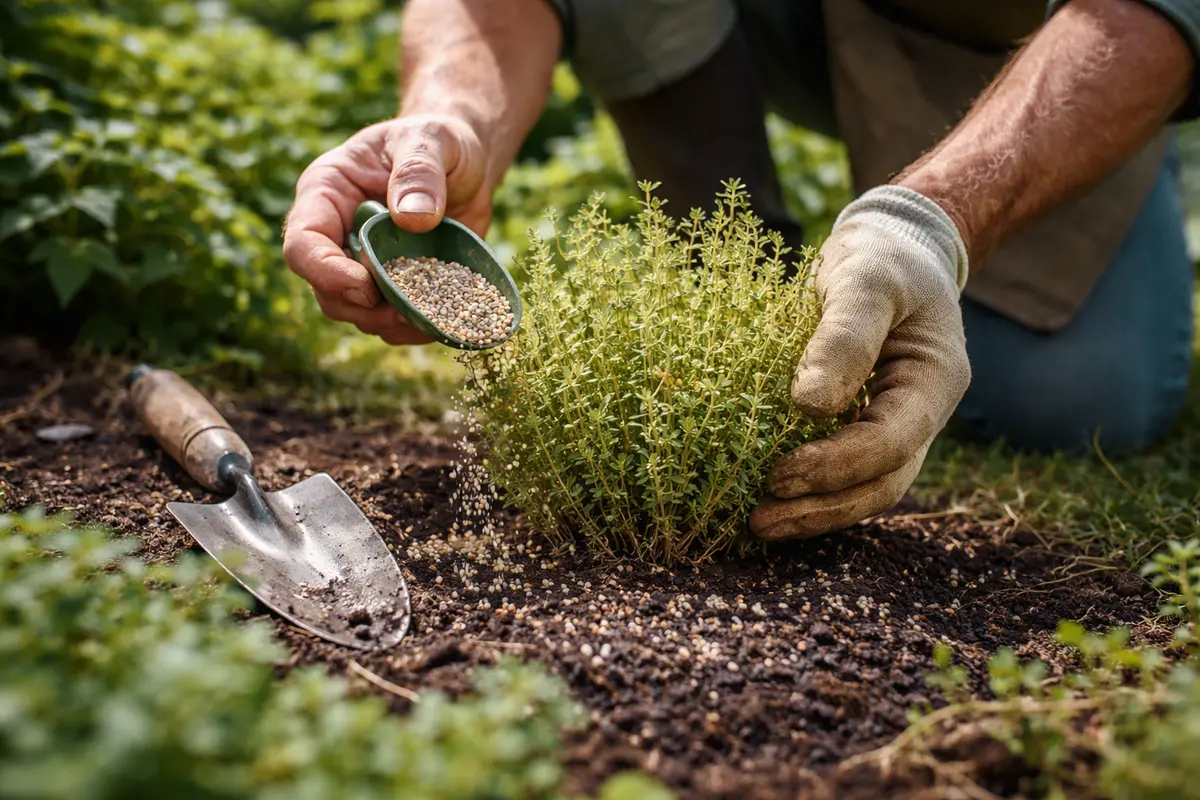
Fertilize your thyme plants with a balanced, water-soluble fertilizer to encourage recovery, applying it at the recommended dilution rates, usually about one tablespoon of fertilizer per gallon of water. You should observe new growth budding within one to two weeks, indicating that the thyme is bouncing back and regaining its green coloration. Also look out for changes in leaf texture; healthy leaves will feel sturdy and have a vibrant sheen, whereas unhealthy leaves may appear dull and soft.
After ensuring adequate water, proper feeding of thyme supplies the essential nutrients it may have missed due to stress. A balanced nutrient mix, particularly one rich in nitrogen, stimulates robust leaf growth and overall vigor. Healthy nutrient levels will also support chlorophyll production, which enables the restoration of the plant’s vibrant pigmentation. It’s essential to follow the fertilizer’s instructions closely to avoid over-applying, as high nitrogen can lead to excessive foliage growth at the expense of flavor. When applying, the ideal timing would be early in the morning or late in the evening, minimizing plant stress during peak heat hours.
Be cautious not to over-fertilize, as this can lead to burned roots and further stress, especially under heat conditions. For instance, some might apply fertilizer thinking it will quickly fix the yellowing, but instead, they end up with additional leaf burn and root damage. If you’ve recently noticed yellowing, work on maintaining a nutrient balance suitable for recovering thyme, which is typically lower in nitrogen than for actively growing herbs. Additionally, limit fertilizer applications to no more than once every four to six weeks during the growing season for optimal recovery. If fertilization leads to more yellowing rather than improvement, reduce the frequency or dilute more than the recommended rate until recovery is evident.
Step 4 – Protect Thyme from Heat Stress Each Summer
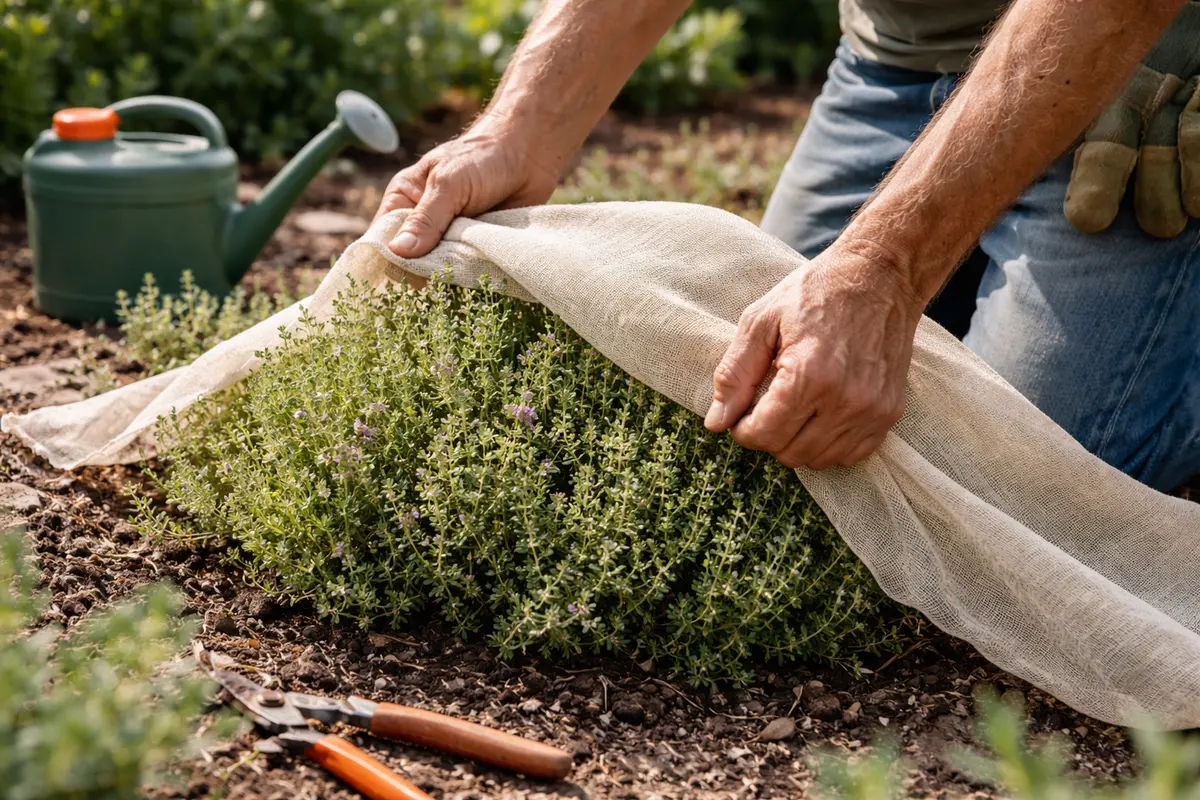
Mulch around your thyme plants to help retain soil moisture and regulate temperature, using organic material like straw, shredded leaves, or wood chips. This action reduces the risk of soil drying out and enhances heat resistance through the summer months, keeping the roots cool and hydrated. Aim for a two-to-three-inch layer of mulch around the base of the plant to maximize effectiveness. Additionally, check that the mulch is not compacted, as this can inhibit water penetration and performance.
Applying a layer of mulch creates a buffer against intense heat and decreases water evaporation, thus reducing your watering needs. As the mulch decomposes, it will also release additional nutrients back into the soil, benefiting your thyme plants further. Regularly checking and replenishing the mulch layer as needed will help ensure your thyme remains hydrated and healthy, especially during prolonged dry spells. Make it a habit to add mulch right before expected heat spells to fortify your plants ahead of time. During particularly hot summer periods, consider placing temporary shade structures or using row cover to prevent sunscald.
This practice is especially important during late-season heat waves, where daytime temperatures can soar unexpectedly, resulting in rapid stress for the plants. Monitor your thyme closely; if the mulch appears compacted or excessively dry, it may be time to add more mulch to maintain its protective functions. Be cautious of the temperature fluctuations between day and night; if the nights are particularly hot, consider additional protective measures. Remember, effective heat management is key to preventing recurring yellowing and ensuring your thyme thrives throughout the summer. Also, be vigilant about inspecting the soil moisture frequently if you notice the mulch layer drying out quickly, as this can mean increased watering is necessary.
Step 5 – Check Thyme Foliage for Fresh Yellowing Periodically
Start by checking your thyme plants daily during hot spells, paying close attention to their soil moisture and foliage appearance. Observe if the leaves are wilting or turning yellow, signaling stress. Recheck soil moisture levels every few days and make necessary adjustments to ensure consistent watering without waterlogging. Regular observation will help you catch issues early. If the plants are wilting even after watering, investigate potential soil compaction or other underground issues that may be affecting root health.
A fully recovered thyme plant displays vibrant green leaves with a firm texture, while early signs of returning issues may include yellowing leaves that feel soft to the touch. If the plant’s stems seem brittle or the soil appears dry despite watering, immediate intervention is needed to prevent deterioration. If your thyme leaves are dark green and supple, it indicates stable conditions. During these checks, keep a close watch for any discoloration creeping up toward the stems; this can be a sign of root-related problems that require urgent attention.
If yellowing persists despite proper care, consider evaluating the soil drainage and potential pest infestations. Inspect the root zone for signs of rot or pests such as aphids; if present, apply an appropriate organic insecticidal soap or improve drainage by amending the soil. If the situation worsens, consult a local garden center for specialized advice tailored to your region’s climate and plant needs. Your monitoring should specifically focus on the leaf color and texture, as healthy foliage will be firm and rich in color. Yellowing leaves that appear limp or droopy indicate that the plant may still be under stress or that adverse conditions persist. If leaves start turning yellow again despite your corrective measures, reevaluating water, light exposure, and nutrient intake may be necessary. Pay attention to your local weather reports as well; sudden changes in conditions, especially unexpected heat waves, can impact plant well-being dramatically. This heightened awareness, coupled with accurate monitoring, can empower you to act quickly and restore your thyme to a healthier state.
FAQ
How long does it take for thyme to recover from yellowing?
Typically, you can expect thyme to show signs of recovery within one to two weeks after correcting the underlying causes. During this time, monitor for new growth and darkening of leaf color, which are indicators of improved health. If the recovery seems slow, it may indicate that deeper issues, such as nutrient deficiencies, need addressing to ensure optimal recovery.
Can yellowing spread to other plants nearby?
Yellowing itself won’t spread, but the conditions causing stress, such as pests or diseases, could affect nearby plants. Addressing these issues promptly will protect your entire garden and maintain a healthy ecosystem. Be vigilant about inspecting neighboring plants for similar yellowing if you see signs in your thyme. Observe the surrounding plants as well, as they may share environmental issues contributing to the stress observed in your thyme.
Should I remove yellow leaves from my thyme?
Yes, removing yellow leaves can help improve air circulation and reduce the risk of disease propagating in your plants. Trim the leaves at the base to promote fresh growth and prevent the spread of potential pathogens that might lurk on the damaged foliage. However, take care not to remove too many leaves at once, as this can stress the plant further, particularly if it’s recovering from yellowing. Instead, a gradual trimming approach, taking away a few of the most affected leaves each week, may promote a healthier recovery. In volatile weather patterns, maintaining some leaf coverage can protect the plant from additional stress.