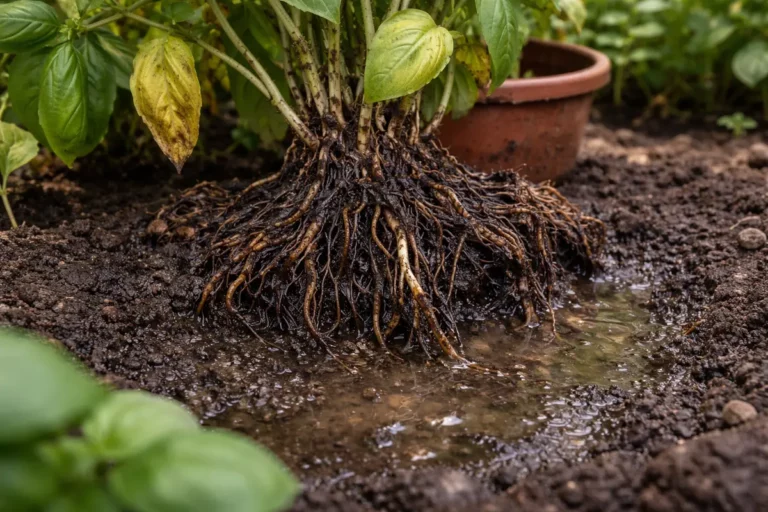
You may notice your philodendron’s leaves turning yellow after heavy watering, which is why you need to know why is my philodendron turning yellow after heavy watering. This yellowing occurs as a sign of overwatering, leading to root stress and potentially causing mushy spots on the leaves. Ignoring this issue can spread damage throughout the plant, making recovery harder, but taking action now—like checking the soil moisture and adjusting your watering schedule—can help improve its health.
Step 1 – Trim Yellowing Philodendron Leaves Quickly
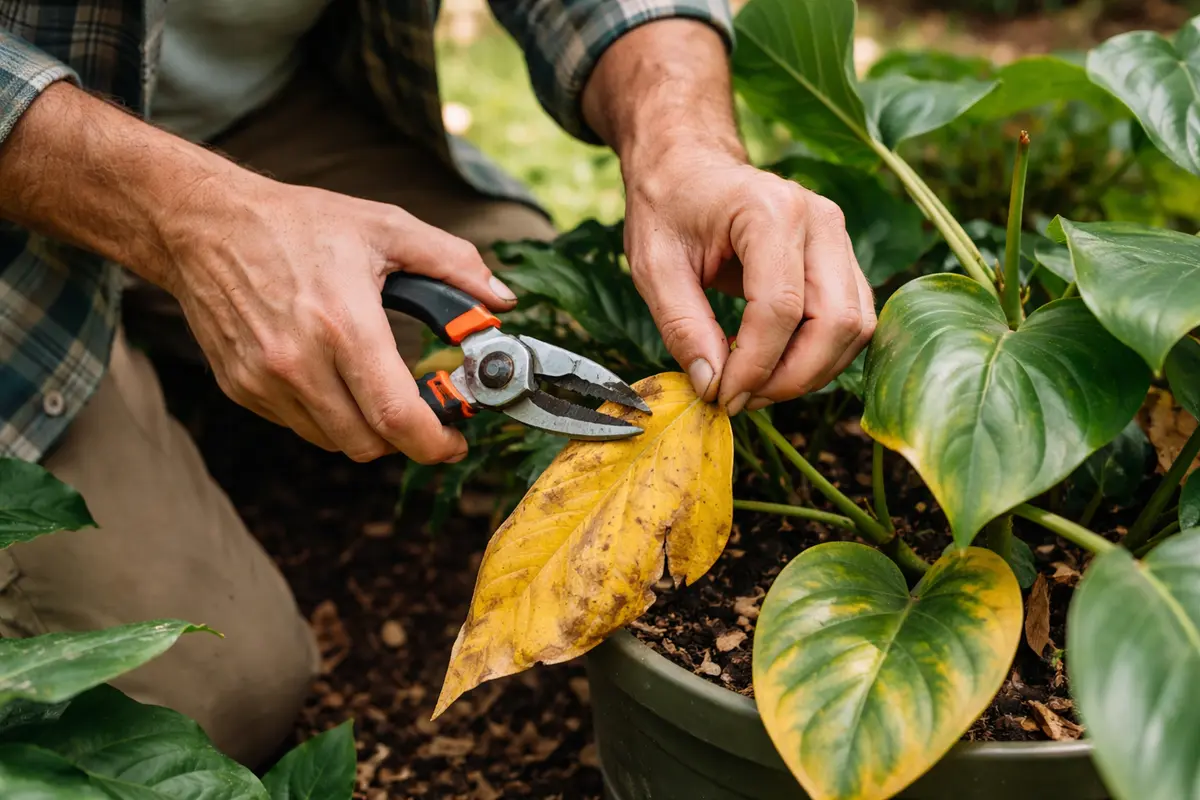
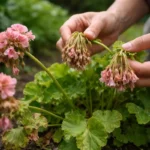
Remove the yellowing leaves from your philodendron immediately. You will notice an improvement in the plant’s overall appearance within a few days, as it redirects energy to healthier leaves. It’s essential to use sharp, clean scissors or pruning shears to ensure a clean cut, as this minimizes trauma to the plant and prevents the entry of pathogens.
Acting quickly by trimming away the affected leaves reduces the risk of further stress on the plant, as it eliminates areas that are already struggling. Yellow leaves are a symptom indicating that the plant cannot absorb the nutrients it needs effectively, leading to a decline in health. By removing these damaged leaves, you help the plant conserve its energy and resources for healthy growth. Be sure to cut as close to the stem as possible without damaging healthy foliage, which also encourages new growth. If you notice that only a few leaves are affected while the rest remain healthy, this might signal localized overwatering and indicates a need to monitor moisture levels closely.
A common mistake at this initial stage is to delay the trimming, thinking that the leaves might recover. However, if the yellowing leaves remain too long, they can attract pests or become breeding grounds for mold and diseases, complicating your recovery efforts. After a few days of trimming, reassess the plant to check for any new yellowing leaves appearing; if this occurs, it suggests a broader problem with the care routine. When you observe discoloration, don’t hesitate to act; your philodendron’s health depends on it. Additionally, monitor the plant closely after trimming to ensure no new areas of distress arise, watching for changes in leaf color or texture, which could indicate deeper issues or reoccurrence of the problem.
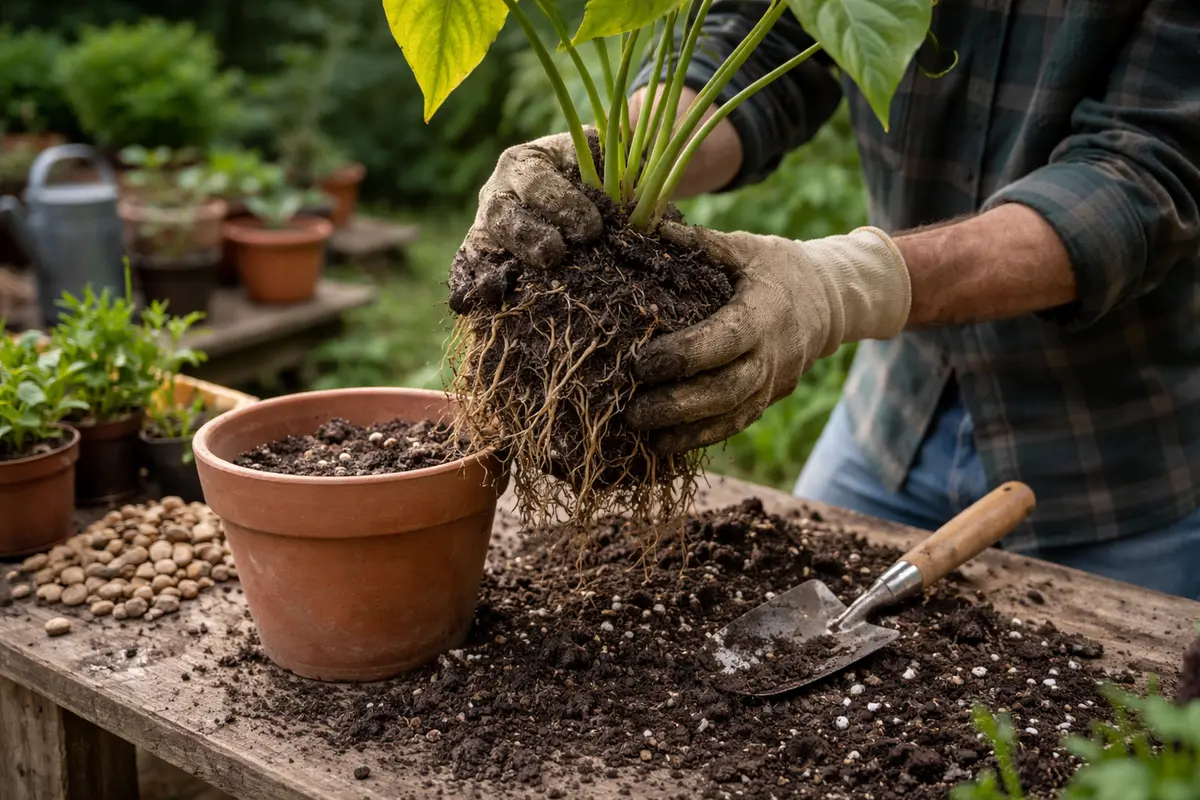
Step 2 – Diagnose Overwatering Impact on Roots
Inspect the roots of your philodendron to check for signs of overwatering. If you find that the roots are mushy or have a sour smell, it indicates root rot, which requires immediate attention. Pull the plant gently from the pot to examine the root system without causing too much disturbance. After removing the plant, take a moment to assess if the potting medium remains clumped and stagnant, indicating poor aeration.
Roots that have been consistently saturated lose their ability to absorb water and nutrients effectively. This stagnation occurs because excess moisture creates anaerobic conditions in the soil, preventing microbial activity that supports healthy root growth. As rot sets in, an unhealthy plant becomes unable to function normally, further compromising its health. Thus, assessing root health is crucial, as it directly correlates with how your plant can recover from the yellowing leaves. Healthy roots will appear firm and white or tan, while damaged roots will look dark and feel slimy. If damaged areas occupy more than half the root system, drastic measures like repotting may become necessary.
If the soil looks wet but the roots are firm and healthy, it might just be an issue of frequency versus quantity in your watering schedule. Alternatively, if you find root rot, act quickly by trimming away the affected parts and repotting the plant in a fresh, well-draining mix. Avoid similar watering habits thereafter; a common error is to give the plant a full drink without first checking soil moisture levels. Utilize your finger to check if the top two inches of soil are dry before any watering. Additionally, consider implementing a soil moisture meter for more precise measurement; if the meter indicates persistent moisture when you expect dryness, it’s time to reassess your watering schedule. Regular checks can help in indicating if you’re veering towards overwatering once again.
Step 3 – Repot Philodendron to Improve Drainage
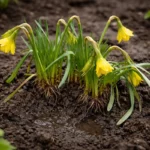
Start by allowing your philodendron to dry out completely before watering again, ensuring the top two inches of soil are dry. Check the leaves regularly; they should begin to regain their vibrant green color and firm texture over the next few weeks, indicating that recovery is underway. This observational phase is crucial as it provides initial feedback on the plant’s response to the changes in care.
Recovery differs based on environmental factors; for instance, a philodendron placed in bright, indirect light tends to bounce back faster than one in low light. Healthy regrowth includes the appearance of new growth shoots, while a stagnant plant may imply continued stress or poor conditions. If the leaves remain yellow and droopy despite reduced watering, it indicates ongoing issues quite possibly related to root rot, prompting further examination of the root system.
Avoid overcompensating with additional water or fertilizer during recovery; these can further stress the plant. If the soil remains soggy, it may hinder new growth instead of promoting it. Timing matters; when introducing liquid fertilizer post-recovery, wait until you observe new growth, ensuring the plant is not overfed too soon. Fertilization should correlate with periods of active growth, generally noted in spring and early summer.
Using a well-draining potting mix is vital as it allows excess water to flow out, which prevents a repeat of root rot. Check to ensure your new container has adequate drainage holes to facilitate this. Healthy roots need oxygen and will thrive better in airy soil, which helps establish a robust root system and mitigates the likelihood of moisture retention that can damage your plant further. Ideally, the potting mix should contain ingredients such as perlite or orchid bark to enhance drainage and modify texture for optimal water retention without restricting airflow. A common mistake during this recovery phase would be overpotting your philodendron in a vessel that is too large; this increases soil volume, leading to longer moisture retention, which is counterproductive.
Monitor the moisture level carefully after repotting; if the first few leaves to emerge are still yellowing, a further examination of drainage conditions may be warranted. Check if water is pooling on the surface instead of draining out; if this is the case, the potting mix likely needs to be adjusted to allow for better drainage. Wait approximately a week after repotting to begin monitoring for any new growth, giving the plant ample time to acclimate. A frequent issue is rushing this step; patience is crucial for recovery and ensuring good health.
Step 4 – Water Carefully Before High Humidity Spells
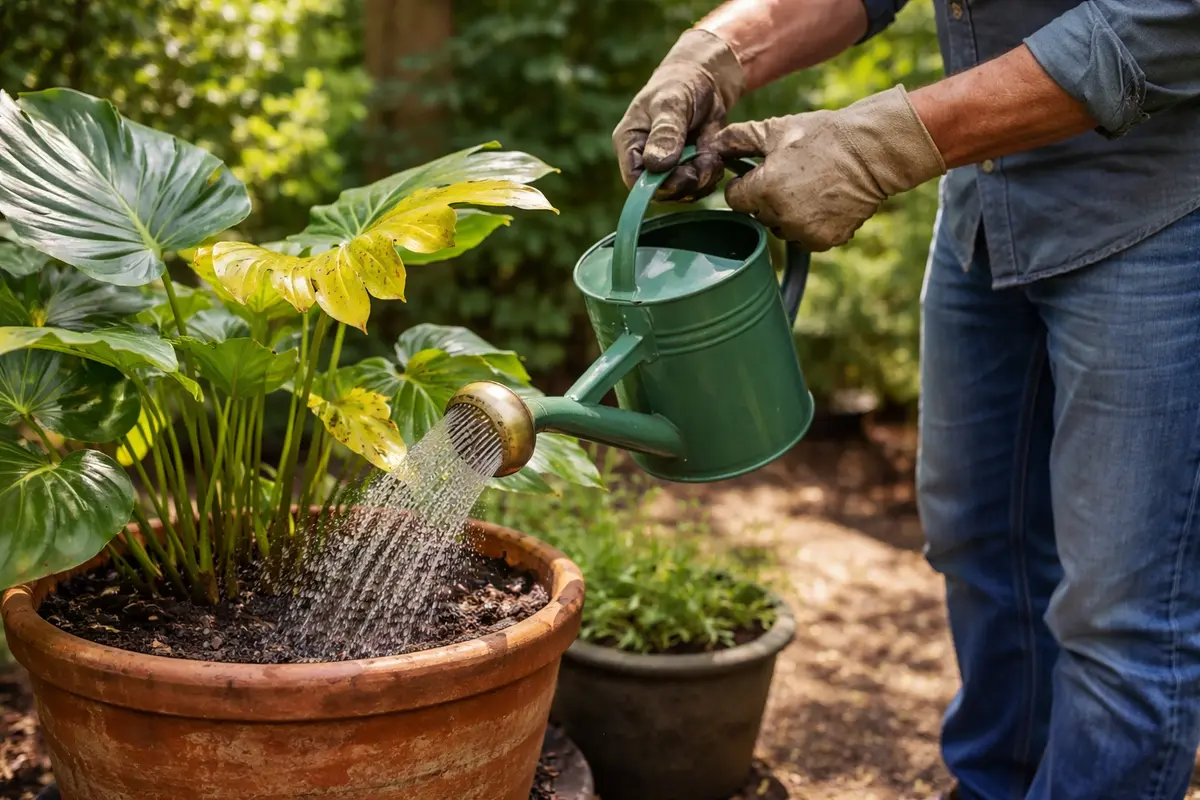
Water your philodendron cautiously, especially prior to predicted humidity spikes. This strategy helps ensure that the soil does not become overly saturated and results in additional yellowing leaves. Always use room-temperature water, as cold water can shock the roots and exacerbate stress. By keeping track of forecasted weather or using a hygrometer, you can better predict when to adjust your watering schedule accordingly.
Plants like philodendrons thrive in high humidity, but if the soil remains soggy, it can exacerbate root problems. Establishing a routine that considers both soil moisture and humidity will help mitigate further yellowing. By waiting until the top two inches of soil are dry before watering, you ensure the plant stays hydrated without drowning its roots unnecessarily. Using a drip tray filled with pebbles can aid in maintaining humidity around the plant without waterlogging it, preventing root issues while still encouraging moisture retention. Observing the plant’s response to different humidity levels can also guide your watering strategy and inform changes to your routine based on the seasons.
During summer, you may need to adjust this routine due to higher temperature and humidity, requiring more frequent checks. Conversely, during cooler months, reducing the watering frequency can help conserve moisture levels in the soil. This adaptability minimizes the risk of yellowing from excess watering while still nurturing your plant’s needs. If you find the humidity levels frequently fluctuating, consider grouping your plants together to create a more humid microenvironment. Be mindful that excessive watering during hot, humid days can lead to trapped moisture near the roots, leading to complications like root rot. Staying alert to changing environmental conditions can prevent overwatering in close quarters.
Step 5 – Inspect Leaves for Recurring Yellowing Weekly
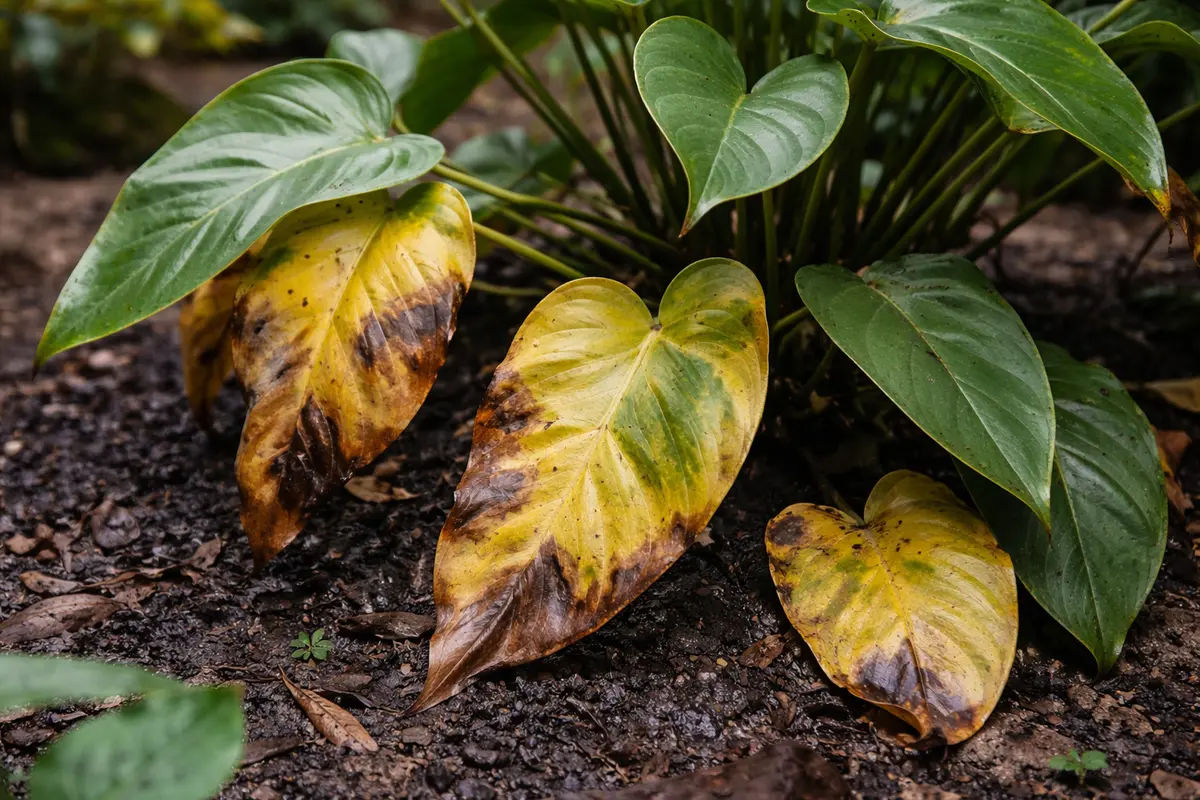
Start by checking the soil moisture levels every few days using your finger; insert it about an inch deep into the soil. If the soil feels excessively damp, it’s crucial to allow it to dry out completely before watering again. Observe changes in the leaf color and texture during this period; you should see improvement in the new growth, with green leaves rather than yellowing or browning, signaling recovery.
A fully recovered philodendron displays vibrant green leaves that feel firm to the touch, showing no signs of wilting. In contrast, early signs of the problem returning include a texture that appears soft and limp, along with a gradual yellowing beginning at the tips of the leaves. If the leaves continue to curl or if new growth remains yellow, reassess your watering strategy and drainage conditions to ensure you’re meeting the plant’s needs.
If yellowing returns despite your adjustments, consider reducing the watering frequency further and improving drainage possibly by repotting into a breathable container. Additionally, if the problem persists, investigate for root rot by checking for a foul odor or blackened roots; at this stage, trim any affected roots and repot the plant in fresh soil to facilitate recovery. A healthy philodendron will typically start to show firm leaves and vibrant color within a few weeks of proper care.
Regular inspections allow you to catch potential problems early on, such as nutrient deficiencies or pest infestations that induce stress. For instance, if you notice areas of crispness alongside yellowing, this could indicate underwatering rather than overwatering. Observe for signs such as leaf crispness or altered color since these are indicators of either poor care or an underlying health issue. If you notice that the leaves are not only turning yellow but also feeling limp, it may indicate systemic issues that warrant further attention.
Should yellowing occur again, it’s essential to reassess both the watering and humidity conditions. Consider the current soil type’s effectiveness or if the pot size needs adjustment for better growth. Staying attentive to these changes over the weeks will help keep your plant thriving and avoid returning to the damaged state it experienced. A common oversight is neglecting to adapt care to the plant’s growth; pay attention to potential shifts in care as seasonal changes occur. Maintaining awareness in monitoring the health of your philodendron is vital as consistent neglect can lead to missing warning signs until they become critical; thus, be proactive as this is key to restoring and maintaining your plant’s health effectively.
FAQ
How long will it take for my philodendron to recover from yellowing leaves?
Recovery can take anywhere from a few weeks to a couple of months, depending on the extent of damage. You should start noticing improvements, such as firmer leaves within one month if care is correctly administered. Continuously monitor nutritional support with balanced fertilizers during this period for healthier growth.
Can overwatering spread to other houseplants?
Overwatering can indirectly impact other plants if they share soil or space, promoting a humid environment that encourages the spread of fungi or pests. Keeping each plant’s care routine separate will help prevent such issues. It’s also wise to space out plants to minimize air circulation challenges, enabling better drying conditions. If you observe one plant’s leaves wilting or yellowing, it may be beneficial to inspect nearby plants for early signs of similar symptoms.
Should I remove all yellow leaves immediately?
While it’s good to remove severely yellow leaves, prioritize trimming the most obviously damaged ones first. Removing them all at once may stress the plant unnecessarily; therefore, taking a balanced approach and observing which leaves continue to decline will be beneficial. If multiple leaves are yellowing simultaneously, that could indicate larger environmental mismatches requiring reevaluation. Leaves that remain yellow for extended periods can deplete plant energy reserves, thereby mitigating recovery efforts, so careful timing is critical.