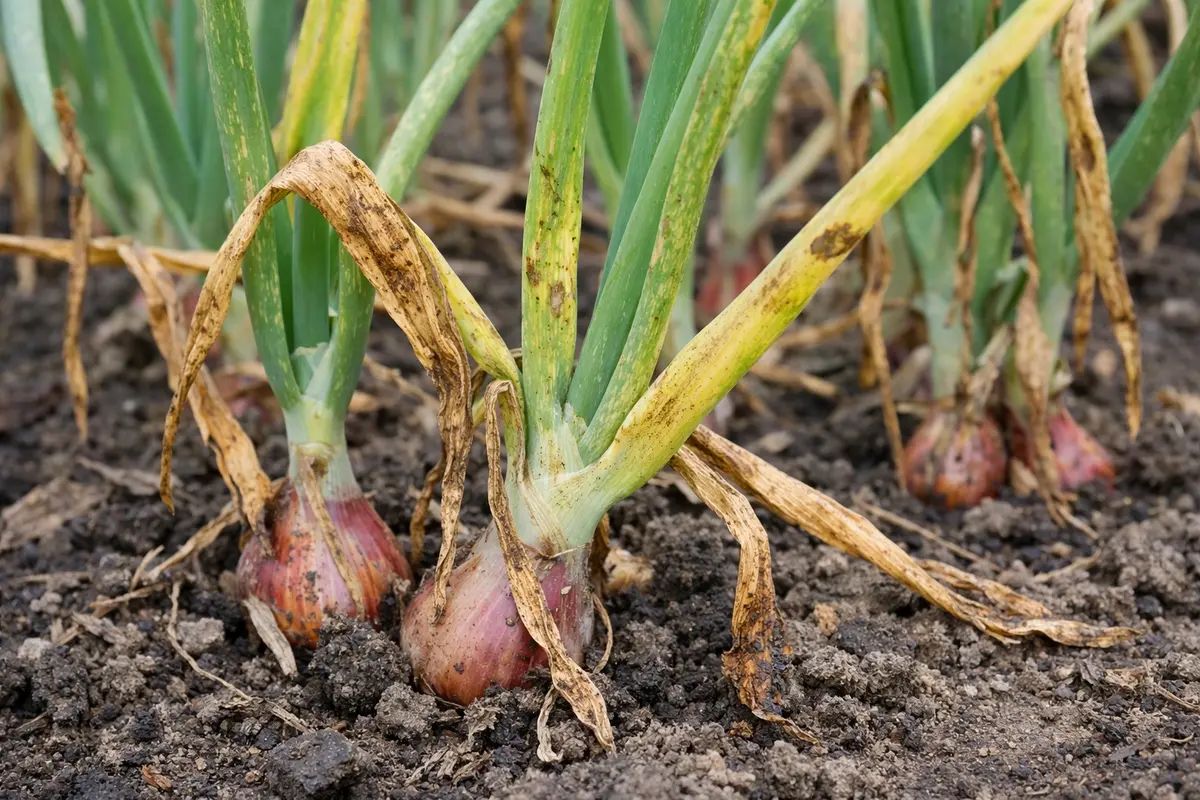
You may notice that during spring, some of your shallots are developing yellowing leaves, which is why you need to know how to treat yellowing leaves on shallots in spring. This discoloration often indicates stress, typically caused by nutrient deficiencies, pests, or improper watering, leading to widespread yellowing and poor growth. If left unchecked, this condition can spread and weaken the plant, making them more susceptible to disease and harder to fix later on. Fortunately, addressing these issues is possible now; you can inspect the soil, adjust your watering routine, and monitor for pests to improve their health.
Step 1 – Trim Yellowing Shallot Leaves Right Away
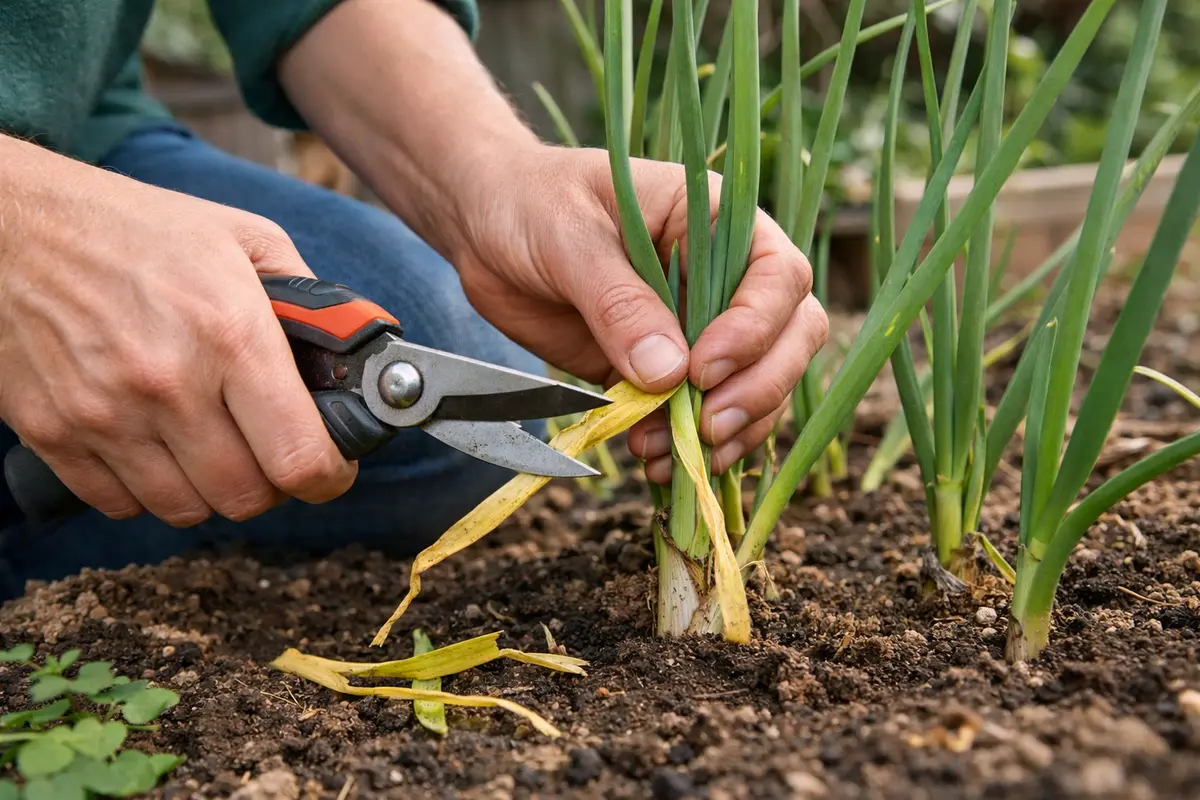
First, inspect the yellowing leaves of your shallots for any signs of disease or insect damage. Remove and dispose of any damaged leaves to limit further spread. After this immediate action, you should notice a clearer view of healthier foliage, allowing for better airflow to the remaining leaves.
Acting quickly is crucial as yellowing leaves can indicate stress from overwatering or nutrient deficiency. If you delay, the roots may suffer irreversible damage, and the entire plant could succumb to root rot or nutrient imbalances. If you observe leaves turning yellow but noticing rustling at the base, check for overwatering or compromised drainage.
Take the case of a gardener who delayed addressing yellowing leaves and later witnessed a complete decline in their shallots due to undiagnosed root rot. Conversely, another gardener promptly removed affected leaves and learned to adjust their watering routine, resulting in a bountiful harvest. Timing in these matters can either lead to recovery or loss.
Trimming yellowing leaves aids in preventing energy loss and the spread of infections to other parts of the plant. Leave the healthy leaves intact to ensure they can continue to photosynthesize, which is vital for the growth of the remaining shallots. Yellow leaves can harbor pests and diseases that may affect the overall crop, so by removing them immediately, you give the remaining healthy leaves a chance to thrive. If you are uncertain how much to trim, consider that removing up to 30% of the foliage will often allow the plant to redirect its resources without risking shock. Watch for signs of distress, such as drooping or excessive moisture around the base, which could indicate that further action is needed.
In a typical scenario, many gardeners wait too long to act, thinking that the leaves will recover on their own, but this can lead to worse yellowing that extends to healthy leaves. If one leaf is yellowing, it’s often a sign of more serious systemic issues; thus, if multiple leaves appear affected, trim cautiously rather than all at once, as sudden removal can shock the plant and hinder recovery. For instance, if the soil is overly saturated, trimming too many leaves can stress the plant’s root system further. Additionally, monitoring environmental stress factors—overwatering or inconsistent watering schedules can lead to rapid yellowing—assists in pinpointing the cause. You may want to assess the soil moisture levels deeply after watering; if the soil remains soggy or excessively dry, adjust your watering regimen promptly to avoid exacerbating the issue, potentially aiming for a watering schedule that maintains consistently moist but well-drained soil.
Step 2 – Diagnose Nutrient Deficiency in Shallots
Next, inspect the soil around your shallots for signs of nutrient deficiencies. You should observe that the soil feels dry and crumbly or has noticeable patchy areas where the shallots are planted. Using a soil moisture meter or simply feeling the soil can indicate whether the shallots are receiving adequate moisture and nutrients, as dry, compacted soil can limit root development. Visual indicators, such as stunted growth or discolored leaves, can often point to a lack of necessary nutrients. Ensure you are also noticing how long it takes the soil to dry out post-watering, as faster drying can indicate root issues or nutrient deficiencies, which may worsen over time.
Nutrient deficiencies, such as nitrogen or potassium, can cause yellowing leaves. Nitrogen is crucial for chlorophyll production, and its lack directly results in inferior photosynthesis, leading to smaller, yellowing leaves. Similarly, potassium deficiency affects the plant’s ability to manage water and nutrients efficiently, exacerbating the yellowing issue. Symptoms of a nitrogen deficiency typically start showing on lower leaves first, while potassium deficiencies can cause marginal leaf scorch, both contributing to the overall yellowing. You should plan to conduct soil tests, as they can provide crucial data on nutrient availability, particularly if you find yourself battling repeated yellowing issues. If you don’t address these deficiencies, leaves may continue to yellow and weaken, potentially affecting the entire crop. In lean soil, your petunia plants turn yellow in appears sooner.
If you notice signs of soil depletion, such as a washout of nutrients after heavy rains, adjusting the fertilizer is essential. For instance, if the soil smells sour, you could have overly compact soil leading to root stress; in that case, aerating and amending with organic compost could be the next step. You should also pay attention to the soil pH; overly acidic or alkaline conditions can lock out vital nutrients. Check that the pH level for shallots typically falls between 6.0 and 7.0. Conducting a soil test before applying fertilizer guides your actions—consider selecting a fertilizer that compensates for the deficiencies detected in the test results, as accurately gauging your soil’s needs will increase the chances of successful recovery. If no adjustments are made, health will likely continue to decline, resulting in a more considerable gap between nutrient levels and plant needs.
Step 3 – Fertilize Shallots to Aid Recovery
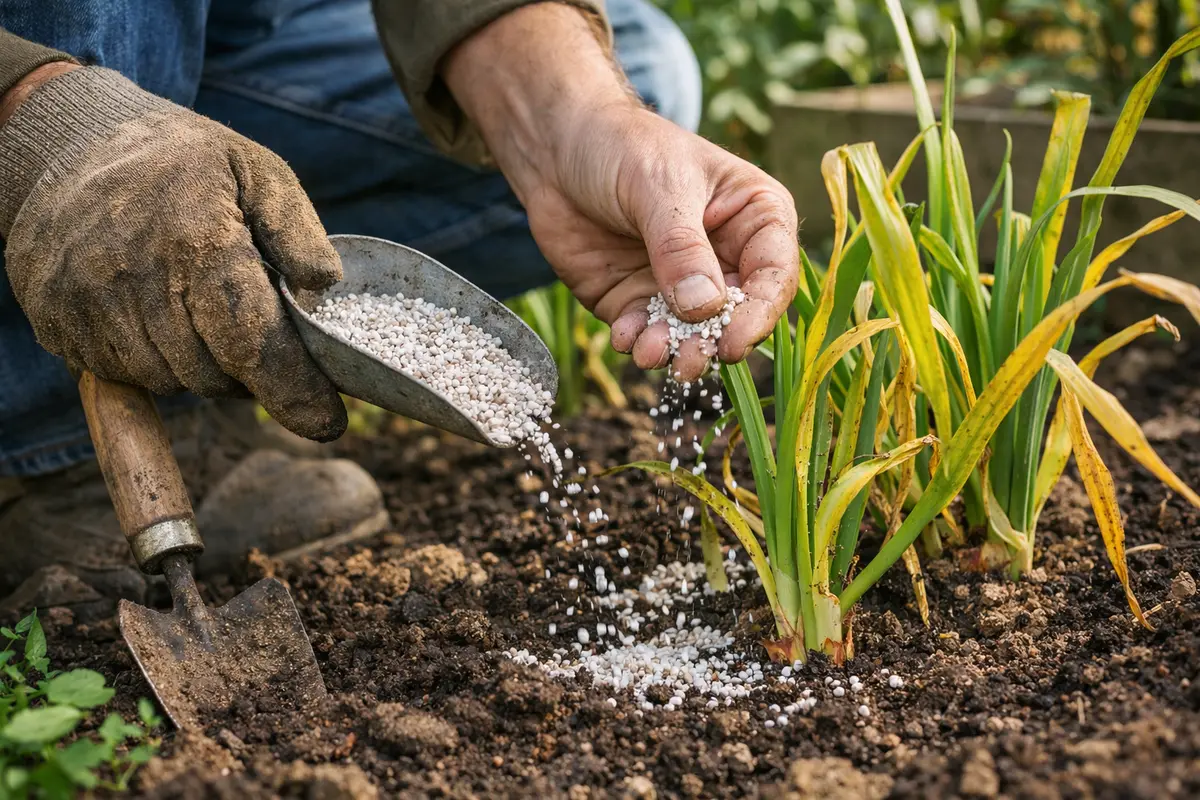
Apply a balanced organic fertilizer to your shallots to facilitate their recovery. You should see the leaves begin to green up and growth to increase within a week, indicating that the plants are receiving the nutrients they need. Aim for a slow-release organic fertilizer that is high in nitrogen, promoting a robust recovery without the risk of burning young roots. A granular fertilizer with an N-P-K ratio of 10-10-10 is a good choice depending on your soil’s conditions, as it offers a well-rounded nutrient profile aligned with what shallots require during the growing phase. Ensure you evenly distribute the fertilizer around the base of the plants and avoid direct contact with the leaves to prevent potential burn.
Fertilizing with a well-balanced organic fertilizer enhances nutrient availability, improving soil conditions and plant health. This action boosts chlorophyll production while also promoting healthy cellular growth, leading to vibrant green leaves. The recovery period after nutrient application can vary based on the existing soil health and the severity of the deficiency observed; in some cases, you might require a follow-up application within a few weeks if no noticeable changes occur, particularly if the symptoms begin to return. If yellowing continues after fertilization, consider scaling up your nitrogen input or switching to a fertilizer formulated for leafy green vegetables. Observing your plants for increased leaf size or thickness can provide quick indications of improved nutrient uptake, serving as an early sign of recovery.
Many gardeners make the mistake of applying fertilizer without assessing existing soil conditions first. If you apply too much or the wrong type, it can lead to nutrient burn, causing more yellowing rather than resolving the issue. Salt buildup in the soil can also harm developing roots; therefore, regular leaching with water post-fertilization can help mitigate residues. Establishing a routine to check soil moisture and nutrient levels every few weeks can assist in maintaining a healthier plant environment. A caution here is to avoid using chemical fertilizers excessively, as they can lead to long-term soil depletion and interfere with the beneficial microbial community. In case you suspect over-fertilization, consider leaching the area by watering deeply, allowing excess salts to wash away without disturbing the roots, thus supporting recovery while avoiding further damage.
Step 4 – Inspect Shallot Foliage for New Yellowing
Check the foliage of your shallots regularly, at least every few days. You should start to see new healthy green growth emerging as the symptoms of yellowing diminish; this is a positive sign that your corrective actions are taking effect and the plants are responding well. Record any changes in leaf color and texture, as noting such details can indicate whether the remediation efforts are succeeding. A comparison of leaf density and integrity can also serve as an indicator of improvement, with thicker, more robust leaves signaling a successful recovery.
A thorough inspection of the foliage will help you identify whether the previous steps were successful. Healthy recovery will feature firm, bright leaves with no additional yellowing. However, if yellowing reappears, it could indicate ongoing issues such as further nutrient depletion or potential pest infestations. Look for signs like stunted growth, persistent yellowing, or even pest trails as indicators that your intervention may need further adjustments. A common oversight is to neglect the undersides of leaves, where pests like aphids often hide. Keeping a close eye on pest activity can help you respond rapidly—monitoring these areas can reveal early signs of infestations, allowing for timely interventions.
If you find signs of yellowing returning after you thought the issue had been resolved, it may be wise to take additional measures. Consider re-evaluating your watering regime to ensure it aligns with the shallots’ needs, especially as they grow taller; under- or over-watering can both lead to stress and yellowing. Regular checks will help you avoid these pitfalls and catch any environmental stress sooner. Moreover, additional pest control measures may be necessary if you observe an uptick in infestations. Introducing beneficial insects or applying an organic pest control method can help manage populations effectively while minimizing harm to the shallots. Remember also to assess your growing environment—excessive heat or fluctuating temperatures may lead to stress that manifests as yellowing leaves, so ensuring a stable growing environment is critical for recovery and consistent growth. An ideal location would offer full sun for a portion of the day while also having sufficient air circulation to mitigate stress factors.
FAQ
How long does it take for shallots to recover from yellowing leaves?
Recovery can take 1-2 weeks after addressing nutrient deficiencies and ensuring proper care. You’ll notice visible improvements, such as new green growth, within that time frame. However, this timeline may vary depending on the efficiency of nutrient uptake and the overall environmental conditions. If no progress is observed within this period, further investigation may be necessary, perhaps looking into soil compaction or additional nutrient inputs. Enabling a consistent watering regimen along with fertilizer application often accelerates the recovery process.
Can nutrient deficiencies spread between shallots?
Nutrient deficiencies do not spread like diseases but can worsen if not addressed. If one plant shows signs, check the others, as poor soil conditions may affect the entire crop. Regularly testing and amending the soil can help prevent widespread deficiencies, particularly if soil testing reveals starvation of vital minerals. This proactive approach can safeguard your entire planting and prevent recurrence, ensuring a uniform crop response to nutrient management. If multiple shallots show signs of distress, it may indicate an overarching issue with soil nutrient balance that needs correction.
Should I remove all yellow leaves from shallots?
Only remove severely yellow leaves that are dead or dying. Leaving some green foliage is vital as it continues to photosynthesize, ensuring the plant has energy for recovery. Retaining some healthy green leaves enables the plant to adapt and recover more efficiently, as long as the yellowing isn’t overwhelming. Monitoring the balance of removal versus retention can help manage stress on the shallots; typically, leaving two-thirds of the foliage can provide sufficient energy for recovery. It’s also vital to keep an eye on the growth of new leaves, as vigorous new foliage is often a good sign that your management strategies are effective. A marked increase in leaf number or healthy leaf color indicates the plant’s improved health, while further yellowing might prompt additional interventions.