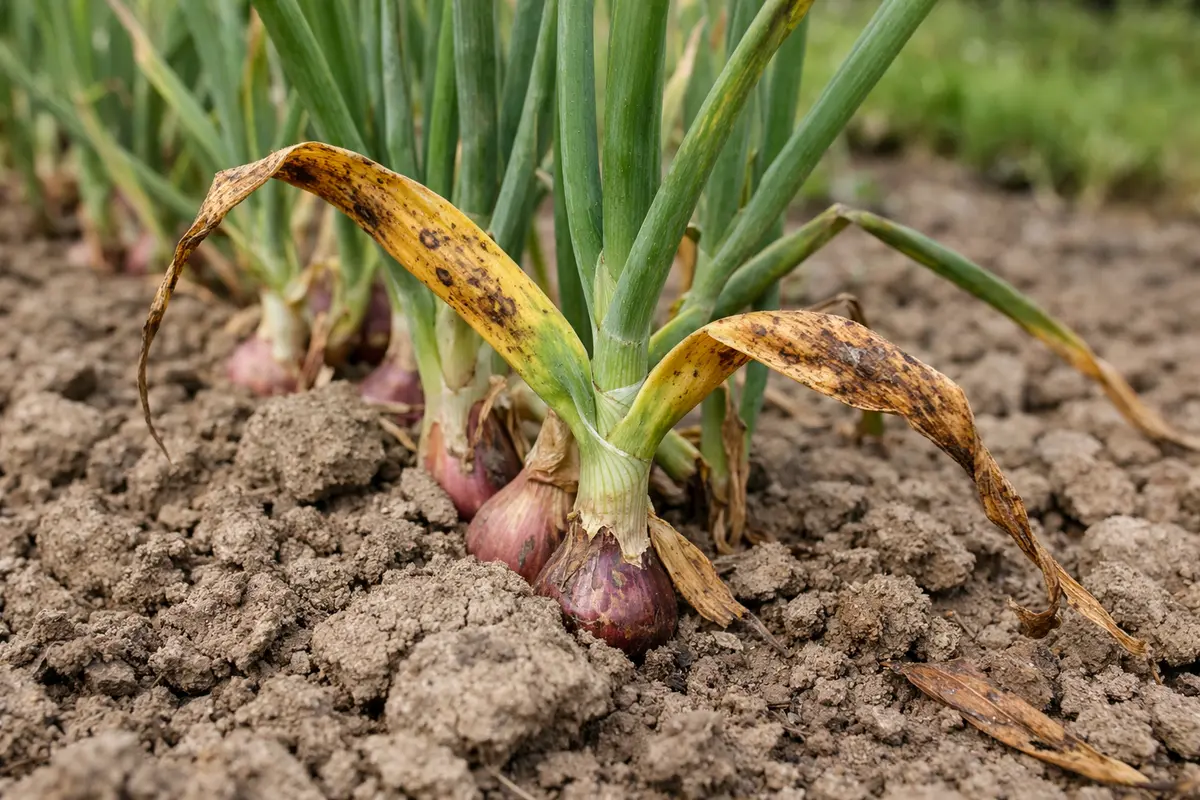
You may notice yellowing leaves on your shallots, especially during periods of heavy rain and when the soil is heavily compacted, which is why you need to know how to treat yellowing leaves on shallots in clay soil. This discoloration often indicates nutrient deficiencies or poor drainage, leading to wilting and a compromised root system. If left unaddressed, the issue worsens and can spread, ultimately weakening the plant and stalling growth, but fixing it is possible now by adjusting your watering habits and improving soil drainage.
Step 1 – Trim Yellowing Shallot Leaves Promptly

Trim the yellowing leaves off your shallots immediately. You will notice that the plant starts to look healthier and more upright within a few hours. This early action clears away dying foliage, allowing the plant to direct its energy toward healthier leaves and roots. Ensuring that you have sharp, clean pruning shears can help make a clean cut, minimizing the potential for disease entry and further damage. If you observe several leaves yellowing in quick succession, being proactive and removing them can significantly impact recovery time.
By removing damaged leaves, you reduce the risk of diseases spreading through decaying material and improve airflow around the plant, which is crucial in clay soil where moisture can lead to rot. Yellowing leaves often occur due to overwatering or poor drainage; if not addressed promptly, it can compromise the overall health of the shallots. Removing them also encourages new, healthier growth to emerge, thereby enhancing their resistance to pests. If you trim at the base of the yellowing leaves, you give the plant the best chance for recovery by focusing its energy on stronger foliage. If you are dealing with a related issue, rain drainage becomes covers a similar problem in detail.
A common mistake gardeners make is hesitating to trim yellow leaves, thinking it will hurt the plant. However, timing is critical, and trimming as soon as you detect yellowing can significantly impact recovery. If left untrimmed, the nutrients from the plant may continue to drain into the dying foliage, exacerbating the issue. Be cautious of how many leaves you cut at once; pruning too aggressively can stress the plant further. If you’ve already trimmed the affected leaves and yellowing persists, check for ongoing overwatering affecting adjacent leaves; they may also begin to show signs of distress. A thorough evaluation of your watering schedule is essential, particularly after rainfall, to ensure you’re not exacerbating water retention in the clay soil. Be vigilant for changes in moisture levels, as excessive water may also lead to root rot.
Step 2 – Diagnose Nutrient Deficiency in Shallots
Test the soil’s nutrient levels to identify any deficiencies affecting your shallots. After performing a soil test, you should see a clearer understanding of any nutritional gaps that may be contributing to the yellowing leaves, such as low nitrogen or potassium levels. You can use a home soil testing kit or send a sample to a local lab to accurately assess nutrient composition and pH. Addressing these deficiencies will improve the plant’s overall health and vitality, helping avoid future yellowing. If the results show significant imbalances, consider next steps that might be taken based on the specific nutrients lacking.
Nutrient deficiencies can severely affect plant growth, leading to yellowing leaves as the plant struggles to synthesize essential compounds necessary for healthy development. For instance, a nitrogen deficiency often presents itself as yellowing in older leaves, as the plant reallocates nitrogen to new growth while sacrificing older foliage. In contrast, potassium deficiency may lead to weak stems, poor leaf structure, and an overall lack of vigor, making plants more susceptible to environmental stressors. Conducting a proper soil test is crucial since variable drainage in clay soil often leads to uneven nutrient distribution and retention; this means some areas may be nutrient-rich while others are lacking. A related fix is explained in petunia plants turn if you want to compare approaches.
If your soil test reveals acidic conditions, it can signal an additional concern, leading to further deficiency issues. In such cases, consider adjusting the pH level with lime to improve the overall nutrient availability in the soil. Additionally, if high phosphorus levels show up in your results, this could hinder iron availability to the plant, prompting you to use a fertilizer specifically crafted for nitrogen and potassium without excessive phosphorus. This specificity is important because a balanced nutrient profile maximizes absorption and mitigates the risk of yellowing leaves reappearing. Just remember that nutrient deficiencies can also arise from poor soil structure; compacted clay might restrict root access to replenishing elements, making it vital to address both nutrition and soil aeration for a thriving garden. Regularly mixing the soil or adding compost can help to alleviate compaction.
Step 3 – Fertilize Shallots to Revive Their Growth

Apply a balanced organic fertilizer high in nitrogen to nourish your shallots. You should see green shoots emerging as the leaves begin to regain their vigor within a week. By adding about 1 to 2 tablespoons of organic fertilizer around each plant, you create a concentrated area for nutrient uptake, promoting rapid recovery and growth. Watering immediately after application helps activate the fertilizer and facilitate nutrient absorption. It’s important to avoid adding fertilizer during hot, dry conditions, as this can lead to nutrient burn. Consider applying the fertilizer early in the morning or late in the afternoon to minimize risks associated with extreme temperatures.
This replenishing action of essential nutrients in the soil enables the plant to recover from previous deficiencies, thereby supporting healthy leaf and bulb development. Shallots thrive when they receive balanced nutrition, particularly nitrogen, which is crucial for robust leaf development. Moreover, nutrients found in organic fertilizers generally release gradually, providing sustained nourishment during key growth stages. If over-fertilization occurs, however, you might notice leaf burn—manifesting as crispy leaf edges or even browning—which serves as a clear sign to flush the soil with water to help dilute excess nutrients and prevent further damage to the plant. Always start with a smaller amount to gauge the plant’s response—this is especially important in nutrient-rich clay soils that may already contain high levels of nutrients.
As you transition from recovery to prevention, remember that continual feeding should occur every four to six weeks, particularly during the active growing season. A common mistake is applying too much fertilizer at once, which can result in additional root stress or soil nutrient imbalances. If you observe the soil remaining dry despite fertilization, this may indicate a potential drainage issue, necessitating amendments to improve air circulation within the soil and facilitate better moisture retention without waterlogging the shallots. Using compost or organic matter can enhance soil structure and nutrient retention, making the environment more favorable for growth. Consider incorporating materials such as aged manure or leaf mold, which not only add nutrients but also improve soil texture and drainage. If you notice an immediate increase in yellowing again, reassess your recent fertilizer applications since fluctuations in application can often lead to recurring nutrient deficiencies.
Step 4 – Watch Shallot Leaves for New Yellowing Signs
Start by checking the shallots every few days for signs of recovery. Look for changes in leaf color, particularly a shift from yellowing to a more vibrant green. Additionally, observe the texture of the leaves; they should feel firm and healthy instead of limp. If the yellowing returns, recheck the soil moisture and nutrient levels weekly to ensure optimal conditions.
A fully recovered shallot plant displays lush green leaves that stand upright and robust, contrasting with the initial signs of yellowing and curling leaves that are soft or drooping. Healthy leaves should also appear thick and have a glossy sheen, while returning problems may show a new onset of yellowing, particularly at the leaf tips. If you notice the leaves turning yellow again and becoming brittle, check for root rot, which manifests as a mushy texture in the bulbs.
If the yellowing persists despite following treatment steps, consider testing your soil with a pH kit to ensure it isn’t overly acidic, which can hinder nutrient uptake. Alternatively, you may need to apply a balanced fertilizer specifically formulated for shallots, focusing on those with higher nitrogen content to promote leafy growth. This adjustment can provide the necessary nutrients your shallots need to recover and flourish.
A fully recovered shallot plant will display vibrant, upright leaves devoid of yellowing, signaling that nutrient levels are stabilized, and roots are healthy. However, if you notice new yellowing after a few weeks, this might indicate potential issues with soil compaction or drainage that could deprive the roots of oxygen. Additionally, renewed nutrient deficiency in the soil could arise due to irregular watering practices or fertilizer absorption inefficiency. When checking leaves, also examine the soil moisture level by digging down a few inches; if the soil feels overly compact or retains too much moisture, it may be time to reconsider the planting area. Observing the root zone can also provide critical insights; healthy roots should look white and crisp rather than brown and mushy. If root damage is detected, consider adjusting your soil amendments accordingly to encourage root health.
If yellowing returns, reassess your soil’s moisture level, adjusting your watering schedule as necessary depending on conditions. For instance, if rainfall is frequent, it may be beneficial to let the soil dry out between watering cycles. In extreme cases where improvements aren’t noted, consider reaching out for professional soil consultation or changing your planting location to better-draining soil. Persistent issues might indicate underlying problems, like soil compaction or root rot—both of which require immediate attention to avert significant plant damage as the growing season progresses. Pay special attention to tools and techniques used for digging, as improper handling can further compact the soil. Checking for pests or diseases is also crucial as they can silently contribute to leaf yellowing if not addressed early on. If yellowing reappears despite improved conditions, consider adjusting the frequency or amount of fertilizer to ensure the plants can access necessary nutrients without complication.
FAQ
How long does it take for shallots to recover from yellowing leaves?
Once you start addressing nutrient deficiencies and drainage, you can expect to see improvement in the leaves’ health within a week. New growth should begin to show quickly, provided you maintain optimal conditions for the shallots’ recovery, such as proper watering and a balanced diet while avoiding extreme temperature fluctuations which could stress the plants further. If recovery does not occur within two weeks, consider reevaluating your soil composition and watering practices to ensure effective remediation.
Can yellowing leaves spread to healthy shallots nearby?
Yes, yellowing leaves due to diseases or pests can spread if not addressed promptly. Regularly inspecting all plants and trimming affected leaves will help prevent potential spread, ensuring that the overall health of your garden is maintained. This is particularly important as some pests can move rapidly from plant to plant, exacerbating the issue if not contained; therefore, diligent monitoring is essential in preventing infestations. If yellowing recurs among nearby plants, ensure any potential disease is identified and treated efficiently to safeguard your crop.
Should I remove all yellow leaves from my shallots?
It is advisable to remove the leaves that are significantly yellowing, especially those that are fully brown or wilting. This action helps improve airflow and reduces the risk of disease, aiding the overall recovery of your shallots. Always focus on maintaining a clean and healthy growing environment for your plants to thrive. Furthermore, strategic pruning can enhance light penetration, which is essential for photosynthesis and growth—ensuring that your shallots maximize their exposure to sunlight. If yellowing becomes a recurring issue, consider potential changes in environmental conditions or soil quality that may necessitate deeper adjustments in care.