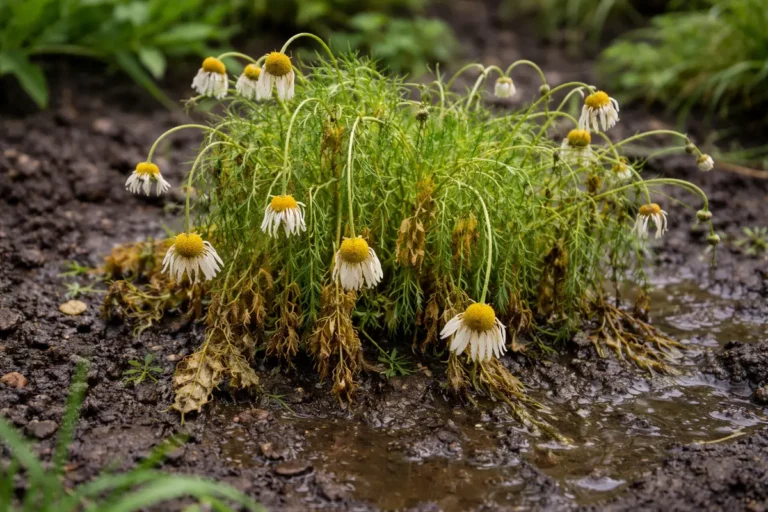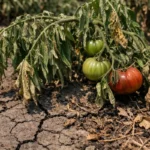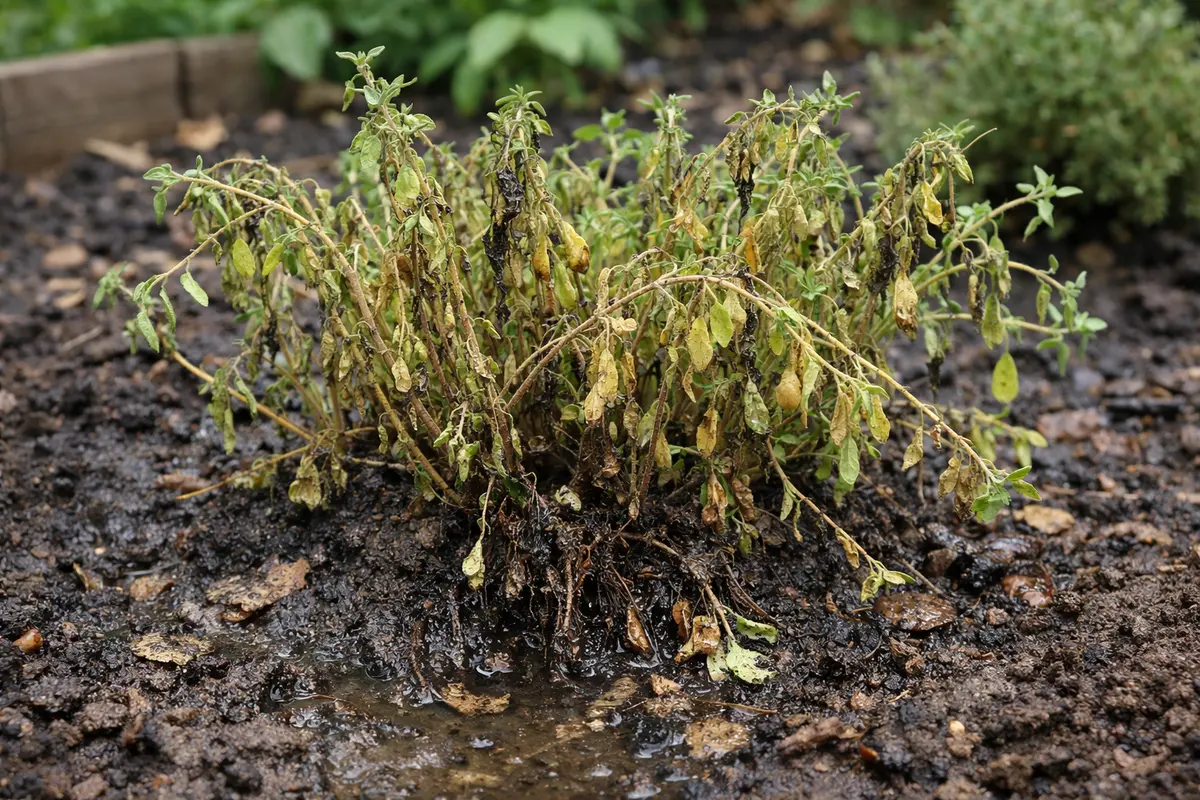
You may notice your thyme struggling, with wilting leaves and discoloration appearing after heavy rains, which is why you need to know what to do when thyme is dying after heavy rains. Excess moisture can lead to rotting roots and yellowing foliage that indicate a serious problem. If left unchecked, the situation gets worse and weakens the plant, making recovery harder to fix. Fortunately, you can inspect the soil, adjust drainage, and trim away affected parts to help your thyme bounce back.
Step 1 – Trim Back Wilted Thyme Stems Quickly
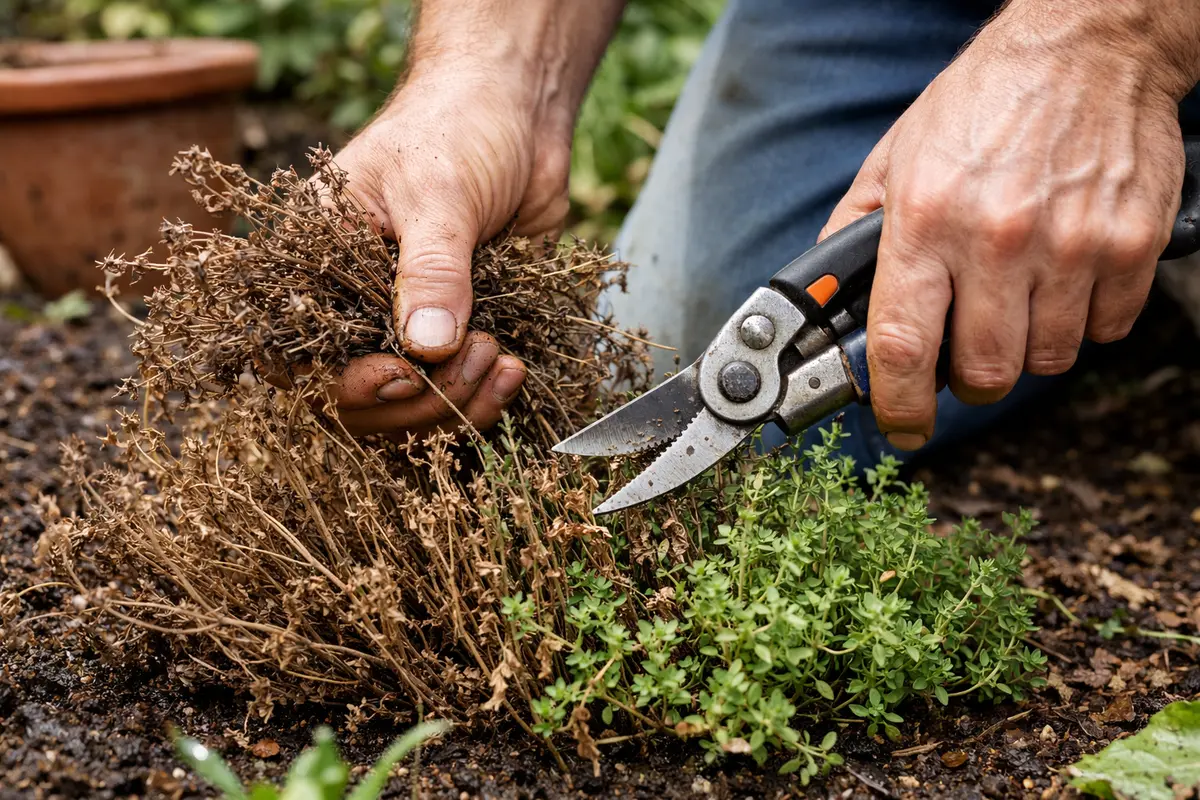
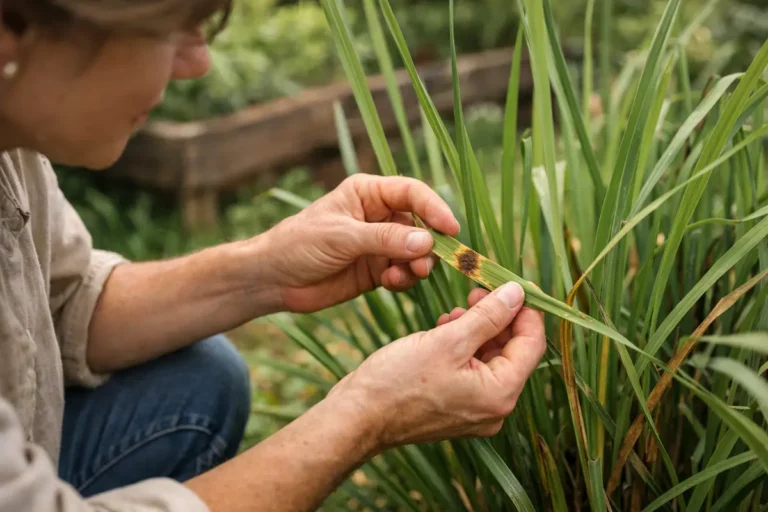
Start by trimming back the wilted stems of the thyme immediately. You will notice the overall appearance improve as you remove the dead or dying parts, allowing healthier growth to take priority. This step should be performed as soon as signs of wilting appear, ideally within a day or two of the heavy rain.
Trimming is crucial because cutting away damaged foliage reduces the plant’s energy drain from maintaining those stems. If the wilted stems remain, they can promote the development of fungal pathogens that thrive in damp conditions, leading to further health issues. By doing this promptly, you minimize stress and prevent the spread of disease to healthier parts of the plant. Thyme is particularly susceptible to moisture-related stress, and delaying this action can worsen its condition, resulting in stunted growth or, in severe cases, plant death. Also, maintaining a well-defined shape by pruning can encourage airflow, preventing moisture retention within the leaves.
Often, gardeners wait too long before addressing visible damage. If you check the plant after a week and see the same brown and wilting leaves, it indicates that the plant’s health is deteriorating. This can lead to even more significant problems, like bacterial infections that spread through the foliage. An effective approach is to inspect the tips of the stems; if they feel mushy or if you can break them off easily, this is a clear sign that they need to be cut. If you’re unsure whether to make the cut, remember: if the leaf feels mushy or easily breaks off, it’s time to remove it.
Step 2 – Assess Soil Saturation Levels by Checking
Next, assess the soil’s saturation levels by checking its moisture content. You will see if the soil is too wet or has dried to an appropriate moisture level, helping you determine the next steps. To do this, simply stick your finger into the soil up to your knuckle; if it feels soggy, it’s too wet.
Evaluating soil saturation is essential because thyme prefers well-drained soil. If the soil is still overly saturated, the plant’s roots may suffocate or develop root rot, which can lead to brown, wilted foliage. In conditions that allow excess water to pool or saturate, roots can begin to decay, leading to a situation where the leaves no longer receive the necessary nutrients for survival. If the soil feels soggy and has a sour smell, indicating the onset of root rot, it is crucial to address it immediately to mitigate damage. A quick check should reveal whether the soil holds together or crumbles easily; the latter indicates that it might be just right for thyme.
If you find the soil is waterlogged, consider creating drainage pathways or adjusting your watering routine. Conversely, if the soil feels crumbly but dry, you need to rehydrate it appropriately. Be vigilant: a common mistake is to water thyme without assessing its current soil moisture, leading to potential overwatering. For instance, if you recently experienced rainfall, watering again can lead to flooding. If the soil is too dry but still somewhat solid, apply water sparingly, letting it soak into the top layer before applying more. This prevents excess water that can lead to root damage.
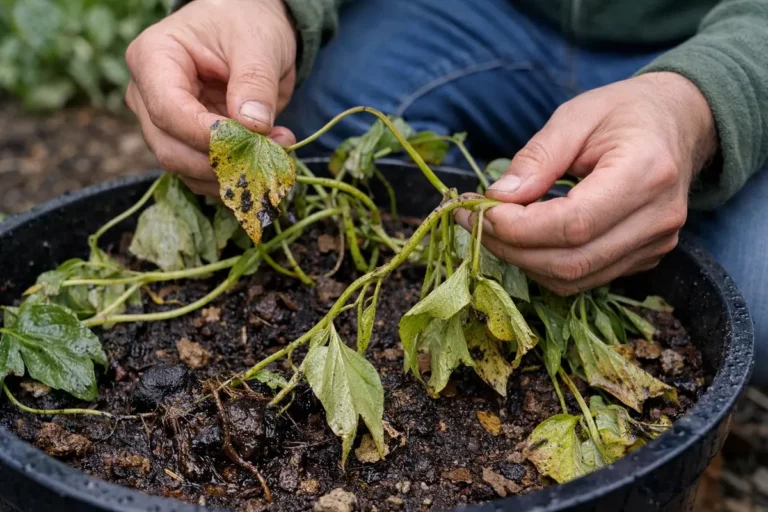
Step 3 – Revitalize Thyme with Appropriate Fertilizer
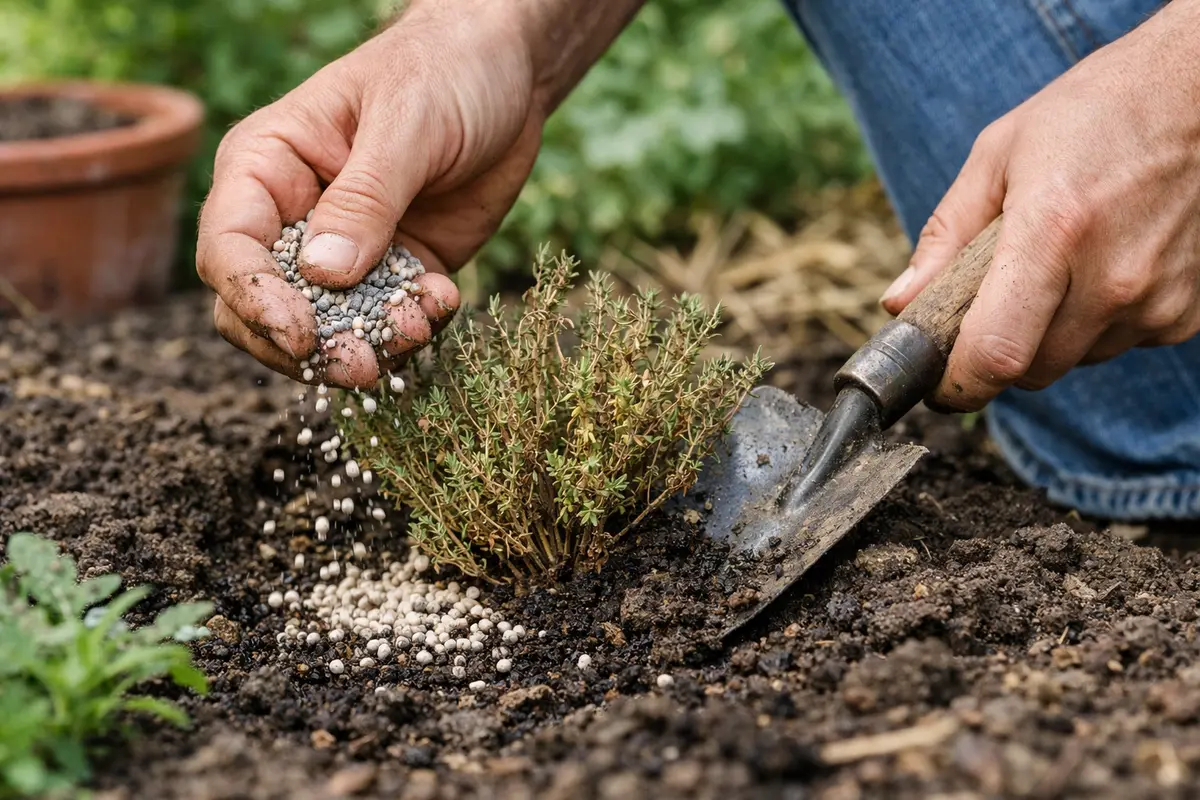
Apply a balanced fertilizer to the thyme plant to promote recovery. You will see new growth and vibrant green leaves emerging within a week of fertilization. This should be done after assessing the soil conditions and trimming dead parts as needed, creating a stable environment for nourishment.
Fertilizing helps replenish nutrients that might have leached away during heavy rains. The key is to look for a formula that balances nitrogen, phosphorus, and potassium, specifically designed for herbs. By providing plants with essential nutrients, you encourage healthy regrowth and stamina to withstand stressors. Using a fertilizer that is high in phosphorus can support root growth and overall plant recovery, providing a robust foundation for new shoots to emerge. If your soil lacks adequate nutrients, it can lead to slow recovery or nutrient deficiencies, which manifest as yellow foliage or stunted growth.
One mistake to avoid during this recovery stage is over-fertilizing, as too much fertilizer can burn the roots, leading to discolored leaves and inhibited growth. It’s important to follow the recommended dosage on the product label carefully, often aiming for a dilute solution rather than a concentrated one. If growth does not improve within a week, reassess your watering practices and nutrient levels, as these may need adjustment for optimal recovery. If you notice brown tips on leaves after fertilizing, this is a clear sign that you may have added too much. A temporary treatment of plain water can help flush away excess nutrients. Also, keep an eye on the product’s granularity; sometimes, slow-release fertilizers can be less risky than quick-release varieties that may overload the plants in one go.
Step 4 – Shield Thyme from Excess Water in Future
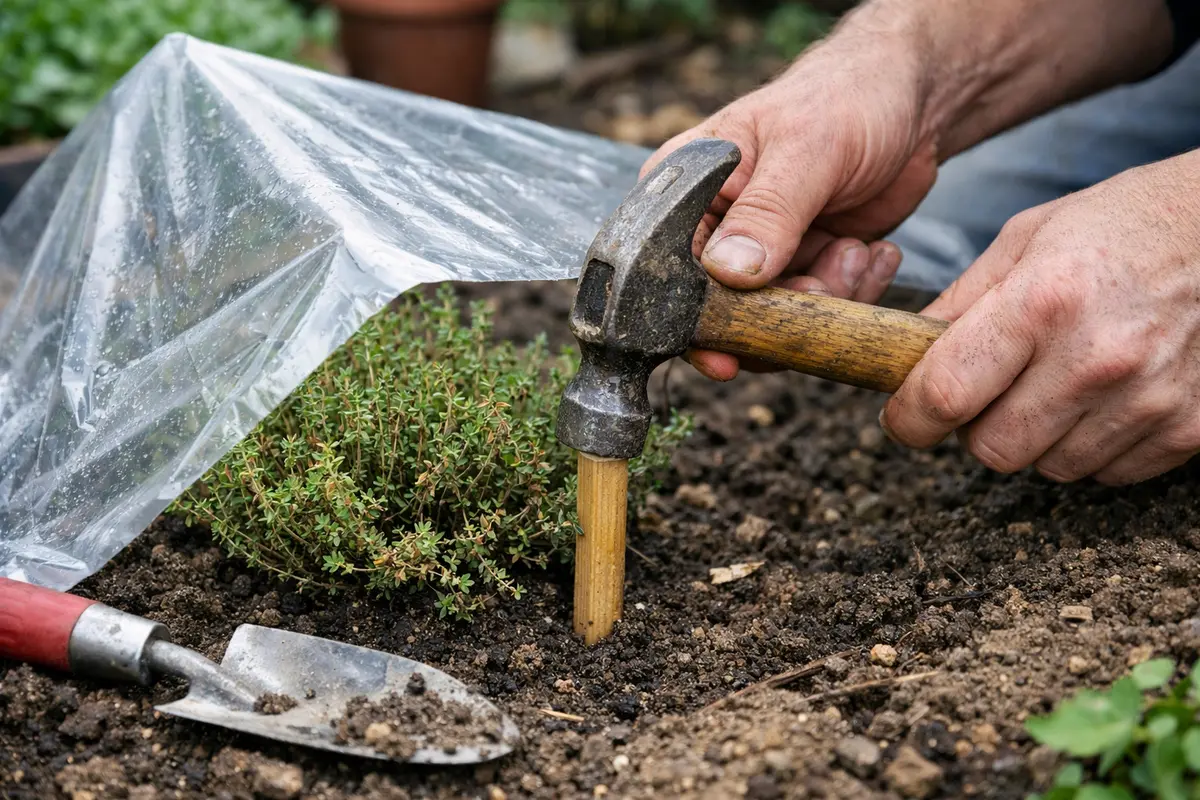
Start by improving drainage around your thyme by creating raised beds or adding sand and organic matter to the soil. This change will reduce waterlogging, allowing thyme’s roots to breathe and preventing further decline.
Thyme plants thrive in well-drained soil, and heavy rains can lead to waterlogged conditions that promote root rot. When the soil remains saturated, fungi can attack the roots, whereas thyme in well-draining soil tends to flourish and stay robust. To address the root cause of your thyme’s demise, it’s essential to elevate the plant’s growing conditions and improve soil aeration to avoid recurring issues.
In early spring or after heavy rainfall, apply a layer of mulch around your thyme to help retain moisture while still allowing for drainage. If your garden frequently experiences heavy rains, consider installing drainage tiles to further manage excess water and protect your plants from water stress.
Preventing moisture-related issues requires awareness of environmental conditions. By ensuring the thyme has well-draining soil and monitoring rainfall, you can reduce the risk of future damage. Consider using raised beds or mounding soil to enhance drainage; raised beds can facilitate runoff and reduce standing water, particularly in low-lying areas. For existing beds, mixing in coarse sand or perlite with your garden soil can create air pockets that help facilitate drainage. Regularly checking the soil before watering can prevent overwatering; if rainfall is adequate, you may even skip the watering session entirely.
Seasonally, the approach must adapt. For instance, during spring rains, more frequent checks are necessary as the ground’s saturation can fluctuate rapidly, especially in rainy climates. Skipping this step may allow the plant to suffer from similar problems during wet periods. A common error is assuming that consistent sunlight and warmth will compensate for excess moisture; however, without proper drainage, problems persist. Consider creating a schedule for checking soil moisture levels every two to three days after heavy rains, adjusting as needed based on temperature and humidity to prevent issues from returning.
Step 5 – Check Thyme Foliage for New Growth Regularly
Start by inspecting the thyme for excess moisture in the soil and around the root zone. Check for waterlogged conditions, which can indicate that the plant is suffering from root rot or fungal issues due to heavy rains. Look for wilting leaves and a general droopy appearance, and recheck the plant’s condition every few days to monitor for improvement or further decline.
A fully recovered thyme plant will display firm, upright stems with vibrant green leaves and a pleasant aroma when brushed. In contrast, early signs of trouble returning include yellowing leaves that feel mushy or a persistent droopiness in the stems. If you notice dark spots or a musty smell from the soil, the plant may still be in distress.
If signs of decline persist despite drainage efforts and careful monitoring, elevate your response by removing affected foliage and treating the plant with a fungicide designed for root rot. If the problem doesn’t improve, consider replanting in drier conditions or in a container with excellent drainage to escape ongoing issues caused by excessive rain.
Regular monitoring helps you gauge the success of your intervention. Healthy thyme should exhibit vibrant, green growth within 2-3 weeks, indicating that it is bouncing back from earlier issues. Conversely, wilting or discolored foliage can signal that additional steps are needed. Inspecting not just for new growth but also the overall leaf texture is important; soft, droopy leaves indicate further stress, while firm and upright leaves suggest recovery. If you observe new growth alongside persistent yellowing, it may point to an underlying nutrient issue that still needs addressing.
If the problem recurs despite your efforts, it may be time to reassess the soil structure and drainage solutions. Persistent issues often arise from underlying problems in the garden bed or pot. For example, if you notice that several plants in proximity to the thyme are also wilting, it could indicate systemic soil issues or microbial infestation impacting plant health. Implementing a more robust plan for soil health could involve adding organic matter, such as compost, to improve drainage and nutrient retention. Additionally, consider whether the thyme is in a location that receives adequate sun; if it’s receiving less than six hours of direct sunlight, consider relocating it for optimal growth.
FAQ
How long will it take for thyme to recover after heavy rains?
Thyme typically shows signs of recovery within 1-2 weeks. Proper trimming, soil checks, and fertilization play key roles in revitalizing your plant. If you find you’ve taken the necessary precautions and it hasn’t responded, adjustments in care may still be necessary. It’s possible that the recovery timeline can extend if the plant experiences additional stressors from pests or disease.
Should I remove more leaves if they are still brown after treatment?
Yes, it’s advisable to remove any persistently brown leaves even after treatment. This helps prevent potential disease spread and encourages the plant to focus its energy on healthy growth. Just ensure you are pruning correctly and comfortably without cutting back too much; this permits some protection against overshooting the number of healthy leaves. Moreover, pruning reduces the weight of the plant, allowing for better stability and airflow, which can contribute to recovery.
Will my thyme survive if I acted late?
Thyme can still recover if action is taken quickly, but delayed responses can lead to lasting damage. Regular monitoring and timely interventions will help ensure that you catch any further issues before they escalate. If recovery seems stagnant after a couple of weeks, it may warrant reevaluation of the watering protocol or light exposure. Understanding the plant’s needs in relation to its environment is crucial; for instance, if nighttime temperatures drop significantly, it might further stress the already compromised plant.