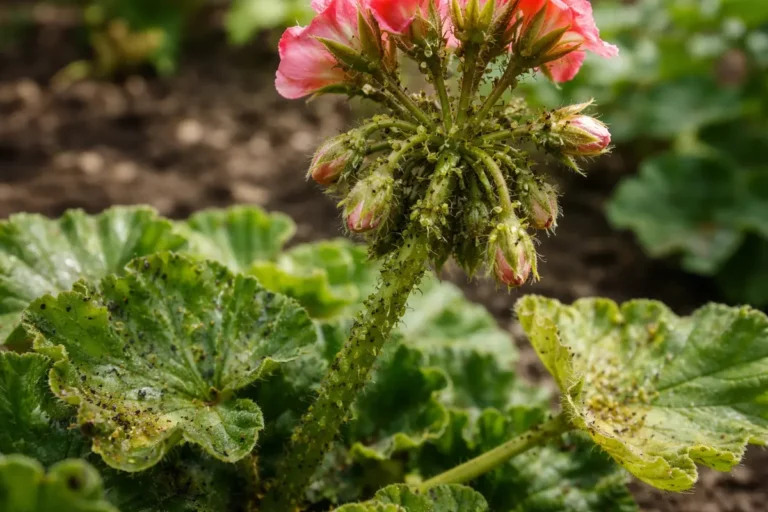
You notice your chamomile plants wilting and developing yellowing leaves during the recent humid weather, which is why you need to know why are my chamomile plants dying in wet conditions. Excess moisture can lead to root rot and other fungal diseases, causing the plants’ overall health to decline and their leaves to droop. If left unchecked, this problem gets worse, ultimately weakening the plant and stalling its growth, but you can fix it now by checking the soil drainage and adjusting your watering habits.
Step 1 – Prune Overwatered Chamomile Leaves Carefully

First, lift the chamomile plants from the saturated soil and check for root rot by inspecting the roots. Discard any that are mushy and brown, while replanting healthy roots in fresh, well-draining soil. You should see the remaining plants perk up within a few days, with green foliage becoming firmer and more vibrant.
Acting quickly is crucial because chamomile plants are sensitive to excessive moisture, which can lead to anaerobic conditions around the roots. If left unchecked, root rot can progress, causing leaves to yellow and die back completely, limiting your plants’ ability to photosynthesize effectively. If the roots are firm and healthy, check for signs of pest damage or inadequate sunlight, which may also lead to decline.
In a real-world scenario, a gardener noticed drooping leaves on her chamomile but delayed acting until she observed blackened roots, ultimately losing all her plants. By contrast, another gardener promptly replaced waterlogged soil, saving his chamomile just in time. If your plants begin to droop, act fast or risk irreversible damage from prolonged wet conditions.
Acting fast to remove affected leaves helps prevent the spread of rot and allows the plant to redirect energy toward healthy growth. Overwatered chamomile struggles due to decreased oxygen levels in the soil, leading to root suffocation. Pruning away these leaves creates airflow around the stems and root zone, promoting faster recovery. If the remaining leaves continue to show yellowing, consider additional prunes to refocus the plant’s resources on new, healthy growth. If at any point you notice that the yellowing affects a larger portion of your plant, it may be time for more drastic measures to curb the issue.
A common mistake gardeners make is assuming that simply leaving the damaged leaves will allow the plant to recover on its own. In reality, delaying the pruning step can result in further deterioration of the plant’s overall health, adding to light and space competition in the pot. Monitoring your plants closely during recovery phases is essential since failure to prune effectively can lead to new growth issues manifesting as further yellowing or drooping leaves. Aim to assess plants every few days for any signs that require further action; this helps establish a proactive maintenance routine.
Step 2 – Check Soil Saturation Causing Chamomile Decline
Check the soil moisture level in the pot or ground to determine if it is overly saturated. If the soil feels soggy or has a sour smell, immediate corrective action is required to prevent additional damage to your chamomile plants. Using your finger or a moisture meter, probe about an inch into the soil; if it feels wet or mushy, immediate intervention is critical to prevent further complications. If you have multiple pots and find that some are mushier than others, focus first on the ones that show severe saturation signs, as these are at the highest risk.
Saturated soil deprives the roots of necessary oxygen, stunting their growth and leading to rot. When roots sit in waterlogged conditions, they can become soft and mushy, which directly impacts their ability to absorb nutrients. Identifying these signs is critical for timely recovery; failure to act can lead to the plants wilting quickly. If the soil remains persistently wet even after allowing it to drain, it’s vital to recognize that without intervention, the risk of widespread root rot increases significantly. Utilize this time to examine any nearby plants for similar saturation issues, which can indicate broader drainage problems in your gardening setup.
If you find that the soil is consistently wet, you should consider adding organic material like compost or perlite to improve drainage. Alternatively, if the conditions are severe—evidenced by roots that feel black and mushy—you may need to repot the plant in fresh, well-draining soil to reduce saturation. Rotting roots emit an unpleasant odor, indicating that plant health is at risk; this clear signal requires urgent action. If ignored, the damage could escalate rapidly, leading to the loss of your chamomile plants, as fruits of previous healthy seasons can become untenable in high moisture conditions. For extreme cases, assessing the pot size may also be necessary; a pot that is too small may trap moisture against the roots, necessitating a larger container to improve airflow.
Step 3 – Apply Compost to Revive Chamomile Plants
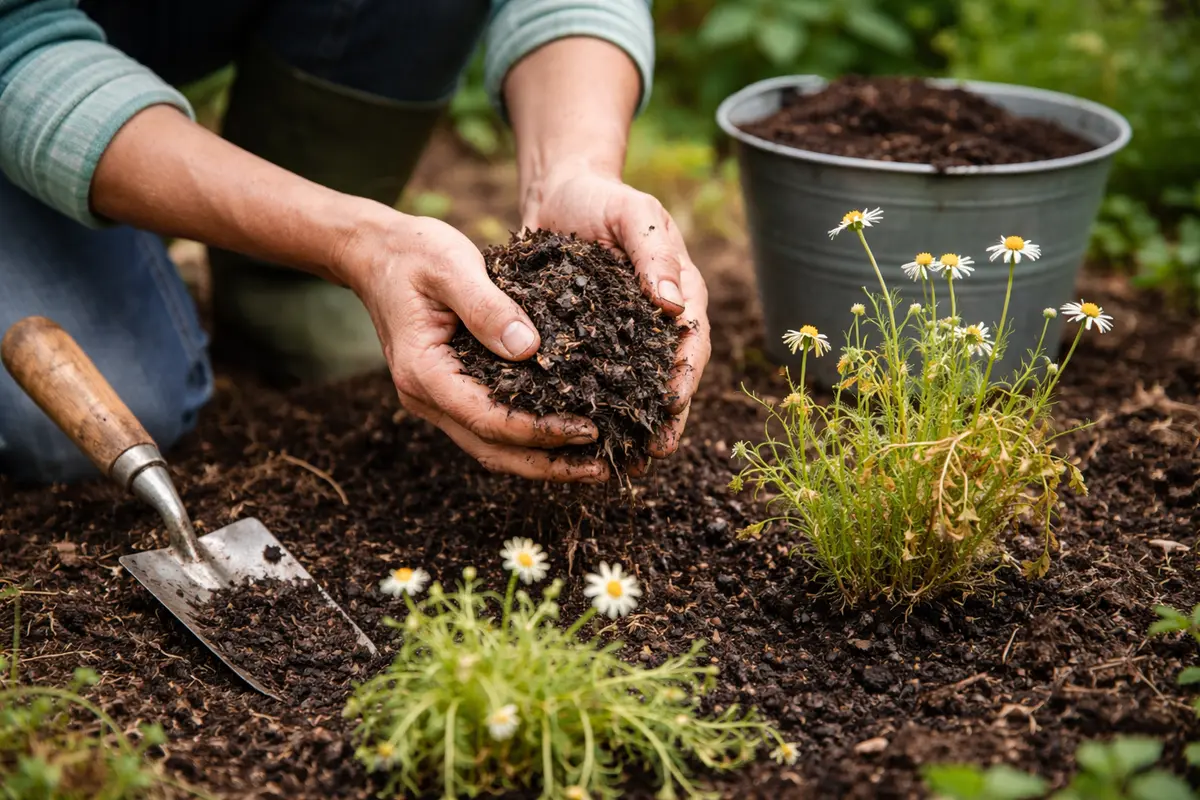
Apply a layer of well-rotted compost around the base of your chamomile plants to replenish nutrients and improve drainage. Aim for a layer about an inch thick, ensuring you do not pile it directly against the stems to prevent rot. Within about a week, you should start to notice healthier new growth sprouting, indicating that the plants are beginning to recover adequately from earlier stresses. If you notice additional growth across the compost layer itself, this suggests that beneficial fungi and microbes are engaging, which bodes well for the future health of your plants. Low reserves in the mix may present as currant bushes have yellowing leaves in.
Adding compost not only enhances the nutrient content of the soil but also improves its structure, allowing for better airflow and drainage around the roots. Chamomile naturally thrives in well-drained conditions; thus, incorporating organic matter maximizes soil texture and reduces compaction. This improved drainage will help any remaining roots to oxygenate properly, significantly aiding recovery. After applying compost, monitor moisture levels closely; the enhanced structure should enable you to identify when watering is genuinely needed, preventing any future over-watering scenarios. If high rainfall persists, consider putting a protective mulch layer on top of the compost, which can further help retain necessary moisture while preventing oversaturation.
One mistake to avoid during this recovery phase is overwatering again after applying compost. Water only when the top inch of soil feels dry, as excess moisture can hinder recovery and create further problems with root health. Furthermore, if new growth does not appear after a week, reassess the watering routine; ensure that the compost is engaging well with the existing soil. If you notice a lack of improvement or any decline, consider measuring the soil pH as well—chamomile prefers slightly alkaline conditions, typically between 6.5 and 7.5, and adjustments may need to be made accordingly. Strengthening the habitat for your chamomile will provide the foundation for long-term resilience; for instance, if you discover that your soil is below this pH, introducing lime can help bring it up to optimal levels.
Step 4 – Water Chamomile Only When Soil Dries Out
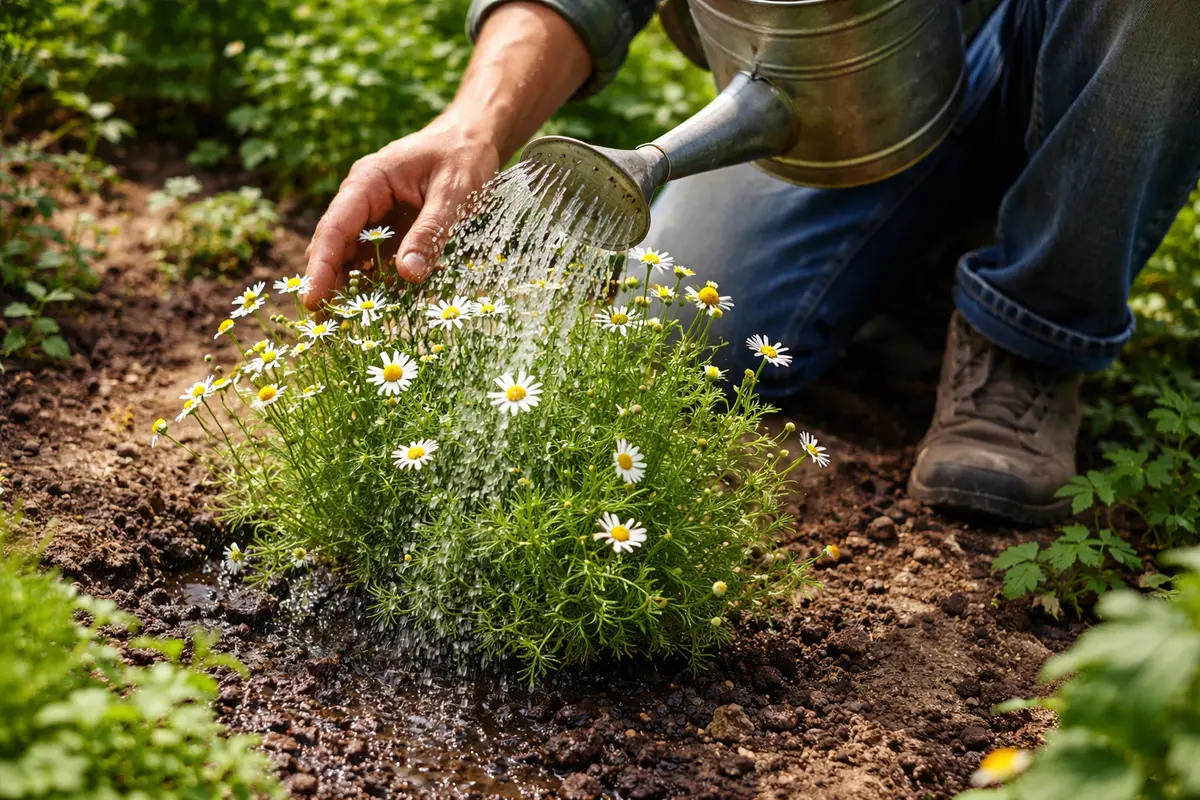
Adjust your watering schedule to only water when the top inch of soil is dry. This incremental change establishes a consistent habit that reduces the risk of overwatering, thereby encouraging strong root growth and overall vigor. The timing of watering will significantly vary, ranging from 3 to 10 days, depending on your specific climate and current weather conditions. During hot, midday sun, plan for potentially shorter intervals, while cooler, cloudy days could extend the period. If your chamomile plants live next to a water-retaining plant, consider adjusting your watering habits uniquely for each species, since their hydration needs may diverge.
Regulating the watering schedule is crucial for preventing repeat issues in the future. Chamomile prefers slightly dry conditions; allowing for drying between waterings can help avoid anaerobic conditions detrimental to root health. By incorporating this method, you will ensure not only the survival of your plants but the sustainable growth and development of the entire plant structure. During particularly humid months, you may find you need to check the soil moisture consistently, while in dry climates, possibly more than once in a week. If you detect the chamomile leaves drooping before your set watering day, shorten those intervals slightly, but confirm the soil’s dryness first.
In prolonged wet conditions, it may also be necessary to evaluate the environmental factors affecting your chamomile’s health, such as drainage around the planting site. Look into the type of soil; adding more mulch can enhance surface drainage, while landscaping rocks can aid in improving airflow to the roots. If you start to notice water pooling around the base of your plants, it may be time to consider relocating them altogether. Persistent moisture accumulation can indicate that the current environment is inhospitable, leading to a cycle of stress that hampers your chamomile’s growth. Frequent checks during rainfall events can also assist in avoiding unforeseen waterlogged conditions.
Step 5 – Inspect Chamomile for New Root Issues Weekly
Start by checking the soil moisture levels around your chamomile plants every few days. Observe the top inch of the soil; it should feel lightly dry to the touch, but not completely parched. If the soil remains consistently wet, consider adjusting your watering schedule and improve drainage by amending the soil or relocating your plants to a better-draining area.
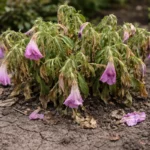
A fully recovered chamomile plant showcases vibrant green leaves, with a smooth texture and firm stems. In contrast, early signs of the problem returning include yellowing leaves that feel soft and mushy, indicating potential root rot. If you notice the leaves starting to droop despite normal conditions, check for excessive moisture in the soil.
If the problem resurfaces despite following these steps, elevate your response by removing affected plants to prevent spreading any root diseases. Additionally, enhance soil drainage further with sand or perlite, and keep a close watch for any lingering signs of distress, adjusting care as necessary.
Regular inspections allow you to catch any signs of new damage early. Healthy roots are critical for overall plant vitality, and should you discover any issues during inspection—they may look discolored or soft—it requires immediate attention. Monitoring your plants closely will enable you to pinpoint any changes before they escalate. It may also be valuable to check for root density as root-bound conditions can become stubbornly detrimental; a quick evaluation on whether roots are wrapping around the container can be an essential first check. If root congestion is evident, repotting into a larger container immediately is vital to allow room for growth.
If you notice symptoms returning despite your diligent corrective measures, consider adjusting the growing conditions further—such as relocating the plant to a space where better drainage is possible, or increasing airflow around the plants. If you alternatively see lingering signs of distress, such as wilting or yellowing, consult a soil-specific care guide to ensure your particular jar or pot isn’t impeding growth. Establishing a routine for weekly inspection ensures that your chamomile remains healthy and able to flourish. Document changes made in the regarded area as this will aid in recognizing trends over time, helping you refine your care practices based on specific plant responses to the environment.
FAQ
How long will it take for chamomile to recover from overwatering?
Recovery can vary, but typically you should see signs of improvement within 1-2 weeks. During this time, consistently monitor for new growth and healthy foliage reemergence as indicators that the plant is bouncing back. After the second week, reassess your care routine; if significant regeneration does not occur within this timeframe, consider escalating your soil improvement efforts by incorporating additional drainage solutions or examining root health more closely. If rot is severe, you may need to resort to repotting with fresh soil.
Can overwatering spread root rot to other plants?
Yes, if soil conditions are conducive, root rot can indeed spread to nearby plants. It’s advisable to isolate affected chamomile to prevent broader contamination. Furthermore, ensure that any tools or hands used in the care process are thoroughly cleaned to avoid transferring pathogens to healthy plants; introducing contaminated materials can lead to widespread plant health issues, worsening the overall outcome. If you see neighboring plants exhibiting signs of yellowing or wilting, it could be due to shared soil conditions.
Should I remove all affected parts of the chamomile plant?
Remove any visibly affected leaves and stems; however, be cautious not to over-prune, as it can stress the plant further. Retaining as much healthy foliage as possible is essential for supporting recovery through photosynthesis. Observing the plant for gradual improvement is vital; excessive pruning can thwart natural growth processes, complicating recovery efforts. Additionally, if you spot any pest damage alongside moisture issues, consider addressing both factors together to support comprehensive recovery. Utilize sound judgment based on visible plant health, ensuring you balance aesthetic considerations with the plant’s vitality during this delicate phase.