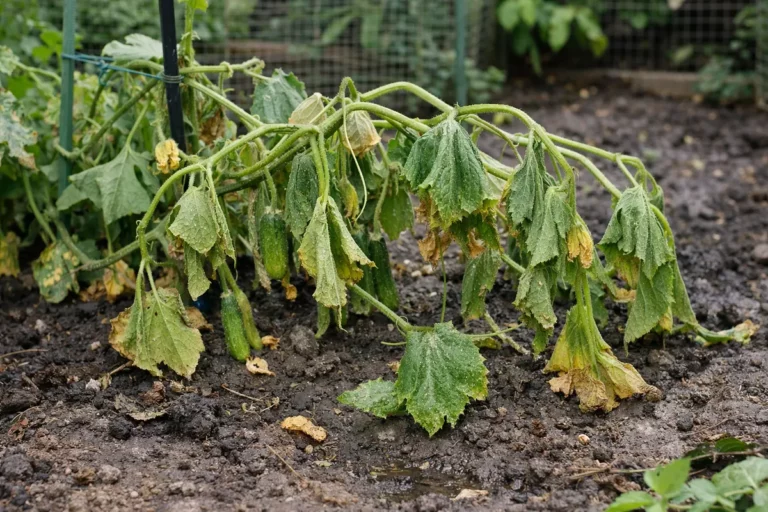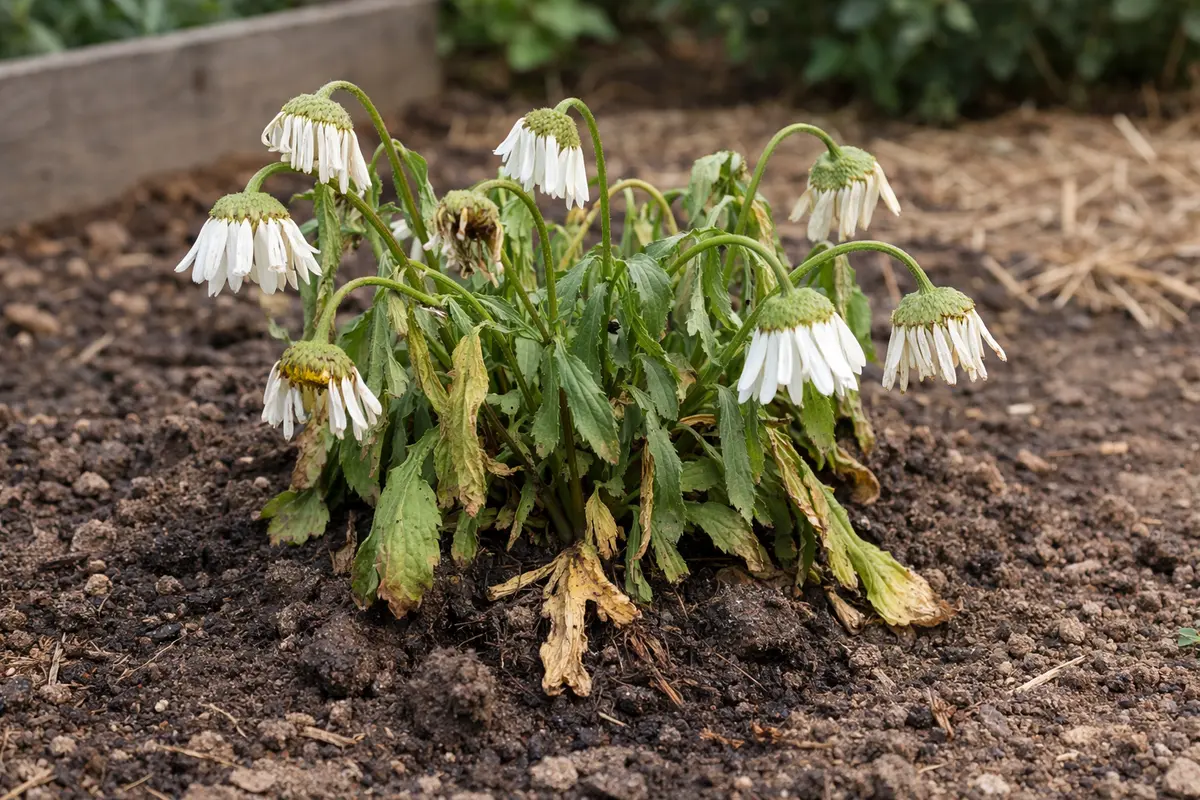
You may notice your white daisies drooping dramatically under the summer sun after a recent transplant, which is why you need to know the answer to the question: “Why are my white daisies wilting after transplanting?” This wilting can occur due to transplant shock, resulting in brown spots and drooping leaves as the plant struggles to establish its roots in new soil. If left unaddressed, the stress can weaken the plant, leading to more damage. You can improve the situation by carefully checking the soil moisture and adjusting your watering schedule.
Step 1 – Water White Daisies Immediately After Transplanting
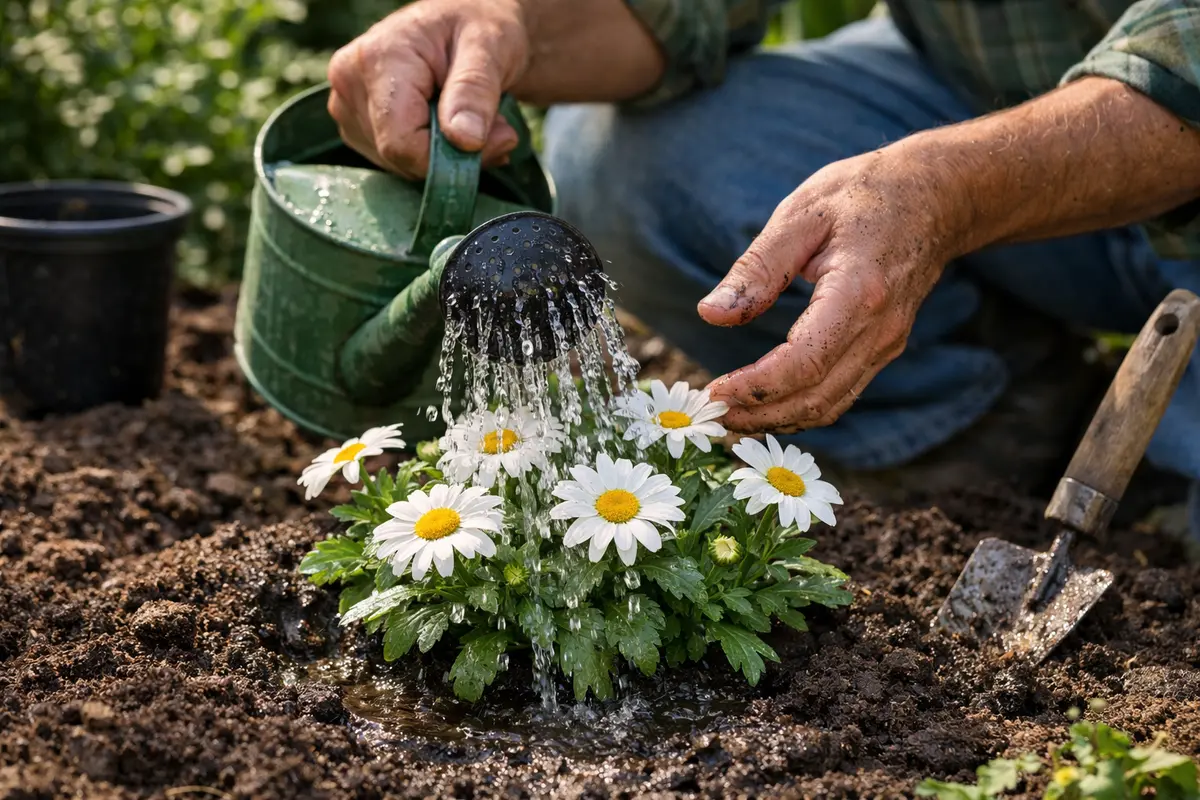
Start by watering the white daisies thoroughly right after transplanting them. You should see the soil around the plant feel moist, and the leaves perk up within a few hours. Immediately hydrating the plants helps them settle into their new environment and minimizes wilting. If the leaves remain droopy after watering, it indicates that further action may be required, such as assessing the soil condition or drainage. Moreover, observing the initial response after watering can give insights into whether the plant is going to recover or if additional factors are at play.
Watering immediately after transplanting provides the necessary moisture that freshly disturbed roots require. This step is critical because when roots are exposed, they can easily dry out, causing stress. Ensuring that the soil is consistently moist helps maintain hydration levels, and this moisture facilitates nutrient absorption and root establishment. Ideally, aim for at least one gallon of water, soaking the root area deeply while ensuring it doesn’t pool against the stem, which may cause rot. Consistently moist soil dramatically increases the chances of healthy resumption and growth initiation, setting the daisies up for a stronger recovery. If the soil feels dry just beneath the surface, indicate that your watering is not deep enough.
Many gardeners underestimate the importance of watering right after a transplant. For example, if the soil is too dry when daisies are planted, it can take much longer for them to recover compared to those that are watered immediately. If you notice that the blooms start losing their vibrant color or developing a crispy texture even after watering, it is essential to check the root zone thoroughly. If any wilting persists, you may need to increase the frequency of watering and ensure that the soil retains moisture without being overly soggy. Inconsistent moisture levels can often lead to exaggerated wilting, particularly when temperatures rise. Remember, it’s vital to water deeply enough so that moisture penetrates at least 6 inches into the soil, reaching the root zone effectively—less penetration simply won’t suffice to revitalize the plants. After watering, check the leaves over the next several hours; if they remain droopy, you may need to reevaluate your soil health.
Step 2 – Diagnose Wilting in Transplanted Daisies
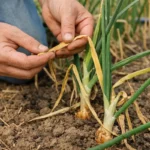
Examine the soil moisture level carefully to diagnose the cause of wilting. If the soil feels overly dry or compacted, it may indicate insufficient watering. Conversely, if the soil is soggy and has a sour smell, it might suggest overwatering or poor drainage. Recognizing these signs will help you take the appropriate corrective measures immediately to prevent further stress on the daisies. It’s beneficial to keep a close eye on moisture levels within the first few days after transplanting, as any delays in action can worsen the plants’ condition significantly.
Checking soil moisture helps uncover underlying issues affecting your daisies. Dry soil can leave roots struggling to absorb water, while overly wet conditions can suffocate roots, causing them to rot. To check for moisture, insert your finger into the soil up to your second knuckle; if it feels dry, it’s time to water, while wet soil at this depth indicates existing overwatering issues. If you find the top layer dry but the soil deeper is wet, the problem might not be a lack of water but rather that the roots are not accessing it. Identifying the correct moisture level is essential because it allows you to determine whether your daisies are wilting due to drought stress or excessive moisture. Additionally, as the plants acclimate, ongoing monitoring is crucial to ensure conditions remain favorable for recovery, as inconsistent conditions can lead to additional stress.
If you find that the soil is too dry, quickly hydrate the plants more frequently. However, if it is overly wet, adjust your watering schedule and consider enhancing the drainage. Re-planting in raised beds or amending the soil with organic matter can improve drainage significantly, especially in heavy clay soils. Always check moisture levels at different depths; if the top feels fine but the deeper layers are compacted, roots may not penetrate properly which restricts their ability to absorb moisture. For soils that appear good on the surface yet are dry underneath, a more thorough watering schedule may be adequate, which may include more frequent checks of subsoil moisture to catch any issues early. Consistently monitoring soil conditions prevents wilting and allows for timely interventions.
Step 3 – Revitalize Daisies with Nutrient-Rich Fertilizer
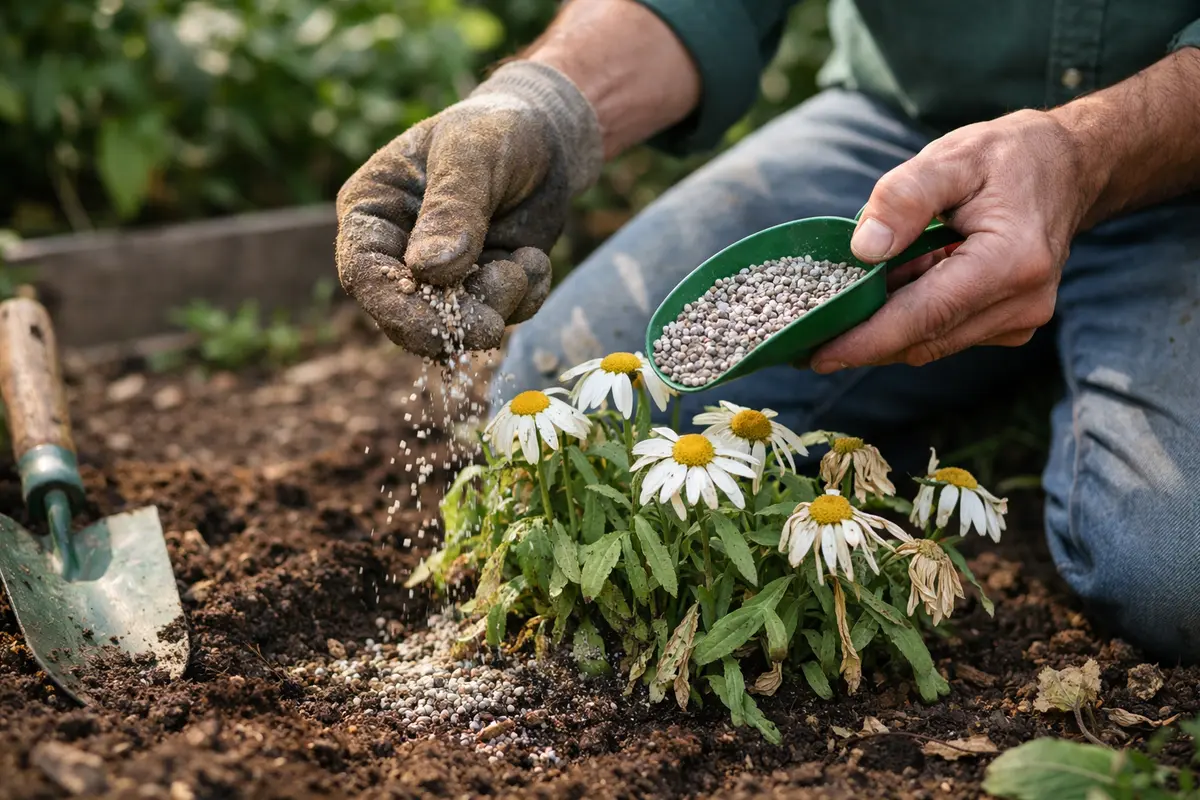
Apply a balanced, slow-release fertilizer to your white daisies about two weeks after transplanting. You will notice new growth starting to emerge within a week under favorable conditions. Fertilizing boosts essential nutrient levels that may have been depleted during the transplant process and helps support recovery. This intervention not only aids recovery but also can enhance flower production in the following bloom cycle, promoting a healthier overall appearance.
Nutrients from fertilizers support the recovery of transplanted daisies by providing them with the energy they need for new growth and root development. These nutrients are crucial during the initial weeks following a transplant when plants are delicate and stressed. Each nutrient plays a specific role: nitrogen promotes leaf growth, phosphorus aids root establishment, and potassium enhances overall plant health. A good starting point could be to use a balanced 10-10-10 fertilizer at approximately half the recommended dosage, as too much can overwhelm the stressed plants. If you shift to a higher dosage without observing new growth, it might be overly stimulating, leading to further wilting instead of recovery. It’s also important to mix the fertilizer into the soil lightly to ensure even distribution and avoid root burn.
Many gardeners make the mistake of fertilizing too early after transplanting, which can burn the roots that are still adjusting. Instead, allow the plants some time to settle in first. If you observe that the leaves begin to yellow or the plant appears stunted despite feeding, it may indicate nutrient burn; you can combat this by flushing the soil with water to help leach out excess nutrients. In cases where excessive nutrients have been applied, the plant often shows signs of imbalance, such as wilting, yellowing, or leaf drop. Always consider the soil’s fertility before applying additional fertilizers—using high-quality compost before transplanting can sometimes eliminate the need to fertilize early. Applying fertilizer at the right point in the recovery process encourages healthy establishment without overwhelming the plants, thus providing them with the support they truly need to flourish.
Step 4 – Check Daisies for New Growth Weekly
Start by checking the soil moisture levels around your white daisies every few days. Observe the leaves for signs of wilting or drooping, which indicate potential water stress. Also, look for any discoloration on the leaves, which may suggest transplant shock, and recheck these conditions weekly to gauge recovery. Repotting shock sometimes appears as stunted growth in heirloom tomatoes after.
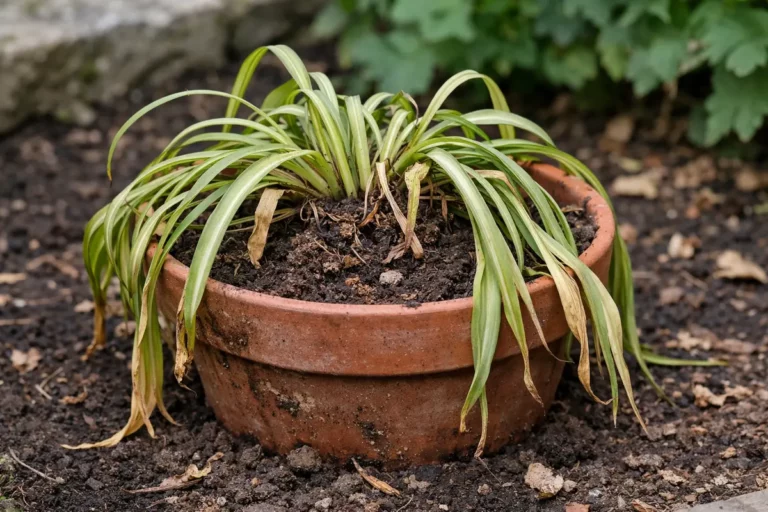
A fully recovered white daisy will exhibit bright, upright leaves with a lush green color, showing no signs of wilting. In contrast, if the issue returns, you may notice leaves curling at the edges or developing a yellow tinged appearance, which indicates ongoing stress. If the base of the plant becomes mushy or exhibits dark spots, that suggests root rot.
If the wilting persists despite following these steps, consider adjusting your watering schedule or improving drainage to prevent waterlogging. In cases where the leaves remain discolored, check for pests or disease and treat accordingly with an appropriate solution. Escalate to a soil amendment or repotting if these actions do not yield improvements.
A healthy white daisy will begin producing new leaves, have vibrant green hues and show an increase in growth rate as it acclimates to its new surroundings. If the conditions are still unfavorable, the wilting can return, manifesting as drooping leaves or discoloration. Keeping a record of growth over time can also help identify patterns. If you see consistent weakness or wilting despite following methods, this might indicate deeper issues with soil quality or root health that require immediate attention. Observing these signs helps identify whether your recovery methods are working or if further adjustments are needed. Additionally, new flowers should emerge as the foliage begins to thicken, indicating a successful transition to their new environment.
If you find that the wilting persists despite following the steps, it may be time to re-evaluate your care methods. For instance, if you notice that growth is stunted, this could suggest that the roots are still recovering or struggling to access nutrients effectively. Improving soil drainage or altering your watering routine could yield better results, particularly if initial conditions were unfavorable. Regularly inspecting for pests or diseases can also be essential, as infestations can quickly worsen and lead to more severe stress. If no improvement is noted after several weeks of diligent care, do not hesitate to consult with a local gardening expert who can provide tailored advice based on your specific conditions, including local soil types, weather patterns, and typical pests.
FAQ
How long does it take for transplanted daisies to recover?
Typically, white daisies will start showing signs of recovery within 7 to 14 days after transplanting, depending on the watering, soil conditions, and local climate factors affecting their establishment. If you notice they are not recovering within this timeframe, reassessing your care methods could be necessary. Factors like extreme heat, pest infestations, or prolonged moisture can delay recovery, so keep an eye on external conditions and adjust your care accordingly.
Can wilting daisies recover if I see signs of root rot?
If your white daisies show signs of root rot, recovery becomes challenging, but there are steps you can take. Trim away the affected roots, improve soil drainage, and allow the remaining healthy roots to dry slightly before replanting or watering again. Ensure you’re monitoring them closely afterward, as recovery often requires vigilance against further root damage. It’s crucial to prepare for the possibility that not all plants will survive, especially if root rot has set in extensively; in such cases, focusing on preventing further infestations is key.
Should I remove wilting leaves from my daisies?
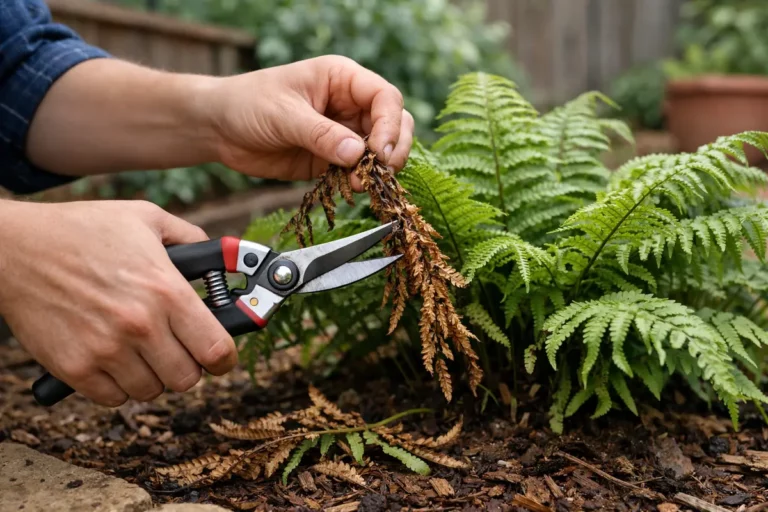
It is advisable to remove wilting or dead leaves from your daisies to promote new growth and improve airflow. This practice helps prevent disease development and directs the plant’s energy toward healthier parts. If the wilting leaves are removed promptly, it can facilitate better air circulation, which is pivotal on humid days, reducing the chances of mold and mildew development. However, ensure you only remove leaves that are completely dead; partially wilting leaves may still recover if conditions improve, so assess them carefully before deciding.