You may notice that your herbs are showing signs of distress when exposed to prolonged summer heat, which is why you need to know what to do if herb leaves are turning brown in pots. This browning often occurs due to insufficient watering or nutrient deficiency, leading to wilting and damaging the leaves. If left unaddressed, this issue worsens and can weaken the plant, making it harder to recover, but fixing it is possible now—you can inspect the soil, adjust your watering schedule, and improve their growing conditions. Timely intervention is crucial because ignoring the signs may lead to irreversible damage or even plant death.
Step 1 – Trim Back Brown Herb Leaves Immediately

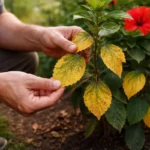
Begin by cutting away any brown or damaged leaves from your herb plants. You should see less overall browning immediately as the plant starts to focus its energy on healthier foliage. Prune away all the brown leaves, removing them at the base to ensure no compromised areas remain. Pay attention to any leaves that feel mushy or have visible signs of disease; these are more likely to harbor pathogens affecting the rest of the plant.
By reducing the number of compromised leaves, the plant can redirect nutrients and water to its healthier parts. Healthy leaves play a critical role in photosynthesis, and trimming helps the plant maintain its ability to grow effectively. If you delay this action, the disease or stress could spread to other areas of the plant, ultimately leading to their demise. In a well-timed intervention, you may witness new growth sprouting in as little as one week. Ensure that your trimming tools are clean to prevent introducing any new infections — this can make a crucial difference in the recovery process.
Many gardeners mistakenly trim back only a few leaves, believing it to be sufficient. However, any brown area can potentially harbor disease, so thorough removal is essential. If you notice browning in multiple areas, it may help to assess watering practices or light exposure simultaneously. If you find that a significant portion of leaves are brown, it indicates that stress is likely impacting the overall health of the plant—leading to a crucial need for immediate attention and care. Inadequate pruning can leave roots stressed; be thorough and don’t hesitate to cut back significantly to promote new, healthy growth. After pruning, consider placing the plant in an area with indirect sunlight for a few days to reduce shock, allowing it to stabilize with fewer leaves before reintroducing it to direct light.
Step 2 – Diagnose Underlying Nitrogen Deficiency in Herbs
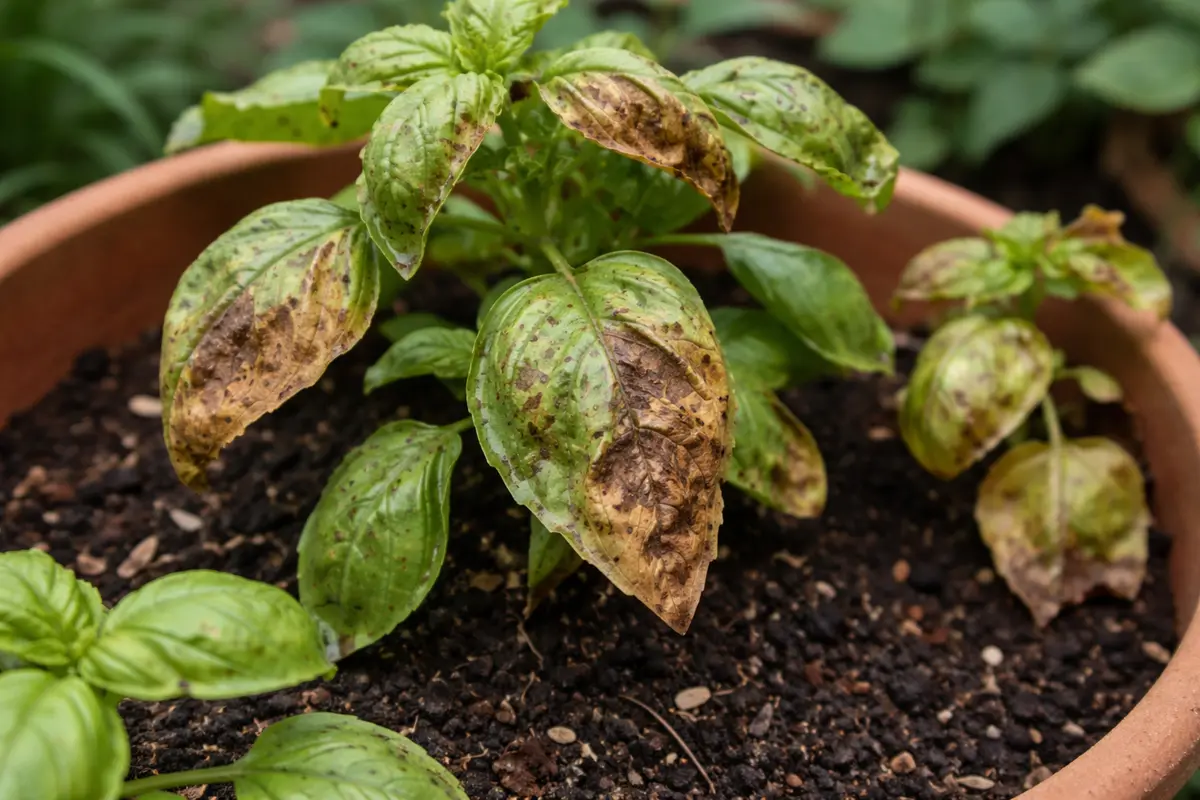
Begin by inspecting the herb for signs of nutrient deficiency, focusing specifically on the color and texture of the leaves. You should see a contrast between the vibrant green of healthy leaves and the yellowing or browning of affected ones. Take note of how widespread the yellowing is; if it’s mainly affecting the older leaves, that’s a strong indicator of nitrogen deficiency.
Nitrogen deficiency is often characterized by older leaves turning yellow and subsequently brown as they age, while new growth may remain greener. This deficiency results from insufficient nutrient supply in the soil, which is essential for leaf growth. In contrast, if the leaves are also wilting or have dark, mushy spots, it could indicate root rot, necessitating a different approach. Consider examining the roots by gently removing the plant from the pot; if they appear black or mushy, this may require repotting with fresh, well-draining soil.
To correct a nitrogen deficiency, apply a nitrogen-rich fertilizer such as fish emulsion or blood meal at the manufacturer’s recommended rates. The application should be followed by thorough watering to help the nutrients penetrate the soil. Aim for about 1-2 tablespoons of the fertilizer per gallon of water, applied every two weeks. Within a couple of weeks, you should observe significant improvement in leaf color and growth vigor; if the leaves begin to green up and new shoots appear, you are on the right track. Should the plants not respond positively after fertilization, check the drainage once more; poor drainage can compound nutrient issues. Ensure that your pots have adequate drainage holes and that the soil remains well-aerated. If drainage is not the concern, further assess other nutrients that may also be lacking, as a holistic approach to nutrient management often yields the best results. A soil test may reveal deficiencies in elements like phosphorus or potassium, which should not be overlooked as they also play crucial roles in plant health.
Step 3 – Nourish Herbs with Balanced Fertilizer Mix
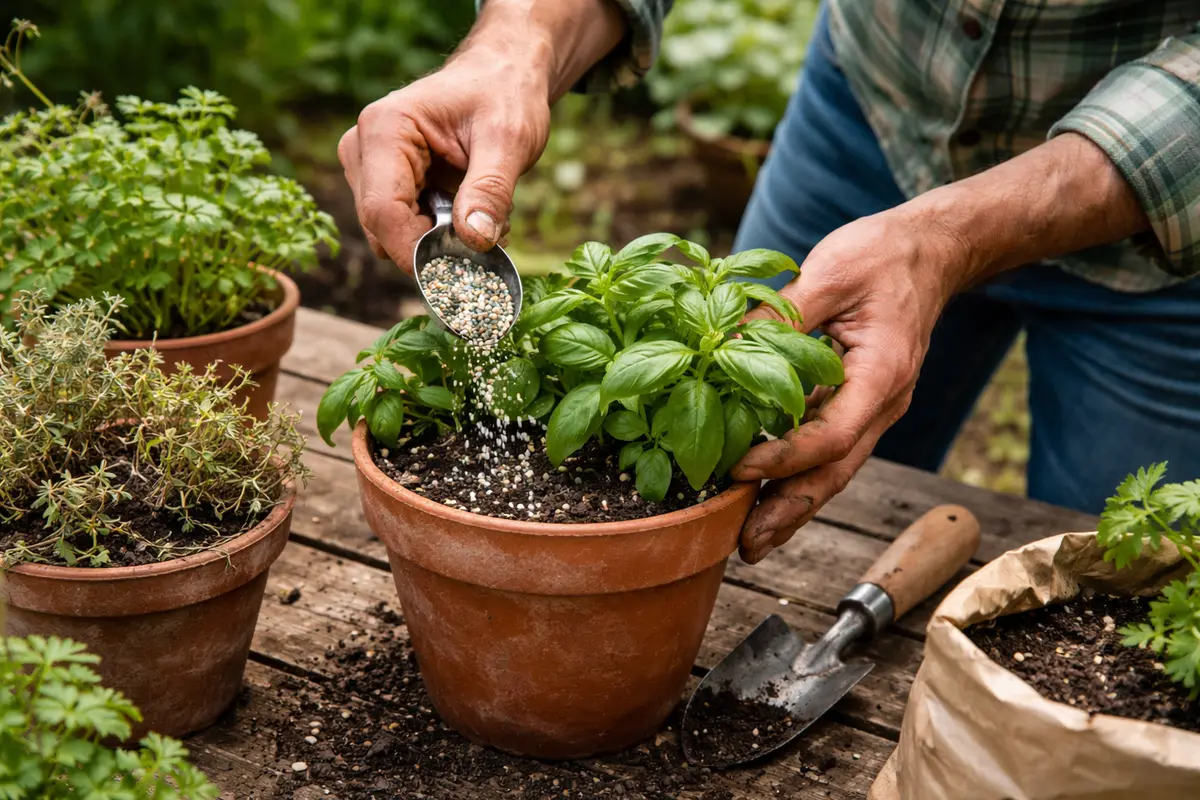
Apply a balanced fertilizer mix to your herb plants after ensuring they have adequate drainage. You should observe greener, healthier leaves within a week, indicating that the plants are absorbing the necessary nutrients to improve their condition. Select a fertilizer specifically formulated for herbs that support leafy growth, typically with a nitrogen-phosphorus-potassium (NPK) ratio around 5-10-5. This blend promotes lush foliage and can effectively recover plants suffering from nutrient depletion. Pay special attention to any growth patterns; herbs like basil often respond quickly, while others may take time.
Monitor the response of your plants closely; healthy new growth should emerge, characterized by vibrant, green leaves instead of the browning seen previously. If you notice continued leaf browning or wilting after fertilization, reduce the fertilizer concentration by diluting it further or extending the time between applications. Typical directions suggest mixing one tablespoon of liquid fertilizer with one gallon of water for in-pot plants, applying this solution every two to four weeks based on seasonal growth dynamics. Proper timing in fertilization can significantly impact growth, particularly during the peak growing season when nutrient uptake is at its highest.
Pay attention to signs of over-fertilization, such as leaf curling or burnt tips, which can indicate root burn and exacerbate the browning problem. If these symptoms arise, check the soil moisture levels. Over-fertilization stress can be mitigated by adjusting the watering schedule with thorough watering to dilute excess nutrients. While fertilizing, be cautious not to overapply, as too much of a good thing can be detrimental. Additionally, consider alternating your fertilizer type during the growing seasons, switching to a higher potassium formulation in the flowering stages of herbs like basil or dill to encourage not just growth but robust flavor and aroma as well. This combined approach ensures your herbs receive comprehensive nutrition without overwhelming them, counteracting possible stagnation in their growth.
Step 4 – Water Potted Herbs Consistently During Dry Spells
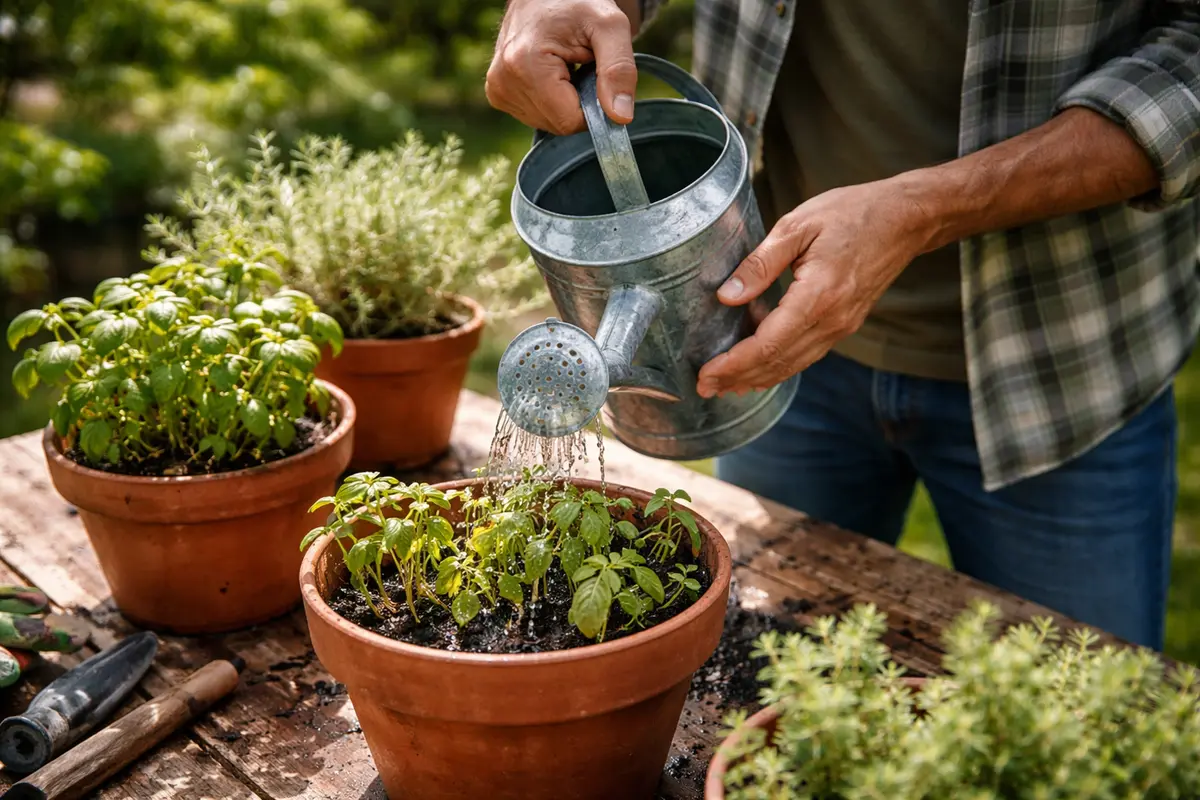
Begin by establishing a consistent watering schedule for your potted herbs to maintain soil moisture levels without allowing water to accumulate. You should aim for the top inch of soil to feel dry before watering, which leads to vibrant, healthy foliage while minimizing the risk of browning leaves. Use potting soil designed for drainage to help regulate moisture effectively.
To ensure your herbs receive the right amount of water, implement these routines:
- Check soil moisture every 2-3 days during warm months. If the top inch of the soil feels dry, make sure to water thoroughly until moisture reaches a few inches deep.
- In extremely hot conditions, increase watering frequency to daily or every other day, particularly for smaller pots that dry out quickly. Observing the condition of the leaves during this time will guide adjustments needed to your routine.
- During heavy rain, alternate placing pots in a covered area to prevent soaking, and allow pots to drain excess water collected during downpours. Be vigilant in observing how the plants react to sudden moisture changes.
- In colder months, reduce watering to once every 7-10 days, checking the soil moisture level beforehand—if the top layer feels dry, water lightly. Excess moisture in cold can lead to root rot.
Observe your herbs regularly; if you notice yellowing leaves, it may indicate overwatering—check drainage holes to ensure they are clear. Conversely, if the leaves are browning and crumbling, your plants may be under stress from insufficient water. Adjust your watering approach accordingly: if you see browning but the moisture levels are adequate, this could suggest poor drainage; ensure that pots are elevated or use well-draining soil. If browning continues despite regular watering, consider repotting to refresh the soil, which can enhance nutrient absorption and moisture retention.
In peak summer, consider placing pots in partial shade during the hottest hours to retain moisture while ensuring adequate light exposure for growth. If maintaining humidity is a challenge, utilize a humidity tray beneath your pots to keep moisture levels stable without sogging the soil. During this time, if your leaves are still browning, assess sunlight exposure, as both overexposure and too little direct sunlight can lead to stress.
Keeping a visual check on your plants helps create starting conditions for consistent hydration; if you observe that some herbs are thriving while others show signs of stress, it signals a need for adjustment in your watering approach. Furthermore, if browning continues despite better watering habits, reassess your potting soil and drainage conditions for optimal growth. Simple troubleshooting measures, such as ensuring that the water drains cleanly from the bottom when watered, can help clarify ongoing issues.
Step 5 – Check for New Brown Leaves Weekly After Care
Inspect your herb plants weekly for new brown leaves and other signs of health improvement. You should observe either the emergence of new green growth or a halt of browning that indicates recovery. During these inspections, note the state of both the soil and foliage. Healthy new growth typically exhibits vibrant color, which is a good sign of recovery.
A successful recovery will generally be marked by visible new shoots, retaining vibrant green color with steady growth. If old brown leaves remain and new growth does not appear, it would be wise to reassess your care regimen—this could indicate ongoing nutrient deficiencies or environmental shocks that require addressing. For instance, if you see no new growth within two weeks, inspect for white webbing or tiny pests, which could indicate new issues that require attention.
If you notice new brown leaves appearing again despite regular watering and feeding, consider reviewing your sunlight exposure or pest presence as these can lead to browning. Address possible stress contributors immediately to prevent losing any more foliage. If difficulties persist, it may be worthwhile to seek extra help from a local gardening shop or expert, as some issues may warrant professional advice, especially regarding infestations or systemic diseases. Maintaining a journal of your watering, fertilizing, and environmental changes will help you track potential causes and correlate them with any changes observed in your plants.
FAQ
How long does it take for brown leaves to recover after trimming?
After trimming, visible recovery can take 1-2 weeks. You’ll start to notice new growth and healthier leaves emerging as the plant reallocates its energy towards healthier foliage. Regular monitoring during this time will help you respond quickly if issues persist or if your usual care regimen needs adjustment.
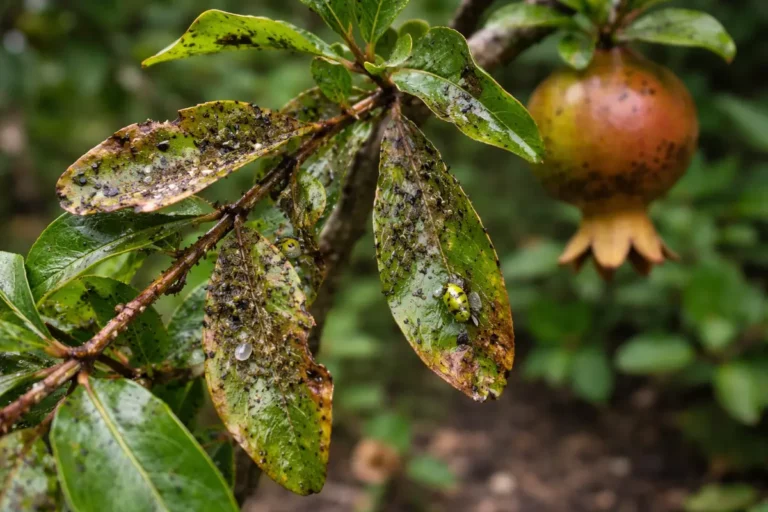
Can browning leaves indicate a spreading disease?
Yes, if browning leaves continue to appear, it may signal a disease that could affect the entire plant. Check for pests or other symptoms regularly to identify and address potential issues before spreading occurs. If left unchecked, disease could lead to significant plant loss, so it’s crucial to catch these signs early.
Should I remove all affected leaves at once?
You should prioritize the removal of severely damaged leaves first to alleviate stress caused by dead or dying tissue. Removing only a portion can be effective, but if substantial damage is visible, it’s best to cut all affected foliage to allow for better recovery. Always use clean, sharp tools to prevent further introduction of pathogens during pruning; this can significantly impact overall health.