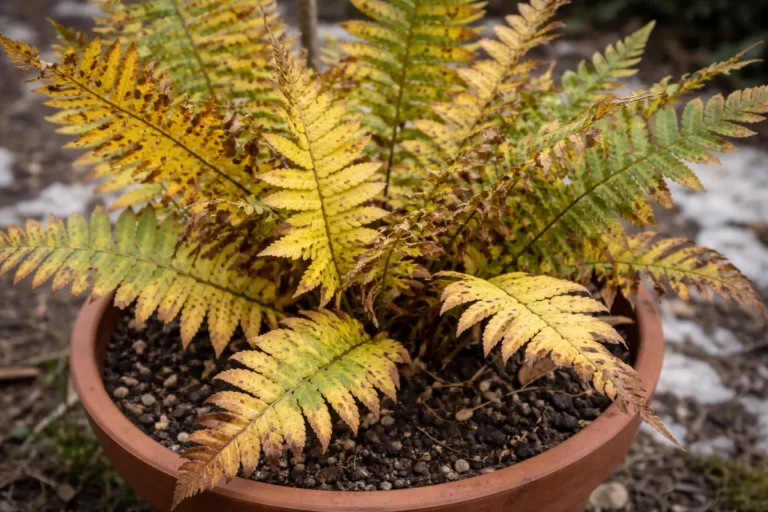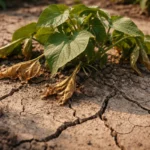
You may notice your once-vibrant potted herbs showing signs of distress during the colder winter months, which is why you need to know how to stop yellowing leaves on potted herbs in winter. This yellowing often indicates that the plant is experiencing stress due to a lack of sunlight, inadequate water, or fluctuations in temperature. If left unaddressed, the issue gets worse and can lead to weak growth or even total leaf drop, stalling the plant’s vitality. Fortunately, fixing it is possible now—just inspect the conditions of your herbs and adjust their care routine to improve their health.
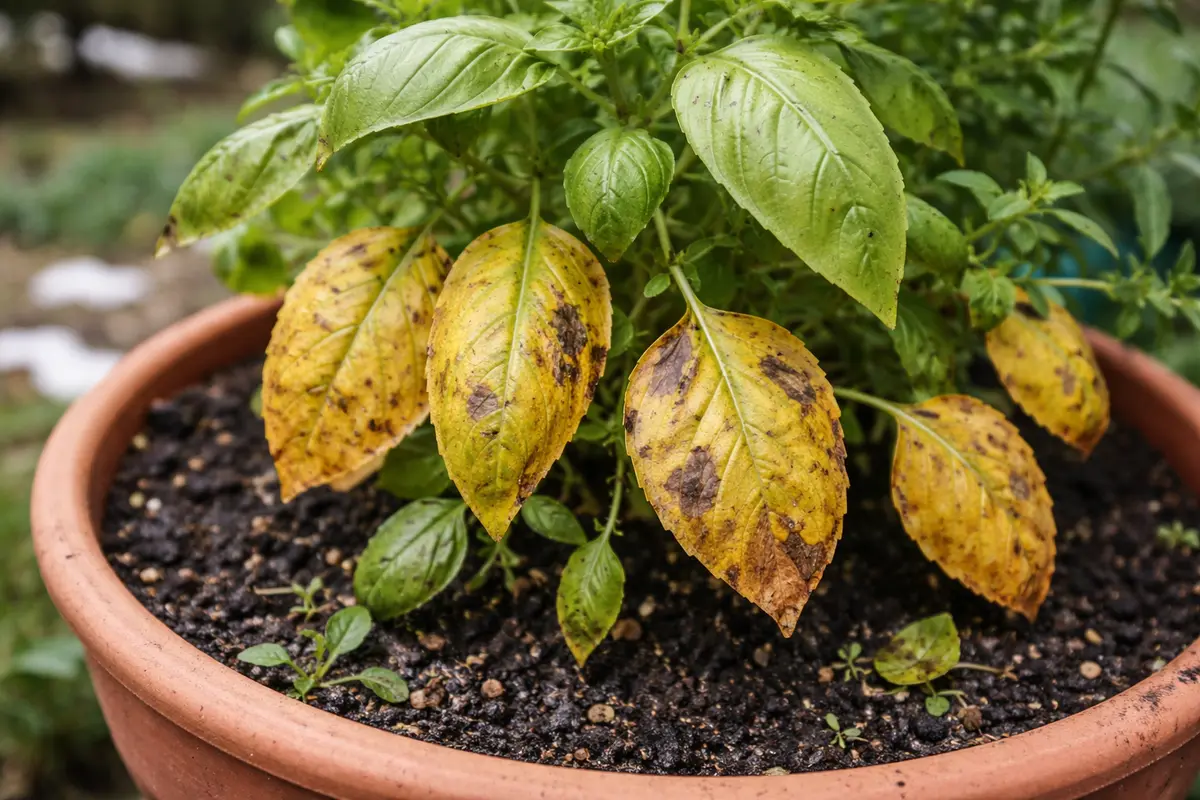
Step 1 – Trim Yellowing Herb Leaves Immediately
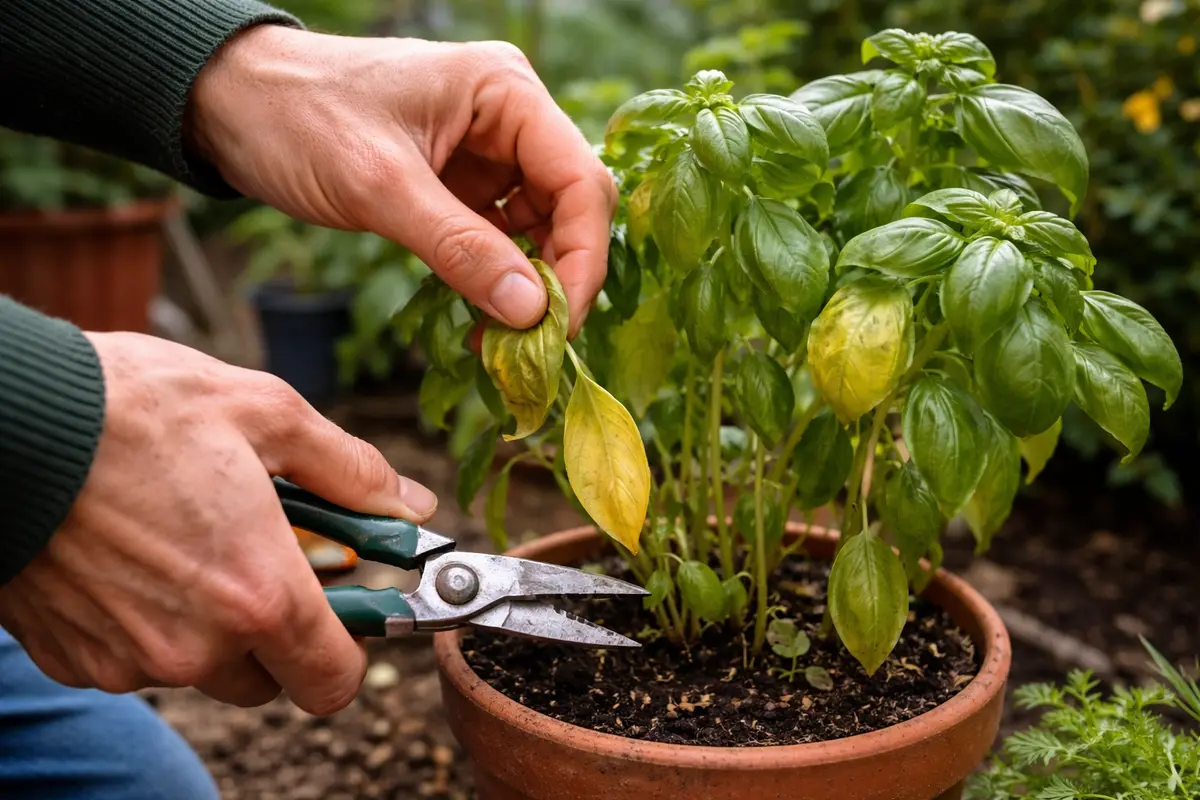
Start by cutting away any yellowing or dead leaves from your potted herbs. You should see an immediate improvement in the plant’s appearance, reducing stress on healthier leaves. This quick action helps to redirect the plant’s energy towards new growth instead of repairing damaged foliage. Removing at least a third of the yellowing leaves can have a notable impact, allowing healthier parts of the plant to thrive and mitigating the risk of fungal infections.
By removing the affected leaves, you prevent the natural processes of decay and disease formation, which can spread to healthy parts of the plant. Potted herbs, especially during the winter months, often struggle with weakened light and potential fungal issues. If you ignore yellow leaves, you may witness them wilting or developing brown edges, leading to an accelerated decline in your plant’s overall health. This issue tends to escalate quickly; if the plant remains under stress for longer periods, the risk of other symptoms like stunted growth or browning of healthy leaves increases. Make a point to check your plant every week to monitor its condition after trimming; if new yellowing pushes beyond what you initially removed, it may indicate a sign for further action or adjustment.
One common mistake gardeners make at this stage is hesitating to remove yellow leaves, thinking they will recover. This can worsen the situation as nutrient allocation is compromised. The longer yellow leaves are left on, the more energy the plant wastes trying to salvage them instead of promoting growth. If you’re waiting too long to act, you might find leaves further deteriorating into a slimy texture, which may require even more drastic measures. It’s crucial to trim swiftly—after noticing yellowing, aim to take action within a week for the best results. If you see more than 50% of the plant’s remaining foliage yellowing, it is likely a sign of deeper issues requiring attention beyond simple leaf removal.
Step 2 – Diagnose Overwatering Issues in Herbs
First, check the soil moisture levels by inserting your finger an inch into the soil. If it feels soggy, reduce watering immediately to allow the plant’s roots to dry out. Within days, you should notice improved leaf color as the plant stops drowning and starts absorbing nutrients more effectively.
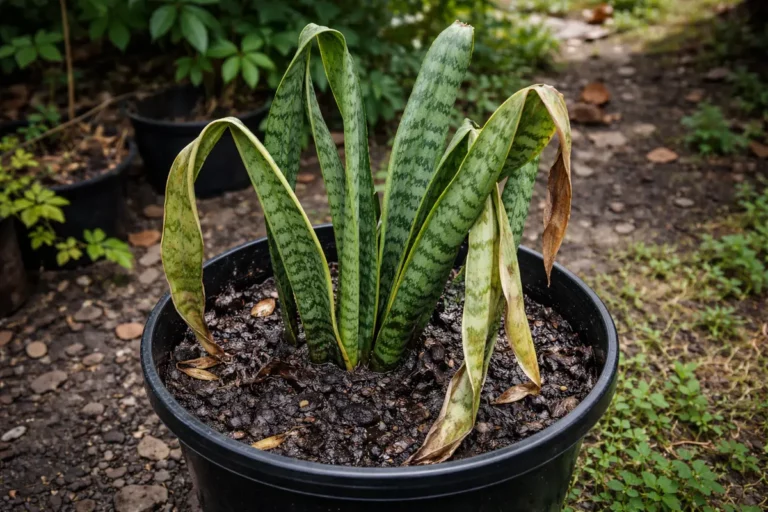
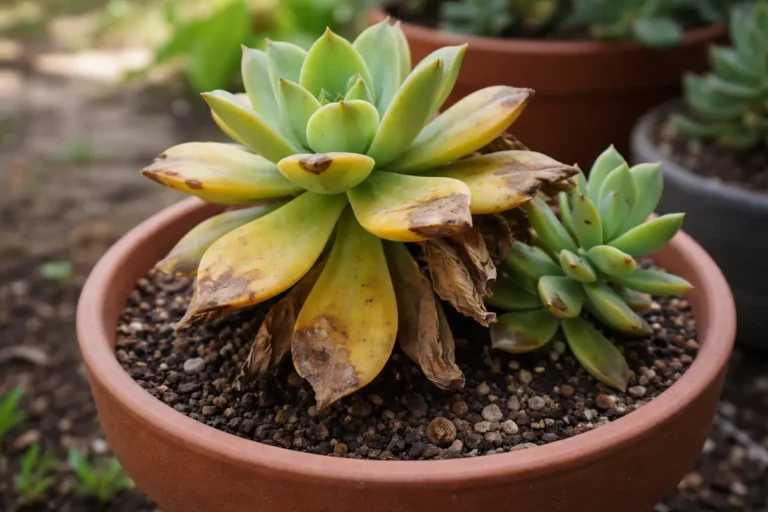
Overwatering often leads to root rot, which suffocates the roots and prevents them from taking up oxygen and nutrients. The leaves turn yellow when they lack essential elements, as the roots struggle to function properly in waterlogged conditions. Conversely, if the soil remains dry for too long, the plant may also exhibit yellow leaves due to drought stress, so monitoring moisture is crucial.
If the soil smells sour, repot the herbs in fresh, well-draining soil to combat anaerobic conditions caused by overwatering. Alternatively, yellowing leaves can result from nutrient deficiencies; in this case, assess whether you have fertilized recently. If not, apply a balanced liquid fertilizer according to the package instructions to restore vital nutrients.
Herbs can become waterlogged quickly, particularly in winter when evaporation rates decrease due to low temperatures. Over time, a waterlogged condition suffocates the roots and inhibits their ability to absorb nutrients, resulting in leaves turning yellow and dropping off. If you spot yellowing in conjunction with mushy roots, this is a critical signal to adjust your watering habits significantly. A quick check using your finger to the first knuckle buried in the soil can help gauge moisture without damaging roots. If the soil feels sticky and devoid of air pockets, your herbs are likely suffering. It’s advisable to also observe any lingering water in saucers; any standing water should be emptied immediately to prevent further drowning.
If the soil smells sour or feels compacted, it’s time for immediate repotting in a well-draining mix to revitalize your herbs. A common oversight here is allowing the pots to sit in saucers filled with water; this leads to constant saturation and a toxic environment for the roots, causing them to decay. This problem usually worsens when plants are forgotten and left without seasonal adjustment to their care. If you detect roots protruding through drainage holes, a larger pot will be necessary for improved growth and drainage. Consider switching to a terracotta pot, which facilitates better water evaporation through the pores, allowing for dry cycles during winter months. Always check the drainage holes; if they are blocked, using a chopstick or similar tool can help clear the way for excess moisture to escape.
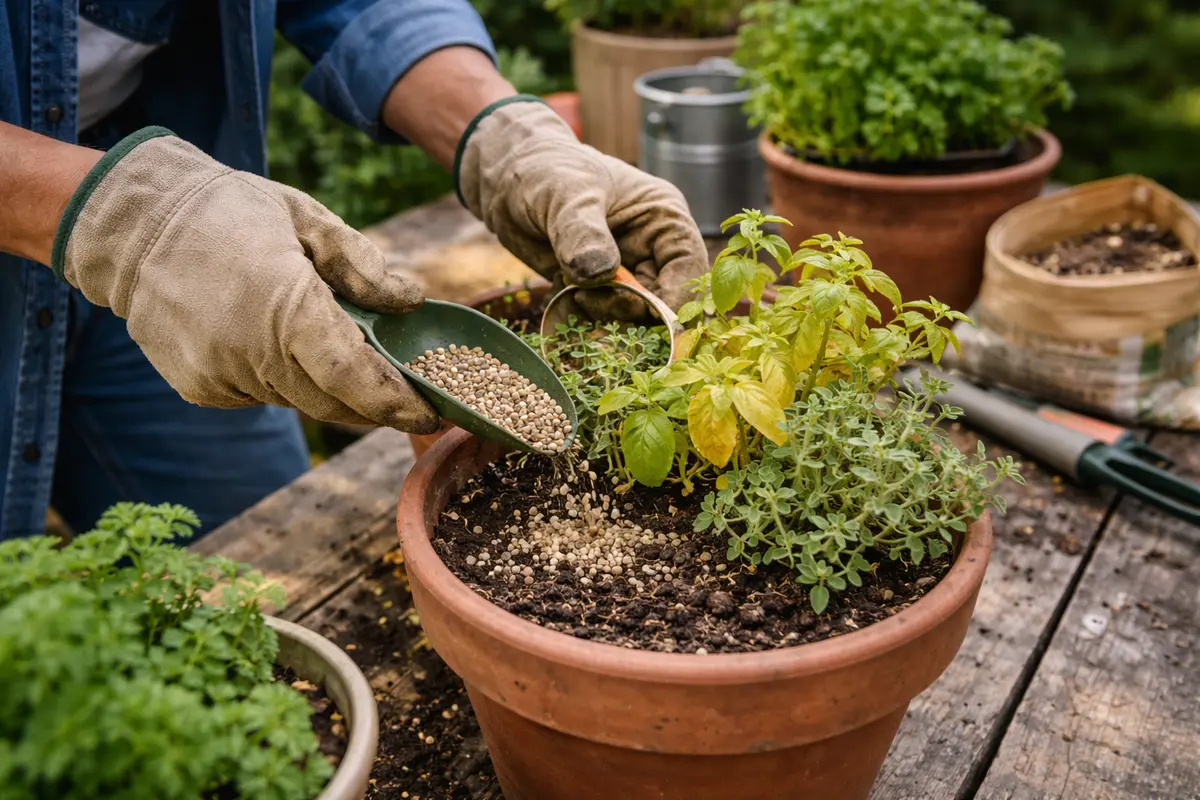
Step 3 – Fertilize Herbs to Aid Winter Recovery
First, increase the frequency of watering your potted herbs if the top inch of soil feels dry. Look for signs of recovery, such as green shoots emerging and leaves regaining their vibrant hue within a week. After watering, establish a consistent routine every 5-7 days, adjusting based on temperature changes as winter progresses.
Yellowing leaves often signal insufficient moisture or exposure to cold drafts. During recovery, a well-watered herb should show improvement in a week, but prolonged exposure to cold temperatures can trigger a relapse into yellowing. If your herb is still wilting despite improved watering, check if the pot is positioned near a heating vent or an exterior door.
A frequent error during recovery is overwatering, which can lead to root rot and worsen yellowing. If your herb’s leaves turn mushy or darken, reduce watering immediately to allow the soil to dry out. Adjust your watering schedule based on rapid temperature fluctuations; for severe cold spells, reduce watering frequency while ensuring the plant stays hydrated.
Fertilizing helps replenish nutrients that may have been depleted due to the stress of environmental changes. Herbs like thyme and rosemary require essential elements like nitrogen and potassium for growth and healthy foliage. These nutrients promote chlorophyll production and overall vigor in the plant. If you’re using a granular fertilizer, ensure it’s evenly distributed and lightly mixed into the top layer of soil to prevent root burning and chaotic spikes in nutrient delivery. A diluted liquid fertilizer is often easier to control, allowing you to adjust the dosage based on the plant’s response to treatment. Aim for a ratio of one tablespoon of fertilizer diluted in a gallon of water, applying every four to six weeks.
Keep in mind that over-fertilization can lead to burnt leaf edges and further yellowing. Therefore, it’s essential to balance your herb’s nutrient needs; generally, a feeding schedule every four to six weeks during the winter works well. If new growth appears weak or pale, you may need to reevaluate the conditions of light and moisture to ensure your fertilizer is effective. Some users may notice that along with the yellowing, leaves start curling; these symptoms should prompt an immediate reduction in fertilizer frequency, as excessive fertilizers can worsen stress. Using a diluted liquid fertilizer instead of a granular option can also be an effective strategy, particularly if the soil conditions remain poor after the initial application.
Step 4 – Inspect Herbs for Symptoms Weekly
Start by monitoring your potted herbs daily for yellowing leaves, especially during the winter months. Check the soil moisture level and ensure it is not overly soggy or completely dry, as both can contribute to leaf discoloration. Recheck these conditions every couple of days to observe any changes in the plant’s appearance, and adjust watering accordingly.
A fully recovered plant will display vibrant green leaves with robust, firm textures, indicating good hydration and nutrient flow. In contrast, if yellowing begins to return, expect to see leaves lose their sheen and feel soft or limp, signaling potential issues with water retention or nutrient availability. If the stems exhibit any browning at the base, check for root rot, which can accompany unhealthy leaf coloration.
If yellowing returns despite proper care, adjust your watering schedule to ensure consistency and incorporate a balanced fertilizer designed for herbs. If symptoms persist, consider relocating the pots to a spot with more light or investigating for pests, as these could exacerbate the problem.
A fully recovered herb showcases lush, green leaves, standing firm and upright, contrasting sharply with those early signs of yellowing, which feature drooping or wilted foliage. If you notice leaves developing back-to-back yellow patches despite your care, this could signal an underlying issue like inconsistent watering, leading to browning and crisping edges. If leaves are tender and pliable, recovery is evident.
If the yellowing returns despite following these steps, reassess your watering schedule, ensuring that it meets the specific requirements of each herb type. Consider adjusting light exposure to maximize growth conditions, or repot to fresh soil for added nutrients if the problem persists.
After implementing your corrective actions, a recovered herb plant should exhibit vibrant green leaves without new discoloration or wilting. If you notice that the leaves are not only recovering but thriving, the progress is crucial, especially in winter when plants are still under stress from limited light and cooler conditions. A healthy plant will display thicker leaf structures as a sign of successful nutrient uptake. If leaves remain thin and limp, you should reconsider increasing your herb’s exposure to bright, indirect light to support photosynthesis. One common issue that arises during this phase is neglecting light adjustment — if growing indoors, even the closest windows may not give enough natural light in winter.
If yellowing reoccurs despite your efforts, dive back into your watering regimen and consider intensifying light exposure. It’s common for people to overlook adjusting care routines as seasons change, especially in a climate-controlled environment. If the leaves stay soft and discolored after several inspections, it might reveal a deeper issue, such as root damage or disease, requiring immediate troubleshooting. Symptoms like a musty smell coming from the soil could indicate fungal development, which warrants urgent action, including potentially repotting in fresh, sterile soil to salvage the plant. A proper insistence on inspecting regularly will contribute significantly to keeping diseases at bay and allowing healthy growth.
FAQ
How long until my herbs recover from yellowing?
You can expect to see signs of recovery within a few weeks after correcting care practices. New growth typically appears as the plant stabilizes and starts utilizing available nutrients effectively. If environmental conditions are optimal, such as sufficient light and moisture, the turnaround time may be as short as two weeks; in contrast, unfavorable conditions may delay recovery longer than a month.
Can yellowing leaves signal a pest problem?
Yes, yellowing leaves can indicate pest infestations, such as aphids or spider mites. Regular inspection for sticky residue, visible insects, or fine webbing may help you identify these pests early. Should you observe tiny black specks or irregular leaf deformities, an infestation is likely, requiring immediate action such as applying insecticidal soap or introducing beneficial insects. Always act quickly to combat pests; delay could mean spreading to other healthy plants in close proximity.
Should I completely remove affected herbs?
Not necessarily; often, herbs can bounce back if given the right care and adjustments. However, if the plant appears severely weakened or infested, it may be best to isolate it or remove it to protect your other plants from potential pests or diseases. In instances where multiple plants share a pot, isolation is key to prevent the spread of pests or diseases affecting your most vulnerable herbs. Additionally, taking time to assess and treat each plant individually can lead to more effective care results overall.