You may notice your rosemary plant showing signs of distress during the winter months, which is why you need to know why is my rosemary turning yellow in winter. The yellowing leaves are often a clear indication of stress, typically caused by overwatering or poor drainage, leading to damage that can affect its overall health. If left unaddressed, this problem can worsen and weaken the plant, making it harder to fix. However, you can improve its condition by adjusting watering practices, inspecting the soil for proper drainage, and ensuring it receives adequate light and protection from harsh conditions.
Step 1 – Inspect Rosemary Leaves for Yellowing
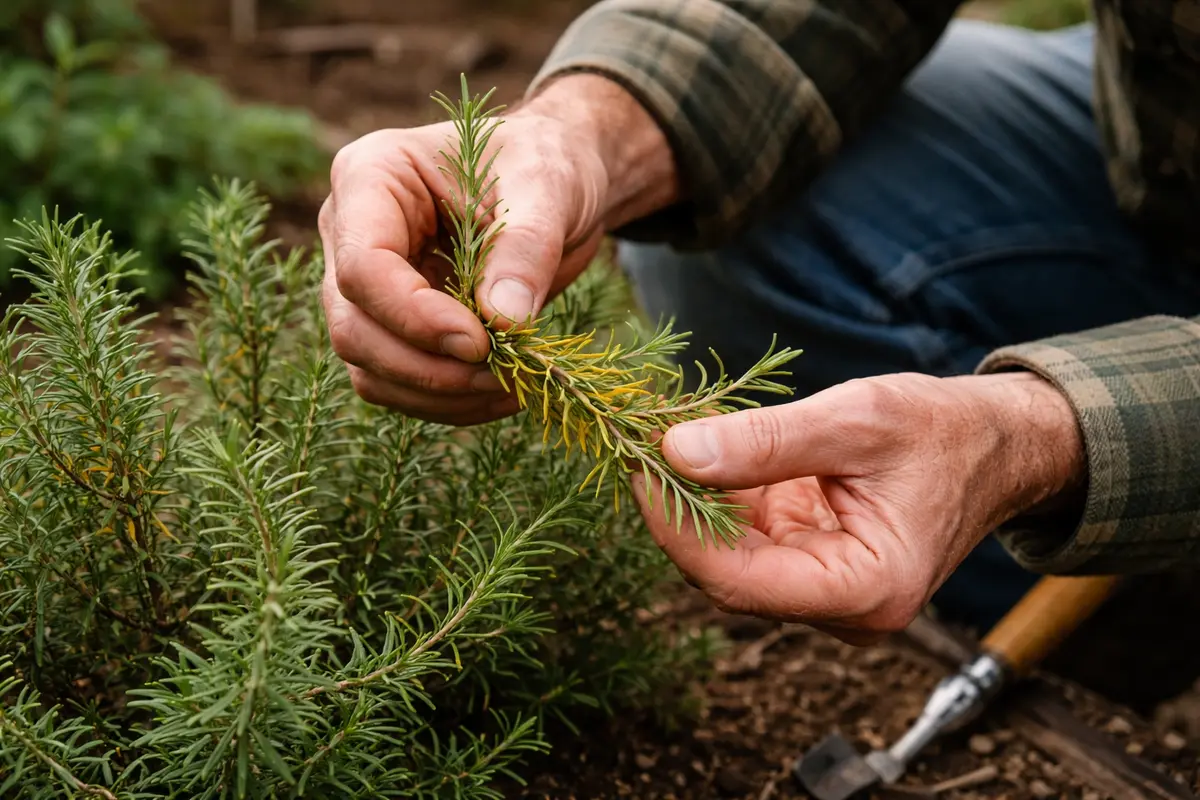
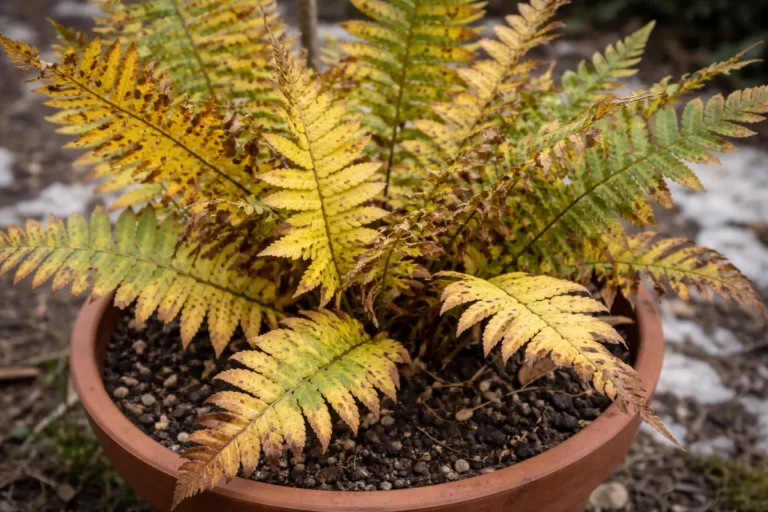
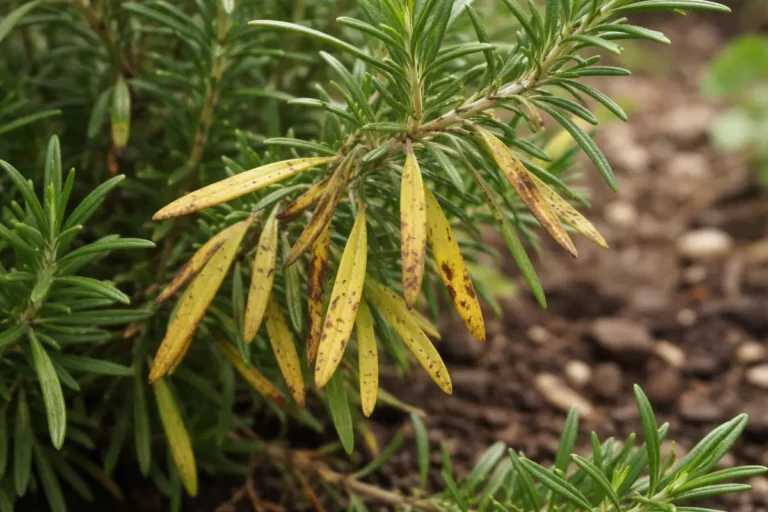
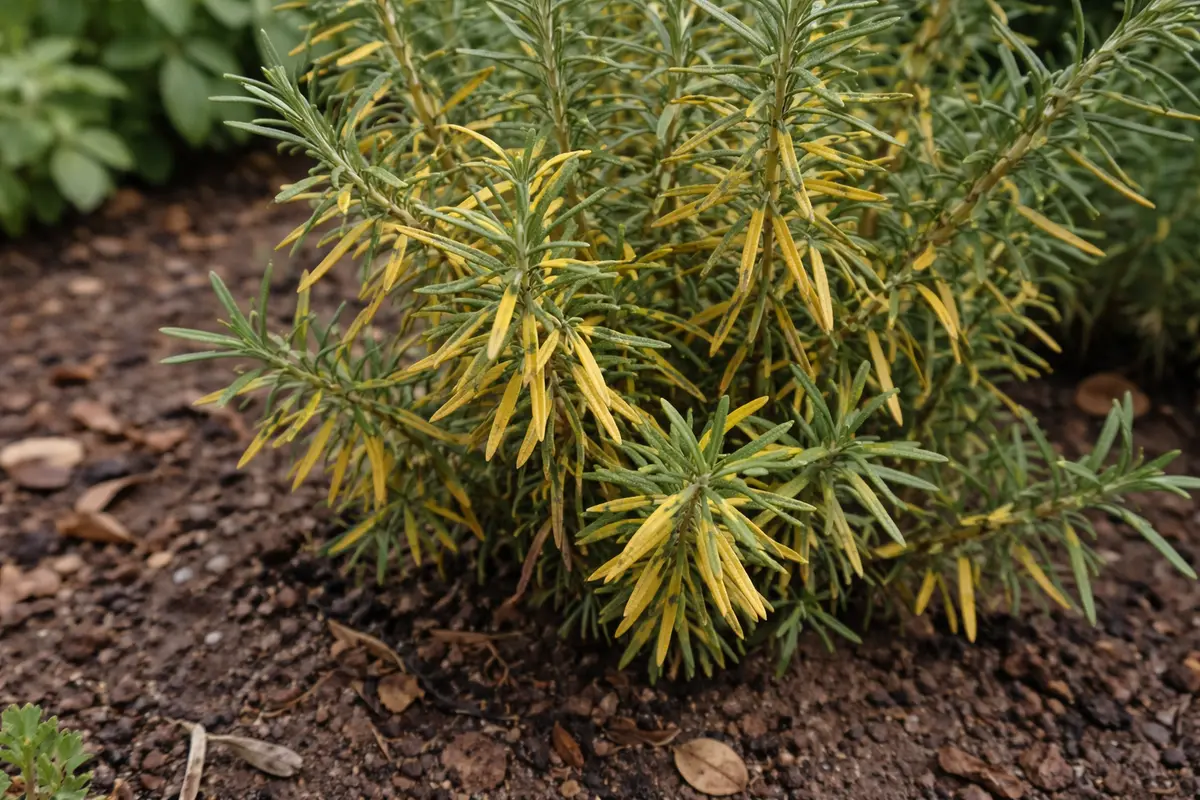
Inspect the rosemary leaves closely for any yellowing symptoms immediately. You should start seeing distinct areas of yellow within a day of closely monitoring your plants, which serves as a good visual cue for the health of the plant. Look for differences in color distribution across the foliage; generally, uniform yellowing indicates issues such as nutrient deficiency, while spotting may suggest pest infestations or the presence of diseases.
Acting quickly prevents further deterioration of the plant. Yellowing can escalate quickly if not addressed, leading to more serious issues, including leaf drop and weak growth that becomes noticeable when the plant fails to produce new shoots in the spring. The earlier you identify the issue, the more options you have for remediation. For example, if the yellowing begins towards the bottom of the plant while the upper leaves remain green, it may suggest a nutrient deficiency, indicating that you should immediately assess soil nutrient levels and consider a targeted fertilizer application.
Common mistakes during this stage include overlooking the signs of yellowing until more severe issues arise or assuming it is simply a seasonal change. Regular inspections, especially prior to and during cold snaps, are crucial for catching problems early. For instance, if you notice yellowing by the end of January, check for signs of environmental stress immediately rather than waiting until spring. If yellowing progressively worsens, it may indicate issues not just limited to moisture but could also involve inadequate exposure to sunlight or pests. Prompt care can make a considerable difference, avoiding scenarios where plants are weak and unable to recover once spring arrives.
Step 2 – Diagnose Possible Winter Overwatering Issues
Check for signs of overwatering immediately, which can include soggy soil or a sour smell emanating from the pot. You will notice a reduction in wilting and yellowing if conditions improve as the roots regain health, resulting in more stable leaves that exhibit healthy green hues. Within a couple of days of reducing watering, the leaves may feel firmer as they start regaining turgidity, making it more evident that the plant is recovering. A visible change in leaf coloration can lead to renewed growth, so be vigilant during this period.
Overwatering often leads to root rot, especially in winter months when the plant is not actively growing. This condition causes roots to suffocate, leading to decreased nutrient uptake and yellowing that may result in premature leaf drop. Soil that remains too wet prevents oxygen from reaching the roots, promoting stagnant conditions that can exacerbate the yellowing. If this condition is not corrected, it does not just affect the current leaves but may halt any new growth entirely when the weather warms. If the topsoil feels damp and your rosemary wilts within days, you may need to repot it into dryer media that promotes better drainage. This change can significantly improve root health and allow for better nutrient absorption.
Conversely, if your soil is bone dry, the plant might also exhibit yellow leaves from drought stress, indicating a lack of hydration. Evaluate the moisture by pushing your finger into the soil up to your second knuckle; well-drained soil should feel damp at that depth. Adjust your watering schedule based on prevailing conditions, like checking the moisture level of deeper soil layers if the visible topsoil appears dry. If the plant is wilting and the soil is dry at depth, thorough watering may be necessary to restore adequate moisture levels. Remember to ensure that your pots have proper drainage holes, as trapped water can amplify these problems. If roots sit in stagnant water, it can lead to accelerated issues like root rot, paired with a visible decline in the plant’s health.
Step 3 – Trim Affected Rosemary Stalks Carefully
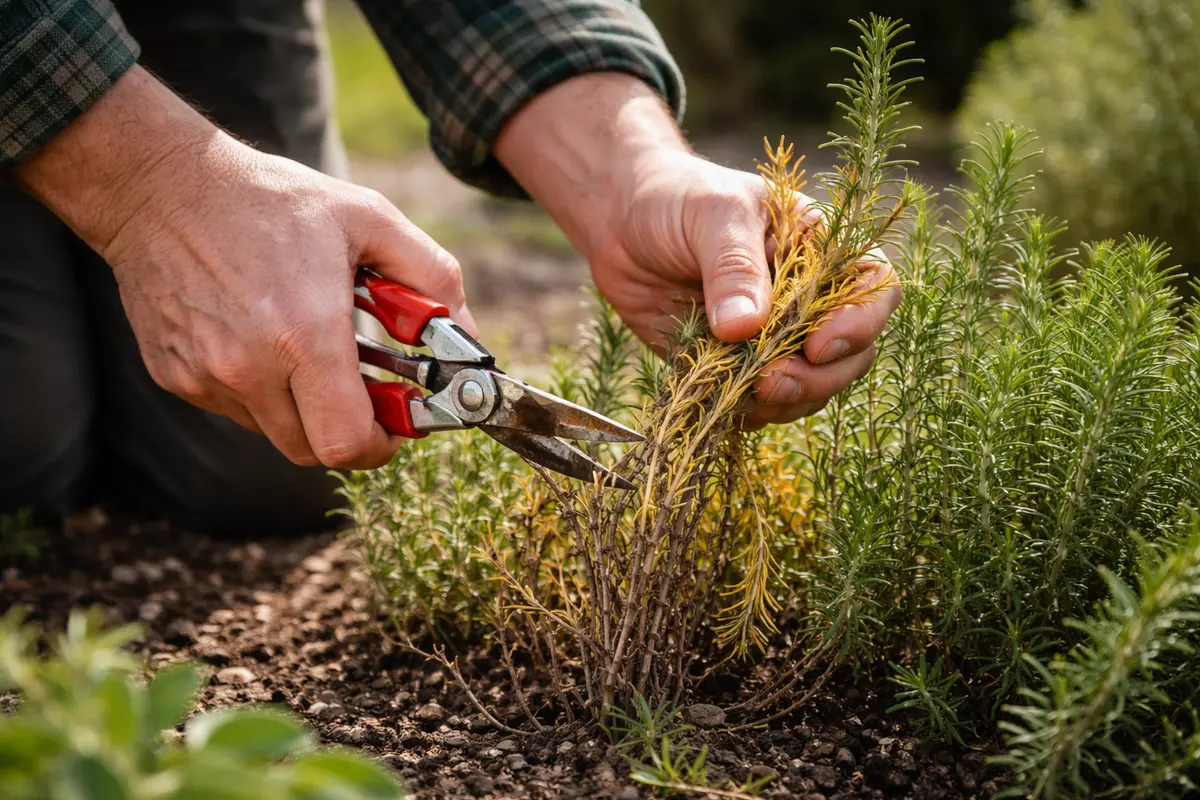
Trim any yellowing or damaged stalks from your rosemary plants without hesitation. You should observe a significant reduction in yellowing and the potential for new growth within a few weeks, marking the recovery process and signaling proper energy allocation. After trimming, it’s essential to assess the color of the remaining leaves; you should see greener hues as the plant reallocates resources toward healthier shoots. A beneficial strategy is to focus on removing at least one-third of the worst-affected foliage to promote airflow and light penetration.
Trimming removes affected areas that may contribute to the overall stress of the plant. New growth will indicate that the plant is reallocating energy toward healthy foliage rather than supporting damaged leaves. Properly shaped, trimmed plants are also more likely to withstand stressors like winter’s cold; clean cuts can help minimize the risk of introducing further pathogens to the plant. A sharp pair of scissors or pruners should be used to avoid tearing stems, which can lead to additional stress on the plant, particularly in cooler temperatures where healing becomes slower.
A mistake to avoid during recovery is overwatering in response to the plant’s stress level; excessive watering can exacerbate root problems that may already be present, setting back recovery. Additionally, providing too much fertilizer immediately after trimming can overwhelm the plant, leading to nutrient burn. This is evidenced by browning leaf tips and edges, which indicates that the plant is struggling to handle excess nutrients. Aim for a balanced approach and monitor conditions closely, waiting several weeks after trimming before considering any fertilizer applications. Tracking your plant’s growth can also inform when it’s right to start providing nutrients again, ensuring conditions remain optimal for recovery.
Step 4 – Shield Rosemary from Harsh Winter Winds
Start by ensuring your rosemary is planted in well-draining soil to prevent water from accumulating at the roots, which will stop the yellowing of the leaves. By taking this action, you should see greener foliage and a more robust plant overall as stress factors diminish.
Cold, wet conditions often lead to root rot, which expresses itself through yellowing leaves. When the soil remains soggy, your rosemary cannot access the nutrients it needs, causing the foliage to discolor; ensuring well-draining soil effectively combats this issue. Additionally, consider the location of your rosemary; placing it in an area where it’s shielded from harsh wind can also mitigate moisture loss that leads to desiccation.
In the winter, consider reducing watering frequency further, as rosemary typically requires less moisture during colder months. If your area experiences an unusually wet winter, increase the drainage by using a raised bed or pot to maintain healthier roots. Similarly, using mulch can help insulate the root zone while providing additional drainage without compromising moisture control.
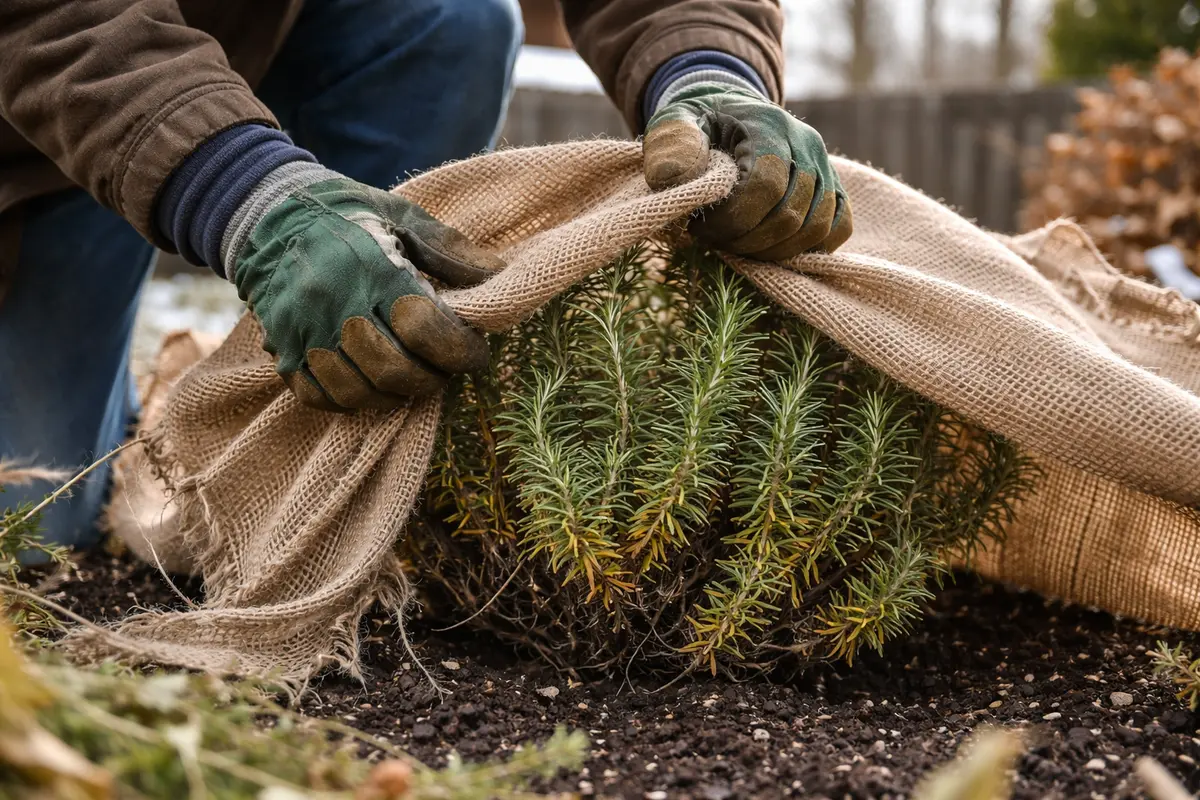
Cold winds can sap moisture from the plant, leading to desiccation and stress. By shielding rosemary from these elements, you enhance their ability to retain moisture and support healthy growth through the winter months. This preventative step allows the plant to maintain its vigor in harsh temperatures, where sustained exposure can lead to browning and further leaf drop. Utilizing materials such as burlap screens, leaf litter barriers, or relocating pots to sheltered areas can offer substantial protection. However, ensure the barrier allows for some air circulation to prevent rot; stagnant air can exacerbate decay rates.
Seasonal adjustments, such as relocating pots closer to walls or using fabric barriers, can significantly improve plant resilience against winter winds. However, always ensure that they still receive adequate sunlight; too much protection can lead to poor light conditions that ultimately contribute to yellowing. An ideal setup combines protection from the wind while still allowing for maximum sun exposure. Regularly observe your plants after storms or windy days to assess whether further adjustments to their environment are necessary. Ensuring that barriers are removed during warmer periods can also lessen the risk of overheating or mold buildup during the milder winter afternoons.
Step 5 – Check Rosemary Soil for Moisture Levels
First, check the soil moisture levels of your rosemary by inserting your finger about an inch deep into the soil. If it feels dry, water the plant thoroughly until excess moisture drains from the bottom. Observe for any change in leaf color within a week; healthy leaves should transition back to a vibrant green instead of remaining yellow. This observation is critical; failure to see this change could indicate that other issues, like nutrient deficiency, lingering root rot, or pest problems, must be addressed simultaneously.
A fully recovered rosemary plant displays lush, bright green leaves with a firm texture, indicating proper hydration and nutrient levels. In contrast, early signs of the problem returning may include a dull or yellowish hue on new growth, which can feel limp or fragile to the touch. If the leaves are brittle or crispy, this signals that your plant is still under stress and might necessitate another assessment of your care regimen.
If the yellowing persists despite your efforts, consider repotting the rosemary into fresh, well-draining soil to improve aeration and nutrient uptake. If that doesn’t resolve the issue, examine for pests or diseases such as root rot or spider mites and address those specific concerns promptly. When inspecting for pests, a good approach is to hold a white piece of paper beneath the foliage and gently tap the leaves; this should reveal any small pests like spider mites if they fall onto the paper.
Healthy rosemary thrives with well-drained but moist soil. Over time, fluctuations in moisture can cause root stress, leading to symptoms like yellowing leaves that hint at insufficient water or nutrient uptake. If the soil appears dry and the plant droops, it signals a need for immediate watering. However, avoid pouring water directly onto the leaves, as this can lead to mold or rot; instead, water at the soil level to encourage deep root absorption. If the plant displays yellowing even after adjusting moisture levels, consider the soil’s composition and drainage capabilities. Sometimes rooting may demand a different media blend that allows for proper drainage during the winter months. Additionally, if yellowing persists despite adequate moisture, investigate diseases that impact root health, such as root rot, which often presents with an unpleasant smell and soft, mushy roots upon inspection. If you suspect root rot, it’s advised to remove the plant from its pot and inspect the roots; healthy roots are firm and white, while rotted roots typically appear brown, mushy, and smell sour. Treatment for root rot often requires pruning away affected roots and repotting into fresh, dry media to promote recovery.
FAQ
How long does it take for rosemary to recover from yellowing?
Recovery can take a few weeks, with new growth visible within that time frame if conditions are right. Regular care and appropriate adjustments can speed this up considerably, often showcasing better results when all suggested changes to environment and care are implemented simultaneously. Monitoring should continue throughout the recovery phase, including regular checks for pests or further signs of stress.
Can yellowing leaves spread to other plants?
Generally, yellowing leaves are a sign of stress rather than a contagious condition, but underlying issues like pests or disease can spread. Regularly check surrounding plants to ensure they’re not affected; if multiple plants show signs of stress, a more systemic problem, such as pH imbalance or pest invasion, may need to be addressed. Treatments should be applied selectively, focusing on identified problems while preventing contamination during the process.
Should I remove yellow leaves from my rosemary?
Yes, removing yellow leaves helps direct the plant’s energy to healthier shoots. However, be cautious and avoid excessive pruning, as this could further stress the plant. If significant leaf area is affected, aim for targeted pruning rather than indiscriminate cutting to preserve overall biomass as the plant navigates recovery in tough winter conditions. Furthermore, provide an ideal environment during recovery—proper watering, light, and protection from harsh elements will support the plant’s health effectively.