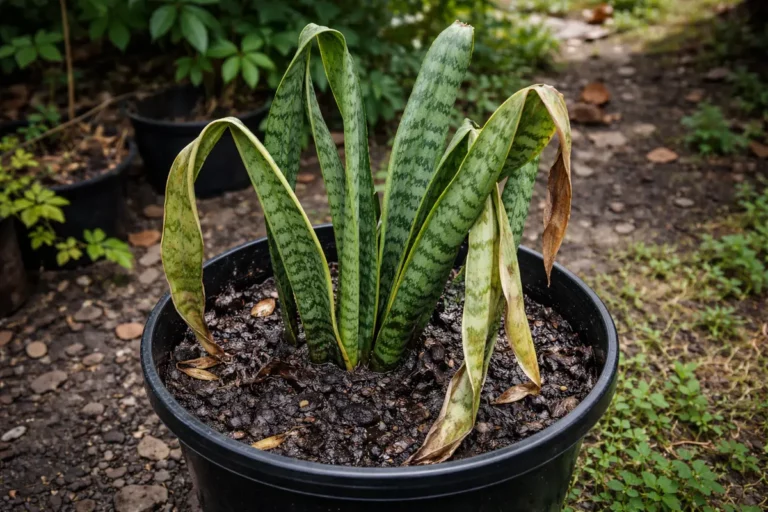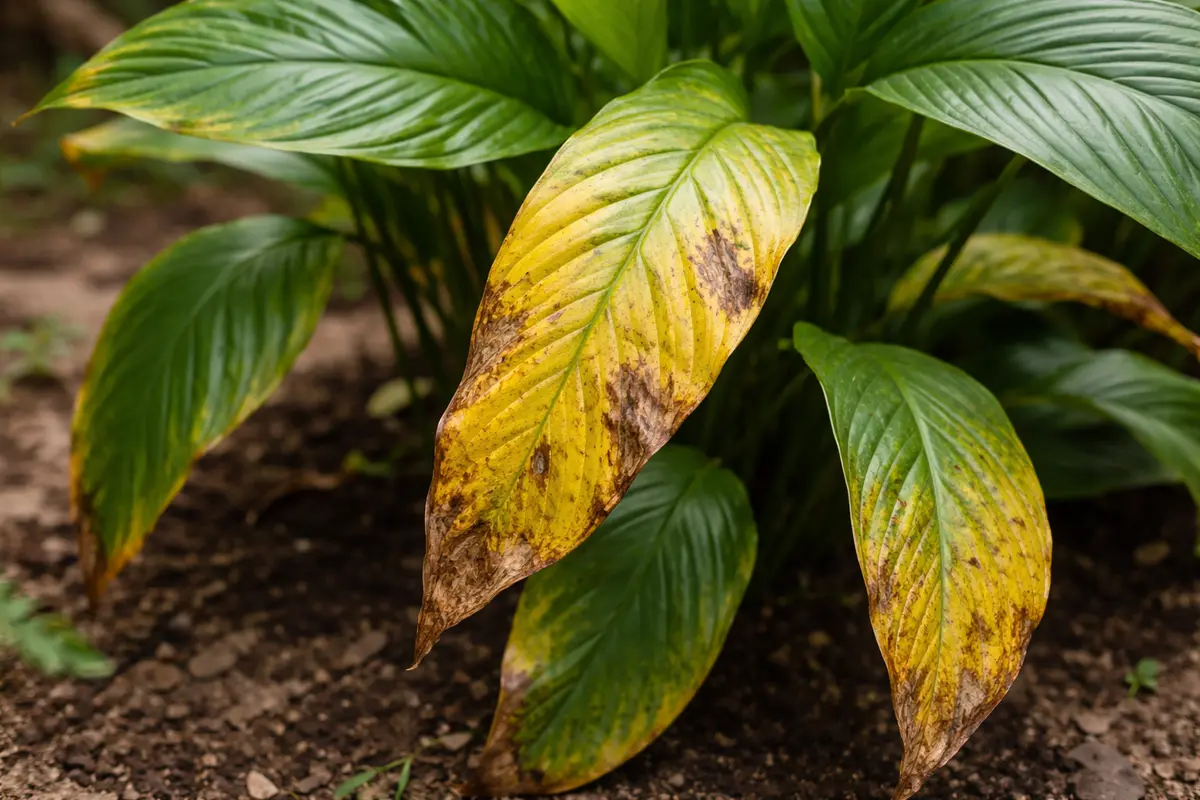
You may notice that your peace lily, typically vibrant and lush, starts to show alarming signs of distress with yellowing leaves during winter, which is why you need to know about treating yellowing leaves on my indoor peace lily during winter. This yellowing often occurs due to insufficient light or inconsistent watering, leading to potential leaf drop and damage. If left untreated, the problem can spread to other parts of the plant, weakening it and ultimately making recovery harder, but it’s possible to fix this now by adjusting the light conditions and monitoring your watering schedule.
Step 1 – Remove Yellowing Leaves from Peace Lily
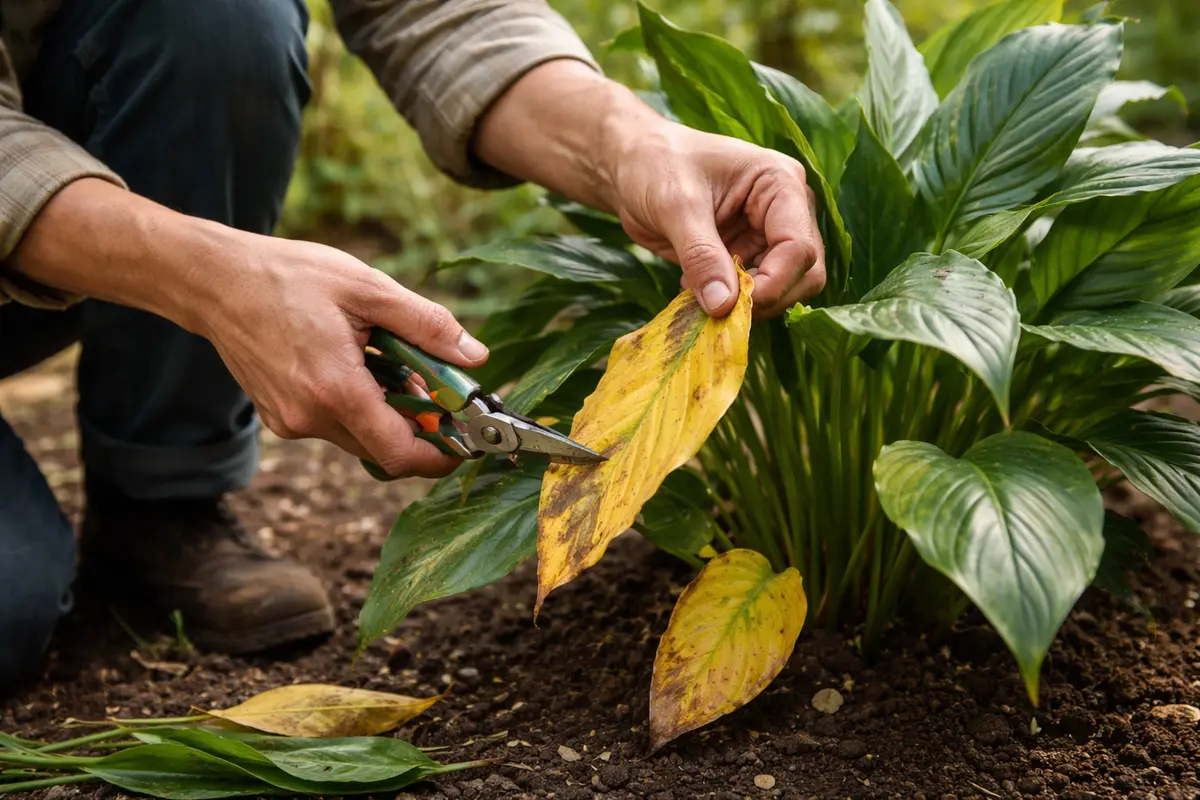
Start by carefully removing any yellowing leaves from your peace lily. You will see a cleaner plant with better visibility of healthy foliage right away. Use clean, sharp scissors to cut the leaves at their base, focusing on those that are most affected. Leaving them too long may lead to the leaves decaying and attracting pests such as aphids or spider mites, which thrive in stressed environments. Immediate removal also prevents the yellowing from spreading. The plant’s energy then gets redirected to healthier growth rather than maintaining dying foliage. If you notice that several leaves are yellowing, prioritize those that are completely yellow or show significant browning, as they are more likely to drain energy from the overall health of the plant.
Removing yellow leaves is crucial as it helps redirect the plant’s energy to healthier leaves and growth. Yellowing occurs when the plant cannot sustain the foliage due to inadequate light or nutrient issues, and leaving these leaves can lead to further stress and potential decay, affecting overall plant vigor. Additionally, during winter when light is limited, this action allows for better aeration of the remaining foliage, which helps prevent fungal issues such as powdery mildew that can proliferate in damp conditions. If you notice stems wilting, consider turning the plant slightly to expose all sides to available light; this rotational aspect can also help distribute light evenly across the plant’s surface. Set a reminder to check your plant weekly; this routine can prevent excessive yellowing and maintain plant health.
Many gardeners overlook the importance of promptly removing damaged leaves, often waiting until they are brown and crispy. This delay can lead to additional stress factors such as pest infestations, which thrive on decaying plant matter. If you see yellowing leaves, make it a point to check your plant every week to ensure that it’s only affecting a few leaves before further care occurs. You might notice that older lower leaves yellow first; keeping a routine check prevents escalation to more severe damage, ensuring the overall health of the plant. If yellowing occurs faster in lower leaves, your plant may be light-starved or over-fertilized, needing adjustments to care routines. In practice, documenting these observations can reveal patterns in your care routine’s effectiveness and highlight any repeated issues associated with environmental changes.
Step 2 – Investigate Root Rot in Peace Lily Roots
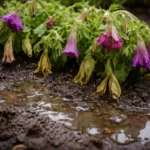
Inspect the roots of your peace lily for any signs of root rot. You will notice if the roots feel mushy or smell foul, indicating overwatering or inadequate drainage. If you find that your peace lily’s pot retains excessive water, lift it out and assess the root ball immediately; healthy roots should be firm and white or light brown, while decayed roots become soft, dark, and emit a sour odor. A quick check of your watering schedule may reveal patterns that help explain the yellowing, such as watering too frequently without allowing the soil to dry. If you suspect root rot, handle the plant gently to avoid further damage during this inspection.
Root rot occurs in peace lilies primarily due to overwatering or poor soil drainage. When roots remain waterlogged, they lose their ability to absorb essential nutrients and oxygen, resulting in yellow leaves. As some roots decay, they emit a sour odor, signaling severe issues that need urgent attention. This problem becomes more prevalent during the winter months when the plant’s water needs naturally decrease due to slower growth rates. Recognizing these symptoms early can prevent extensive damage to the plant and may even save it from complete loss. If you find no foul smell or mushy texture, inspect the soil moisture using a moisture meter; if the reading indicates saturated soil, consider adjusting your watering frequency. Each season, establish a watering schedule that matches the plant’s seasonal growth; for example, wait until the top two inches of soil feels dry before watering again.
If you observe a foul smell or darkened, mushy roots, act quickly by cutting away the affected sections. Ensure that you sterilize your shears beforehand to avoid introducing pathogens to healthy roots. If the roots appear firm and healthy but the leaves still yellow, you may need to adjust your watering routine. Remember to assess your watering habits regularly during winter when the plants need less water. For example, if you typically water every week, reducing this to every 10-14 days may align better with your plant’s needs during the colder months. Always feel the soil’s top inch; if it remains wet, postpone any watering until it dries out more thoroughly to maintain healthy roots and potentially prevent situations of overwatering or soggy soil. If you are not comfortable with the inspection, consider using a soil moisture gauge to assist in routine checks.
Step 3 – Restore Nutrient Balance in Peace Lily
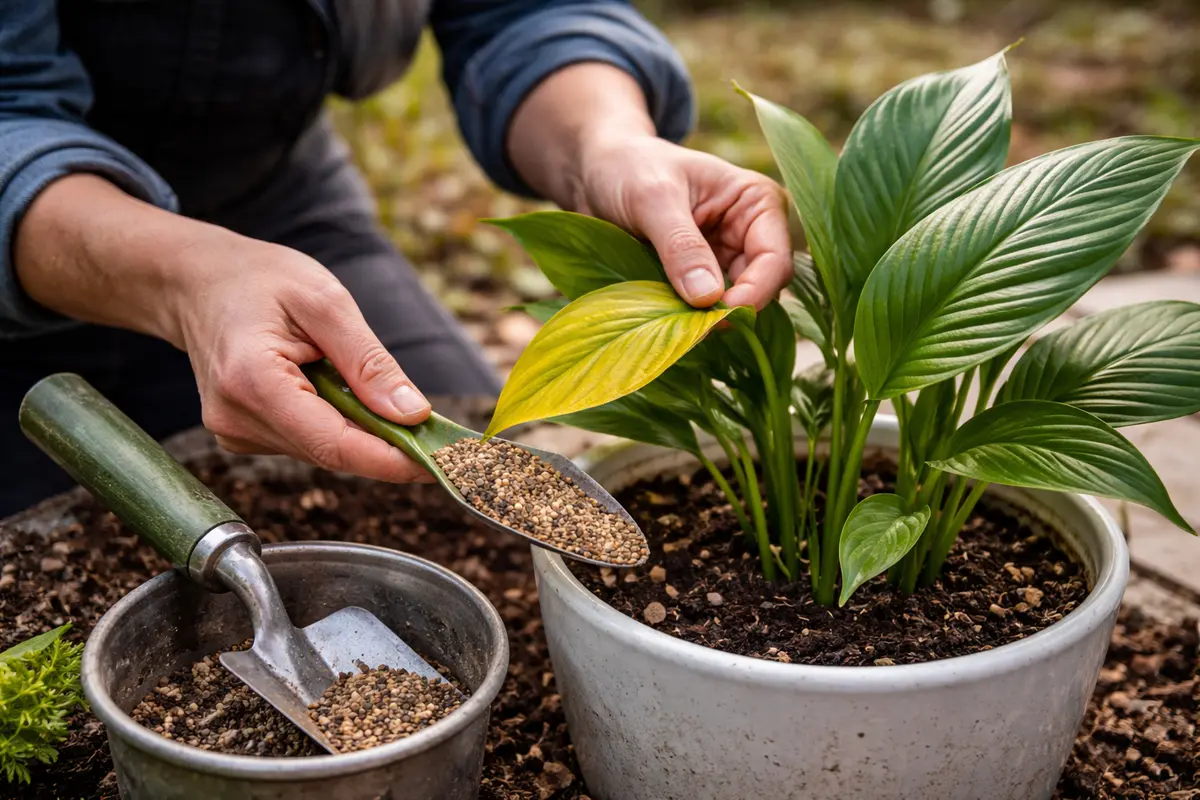
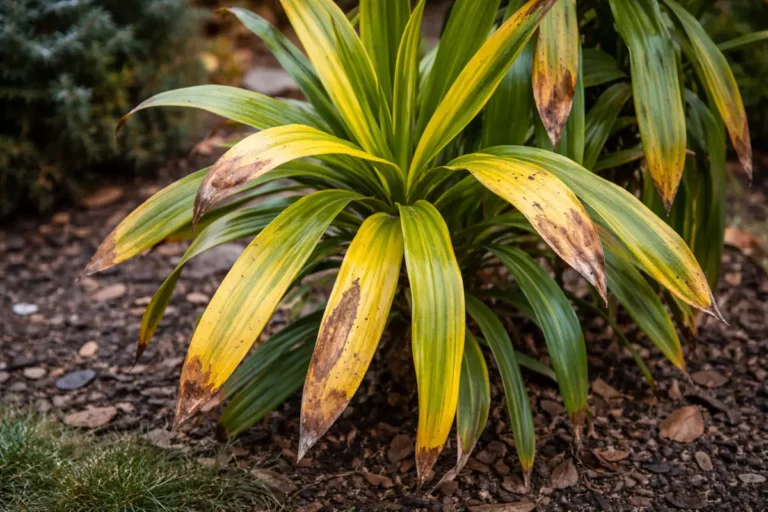
Apply a balanced, water-soluble fertilizer to restore nutrient balance within your peace lily. You should observe healthier, greener leaves appearing within a few weeks after beginning treatment. Fertilizers high in nitrogen are particularly beneficial since nitrogen deficiency often causes yellowing. Follow package instructions closely and consider diluting the fertilizer to half-strength to begin with, especially if your peace lily has been under stress; this approach minimizes the risk of over-fertilization. Be cautious with frequency; fertilizing every four to six weeks is typically adequate during the winter months when plants are less active. If you notice your peace lily still struggles after applying fertilizer, assess if the soil is compacted, which may hinder nutrient uptake along with water absorption.
Providing the right nutrients is vital for your peace lily to recover from yellowing leaves. During winter, plants can deplete essential nutrients from the soil quickly due to slower growth rates, resulting in nutrient deficiencies. Fertilizing correctly will replenish these vital elements and support new growth, replacing the yellowing leaves with vibrant green ones that enhance the plant’s overall recovery. For an added boost, incorporate a slow-release fertilizer during the early winter months to provide a steady stream of nutrients over time. Additionally, consider flushing the pot with water every two months to minimize salt buildup, which can lead to root burn and ultimately yellowing. If you notice persistent yellowing despite regular feeding, the plant might also be responding to environmental stressors such as temperature fluctuations or drafts.
A common mistake is over-fertilizing; this can lead to nutrient burn, which manifests as browning leaf tips or edges and can spiral into more yellowing if fertilization continues without adjusting the dosage or frequency. Always follow the directions on the fertilizer package, and consider the plant’s specific needs during the winter months when it is more dormant. If you notice that leaves still yellow even after feeding, double-check your watering schedule to ensure you’re not over-soaking the soil. If your peace lily has not improved after two to three rounds of proper fertilization, you might conduct a soil test for pH and nutrient content to assess any underlying soil issues; high salts could indicate over-fertilizing habits. In some cases, working with a soil amendment such as compost can improve the nutrient profile without risking over-fertilization.
Step 4 – Inspect Leaves for New Yellowing Each Week
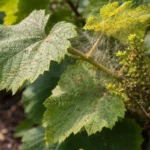
Check your peace lily leaves for signs of renewed yellowing every week. You should observe more consistent, vivid green leaves free of discoloration shortly thereafter. These inspections will help you gauge the effectiveness of your recent interventions. When conducting checks, pay attention not just to yellowing but also look for any wilting or browning, which may indicate other stress factors affecting the plant. Documenting these observations can help track improvements over time and notice patterns. If new yellowing appears, take immediate action based on what you’ve learned from previous experiences with the plant.
Monitoring your peace lily weekly after addressing yellowing leaves will help you catch any issues before they escalate into something more serious. A healthy peace lily will exhibit bright green leaves and firm foliage, indicating it is actively thriving in its environment. If new yellowing or wilting appears, it may suggest recurring problems such as insufficient lighting or inadequate watering. For example, if your peace lily is stationed in a low-lit corner, moving it to a brighter area may greatly enhance its recovery potential since indirect light is generally preferred by peace lilies, but avoid direct sunlight that might scorch the leaves. Recognizing the relationship between light exposure and leaf color can guide adjustments effectively.
If new yellow spots appear despite following the recovery steps, consider adjusting your pot location to ensure it receives adequate light. It’s essential to create a habit of observing your plant, especially during the low-light winter months, where stress signs can emerge with alarming speed. Fostering this routine will help maintain the health of your peace lily and prevent future yellowing issues. Remember, if your peace lily consistently shows signs of stress despite appropriate care adjustments—such as yellowing leaves returning or stunted growth—it may be time to evaluate the overall environment, considering factors like drafty temperatures and humidity levels, which could drastically affect the plant’s health and vigor during winter. Also, track watering habits alongside your weekly inspections; this can help prevent a pattern of recurring yellowing due to fluctuating care conditions.
FAQ
How long will it take for my peace lily to recover from yellowing leaves?
Recovery from yellowing leaves can take 2 to 4 weeks, depending on the severity of the problem and the specific care adjustments made. If the underlying issues are addressed promptly, improvements in leaf color and health should be noticeable quickly. Environmental conditions, such as optimal light exposure and stable temperature, also play a significant role; for instance, a warmer room may enhance recovery more than a cooler one, which could hinder regrowth.
Can yellowing leaves spread to other parts of the plant?
Yes, yellowing leaves can indicate systemic issues, such as root rot or nutrient deficiencies, that may affect the entire plant if not resolved promptly. If one area shows these symptoms, inspect the rest of the plant for signs of stress or damage. Additionally, pests attracted to yellowing leaves can move elsewhere in the plant if hygiene isn’t maintained, emphasizing the need for regular monitoring and immediate corrective actions to stop potential widespread deterioration.
Should I remove leaves that are just starting to yellow?
If leaves have only begun to yellow, it’s wise to assess the underlying cause first before removing them. However, removing them early can redirect energy to healthier parts of the plant, thereby ensuring better overall recovery. If the yellowing is due to insufficient watering or nutrients, addressing the root cause promptly will help maintain the plant’s health while allowing you to keep the healthier foliage intact. If the majority of leaves are yellowing despite corrections, it may be time to reassess care practices and environmental conditions.