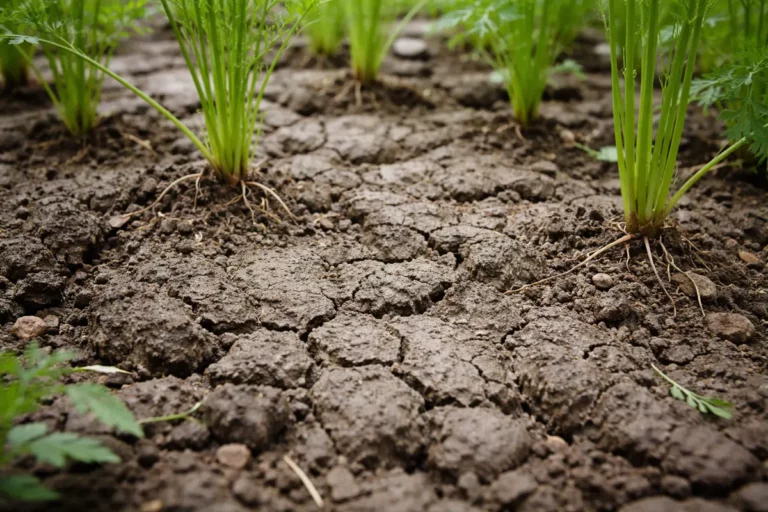
You may notice that your carrot tops look stunted and soft after frost, which is a clear sign that you need to know how to fix compacted soil around carrots after frost. This compaction prevents proper root growth, resulting in damage such as wilting and yellowing leaves. If ignored, this issue worsens and can spread, ultimately weakening the plant and stalling growth. Addressing this situation now is critical: loosening the soil and improving drainage will set your carrots on the path to recovery.
Step 1 – Loosen Compacted Soil Around Carrots
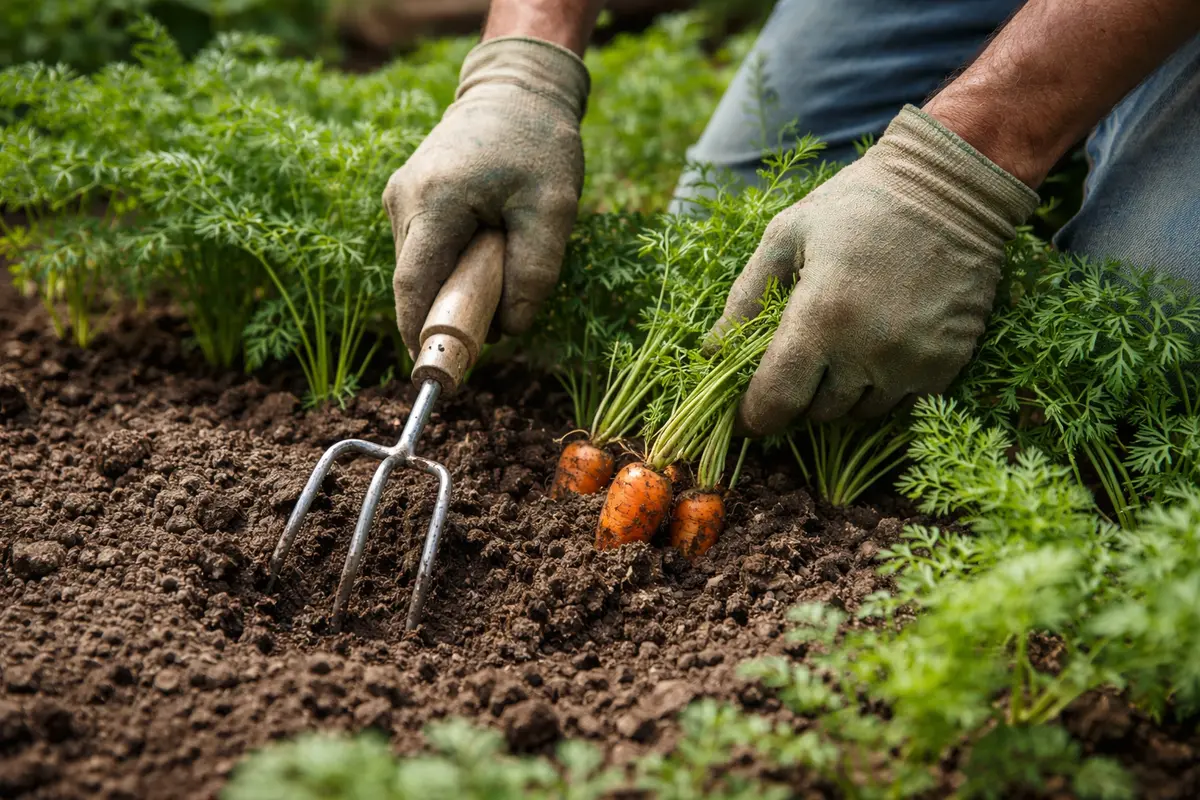
Start by gently loosening the soil around your carrots using a garden fork or trowel, aiming for a depth of at least 6 inches. You will see an immediate improvement in the soil texture as it becomes aerated and less compacted, promoting healthier root expansion. Aim for a loose and fluffy texture, which allows for better moisture retention and nutrient availability.
Loosening the soil allows air and water to reach the carrot roots, which is crucial, especially after frost. Frost can cause soil particles to bind closely together, trapping moisture and restricting root growth, which leads to weak plant establishment. If this compaction isn’t addressed quickly, the roots can suffocate and hinder the carrot’s ability to absorb essential nutrients. Ideally, the soil should feel crumbly yet moist; this texture indicates proper aeration and soil health. Additionally, check for any areas that remain overly dense, as this can be the roots’ weakest point and lead to long-term damage if not managed.
A common mistake at this stage is being too aggressive with the tools, which could damage the roots of your carrots. Gentle pressure should be applied to avoid slicing through roots. If you notice the soil is still hard below the surface after loosening it, then follow up with a light watering of about 1 inch to help soften it further. Care should be taken to avoid creating conditions that could lead to further compaction; too much watering shortly after loosening can collapse the newly aerated soil structure. Watch closely for signs of water pooling, as this can indicate drainage issues that need to be addressed concurrently, which can be detrimental if not corrected right away.
Step 2 – Assess Blow-Freezing Effects on Roots
Start by loosening the compacted soil around your carrot plants using a hand trowel or garden fork. Carefully insert the tool into the soil, being mindful not to damage the carrot roots, and gently lift the soil to improve aeration. After this treatment, you should notice the soil crumbles more easily, allowing water and nutrients to reach the roots effectively.
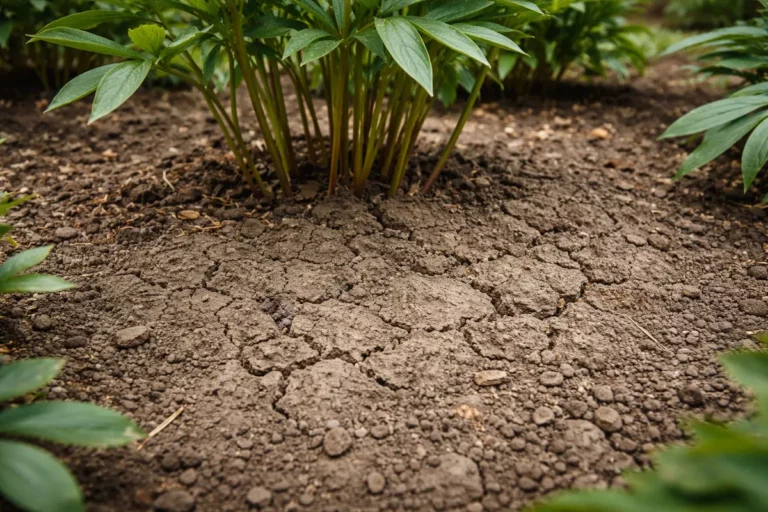
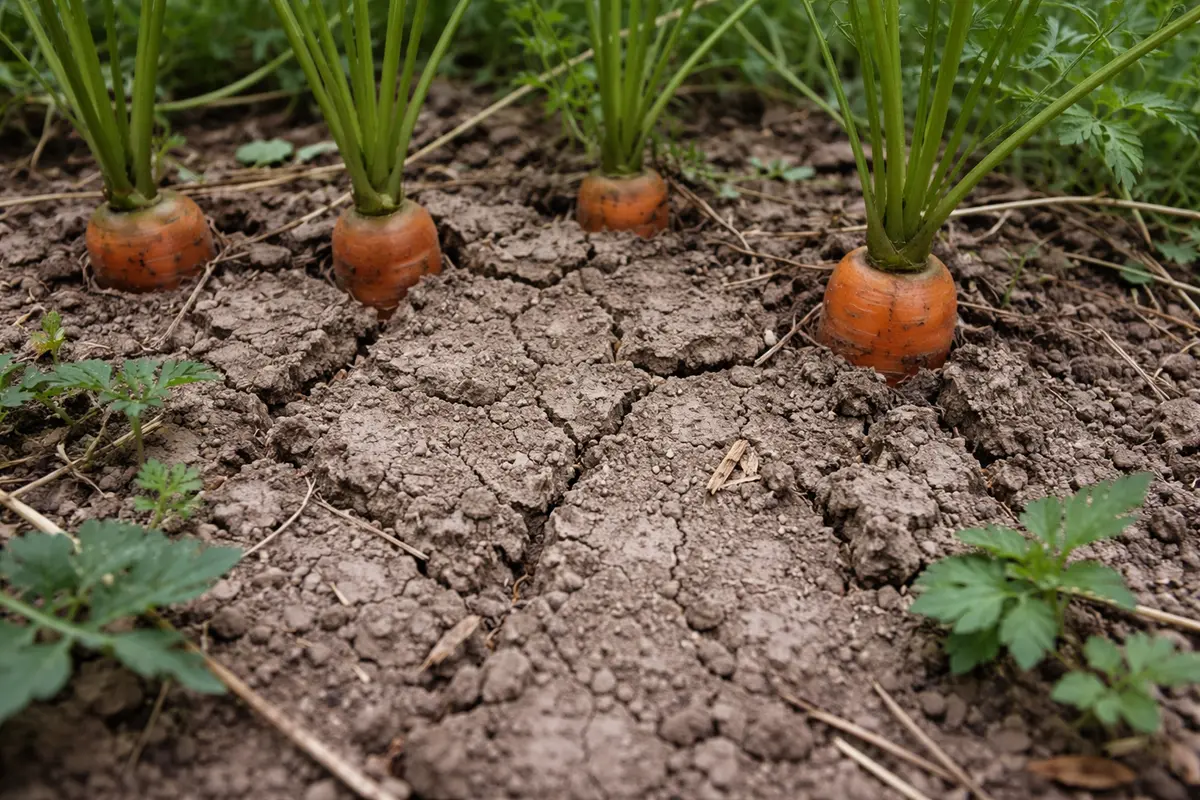
Compacted soil restricts root growth and limits the availability of oxygen and moisture, leading to stunted carrots that may become forked or misshapen. When frosty conditions occur, water can freeze in the soil, causing it to solidify, which further seals off roots. If your carrots are mushy or waterlogged instead of firm, this indicates water accumulation due to poor drainage rather than compaction. It’s crucial to differentiate between these symptoms because improper diagnosis could lead to ineffective treatments.
If the soil smells sour, it may indicate anaerobic conditions and root rot. Avoid tilling in this case, as disturbing the soil further could exacerbate the problem. Instead, focus on improving drainage by adding organic matter, such as compost, to the soil surface and raising garden beds if possible. If the soil appears dry but compaction remains apparent, gradually introduce moisture to aerate without damaging the roots. Be aware that sudden flooding can lead to more compaction, just as in overly dry soil conditions, leading to issues like stunted growth or root deformation.
Frost can create freeze-thaw cycles that damage tender roots, leading to cellular breakdown, which manifests as dark, mushy spots. When roots are compromised, they cannot support the carrot plant properly, leading to nutrient deficiencies and further stress that delays recovery. Addressing any frost-induced damage promptly is critical; roots left unchecked will exacerbate conditions for rot and ruin the remaining carrots. If you find this damage, ensure any respite isn’t merely cosmetic by closely inspecting emerging roots for ongoing rot or binding.
If the roots are firm but discolored, proceed by trimming away any damaged sections with clean scissors or a knife to promote new growth. Applying about a cup of compost per plant during this process can encourage improved microbial activity and nutrient availability in the soil, making it easier for the carrot roots to absorb what they need. This balance can stimulate both above and underground growth; healthy roots will begin showing firmer signs of vitality, especially as temperatures fluctuate and moisture levels stabilize.
Step 3 – Water Carrots Thoroughly to Recover
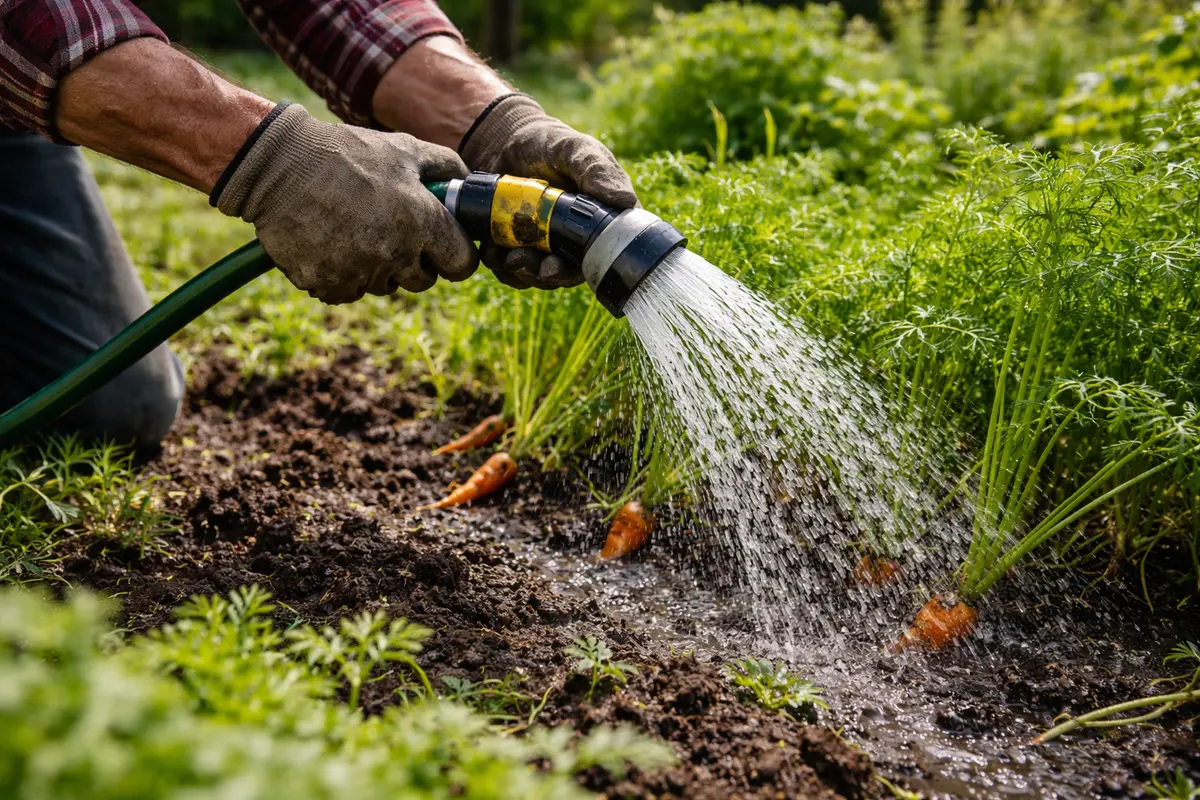
Water your carrots deeply, providing around 1-2 inches of water per week, to encourage recovery from frost stress. Within a few days, you should observe the carrot tops perk up, indicating positive responses to the watering. Regular monitoring is essential; keeping the soil too wet could negate the benefits of previous loosening steps. Observe how each watering session affects top growth: too little water may yield drooping tops, while excessive watering can create yellowing that signals drowned roots.
Deep watering promotes recovery by rehydrating the plant cells and stimulating root activity. As the roots re-establish connections with the surrounding soil, their ability to absorb essential nutrients improves significantly. Timing is critical here; if carrots are under-watered after a recent frost, they may continue to exhibit stunted growth, affecting the yield dramatically. Check soil moisture by inserting your finger about an inch into the soil. It should feel moist but not saturated, allowing the carrots to access essential nutrients without overwhelm.
A mistake to avoid during this phase is overcompensating with fertilizer; slow-release organic options are preferable as they mitigate root burn and promote steady nutrient uptake. When using fertilizer, maintain a balanced 10-10-10 ratio, applying it lightly every four weeks. Over-fertilization can lead to salt buildup, compounding the original problem of soil compaction by causing further nutrient imbalances. Continuously monitor surface soil moisture; regular checks will help ensure both over-watering and under-watering are avoided, preventing signs of distress from lasting too long.
Step 4 – Reduce Frost Risk for Future Harvests

Start by applying a layer of organic mulch around your carrot plants to help prevent soil compaction after frost. This will maintain soil moisture and temperature, allowing for easier root penetration and healthier growth. Aim for a thickness of about 2 to 4 inches, which is suitable for most carrot varieties while keeping weeds at bay.
Compacted soil tends to occur in areas with fluctuating temperatures and heavy rainfall, leading to a crusty layer that inhibits carrot growth. By regularly adding mulch, you can improve moisture retention and aeration, addressing the root cause of compaction and helping create a healthier environment for the carrot roots to expand. If you notice a hard layer forming during wet conditions, act quickly to break it up before it solidifies; waiting too long could exacerbate the situation, resulting in signals of stress in your plants.
In winter, you should increase the mulch thickness to provide extra insulation during frost events, particularly in colder climates. Additionally, consider rotating your planting area each season; different crops can help naturally break up soil compaction over time, providing variety in root structures that enhances the soil profile. Implementing this practice alongside your existing planting schedule can foster resilience in your gardening strategy, paving the way for better growth overall.
Utilizing row covers or additional mulch can help insulate the soil while maintaining a stable temperature, effectively minimizing frost damage. The presence of mulch not only retains moisture but also prevents soil from compacting under heavy rainfall. Monitor growth closely to observe positive responses, such as vigorous leaf development, indicating optimal moisture retention and protection. Explore seasonal soil management techniques; integrating smarter practices counteracts future risks while ensuring robust growth, especially in variable climates.
To further prevent frost exposure, adjust planting depths based on seasonal forecasts. For example, planting carrots about 1 inch deeper right before the onset of fall can enhance frost resistance. Regularly checking weather updates enables immediate action for unexpected cold nights, ensuring your crops remain secure against frost exposure. Employing multi-layered strategies fosters cohesion in your gardening approach, blending productivity with optimal health.
Step 5 – Observe Carrots for Symptoms of Stress
Check your carrots every few days for visible symptoms of stress or recovery. Look for firm, vibrant green tops and new leaf growth indicating progress. Document any changes in growth habits, as tracking progress aids in determining which methods are effective. Early detection of any signs allows you to pivot your strategy quickly if additional stress factors become evident.
Healthy carrots should exhibit bright green tops and firm roots. Conversely, wilting or discoloration suggests ongoing issues requiring immediate action. Regular checks during the recovery phase are crucial for identifying setbacks; visually inspecting or gently tugging at tops can reveal root crowding or continuing compaction. These proactive checks not only inform recovery status but also help prevent problems from escalating, allowing you to adjust care practices as necessary.
If signs of stress persist despite your efforts, such as leaf droop or indications of pests, including aphids, be prepared to implement corrective measures. Reassess your watering regime and check the pH balance of the soil. A pH test kit can aid in determining whether you need to amend the soil with lime or sulfur for optimal carrot growth. Be proactive in your monitoring practices, ensuring that your carrot plants thrive throughout the growing season; integrating a systematic record of environmental conditions and plant responses will grant you insights into achieving sustainable gardening.
FAQ
How long will it take for my carrots to recover after frost?
Carrots can take anywhere from a few days to a couple of weeks to show visible signs of recovery after frost, depending on the severity of the damage. Ensuring consistent moisture and gradually loosening compacted soil will help promote quicker recovery. By closely monitoring soil conditions and providing adequate care, you’ll cultivate a more favorable environment for recovery. If conditions are optimal, expect significant improvement in growth habits within 7-10 days, but remain vigilant for signs of additional stressors.
Can frost damage spread to other vegetable plants?
Frost damage is typically localized to affected plants; however, poor soil conditions can lead to new issues if not promptly addressed. Properly fixing compacted soil and monitoring nearby crops can help prevent future impacts on your garden, ensuring that one frost event doesn’t derail your entire vegetable patch. If you notice other nearby plants wilting unexpectedly, investigate soil conditions to maintain overall garden health. Adequate vigilance is crucial, as adjacent plant roots may affect each other’s growth.
Should I remove damaged carrots immediately?
It’s best to assess the condition of your carrots before deciding to remove them. If they’re still firm and show signs of recovery, they may continue to grow successfully. However, if they appear mushy or blackened, removing these is advisable to prevent potential disease spread, especially if multiple plants are affected nearby. Regularly check the area beneath the foliage, as this can reveal issues not immediately visible above ground; ongoing monitoring allows you to maximize harvest potential from what remains.