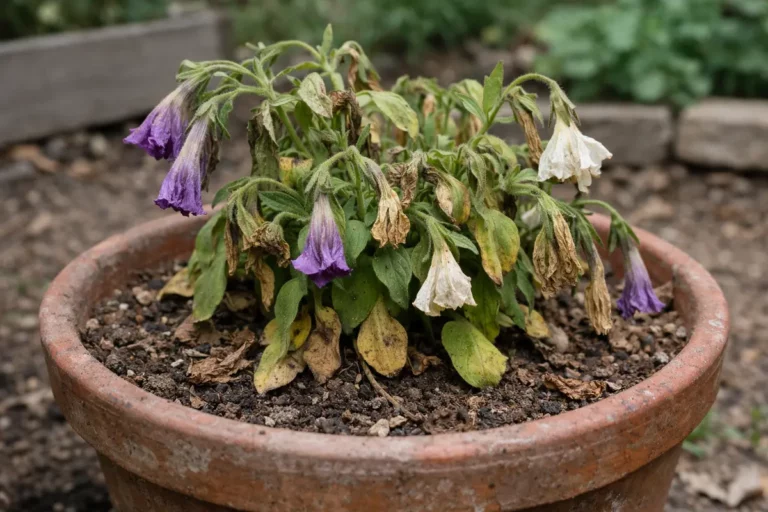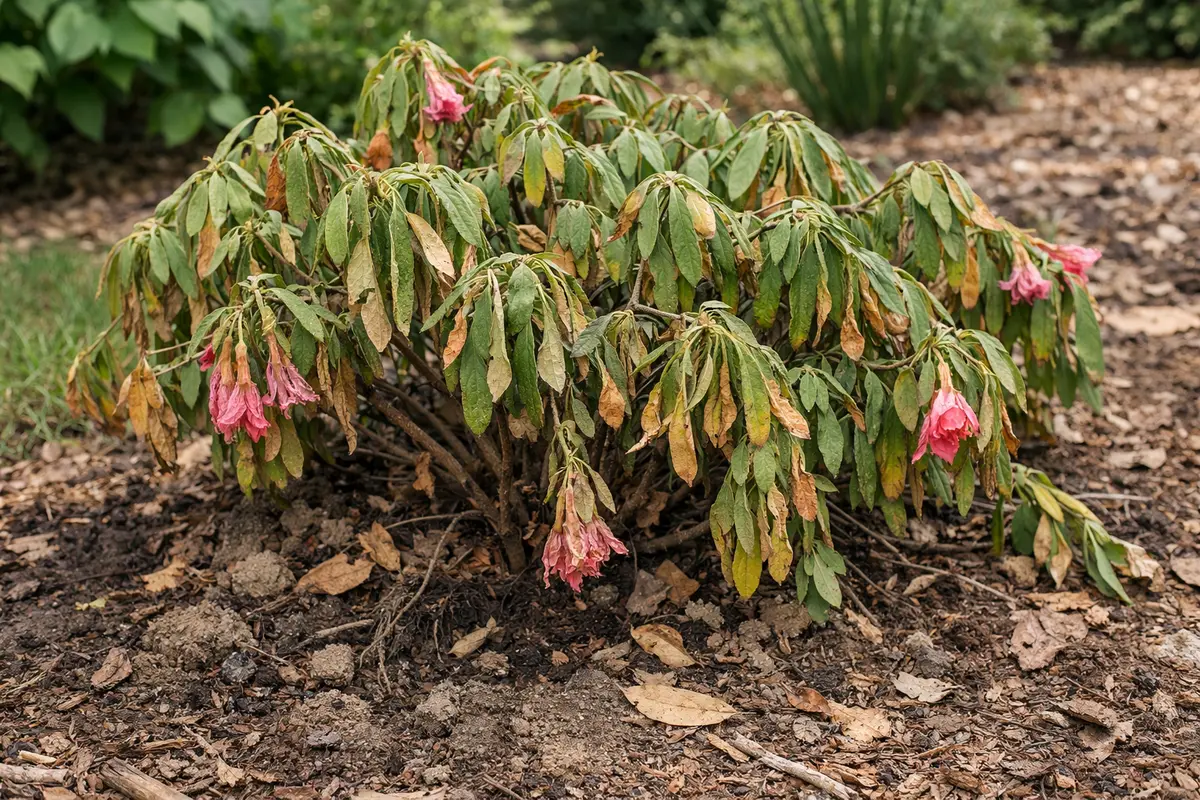
You may notice your azalea bushes looking droopy and parched during the intense heat of summer, which is why you need to know what to do when azalea bushes show signs of wilting in summer. This wilting often occurs due to a lack of moisture, causing leaves to droop and turn yellow as the plant struggles to stay hydrated. If left unaddressed, the problem can worsen and weaken the plant, making it harder to fix later on, but with the right care, you can improve the situation by watering and adjusting the surrounding environment for better moisture retention.
Step 1 – Water Wilting Azaleas Immediately
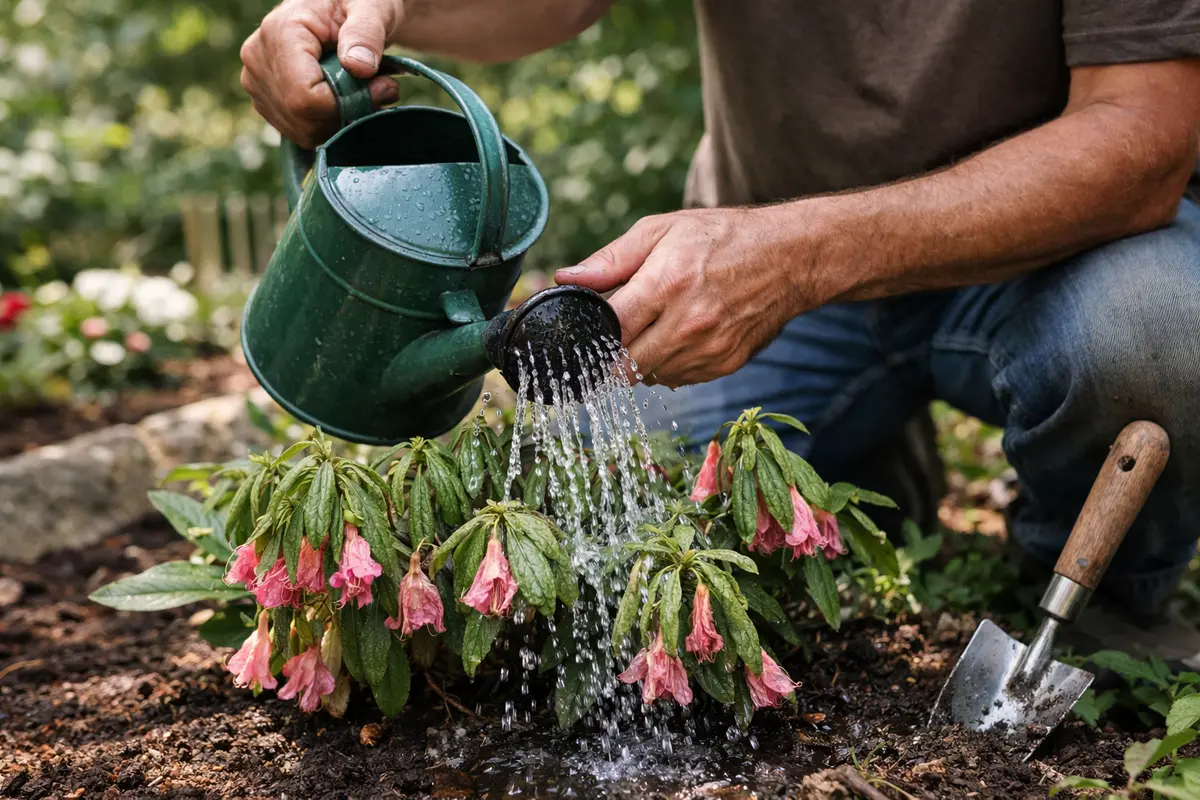
Water the base of the azalea bushes deeply right away. You will notice the leaves begin to perk up within hours as they start to regain moisture. Ensure you are saturating the soil to a depth of at least 6 inches, so the roots receive the necessary hydration they have been craving. To do this effectively, use a slow drip or soaker hose to allow water to penetrate deeply without running off the surface. Aim to provide about 1 to 2 gallons of water for an established plant; this volume can vary depending on the size of the bush and the existing soil conditions. For newly planted azaleas, reduce the water to 0.5 to 1 gallon to avoid saturating their more delicate root systems.
Azaleas need moist but well-drained soil; if the soil feels dry when you stick your finger about two inches deep, the plant is likely suffering from water stress. When watering, keep an eye on the leaves. If they appear brighter and are regaining firmness, your efforts are working. However, if the leaves remain droopy after watering, other issues may be at play, such as underlying soil compaction or drainage problems. Providing an immediate, solid watering helps replenish lost moisture and mitigates further wilting. If watering is delayed, the roots struggle to absorb nutrients effectively, leading to wilted leaves and potentially the loss of blooms, which is frustrating for gardeners expecting vibrant flowers.
A common mistake at this stage is to only give azaleas a quick splash of water. This method may fail to address deeper soil dryness, where small root hairs absorb moisture. Be wary of surface watering; if the soil above appears wet while the subsurface remains dry, the azaleas will continue to suffer. If you notice that even with immediate watering the wilting persists, check for other issues like compacted soil or poor drainage that can inhibit root function. For example, compacted soil may appear hard at the top but be drier below; aerating the soil around the roots may be necessary to improve water availability. If the soil appears crumbly and dry even after watering, it may also be a sign of soil hydrophobicity, meaning the water is repelling instead of soaking in. In such cases, consider using a wetting agent before watering to improve moisture penetration.
Step 2 – Assess Soil Condition for Azalea Roots
First, check the soil moisture around your azalea bushes by feeling the ground about six inches deep. If the soil feels dry, immediately water the plants thoroughly until the water seeps from the drainage holes. Within a few hours, you should notice the leaves beginning to perk up, indicating that the azaleas are receiving adequate moisture.
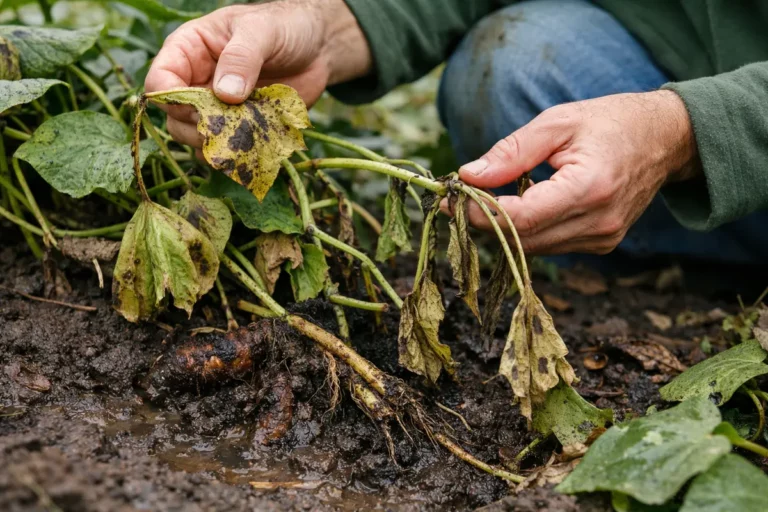
When azalea bushes show signs of wilting during the summer, it often indicates root distress due to insufficient moisture in the soil. Healthy azaleas absorb water and nutrients through their roots, but when the soil is too dry, the plant cannot sustain its leaf structure, leading to drooping leaves. Conversely, if the soil appears mushy and overly wet, this could indicate root rot, causing similar wilting symptoms without the dryness. If the soil feels dry as you dig down, check the leaves for any signs of browning at the tips, which can indicate both dehydration and nutrient deficiencies.
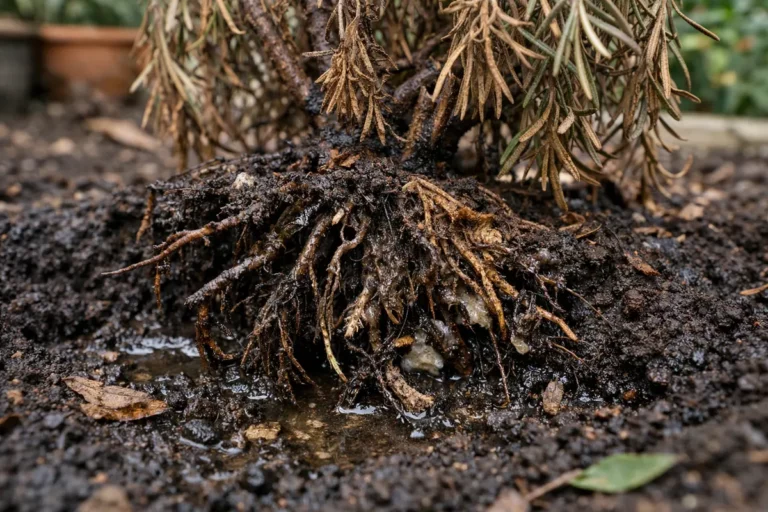
If you observe that the soil smells sour or has a mushy texture, instead of watering, you should improve drainage by aerating the soil and removing any standing water. Taking this step will help prevent root rot and promote healthier root growth. Alternatively, if the leaf wilting is accompanied by yellowing, investigate for pest infestations, which require a different treatment approach. For example, root weevils or nematodes can compromise root health and require immediate intervention. Their symptoms often manifest as wilting leaves, stunted growth, or even die-off in extreme cases, demanding prompt action to protect your azaleas.
Soil texture plays a significant role in how azaleas respond to watering. If you are dealing with sandy soil, be aware that it drains quickly but may lead to drought conditions if not checked frequently. In contrast, clay-heavy soil retains too much water, which may rot the roots. The key indicator of healthy soil is a crumbly texture that retains some moisture yet allows for drainage. If the soil retains too much water, consider mixing in perlite or coarse sand to improve drainage as these materials create air pockets, enabling better airflow around the roots. If drainage is insufficient, it may be worth considering relocating your azaleas or adding tilt to the planting bed to prevent water pooling.
If you notice the soil has a sour smell, stop watering and examine the drainage immediately. Foul odors often indicate root rot, which calls for careful handling. If the roots are mushy, they are likely compromised, and you’ll want to prioritize actions like pruning away any dead material rather than watering further. Additionally, if the soil texture seems right but wilting continues, consider checking for pests that may damage the roots. For instance, some nematodes can penetrate root cells and disrupt water flow, which is a situation that might require applying a targeted pesticide to manage the infestation properly.
Step 3 – Apply Fertilizer for Summer Recovery
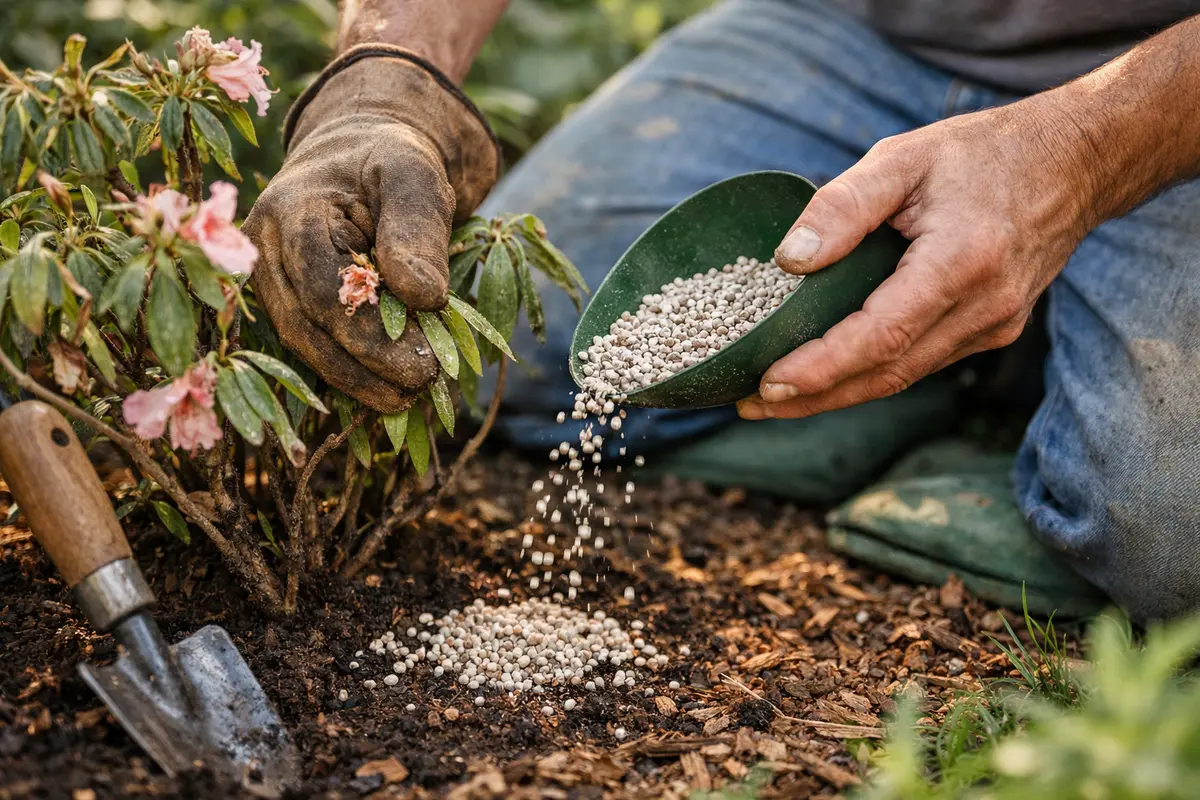
Fertilize your azaleas to provide them with nutrients while they recover. You should start to see improvements, such as vibrant green new leaves and blooming flowers, within a couple of weeks. A slow-release fertilizer, particularly one designed for acid-loving plants, will help restore essential nutrients that support robust growth. Apply according to the manufacturer’s instructions; typically, this involves using about 1 tablespoon per square foot, spaced evenly around the plant’s root zone. Always ensure this is done after a good watering session to avoid root burn. Check that the fertilizer is low in phosphorus if your soil already has adequate phosphorus levels, as excess can harm azaleas.
Fertilizers for azaleas often contain nutrients like nitrogen, phosphorus, and potassium in a balanced ratio, which can enhance flowering and overall plant health. However, timing is crucial; applying fertilizer during an active growing season (typically late spring through summer) maximizes the plant’s ability to utilize the nutrients. While recovery occurs, it’s crucial to monitor the overall condition to prevent recurrence of wilting. If nutrient deficiencies are addressed early, plants typically bounce back faster and exhibit healthier growth patterns, ultimately leading to a more vibrant display of blooms. However, the soil pH should also be tested to ensure it remains in the acidic range (between 5.0 and 6.0) to accommodate azaleas thriving.
A mistake many gardeners make during recovery is over-fertilizing, thinking that more product equals faster results. This approach can be detrimental, leading to nutrient burn, which harms the roots. If you notice leaf edges turning brown even after applying fertilizer, it may indicate that you’ve used too much. Always adhere to recommended amounts and follow up with regular watering to keep nutrients available to the plant. Excessive fertilizer can also alter the soil’s pH balance, making conditions unsuitable for azaleas, which thrive in acidic environments. In extreme cases of over-fertilization, another course of action would be to flush the soil with water to dilute the nutrient concentration, as this may help mitigate negative effects.
Step 4 – Inspect Azalea Foliage for New Wilting Signs
Check the azalea foliage for new signs of wilting or discoloration every few days. You should expect to see leaves regaining strength and a brighter color as they recover. Observe any new growth to verify the success of your interventions. During your checks, look for signs of new shoot development, as this is a positive indicator of recovery. If new growth appears, it indicates that the azaleas are starting to thrive again, meaning your watering and fertilization efforts are taking effect. Conversely, you should also keep a lookout for any lingering signs of pest issues that might inhibit progress.
After addressing factors like watering and fertilization, a well-recovered azalea should have vibrant green foliage without any drooping leaves. Note that new growth is often tender and more susceptible to further stress; therefore, maintaining consistent care is key. Conversely, if new symptoms appear, such as leaves curling or wilting despite your interventions, this indicates underlying issues may still persist, including root problems or pest infestations. Always consider weather factors as environmental stressors like hot, dry winds can sometimes trigger wilting even in previously healthy plants, requiring immediate attention.
If signs of wilting return, consider re-evaluating your watering schedule and soil drainage conditions. A fallback action could be reshaping the planting area or amending the soil to improve aeration and drainage, with amended soil often yielding better drainage properties. For severe cases, consider replanting the azalea in a different location with better-suited soil and sunlight if these issues continue to trouble its health. Keep in mind that frequent environmental changes can stress plants further, so ensure that any move is justified by inadequate performance in the current location. It’s also wise to allow the azalea to acclimatize to its new conditions gradually; for example, introduce shade gradually if the new location receives significantly more sunlight, allowing the plant to adjust without shock.
FAQ
How long does it take for azaleas to recover from wilting?
Recovery from wilting can take anywhere from a few days to a couple of weeks, depending on the extent of the issue and how quickly corrective actions are implemented. Factors such as watering accuracy, soil condition, and fertilization all contribute significantly to the recovery timeline. If issues are resolved quickly, you may begin to see signs of improvement within a week; however, delays in addressing the problems can prolong recovery significantly, making prompt attention essential.
Can root rot spread to other azaleas?
Yes, root rot can spread if conditions are favorable for decay, particularly in poorly drained soil. The presence of pathogens in the soil can infect nearby plants, especially if they share a similar root environment. If you notice severe symptoms in one of your azaleas, it’s important to isolate affected plants and improve drainage around them to prevent further spread. Additionally, consider applying a fungicide to the affected area to help inhibit further spread and protect neighboring azaleas from infection.
Should I remove diseased leaves from wilting azaleas?
Yes, removing diseased or damaged leaves is advisable to help reduce stress on the plant and promote new growth. Make sure to sanitize your pruning tools to avoid spreading any potential pathogens. When pruning, aim to remove at least 1 to 2 inches below the visible damage to ensure you capture all diseased tissue and promote healthier regrowth. It’s essential to monitor the remaining foliage closely, as ongoing leaf issues can indicate broader health problems that may need different interventions.