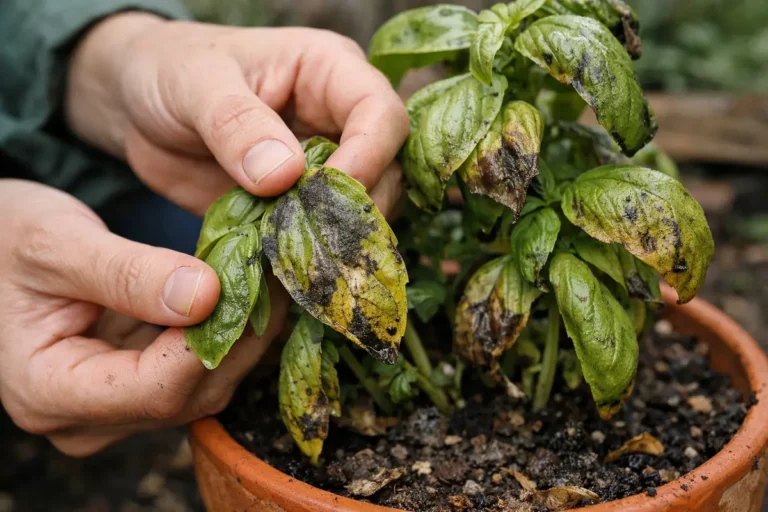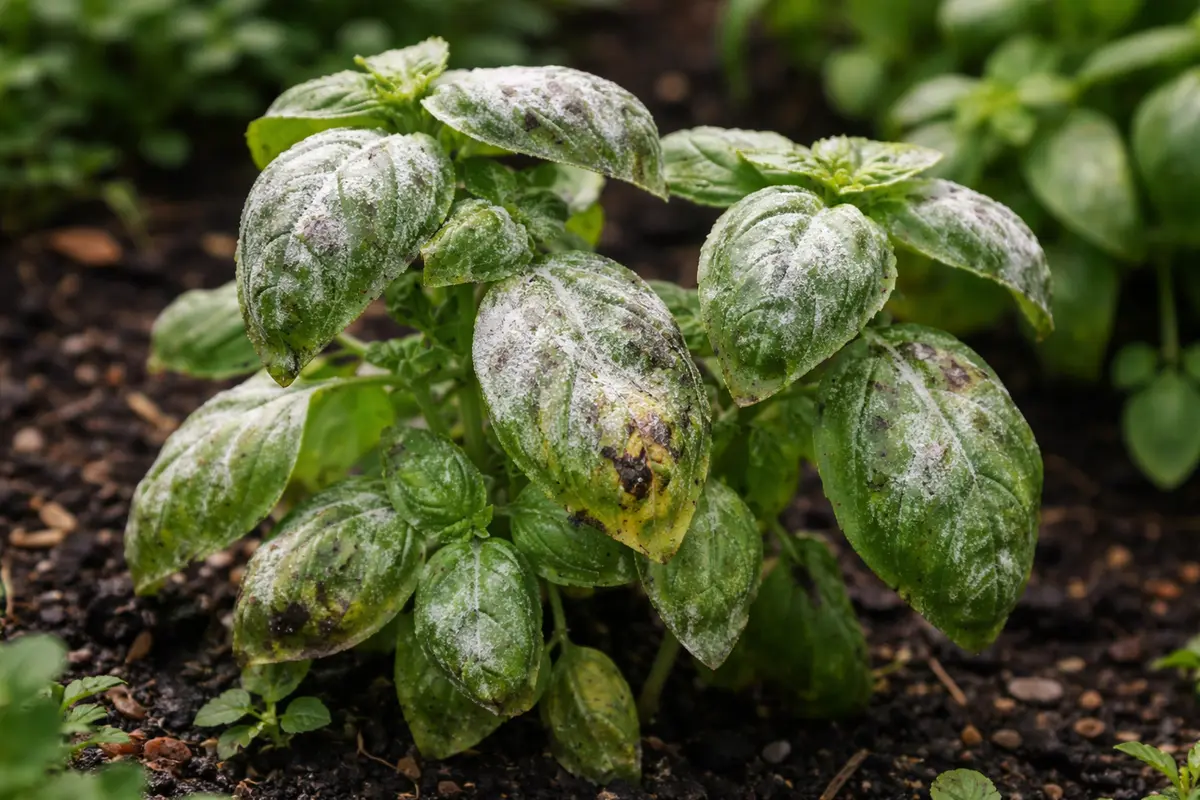
You may notice fuzzy patches forming on your indoor herbs after misting, which is why you need to know how to prevent fungal growth on indoor herbs after misting. This problem often arises due to excess moisture lingering on the leaves, leading to spots and decay that can inhibit growth. If left unaddressed, the infection can spread, weakening the plant and making it harder to fix, but you can improve the situation now by adjusting your misting frequency and inspecting the plants regularly.
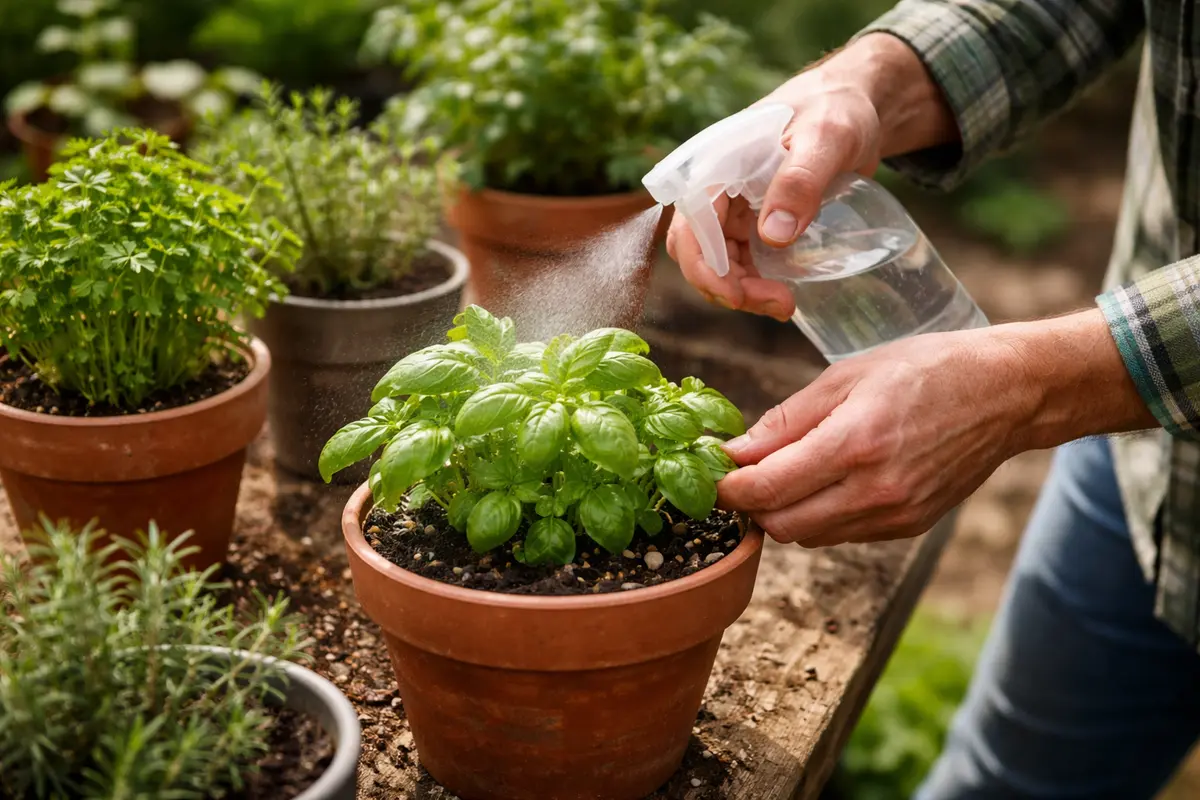
Step 1 – Mist Leaves on Herbs Gently to Limit Spores
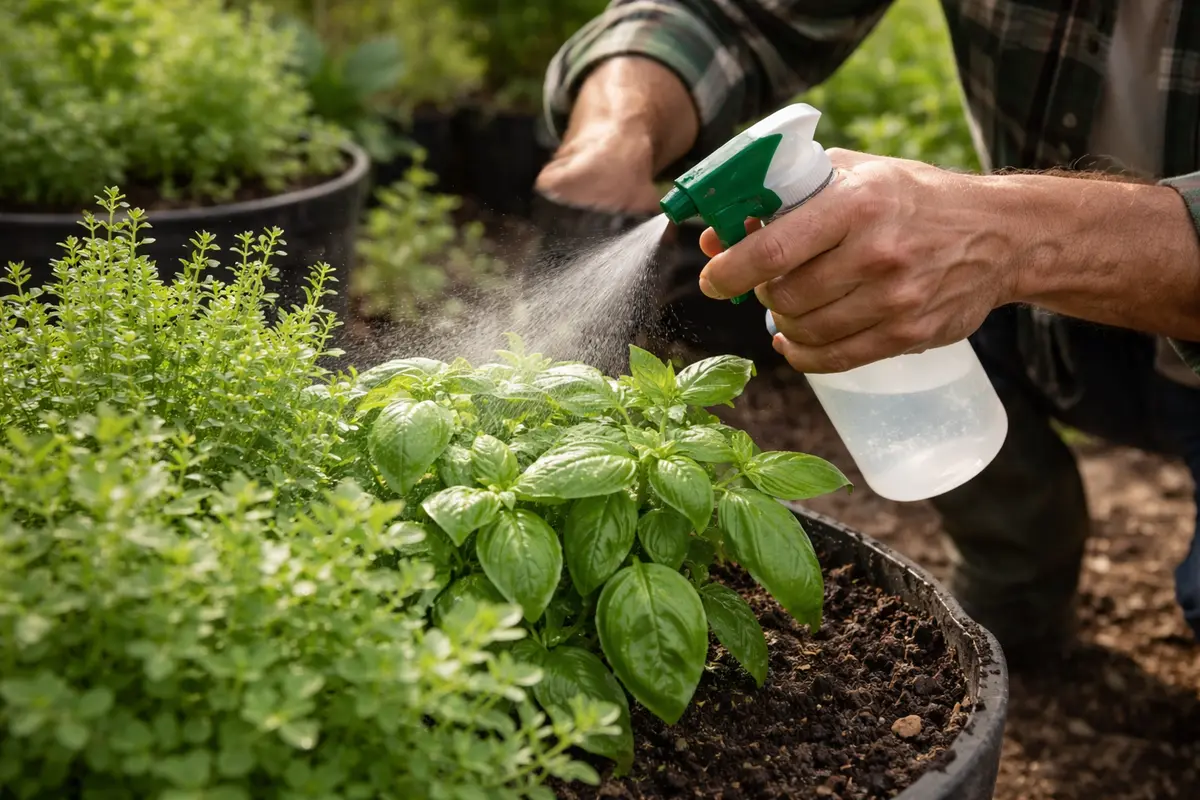
First, remove any excess water pooling at the base of your indoor herbs by tilting the pots slightly and allowing it to drain out. You should notice the surface of the soil becoming drier almost immediately, reducing the potential for fungal spores to thrive. If you’ve just misted, gently shake any wet leaves; this will help dislodge water droplets that could encourage spore germination.
Acting fast matters because moisture encourages fungal growth; the longer the leaves and soil stay damp, the higher the chance for disease onset. If your herbs remain wet for too long, fungal spores can germinate and infect healthy tissues, leading to wilting and leaf rot. If you’re observing a glossy sheen on the leaves, that’s a clear indication that water is still present; promptly intervene to remove it. After misting, check your herbs for localized damp spots, as these areas are prime candidates for fungal growth.
A scenario where timing made a noticeable difference occurred when a gardener waited too long to address waterlogged herbs, resulting in their basil developing a powdery mildew. This common mistake often stems from neglecting drainage after misting; if you notice wilting leaves but haven’t checked drainage, a quick inspection might reveal standing water that needs to be addressed immediately. Acting quickly to remove excess moisture helps prevent fungal spores from settling and germinating on the foliage and soil, which can lead to rapid rot or mold formation. If neglected, the stagnant moisture creates an ideal environment for pathogens to thrive, leading to wilt, discoloration, and eventual plant death. If you notice your plants are droopy and wilted, this indicates fungal activity; if the soil is dry but the leaves are unaffected, you’re likely in a better position.
A common scenario involves misting herbs without proper drainage, resulting in severe fungal outbreaks weeks later. One gardener I know experienced this first-hand when she misted her basil and neglected to eliminate the water in the saucer, leading to extensive mold growth that ruined her entire crop. To avoid this issue, prioritize proper container setup and immediate moisture management after any watering or misting to ensure your herbs remain vigorous and free from disease.
Step 2 – Assess Humidity Levels Causing Fungal Growth
Start by ensuring proper drainage of your indoor herb pots. If excess water is pooling at the bottom or the soil remains consistently damp, adjust your watering schedule to allow the soil to dry out between misting sessions. You should notice a decrease in fungal presence and a healthier environment for your herbs. Use a moisture meter if you’re unsure about the soil’s condition; this tool provides specific readings that help you avoid guesswork.
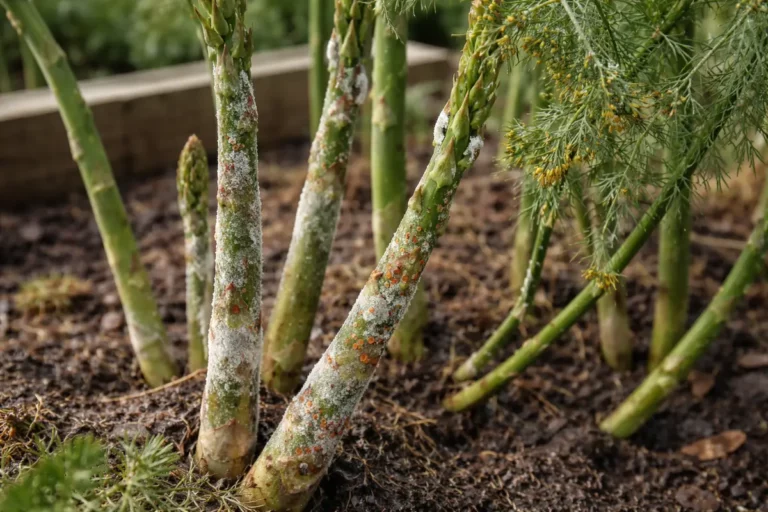
The underlying issue with fungal growth is often due to overly moist conditions that promote the perfect environment for pathogens. When soil retains too much water, it creates anaerobic conditions leading to root rot or mold, which can significantly damage your herbs’ roots and tissue. In contrast, if the soil has an even, dry surface without any foul odors, rooting is more effective, allowing resilient plant growth and minimizing fungal activity. Checking for signs of mold or a sour smell can provide crucial clues; if the soil smells off, it’s time to take immediate corrective action.
If the soil smells sour, replace the top layer of contaminated soil with fresh soil to provide better breathing space for the roots. Alternatively, if spotting on leaves resembles fungi but is actually a result of underwatering, check moisture levels and adjust your watering habits accordingly. A well-drained pot combined with appropriate watering practices will dramatically reduce the risk of fungal growth. If the humidity in your indoor environment exceeds 60%, it may also contribute to fungal issues, and you might want to consider using a dehumidifier to maintain optimal moisture levels for your herbs.
Step 3 – Treat Herbs with Neem Oil for Quick Recovery
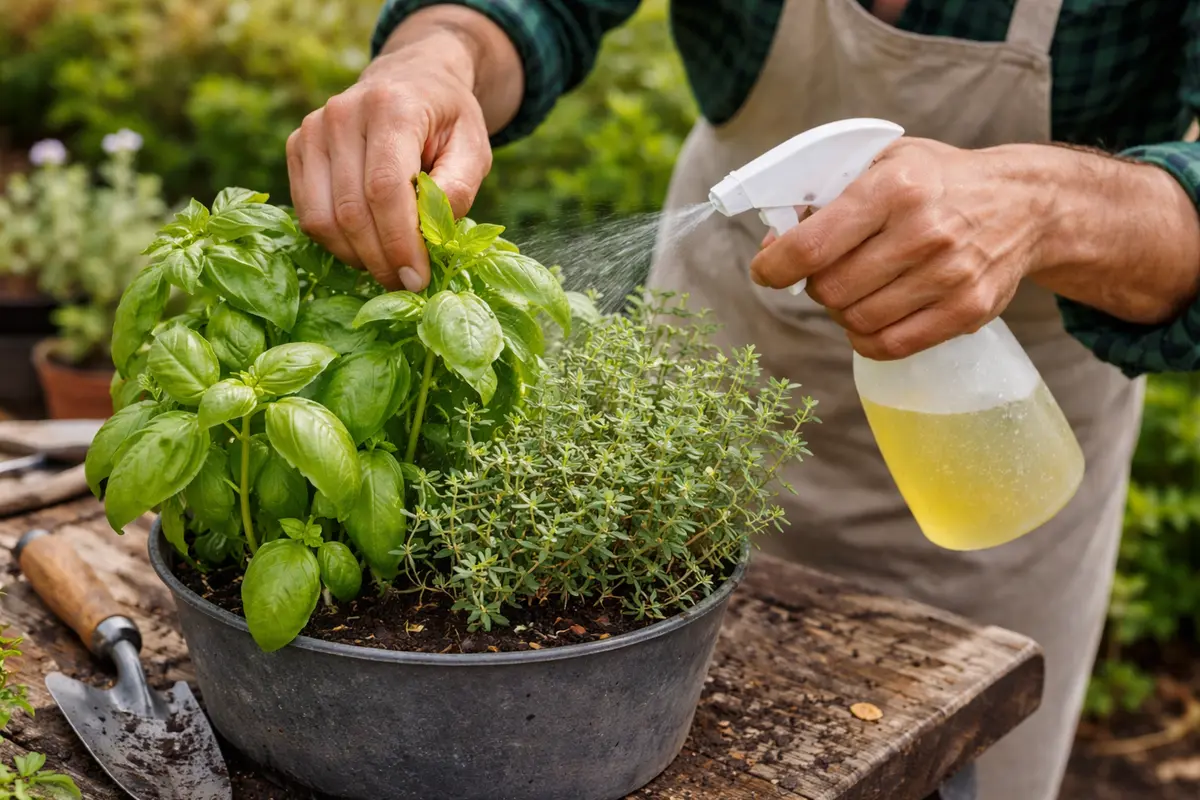
Apply Neem oil directly to the affected leaves of your herbs using a spray bottle, ensuring an even distribution without saturating the leaves entirely. You should notice a decrease in visible mold and a return to healthy green color on the leaves within a week. Neem oil acts quickly against fungal spores and pests alike, rendering it an effective alternative for immediate fungal concerns. If the treated leaves still show signs of mold after a week, consider increasing the frequency of application; remember that changes in temperature and humidity may necessitate adjustments to your application schedule. For best results, apply when the temperatures are slightly cooler to prevent rapid evaporation.
Neem oil acts as a natural fungicide and insecticide, disrupting the growth cycle of fungi and preventing further infection. It suffocates pests and blocks the fungal spores from spreading, thereby promoting healthier leaf growth. Treatment frequency can begin every 5-7 days until symptoms improve, adjusting as necessary based on environmental conditions. Be careful to avoid soaking the soil directly; this could counteract the drying effect you are trying to create with mindful watering; the application should primarily target the foliage. If using concentrated Neem oil, dilute it according to package instructions to prevent any adverse reactions; too high a concentration can lead to leaf burn or discoloration.
While applying Neem oil, it’s essential to avoid overdoing it, as excessive use can lead to issues like leaf burn or hinder new growth. Therefore, ensure you’re spraying evenly and not saturating any single area. Monitoring the leaves post-application is crucial. If you notice that your plants appear more damaged after treatment, consider reducing the application frequency or further diluting the oil; this method tends to work better if you restrain the quantity and maintain an accurate dilution ratio. You should also monitor the plants closely; if the leaves appear greasy rather than clean, this could indicate that you need a higher dilution of Neem oil or adjustment in the frequency of applications, focusing on maintaining an even balance while safeguarding against fungal spores.
Step 4 – Water Indoor Herbs Sparingly to Prevent Mold
Water your indoor herbs sparingly and only when the top inch of soil feels dry to the touch. This routine will help keep the soil from becoming overly saturated and reduce the chances of mold forming. Remember, the moisture content in the soil is critical; gauge it regularly to determine your watering schedule accurately—if the soil feels soggy or appears dark, it indicates overwatering. A good practice is to use a finger test; if the soil clumps together and feels muddy, hold off on watering. This practical approach will help maintain balance and avoid creating conditions ripe for fungus.
By allowing the soil to dry out between waterings, you significantly lower moisture levels that can facilitate the growth of mold and fungi. Overwatering is a common pitfall that often triggers such fungal infections, especially for indoor herbs that thrive in well-draining conditions. Consider using pots outfitted with drainage holes to help with water management; this addition can mitigate risks related to root rot and moisture retention. A typical sign of overwatering is if you see yellowing leaves or if the plant starts to droop despite consistent fertilizer and care. A situation can arise where roots begin to decay underneath the surface, eventually leading to plant collapse, so vigilance is key.
For example, if your herbs are subjected to excess humidity alongside frequent watering, mold growth will likely become an ongoing issue. Adjusting your watering schedule based on container size, type of herbs, and general climate conditions will create optimal growth. If you’ve been watering with a schedule based on outdoor plants, remember that indoor spaces often accumulate heat and humidity differently. This disparity typically requires less water as moisture evaporates more slowly indoors. As temperatures rise, it’s beneficial to keep a closer check on moisture levels; shorter but more frequent monitoring sessions can provide clear signals to help gauge optimal watering times and interactions, making adjustments as necessary based on conditions.
Step 5 – Inspect Herb Foliage for Signs of Reemergence
Start by checking the soil moisture level of your indoor herbs within 30 minutes after misting. Observe the top inch of soil—if it feels noticeably damp or waterlogged, allow it to dry out completely before misting again. Recheck the moisture daily for the next week to ensure it remains adequately dry and not overly saturated. A clear indication of improvement will be the absence of yellowing or wilting leaves, paired with firm and vibrant foliage.
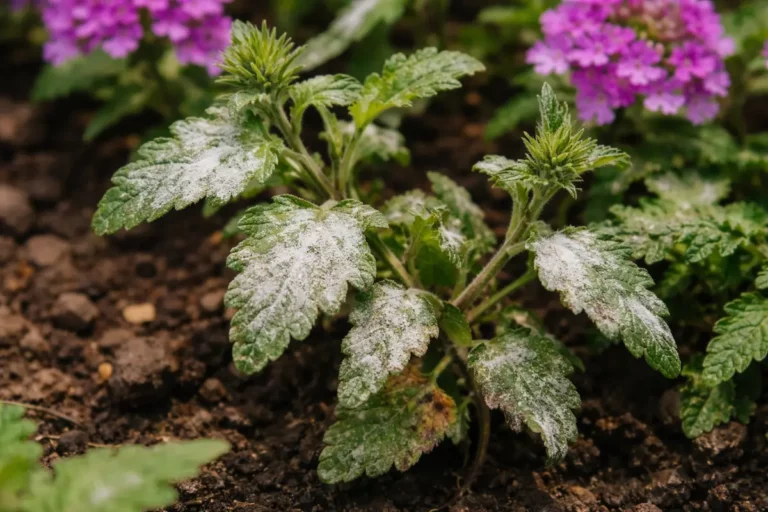
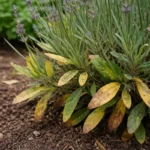
A fully recovered plant will exhibit vibrant green leaves with no brown edges or wilting, while early signs of fungal issues include yellowing leaves or fuzzy white spots on the surface. If you notice any leaf curling or a soft texture, these are indicators of stress that may suggest returning fungal pressure. Conditions such as continuous waterlogged soil can lead to repetitive cycles of disease; keeping vigilant eyes on your plants regularly will help catch these issues before they proliferate. If the leaves feel crisp and firm, the plant is regaining strength, but always monitor carefully for any signals that may indicate a return of fungal activity.
If signs of fungal growth return despite your precautions, remove any affected leaves immediately to minimize spread, and increase airflow around the remaining herbs by repositioning them or using a small fan. Increasing air circulation can help combat humid conditions that contribute to fungal growth. If the problem persists after making adjustments, consider repotting the herbs in fresh, well-draining soil to prevent future issues. Also, keeping the surrounding area clean and free of plant debris can further reduce fungal risk.
FAQ
How long does it take for herbs to recover from fungal growth?
Recovery time can vary based on the severity of the infection; typically, you can expect to see improvement within 1-2 weeks after treatment with Neem oil and by adjusting humidity levels. Consistent monitoring and care will help expedite the recovery process, especially by ensuring you maintain proper humidity and ventilation conditions. Always be prepared to adjust treatments based on the plants’ responses to your care; if conditions persist too long, consider more aggressive interventions.
Will my herbs be safe after using Neem oil?
Yes, Neem oil is considered safe for most indoor herbs when used correctly. Always ensure that you follow the recommended dilution ratios and avoid applying it during the hottest part of the day to prevent leaf burn. Familiarizing yourself with the correct application technique is essential for successful treatment, as improper use can compromise your plant’s health. Always check your local guidelines or specific plant needs, as certain varieties may react differently.
Should I remove leaves affected by fungus?
Yes, promptly remove any leaves showing signs of significant fungal damage to limit the spread of spores. Trimming these leaves allows the plant to focus its energy on healthy parts, enhancing overall growth. This proactive measure not only aids in recovery but also improves air circulation around the remaining leaves, which is crucial for the health of your indoor herbs. Take care to use sterilized scissors or pruning shears, as this prevents introducing new pathogens during the trimming process.