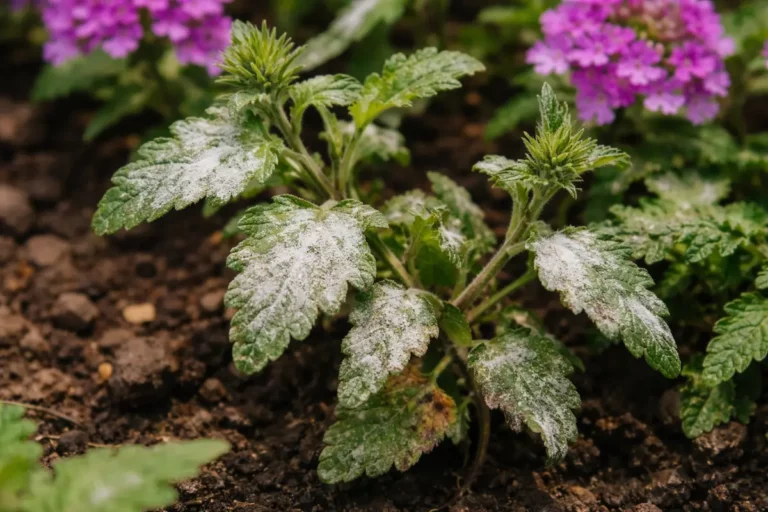
You may notice fuzzy patches on your basil leaves after rain, which is why you need to know about Preventing mold on basil leaves in pots after rain. This occurs when moisture lingers on the foliage, promoting fungal growth that results in unsightly spots and ultimately weakens the plant. If left untreated, the mold can spread quickly, leading to more damage and making it harder to fix, but you can easily address the issue now by removing affected leaves and improving air circulation around the plants.
Step 1 – Cut Back Affected Basil Leaves Promptly
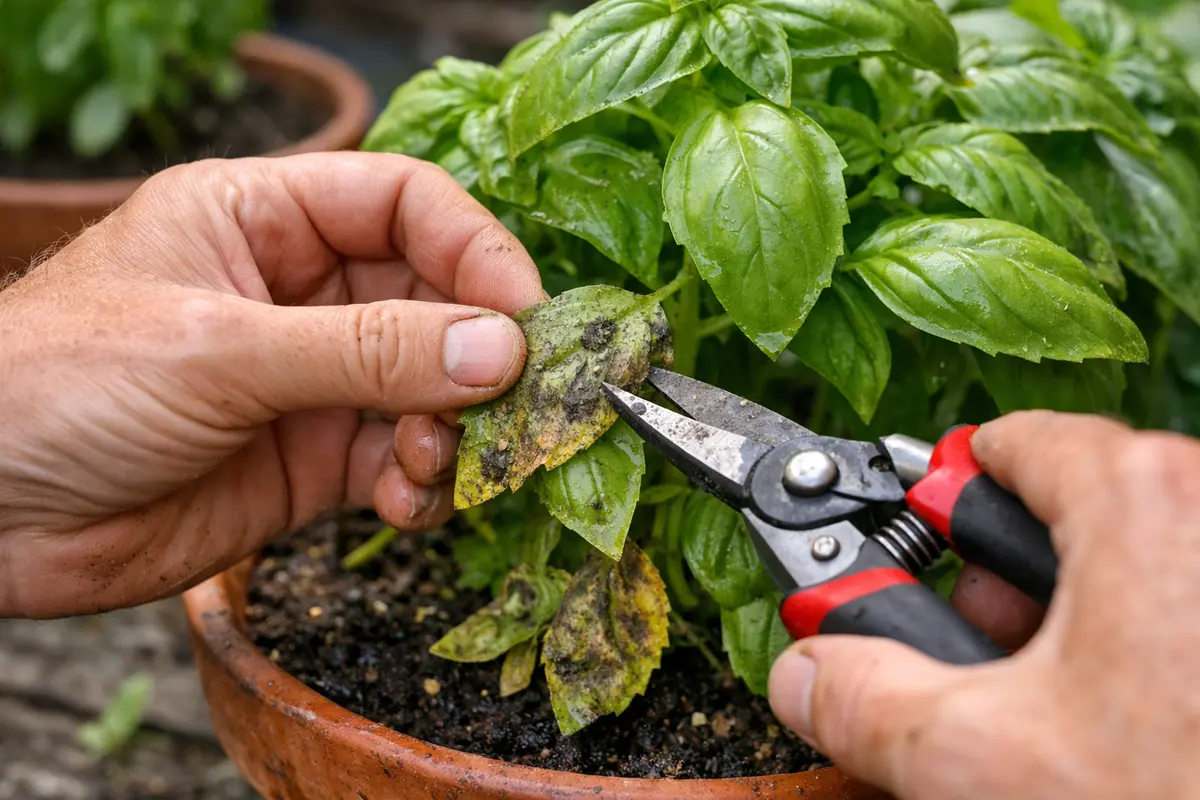
Cut back any visibly infected basil leaves immediately. You will start to see a reduction in mold spread within a few hours, significantly preventing further damage to the plant. Act swiftly to minimize the risk of mold spreading to healthy foliage, jeopardizing the plant’s overall vitality. When you remove affected leaves, look for at least a 50% reduction in visible mold clusters around the cut area, signaling effective intervention that can lead to a healthier plant overall.
Rapid removal of affected foliage is crucial because mold can quickly colonize, leading to significant leaf loss if not addressed swiftly. In humid conditions that often follow rain, basil’s delicate leaves become susceptible to fungal infections, which makes prompt action vital. By cutting away the impacted leaves, you halt the spread and allow the plant to redirect energy toward new growth. If you notice yellowing or wilting in adjacent leaves, this indicates that mold spores may be settling in and you need to monitor closely. A good practice here is to space out your cuts; rather than cutting adjacent leaves in one area, spread out your cuts around the plant to allow for better air circulation and improve recovery rates across the entire basil plant. Additionally, consider using sharp, clean scissors or pruning shears to make clean cuts, as jagged edges can create entry points for further infection.
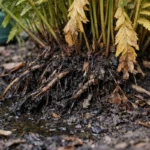
A common mistake at this stage is delaying leaf removal, often because gardeners hope the condition will improve on its own. However, leaving moldy leaves can lead to further problems, including the potential for rot if moisture levels remain high. If visible mold persists despite removal, it may indicate underlying issues such as inadequate drainage or poor soil health. After making the cuts, assess the plant’s overall health over the next few days; if you see no improvement, consider integrating additional steps like boosting air circulation by repositioning your basil in a more open area. Regularly check for signs of new mold growth in the following days, as any missed areas may lead to a return of the issue. In poor drainage conditions, plants may also develop root rot jade in plant.
Step 2 – Diagnose Excess Moisture in Potting Soil
Start by ensuring your basil pots have proper drainage; check that the drainage holes are not blocked and elevate the pots to encourage airflow beneath them. After implementing these changes, you should notice a decrease in moisture retention in the soil and a significant reduction in mold formation on the leaves within a week. If your basil pots are sitting in trays that collect water, empty them immediately to prevent saturating the soil further.
When excess moisture accumulates in the soil, it creates an environment conducive to mold growth, fostering fungal activity that seems to exacerbate itself over time. Healthy basil roots require oxygen and consistent moisture; however, waterlogged conditions deprive them of oxygen, leading to stress and the potential for moldy leaves. For example, if your basil plants are in a pot that retains too much water, with leaves appearing dark or mushy, this indicates a need for immediate corrective action. In contrast, basil plants with adequate drainage usually exhibit vibrant green leaves free from mold, demonstrating their ability to flourish. Check drainage holes regularly to ensure they remain clear and functional, as blockages here can quickly lead to overwatering. In poor drainage conditions, plants may also develop succulent turning mushy heavy rainfall.
If the soil smells sour after rain, this indicates anaerobic conditions that can lead to root rot instead of mere mold growth. In this case, replace the soil with a fresh, well-draining mix, ideally containing materials like perlite or coconut coir to enhance aeration and drainage. Alternatively, if leaves appear yellow and droop while moisture levels seem fine, inspect for pests—such as aphids or spider mites—as a different underlying issue. Also, consider using a moisture meter to be more precise in gauging soil conditions, especially in thick potting mixes. Run a moisture meter 2-4 inches deep into the soil to ascertain if the mix is retaining excessive moisture. A reading higher than 4 indicates an urgent need for adjustment.
Excess moisture leads to poorly oxygenated soil, stressing basil roots and allowing mold to thrive. A common check is inserting a finger into the soil up to the second knuckle; if it feels wet or mucky, immediate intervention is required. If you continue to notice moisture accumulation, conduct a simple check on your drainage holes by allowing your basil to sit without additional water for a day or two; inspect if the drainage works properly afterward. Another effective option is to lift the pot to observe the bottom for signs of water pooling, as this often indicates blockages that need addressing. Assessing soil texture at this step can further help; if it’s compact or clay-heavy, consider repotting your basil into a more porous growing medium to ensure better drainage.
Step 3 – Treat Fungal Infection on Basil Leaves
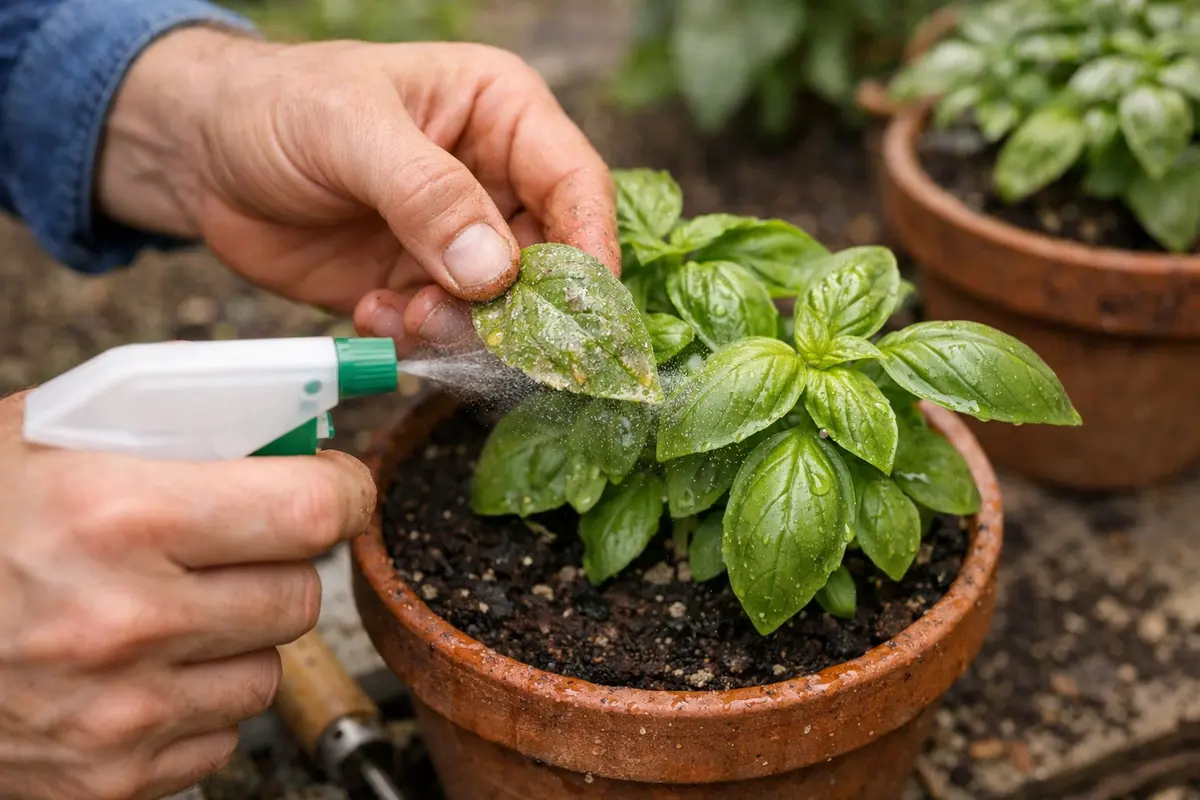
Apply an appropriate fungicidal spray specifically designed for basil to the affected areas. You should begin to notice improvements such as reduced mold presence within a few days as the treatment takes effect. Proper fungicidal treatment is essential in combating further serious infections and encouraging the recovery of green, healthy foliage. With the correct application, you can expect to see clear reductions in visible mold spots, which indicate the treatment is effectively working. Be sure to follow the application instructions, ensuring even coverage on affected areas while avoiding unnecessary overspray on the healthy foliage.
Fungicides work by targeting the cellular structures of fungi, disrupting their ability to flourish. Used early on, these treatments can greatly fortify healthy foliage, allowing damage to heal more effectively. Indicators of progress include less fungal growth on remaining leaves and the appearance of new shoots as the plant stabilizes, usually within a week’s time. When assessing the product label, ensure the fungicide is explicitly safe for food crops to maintain both health and safety; your health and that of your plant matter. For best results, apply fungicide during cooler parts of the day (early morning or late afternoon) to minimize evaporation and ensure better absorption by the leaves.
A crucial mistake during this recovery phase is oversaturating the basil with fungicide; not only can this hinder recovery, but too frequent or concentrated applications can harm the plant or lower its defense to future infections. Always adhere to the dilution and frequency instructions provided on the package. Alternatively, if you observe a recurrence of mold despite treatment, it may be wise to explore a switched product with a different active ingredient that specifically targets the strain affecting your basil. Consistently monitor your basil post-application; if results stagnate or worsen after a week, consider consulting with a local horticulturist for tailored insights. This prevents you from entering a futile cycle of treatment without resolution. Lastly, ensure your spraying equipment is clean to prevent any cross-contamination from previous applications of different chemicals.
Step 4 – Cover Basil Pots During Heavy Rain
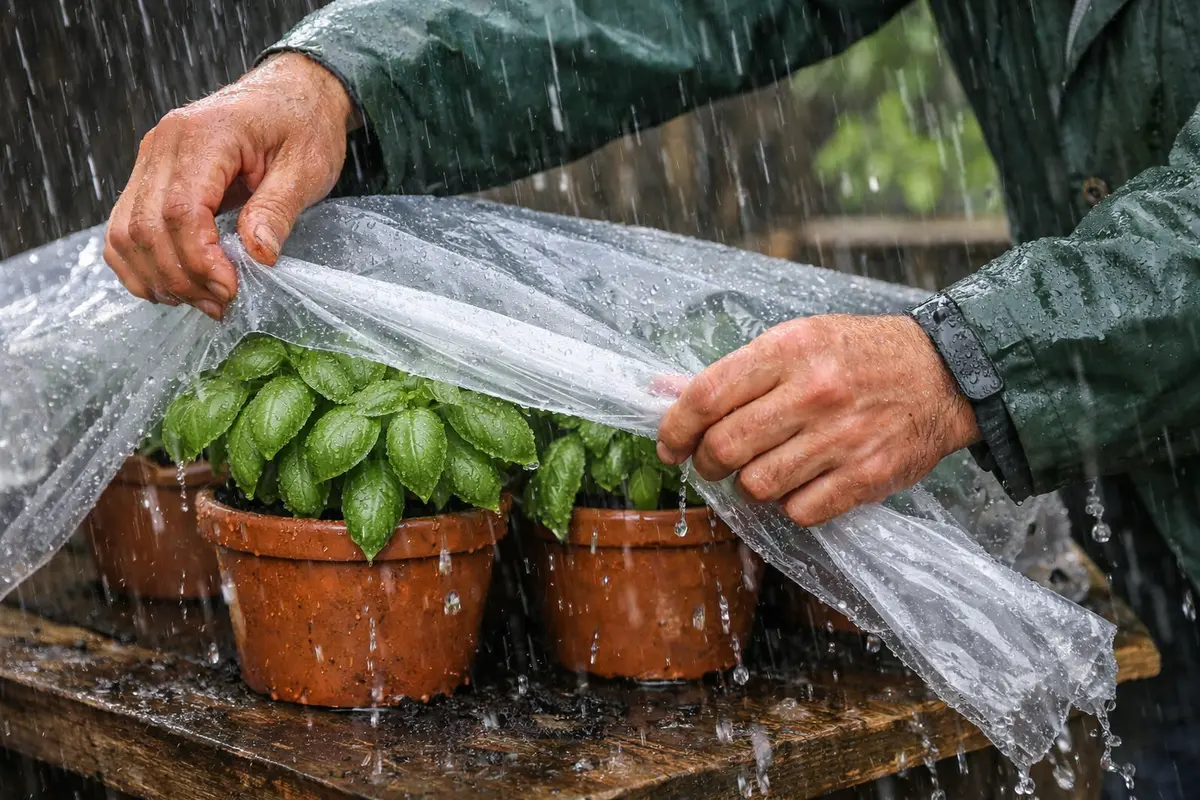
Protect your basil pots with a waterproof cover during heavy rain events. This approach will significantly reduce the amount of excess moisture that reaches the leaves and soil, creating a more stable environment that minimizes mold risk. Observe for improved leaf conditions post-cover; ideally, fewer signs of mold should emerge over the days following rainfall. You’ll notice that with reduced moisture, the chances for rot and fungal development drastically decrease. Make it a practice to check weather reports so you can anticipate rain and act accordingly; planning ahead can be crucial.
Localized rain protection helps control moisture levels around the basil, promoting effective drainage while reducing humidity. Implementing this tactic forms a healthier microclimate for your basil. For instance, clear plastic sheeting can be employed to maintain temperature while protecting against direct rain exposure. Additionally, ensure there are gaps for airflow to prevent stagnation, which can lead to mold problems on its own. If you have limited resources, consider using an inverted trash bin as a makeshift cover; secure it in place to avoid it being blown away.
Check the weather forecast frequently so you can cover your plants preemptively. If severe rainfall is imminent, quickly placing a waterproof tarp or specialized plant cover can save your basil from adverse conditions. Beyond this, repositioning pots under natural overhangs or using portable plant shelters that allow sun exposure while warding off rain can help. Every proactive measure taken boosts the health of your basil plants and sustains their growth potential. If heavy rainfall covers some pots inadvertently, it might be a sign to consider using platforms to elevate them, preventing pooling water around the roots, which exacerbates moisture issues. When creating shelters, ensure materials used allow sufficient light penetration for photosynthesis.
Step 5 – Check Basil Leaves for Mold Return Weekly
Start by checking your basil plants every few days after the rain, focusing on the underside of leaves and the soil surface. Observe for moldy spots or white flour-like growth, which indicates a problem, or healthy, vibrant green leaves that signify recovery. If you notice any signs of mold returning, increase your checks to every two days until the issue is resolved.
A fully recovered basil plant displays lush, unblemished green leaves with a smooth texture, free from any discoloration or mold. In contrast, early signs of the problem returning may include fuzzy patches on the leaf undersides or a droopy texture in the leaves, indicating stress. If you see yellowing at the leaf edges, check the moisture level in the soil; if it is too moist, adjust your watering schedule.
If the mold problem returns despite following preventive measures, take immediate action by misting the affected areas with a diluted baking soda solution to combat the mold. Additionally, consider relocating the pots to a sunnier area to enhance air circulation. If the issue persists, you may need to replace the top layer of soil to remove any spores and prevent further growth.
A fully recovered basil plant will showcase vivid green leaves free from discoloration or mold patches. Newly developed shoots signal that energy is being successfully redirected toward recovery. Conversely, early indicators of mold resurgence include yellowing leaves, musty odors, or visible patches, which indicate a return of the issue. Be sure to check the undersides of leaves, where mold often enjoys shadier conditions, making it easier to avoid early detection. Maintain a record of your checks, noting visible progress, mold occurrences, or even environmental changes that could affect growth.
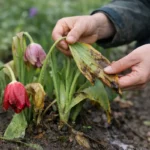
If you observe persistent mold despite following all preventive steps, reconsider your drainage solutions or amend your watering techniques. If the leaves remain excessively soggy even after a dry day, a continued moisture retention issue is likely present in your potting mix. This condition may call for experimenting with different soil mixtures or potting solutions that permit better aeration and drainage. Consistently tracking observations and treatments can also help identify trends leading to improved plant health or emerging setbacks. Additionally, consider increasing airflow around the plant by rearranging nearby pots or using a fan in a controlled environment. In poor drainage conditions, plants may also develop wilting tulips after prolonged rain.
FAQ
How long does it take for mold to spread on basil leaves?
Mold can spread quickly, often within 24 to 48 hours, especially in humid conditions after rain. The sooner you take action by removing affected leaves and adjusting environmental factors, the better chance you have to contain the spread. Noticing any changes within a day can alert you to the effectiveness of your care measures.
Can mold on basil leaves spread to other plants?
Yes, mold can spread to nearby plants if proper care is not taken. Ensuring good air circulation, spacing your plants adequately, and prompt action on early signs of mold will help prevent cross-contamination. Observing your plants regularly can help you catch potential threats early and address them effectively.
Should I remove all affected parts of the basil plant?
Yes, it is advisable to remove all visibly affected leaves promptly to minimize the spread of mold. Furthermore, removing unhealthy parts encourages the plant to focus its energy on thriving foliage, ultimately promoting better overall growth and health. Strive to regularly check adjoining stems and develop a routine of clearing any other nearby growth that looks unhealthy.