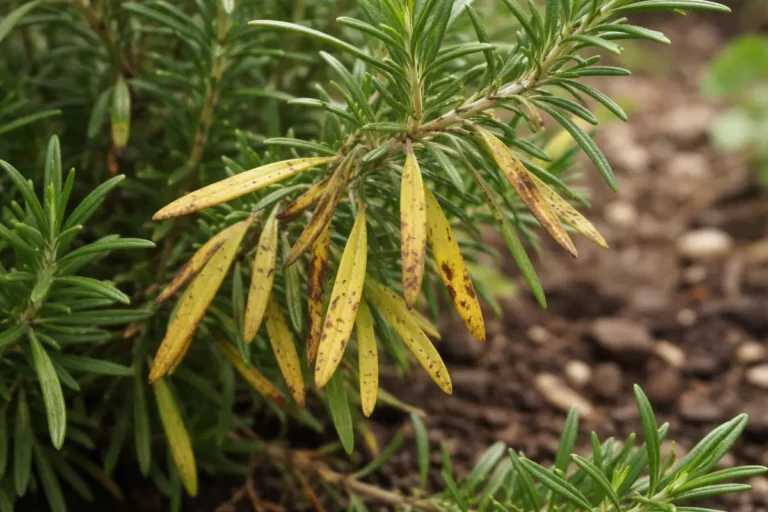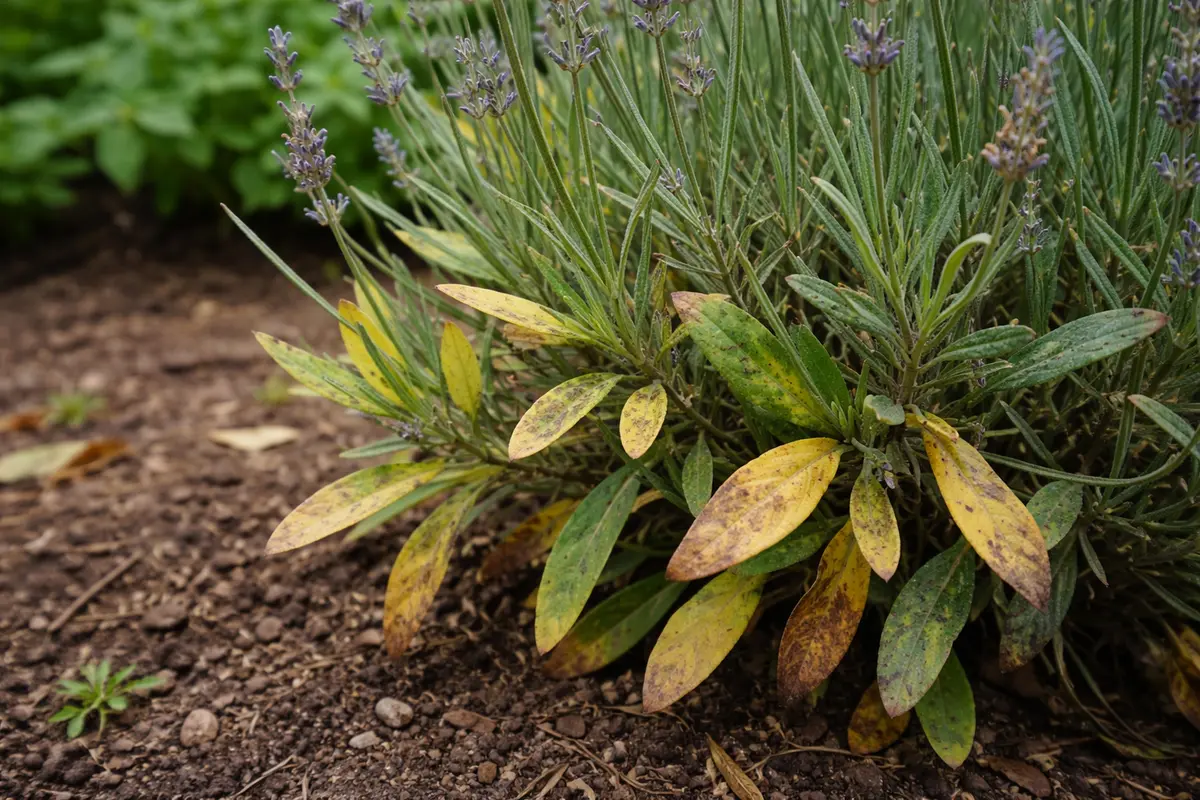
You may notice that your lavender plants are showing signs of trouble when the heat of summer sets in, which is why you need to know why are my lavender leaves turning yellow in summer. This yellowing of the leaves can indicate stress from overwatering, nutrient deficiencies, or poor drainage, causing significant damage if left unchecked. Ignoring this issue can worsen the situation and weaken the plant, making recovery harder, but you can still fix it by inspecting the soil, adjusting your watering routine, and monitoring the overall health of your lavender.
Step 1 – Inspect Lavender Leaves for Signs of Stress
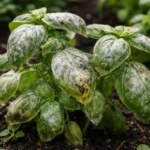
Inspect the lavender plants carefully for signs of environmental stress or pest damage. You should see the overall condition of the leaves, noticing whether they appear limp, brittle, or have visible spots within minutes. Start by examining the foliage closely, looking for discoloration, wilting, or any pest activity. If the leaves feel excessively soft or show signs of decay, they may need immediate attention.
Checking the leaves closely is crucial because early detection of problems like pest infestations or excessive moisture can halt further damage. For instance, aphids can sap the vitality of your lavender, causing leaves to turn yellow and curl. If the stressors are not identified quickly, the impact on overall plant health could be significant, possibly leading to root and stem deterioration. If you notice the undersides of the leaves are sticky, this could indicate a pest issue, requiring prompt action. In some cases, such as spider mites, fine webbing may be seen, which is a sign that treatment must begin immediately to restore health.
A common mistake is to neglect water drainage or soil conditions while focusing only on the leaves. For example, if you mistook yellowing foliage from poor drainage for a need for more water, you may inadvertently exacerbate root rot, worsening the plant’s condition. This commonly happens during rainy seasons when drainage is poor. Using the right balance of moisture is critical, particularly for lavender, which thrives in well-draining soil. To avoid this mistake, evaluate your watering schedule closely and consider the weather trends for the week. Specifically, if recent heavy rains have saturated the soil, adjust your watering accordingly or opt for a rain gauge to track accumulated precipitation.
Step 2 – Diagnose Nutrient Deficiency in Lavender
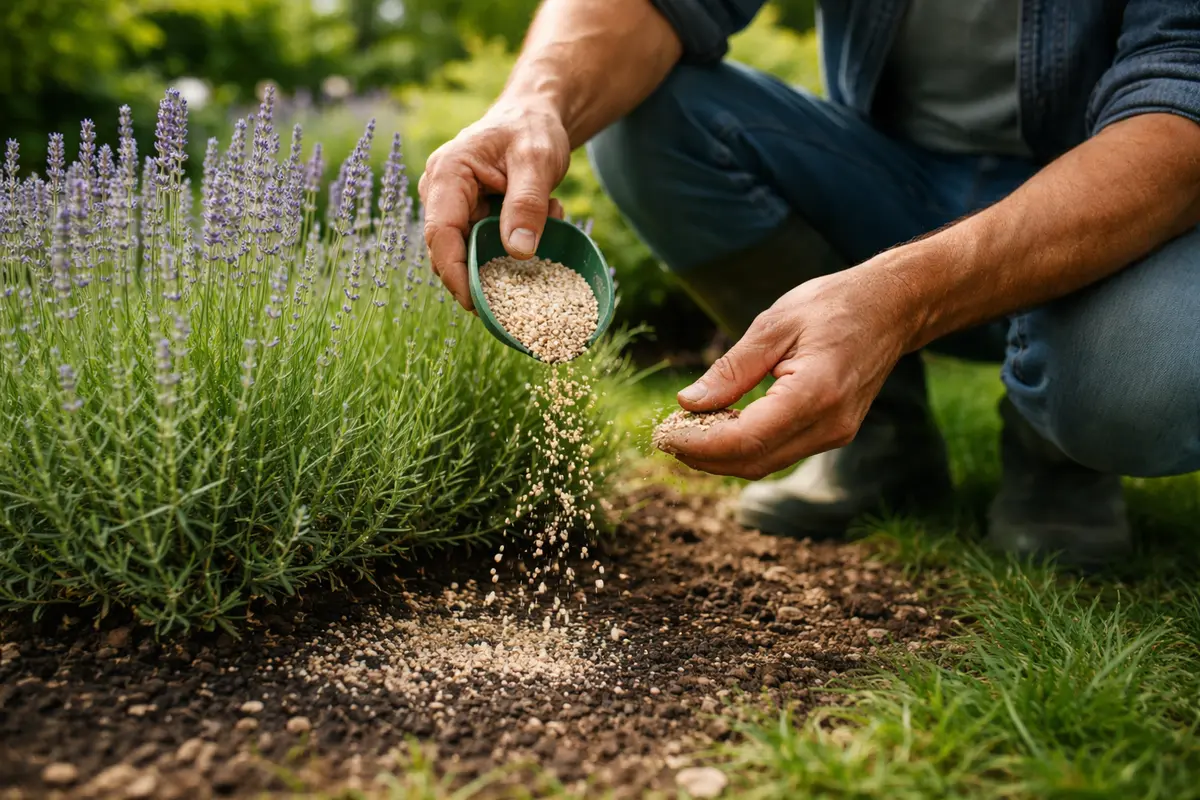
Assess the soil and nutrient levels by conducting a soil test or examining the top few inches. You should observe whether the soil feels compacted or looks depleted of organic material; this will indicate a nutrient deficiency or imbalance. Following this, add a balanced, slow-releasing organic fertilizer tailored for herbs and flowers, according to package directions. Ideally, you want to apply this fertilizer in early spring, ensuring the plants have what they need as they emerge from dormancy.
Nutrient deficiencies can prevent the plant from absorbing the required minerals necessary for vibrant foliage, often resulting in yellow leaves. Lavender specifically thrives in nutrient-rich, well-draining soils. If key nutrients, particularly nitrogen, magnesium, or potassium, are insufficient, the plant will show visible signs of stress, such as yellowing of older leaves and stunted growth. If your test indicates low nitrogen, supplemented fertilization can be directly beneficial to reviving yellowing foliage. However, if potassium is the lacking element, it may lead to poor flowering and further stress, necessitating targeted amendments.
If your soil test revealed high phosphorus but low nitrogen, focus on a fertilizer with a balanced macro-nutrient profile. Conversely, if the soil smells sour, indicating anaerobic conditions, adjust your watering schedule to allow for better drainage to avoid further problems. The soil’s texture and moisture retention can drastically affect root health. If you notice a clay-like texture or poor drainage capability, consider amending the soil with organic matter to enhance aeration and nutrient absorption, which can help re-establish the necessary pH balance for lavender. If available, consider using worm castings or compost to enrich the soil, both of which enhance microbial activity to improve nutrient uptake.
Step 3 – Water Lavender Deeply to Revive Leaves
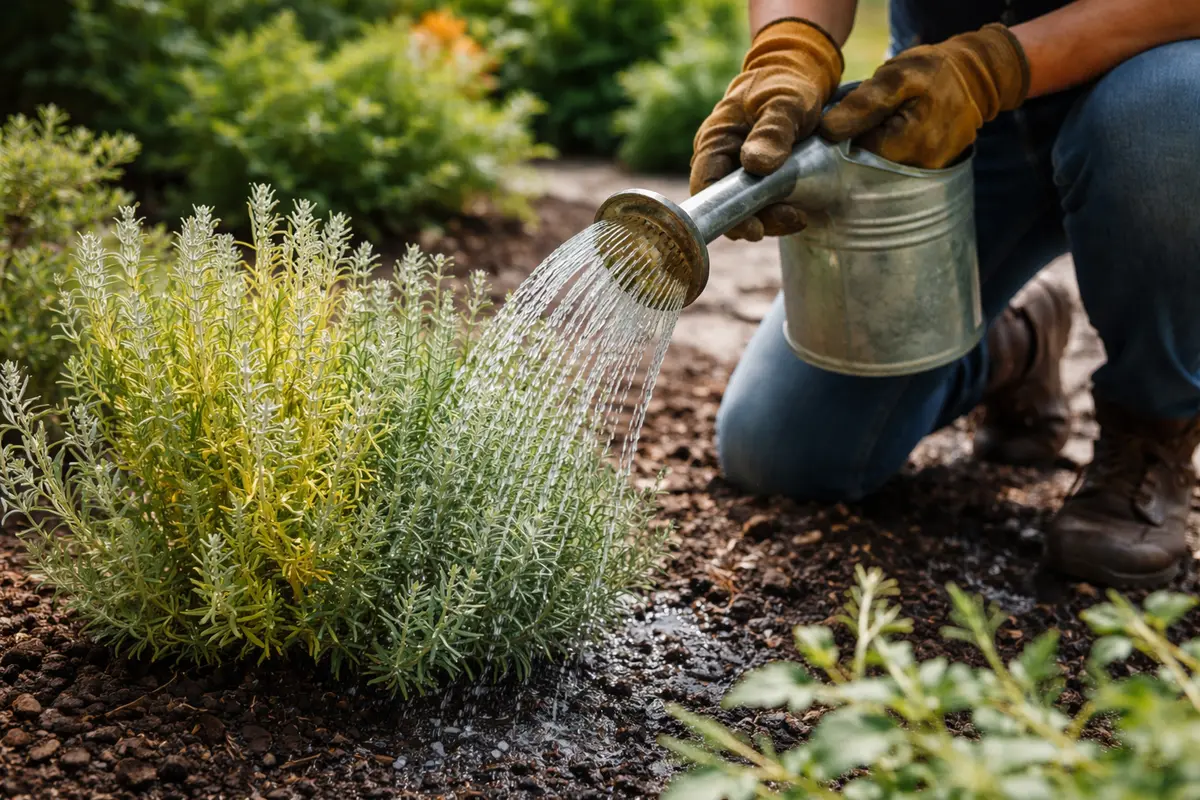
Water your lavender deeply and thoroughly until the soil is saturated up to 6 inches below the surface. After this, you should expect the leaves’ firmness to return within a few hours, indicating the plant is absorbing water effectively again. Keep a close watch over your watering habits, adjusting them based on recent rainfall or high temperatures to maintain consistent moisture without over-saturating the soil. Regular monitoring of soil moisture levels will inform you when to water again. Using a soil moisture meter can provide precise feedback on the moisture content and help avoid guessing.
This deep watering method encourages root development and allows the plant to draw moisture more effectively. When lavender experiences drought stress, water uptake diminishes, causing yellowing due to cellular desiccation. By saturating the soil, you’re enabling roots to access the water they require for nutrient transport, which can lead to observable improvement in the foliage. In hot summer months, monitoring soil moisture helps prevent wilting and yellowing stems. If you notice that the top soil dries out quickly despite deep watering, this could mean a more severe underlying issue. If leaves seem to be wilting even after watering, investigate possible root diseases that could inhibit moisture uptake.
However, avoid the impulse to overwater after a dry spell — this can lead to root rot and further yellowing of leaves. If the soil remains soggy days after watering, reassess your drainage situation, possibly switching to raised beds to improve water flow. For mature lavender plants, waiting until the topsoil feels dry to the touch before watering again can prevent such issues. Noticing new growth within a week after this critical watering phase indicates that recovery is on track while the yellowing symptoms subside. Conversely, if no improvement occurs after one week, consider reevaluating the soil composition and drainage setup to prevent long-term damage.
Step 4 – Fertilize Lavender to Prevent Yellowing
Apply a slow-release organic fertilizer specifically designed for herbs and flowers at the beginning of the growing season. You should see healthier, greener foliage as the nutrients take effect, preventing future yellowing. Consistent fertilization will help maintain the essential nutrients needed for optimal lavender health. The visual improvement in leaf color can be observed in a matter of weeks following fertilization. Ideally, applying a second round of fertilizer in mid-summer can support ongoing growth when the plant is actively developing.
Regular fertilization aids in reinvigorating the soil with the macro and micronutrients essential for lavender. Nutrient-rich soil strengthens the plant’s defenses against environmental factors and pests, preventing symptoms like yellowing leaves. A consistent feeding regimen will reduce the likelihood of recurring deficiencies that manifest in physical stress indicators. Make it a point to apply a balanced fertilizer in the spring just as new growth starts to emerge. If you notice rapid growth yet persistent yellowing, this could signal a specific micronutrient deficiency, requiring tailored adjustments to your fertilization routine. Specialized fertilizers with trace elements like iron or manganese may be beneficial if symptoms persist despite a balanced approach.
Consider adjusting your fertilization routine depending on seasonal changes; for example, during intense summer heat, your lavender may require more frequent feeding to counteract stress. If you happen to notice nutrient deficiencies manifesting in yellowing during peak temperatures, reassessing your feeding routine becomes essential. Additionally, including a layer of organic mulch can help retain moisture and further complement nutrient availability during hotter months. This layered approach not only combats yellowing effectively but also promotes a robust growth environment by reducing root competition from weeds. Weeds can compete for the same nutrient and moisture resources, making mulching a wise preventive strategy.
Step 5 – Check Lavender Leaves for New Yellowing Weekly
Start by closely monitoring your lavender plants for signs of stress, particularly checking the soil moisture levels and drainage. Look for yellowing leaves, which indicate potential overwatering or nutrient deficiencies; the plant should also feel firm rather than mushy. Recheck these conditions every few days to determine if adjustments are alleviating the yellowing. Keeping a gardening log can help track weekly observations and improvements effectively.
A fully recovered lavender plant will showcase vibrant green leaves with a slight silvery sheen and a beautiful, fragrant bloom. In contrast, early signs of the problem returning may include the reappearance of yellowed, droopy leaves that lose their usual luster. If the leaves feel brittle to the touch, investigate further; healthy lavender should have a supple texture that retains moisture well. Notably, if drooping occurs even with adequate watering, this could be a sign of root problems such as root rot, alarming enough to require immediate investigation.
If the yellowing persists despite following the corrective measures, consider adjusting your watering schedule or assessing the soil for compaction or poor drainage. Additionally, if you suspect a nutrient deficiency, apply a balanced fertilizer specifically formulated for flowering plants. If improved conditions do not result in recovery, escalating to a soil test may be necessary to identify underlying issues. Observe the health of neighboring plants as well; if they display similar yellowing, this may indicate a broader issue affecting your garden.
Monitoring closely will help establish what healthy recovery looks like compared to early signs of trouble returning. Healthy lavender should display vibrant green foliage, while signs of stress such as yellowing or wilting may signal that adjustments are still needed. This pattern often emerges if your treatments aren’t sufficient or require modification. Observing the plant’s recovery progression will help clarify how effective your intervention strategies have been and guide your next steps. Documenting these changes helps track which approaches yield the best results over time.
If yellowing appears again despite your efforts, reassess the watering habits and nutrient levels promptly. Shifts in moisture retention or sudden overcrowding can also agitate recovery processes. If the problem persists after monitoring, consider consulting with a local agricultural extension expert to determine the best course of action to remedy persistent yellowing. Additionally, keeping track of weather conditions and plant growth patterns can provide insights into preventing future occurrences. This strategy allows for proactive measures to avert potential stressors that may disrupt optimal plant health.
FAQ
How long does it take for lavender to recover from yellowing leaves?
Recovery time for lavender can vary depending on the extent of the damage and the interventions applied. Typically, you can begin to see improvement within a week to two weeks after proper watering and fertilization if conditions are favorable. However, for severely distressed plants, it may take longer for full recovery. If you do not see any changes within two weeks, consider revisiting your care regimen for further adjustments.
Can overwatering cause lavender leaves to turn yellow?
Yes, overwatering can lead to root rot, which prevents the plant from absorbing necessary nutrients and causes the leaves to yellow. Symptoms often start with yellowing at the base of the plant, followed by drooping stems. If your lavender is showing signs of yellowing, check the soil moisture levels before watering again. Testing the soil with your finger can provide immediate feedback on moisture levels — if it feels moist an inch below the surface, it’s best to hold off on watering.
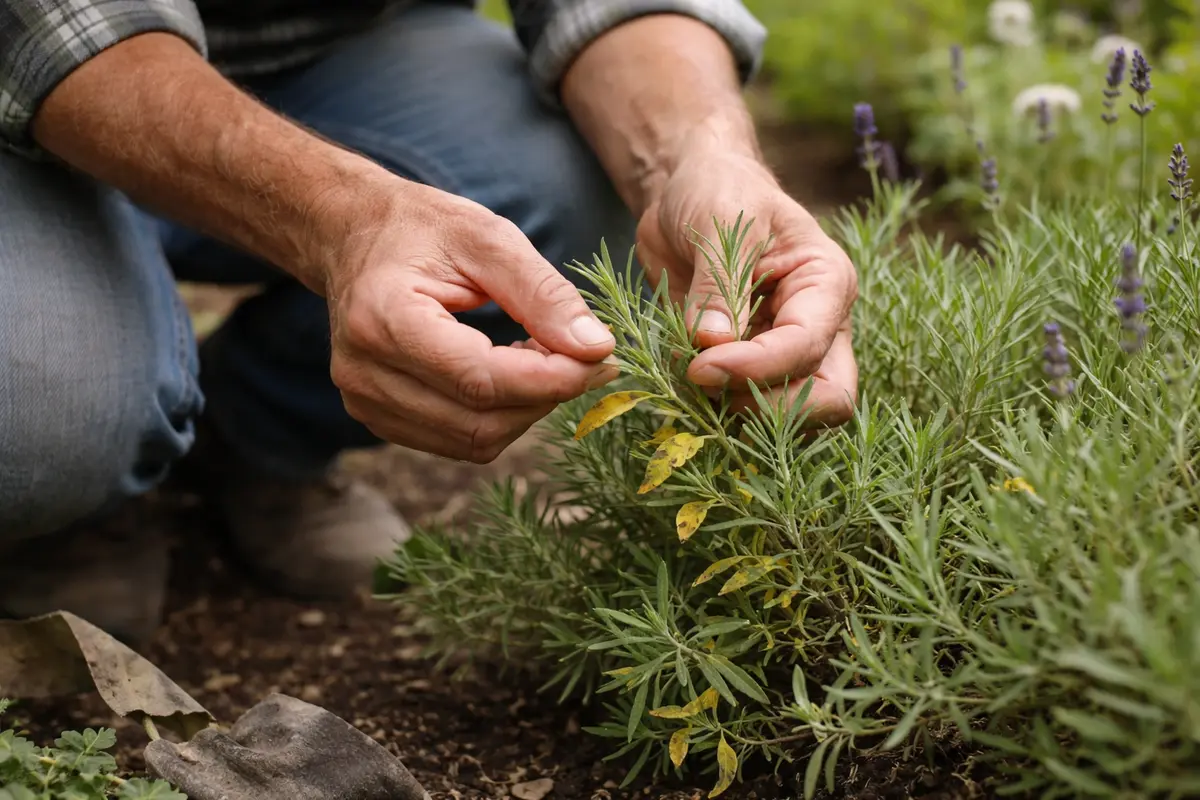
Will my lavender recover if I cut off the yellow leaves?
Yes, trimming off the yellow leaves can help redirect the plant’s energy toward new growth. However, ensure you address the underlying causes of yellowing to prevent future occurrences. Regularly pruning can also promote better air circulation, which is beneficial for plant health. When cutting yellow leaves, make sure to use clean shears to prevent introducing any pathogens to the plant.