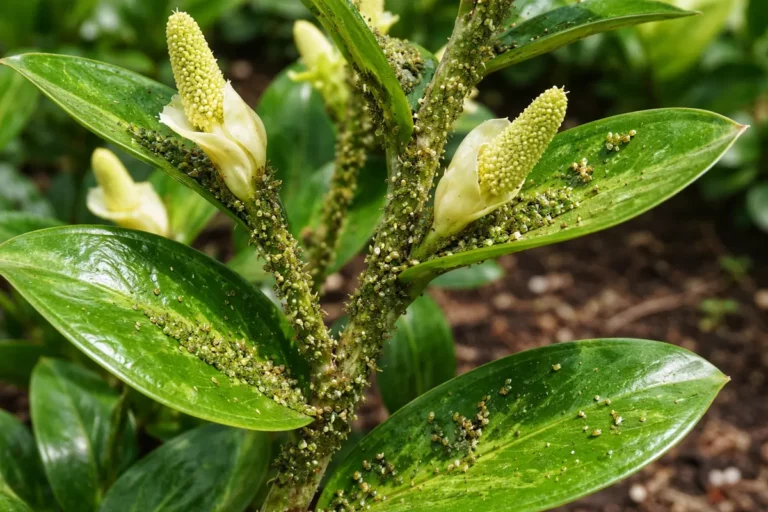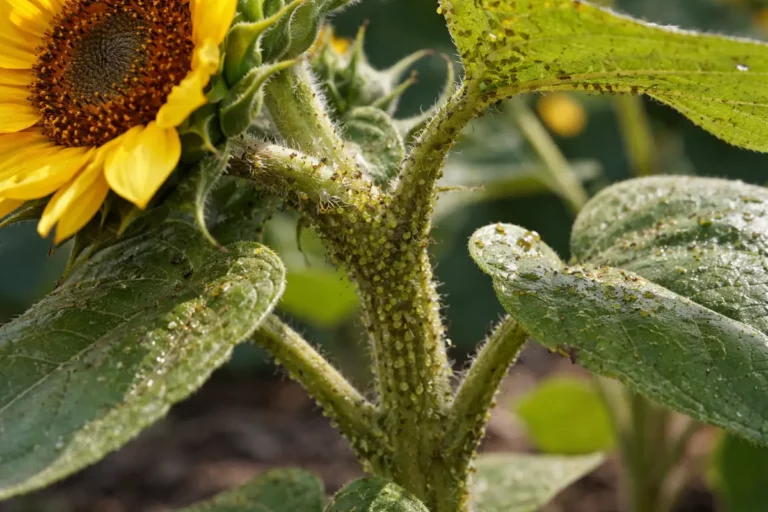
You may notice tiny green bugs clustering on your marigolds during flowering, a clear sign that you need to know how to prevent aphids on marigolds during flowering. These pests suck the sap from the plants, leading to yellowing leaves and wilting blooms, which can quickly lead to more severe damage. If left untreated, the infestation not only gets worse but can weaken the plant, making it harder to fix later on; however, you can address the issue now by checking regularly, trimming affected areas, and monitoring for new aphids.
Step 1 – Spray Marigolds with Soapy Water Immediately
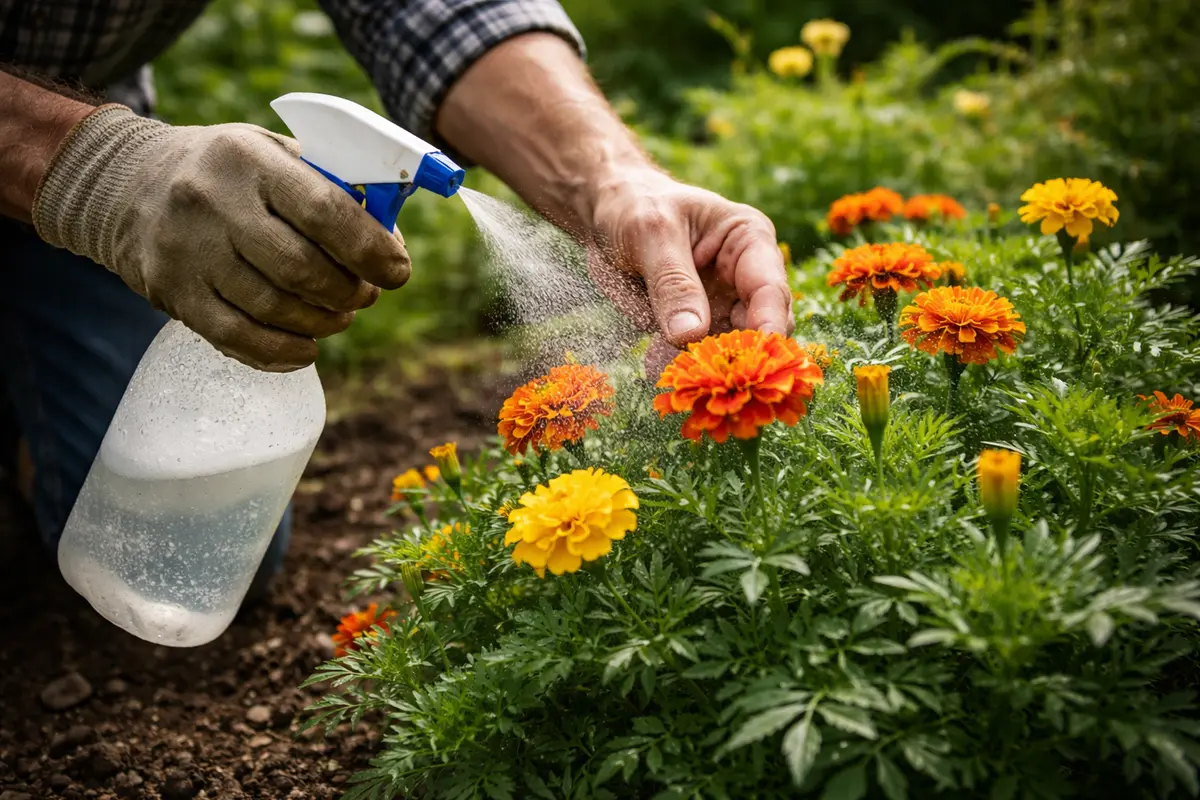
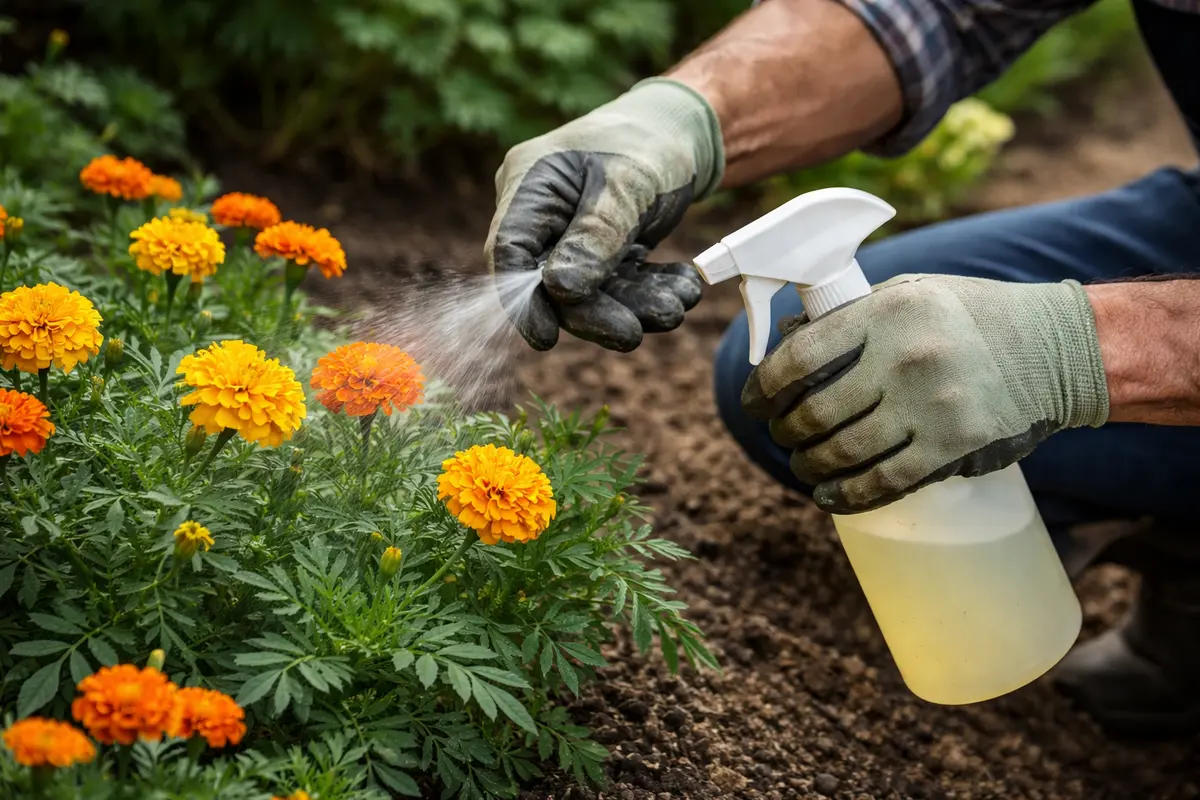
Spray your marigolds with a mixture of water and mild soap to remove aphids quickly. Begin with a solution of 1 tablespoon of mild liquid soap mixed in 1 quart of water, applying it generously to both the upper and undersides of the leaves. You should see a reduction in aphid presence within a few hours, as many of them will begin to die off or dislodge from the plants. Effective application requires ensuring every leaf surface is thoroughly coated, as this maximizes the contact with aphids, leading to better results.
Using soapy water works because the soap disrupts the aphids’ exoskeleton, suffocating them. Additionally, the soap prevents them from reattaching to the plant, which is crucial since maintaining the plant’s health during flowering is essential; aphids can also cause the flowers to drop prematurely. Many gardeners may overlook this immediate step, leading to deeper infestations that can be tough to manage later; once established, aphids can double their population within a week, exacerbating the damage. If aphids go unchecked, the infestation can grow from a handful to hundreds in no time, drastically affecting flowering. After applying your soapy water, monitor your plants closely. If you notice new growth with curled leaves or sticky residue reappearing within a few days, you may need to retreat sooner rather than later.
Be cautious not to use dish soaps that contain degreasers or harsh chemicals, as these can harm your marigolds. Use a gentle soap that is safe for plants; brands specifically designed for insecticidal purposes are ideal. If you find that the aphids are still numerous after your initial spray, consider testing a stronger insecticidal soap solution at a 2% concentration to increase effectiveness. Paying attention to the number of pests remaining after the first treatment is key; if they persist, reapply within 3-5 days to avoid them forming new colonies. Waiting too long can allow them to establish a more significant presence, making recovery more difficult and requiring additional treatments. Catching the problem early often means fewer pests and less stress on your marigolds, leading to a more vibrant flowering period.
Step 2 – Diagnose Aphid Infestation on Marigolds
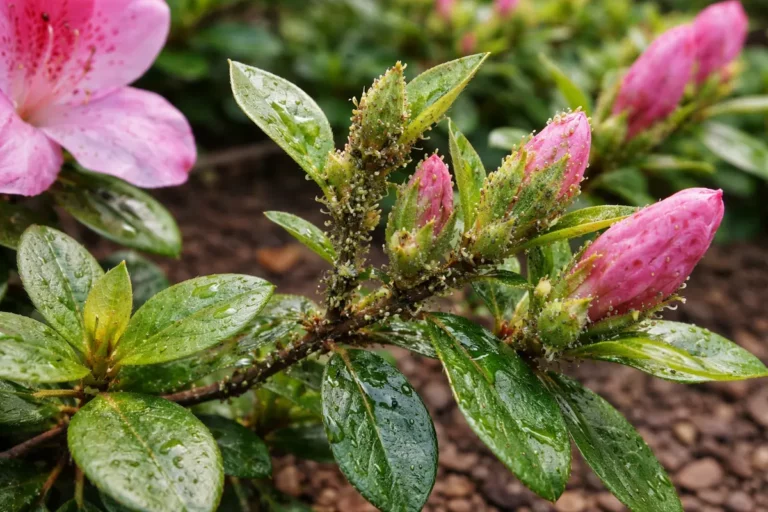
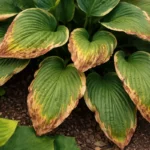
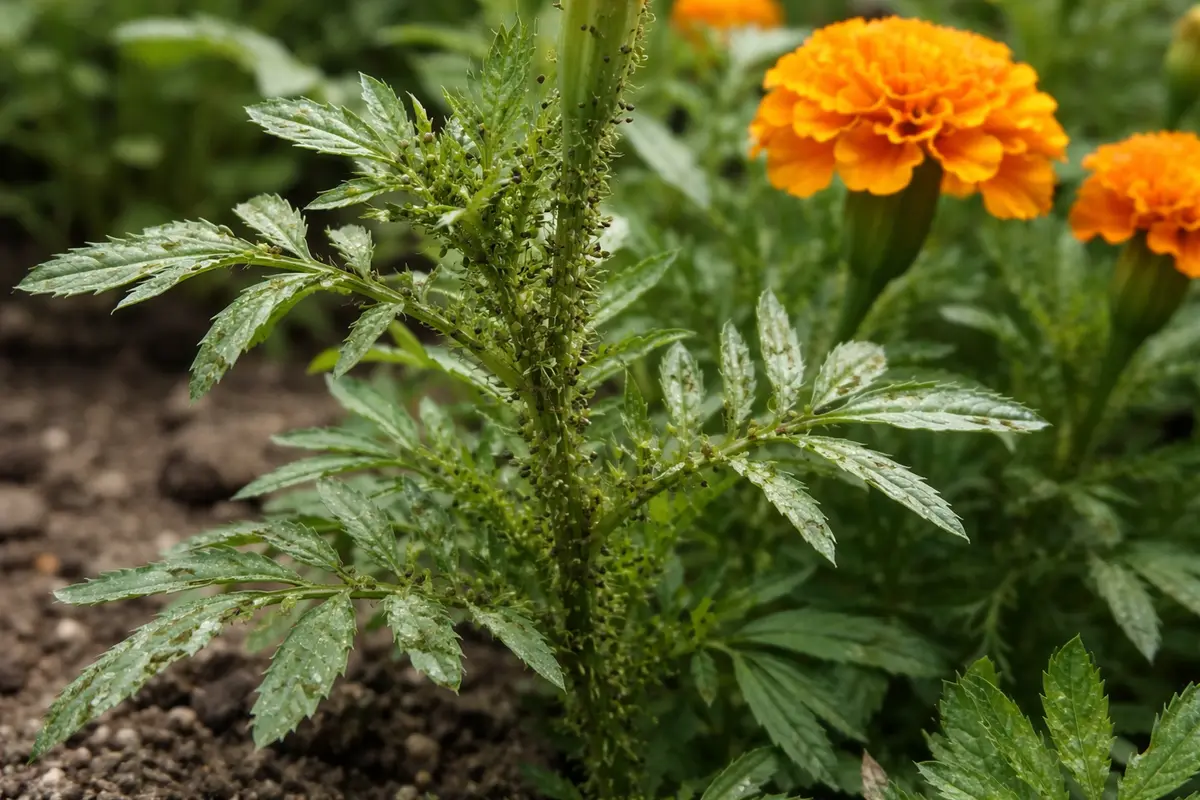
Inspect the undersides of the marigold leaves for visible aphid activity and signs of damage. You should observe pale, curled leaves and possibly sticky residue on the leaves from honeydew secreted by the aphids, which is both a sign of their feeding and an attractant for other pests like fungus gnats. Recognizing these visible impacts early can help in formulating an effective response to the infestation. If you notice the presence of ants actively tending to the aphids, it’s an indicator that not only are the aphids feeding but they are also being protected, which can result in a rapidly escalating problem.
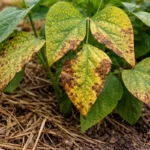
Understanding how aphids affect plants is vital for addressing the infestation effectively. Marigolds, like many flowering plants, suffer when aphids feed on their sap, leading to characteristic leaf curling and yellowing. This sap loss hinders their ability to grow properly and flower vibrantly, which is crucial during their blooming period. Once the plants are stressed, they also become more susceptible to diseases, further complicating their care. If noticed promptly, you can apply countermeasures before long-term damage occurs, such as wilting or loss of flowering capacity. If left undiagnosed, your marigolds may end up showing slower growth or even dying branches as the infestation potentially overwhelms the plant, creating a loss that could have been avoided.
If you also notice the presence of ants accompanying the aphids, be proactive in managing them as well; ants often protect aphids in exchange for their honeydew. Adjusting your approach to include ant management can help reinforce your strategy against aphids. If the infestation seems extensive, consider introducing natural predators like ladybugs or lacewings, which can help restore balance in your garden’s ecosystem. This practice can be particularly effective as ladybugs can consume up to 50 aphids per day. Relying solely on plants without checking for deeper issues can delay your progress in controlling aphids and lead to repeated infestations. Regular checks can help ensure that any returning populations are immediately addressed, ideally before they reach infestation levels.
Step 3 – Fertilize Marigolds to Aid Recovery
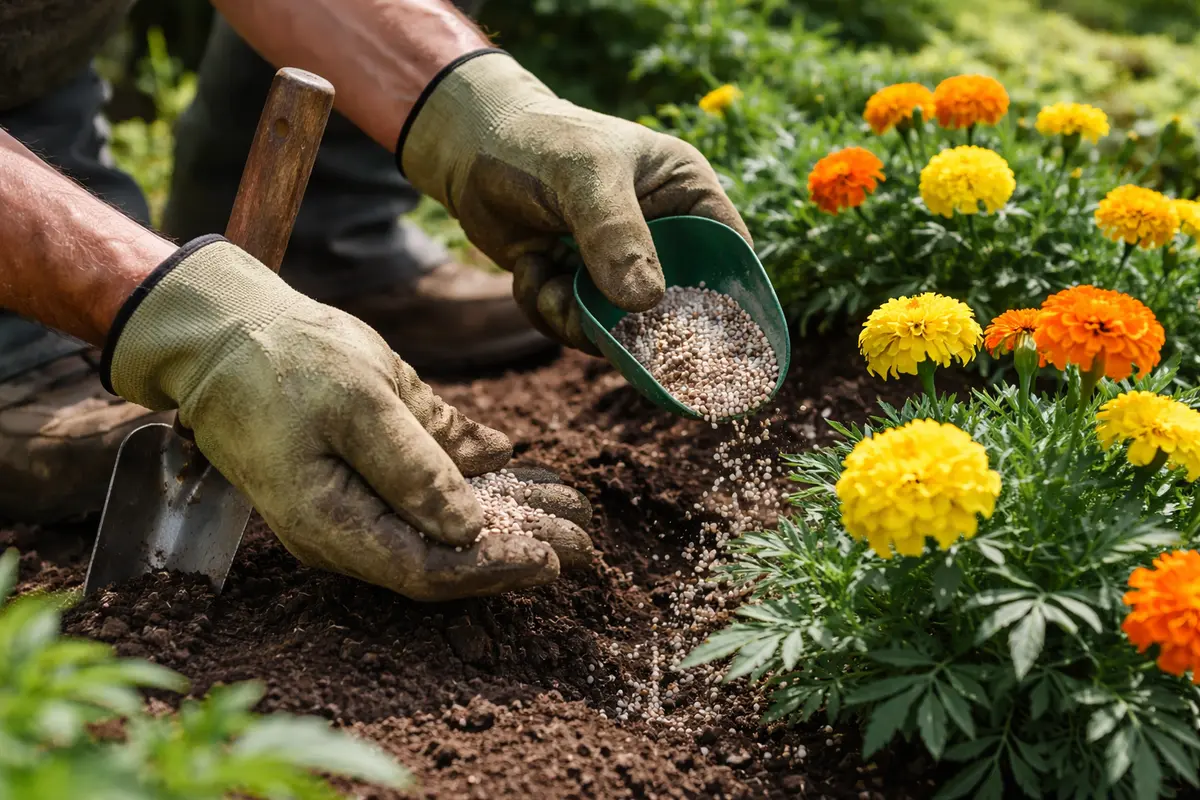
Apply a balanced, water-soluble fertilizer to your marigolds, following the manufacturer’s directions—typically a dilution of 1 tablespoon per gallon of water every two weeks. This supports their recovery after the aphid removal process. Over the next week, you should see new, healthy growth emerge, indicating the plants are bouncing back and regaining vigor. Monitoring new leaf development is a good indicator; healthy growth should appear green and strong rather than yellow or weak. If new leaves show signs of further damage, such as browning tips or wilting, it’s a sign your marigolds are still struggling to overcome the stress.
Fertilizing is crucial because your marigolds may have been under stress from the sap loss, weakening them during their flowering stage. A nutrient boost helps rebuild tissue damaged by aphids and ensures vibrant flowers. Over-fertilization, however, can lead to salt buildup in the soil, which stresses the plants further, leading to burned leaf edges and slowed growth. Therefore, check the soil moisture and look for signs of nutrient toxicity, such as yellowing or browning leaf tips. Sudden changes in leaf coloration can signal over-fertilization or improper nutrient balance. If you see signs of salt damage, flushing the soil with extra water can help remove some of that buildup, but it’s best to monitor fertilizer usage to avoid such issues.
Excessive fertilization can negatively impact your marigolds’ health, so be cautious and follow a regular interval schedule. If you notice that the new growth appears spindly, discolored, or develops black tips, you must adjust your fertilization schedule or ratio. Tweaking the formula to a lower strength can help bring back balance sustainably. It is easy to assume “more is better,” but too much can stunt growth instead of promoting it, creating an environment conducive to aphids due to weakened plants. Understanding what balance your flowers need encourages not just recovery but long-term vibrancy during their growth and flowering stages.
Step 4 – Apply Neem Oil to Prevent Future Aphid Attacks
Apply neem oil to your marigolds as a preventative measure against future aphid infestations. Use a mixture of 2 teaspoons of neem oil per quart of water, applying it using a spray bottle, ensuring good coverage on leaves and stems. This treatment will create a protective barrier against pests and will help maintain healthy flower growth. A thorough application typically leads to reduced pest activity observable within just a few days. Frequent monitoring for traces of aphids after application can help assess its effectiveness.
Neem oil disrupts aphid reproduction and feeding by interfering with their hormone systems, ultimately helping safeguard your plants from future assaults. Regularly applying neem oil, especially during the peak growing and flowering seasons, can significantly reduce the likelihood of pests. Focus on applying the oil in the early evening or morning to avoid burning the plants in direct sunlight, which can often catch gardeners off guard. Using neem oil at temperatures above 90°F may harm the plant leaves; therefore, timing can be everything. Avoid applying neem oil right before rain, as it can wash away the protective layer you’ve established. If rain is expected soon after your application, plan to reapply afterwards to maintain that barrier.
During different weather conditions, such as high humidity or when temperatures rise significantly, pests can become more aggressive, making routine preventive applications even more crucial. If you experience heavy rain soon after application, consider serving a second dose shortly thereafter to reestablish protection. Regular applications every 3-4 weeks during high pest pressure periods can encourage resilience in your marigolds, while neglecting this routine could leave your plants susceptible to infestations during sensitive growth periods. If you notice sudden spikes in pest levels after applying neem oil, consider adjusting your dosage or frequency based on observed plant response.
Step 5 – Inspect Marigold Leaves for Aphids Weekly
Monitor your marigolds by checking them every few days during flowering for aphids, especially on new growth and flower buds. Observe the underside of leaves and flower stems, where aphids commonly hide, looking for clusters of small, soft-bodied insects, a sticky residue (honeydew), or discolored leaves. Recheck regularly as these signs can develop or worsen rapidly in warm weather.
A fully recovered marigold will display vibrant green leaves and abundant flowering, with no visible insects or yellowing foliage. In contrast, early signs of a returning aphid problem include curled leaves and sticky surfaces marked by honeydew, which can attract sooty mold. If you see wilting or distorted new leaves, check for small green or black insects clustered on tender shoots.
If aphids return despite your monitoring and previous controls, apply a strong jet of water to dislodge them, or introduce beneficial insects like ladybugs that naturally prey on aphids. When the infestation is severe, consider using insecticidal soap or neem oil as a more aggressive treatment to protect your marigolds.
A fully recovered marigold will display vibrant colors, firm foliage, and no signs of aphids or leaf damage. Regular inspections should focus on the undersides of leaves and the leaf petioles, where aphids tend to gather and reproduce most often. If you still see signs of aphids returning despite initial efforts, increase the frequency of spraying with soapy water or reapply neem oil to fortify your efforts. This proactive approach should ensure that any small populations are dealt with before they become serious issues. Drawing attention to any changes in leaf appearance can give you valuable insights into the current pest situation, guiding your immediate actions.
Watch out for any new clusters forming rapidly; this usually signals a lack of effective control measures in the past. If patches of vigorous growth emerge suddenly but show signs of wilting, it could indicate a secondary infestation that needs immediate attention. Early detection can result in easier treatments, potentially saving weeks of recovery time, which allows you to maintain the beauty of your marigolds without extended periods of stress or damage. Acknowledging that marigolds require close monitoring, particularly during high pest seasons, ensures that you are adapting your strategies quickly to evolving conditions.
FAQ
How long does it take for aphid-infested marigolds to recover?
The recovery time for aphid-infested marigolds generally takes 1-3 weeks, depending on the severity of the infestation and the care given afterward. Providing proper nutrients and minimizing pest stress will accelerate growth and flowering, allowing your plants to bounce back more robustly. If aphids remain unchecked during recovery, however, this timeline could extend significantly.
Can aphids spread between different plants in the garden?
Aphids can indeed spread to different plants, especially those in close proximity, as they are capable of flying short distances. Regular monitoring and treatment are essential to prevent cross-infestation among your garden flowers, enabling you to maintain a healthy ecosystem. Furthermore, wind can also carry them, especially when you have neighboring susceptible plants. Increased vigilance is necessary during flowering seasons to ensure aphids don’t compromise multiple plants.
Should I remove aphid-infested leaves from my marigolds?
Yes, removing heavily infested leaves can help reduce the overall population of aphids and prevent the spread to other areas of the plant. However, make sure to discard these leaves away from your garden to stop potential re-infestation, as leaving them nearby can create favorable conditions for aphids to return. Dispose of them in a sealed bag or burn them to prevent any remaining eggs from hatching in your garden. Additionally, check neighboring plants for signs of aphid activity to minimize the risk of spreading their presence further in your garden.