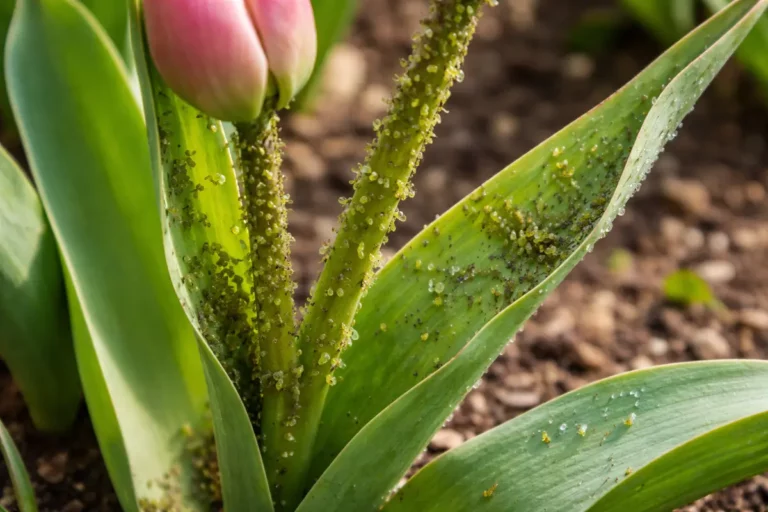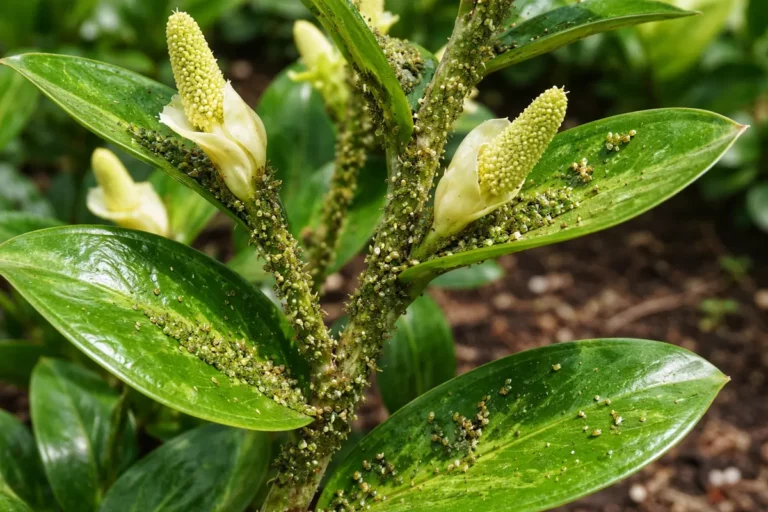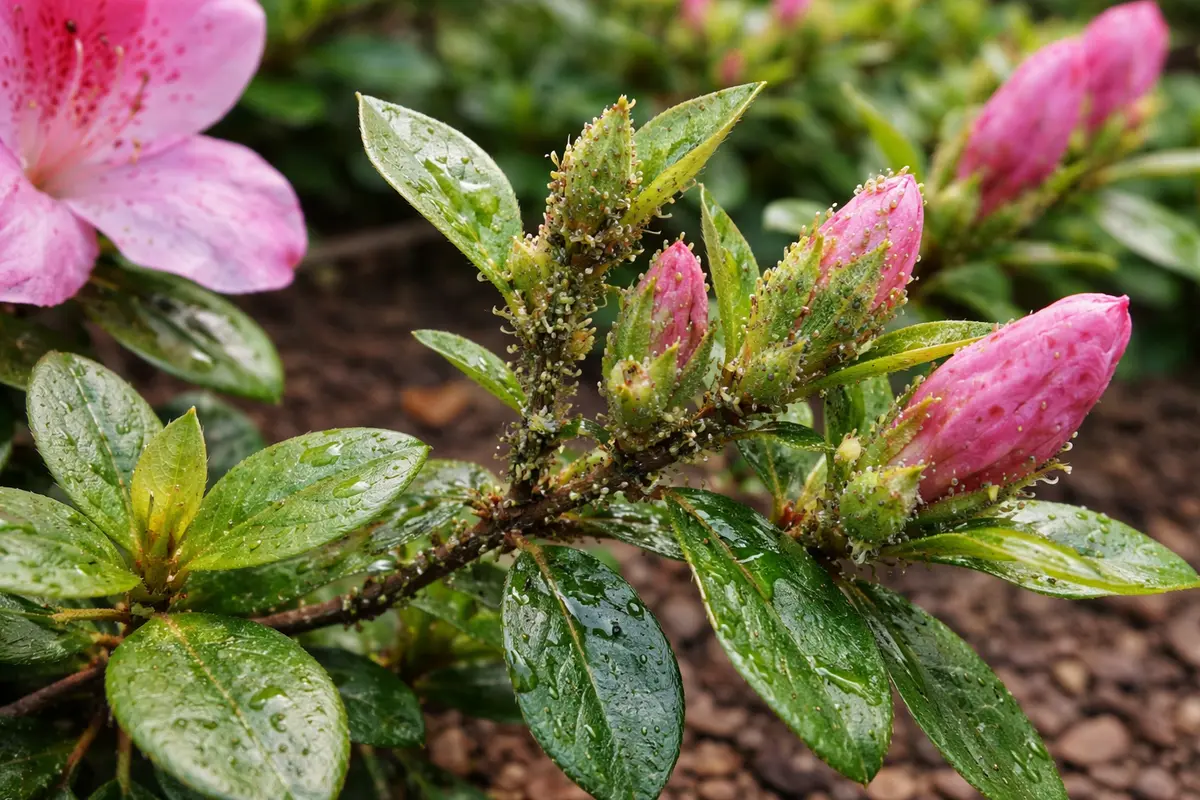
You may notice small, green insects clustering on your azaleas during warm weather, a clear sign that you need to know how to stop aphids on azaleas during warm weather. These pests suck the sap from the leaves, causing yellowing and wilting that can lead to significant damage if left unchecked. If you ignore the infestation, it can spread and weaken the plant, making it harder to fix, but you can remove the pests now and improve the health of your azaleas by inspecting and treating them with the right methods.
Step 1 – Spray Infected Azaleas with Soapy Water
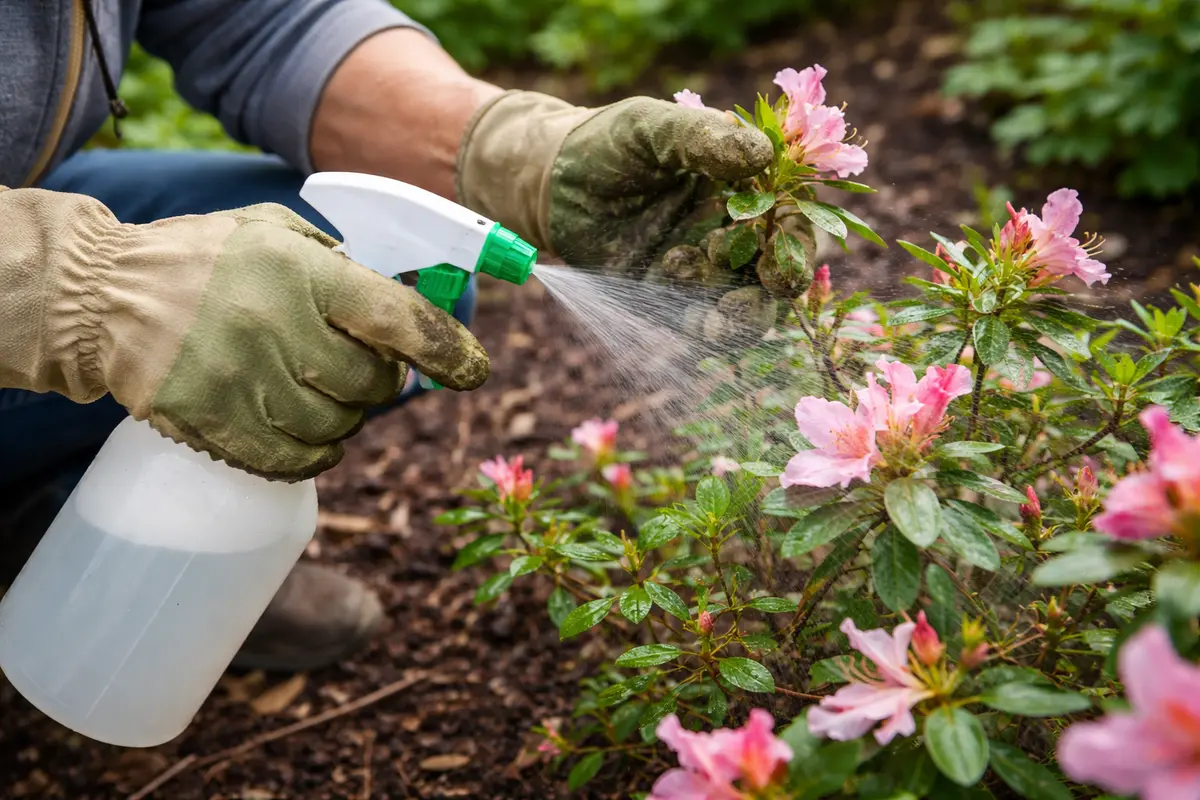
Start by spraying the affected azaleas with a solution of soapy water. You will see the aphids begin to wash away within a few minutes, reducing their population drastically. This method is a quick way to disrupt their feeding habits while being safe for your plants. Mix about 2 tablespoons of liquid dish soap with a gallon of water to create an effective spray solution. Ensure the mixture is well combined before application; it should be bubbly and frothy. If you notice that the soap does not lather well, it can indicate that the soap is either too concentrated or too diluted, potentially affecting its pest-killing efficacy.
Using soapy water effectively targets the aphids’ protective outer layer, making them vulnerable to dehydration and suffocation. The soap breaks down this barrier, leading to a rapid decrease in their numbers. If temperatures are above 90°F (32°C), this method may be less effective due to increased evaporation rates that can diminish the solution’s efficacy. Ideally, apply the solution during cooler hours of the morning or late evening for maximum results. Acting quickly matters because a few days can allow a small infestation to escalate into a much larger problem, damaging not only the foliage but also the overall vitality of your azaleas. You must keep a close watch for any subtle signs of stress in your plants, such as leaf curling or discoloration, as these can indicate the urgency of action required.
One common mistake gardeners make is using too little soap or spraying at the wrong time of day. For maximum effectiveness, the solution should be applied in the early morning or late evening when temperatures are cooler, as this helps prevent evaporation of the soap mixture. If the aphid population does not diminish within 48 hours, consider following up with additional applications or transitioning to an insecticidal soap if the infestation persists. Should you skip thorough coverage, aphids can quickly rebound; hence, ensure you spray both the tops and undersides of the leaves where they often lurk. If this step is not done meticulously, you may see new colonies forming within days, indicating that not all pests were eliminated initially.
Step 2 – Diagnose Aphid Issues on Azalea Foliage
Next, inspect your azaleas closely to confirm the presence of aphids and assess the extent of the damage. Look for signs such as curled leaves, distorted growth, or sticky residues on the foliage. After this diagnosis, you should be able to determine if the initial spray was effective or if further measures are necessary. This step is essential to understand how much damage has been done and what potential next steps will be most effective. Check not only for aphids but also for any other signs of distress, including discoloration and potential fungal growth, as secondary infections can occur if the aphids weaken the plant.
Aphids typically cause curling, yellowing leaves and can excrete a sticky substance known as honeydew that leads to sooty mold growth. If honeydew is found on leaves, it’s a sign of a well-established infestation that may have been present for some time. Understanding what symptoms the plant is showing can guide your next actions. For instance, if you find that the leaf tips are drying out alongside curling, this may indicate that the plant is indeed suffering not just from aphids but also from insufficient water, signaling the need for both pest control and improved hydration. In thoroughly checking the leaf structure, look for any small black or white spots, which could indicate a secondary pest issue or fungal infection.
If you observe that honeydew has formed, it signals that the infestation has persisted for a while, warranting deeper intervention. If you also notice a lack of beneficial insects, such as ladybugs and lacewings, it may indicate that the environmental balance is off, making your plants more susceptible to pests like aphids. In such cases, habitat improvements, like incorporating plants that attract natural predators, can be beneficial. Also, if neighboring plants are infested or if pests like aphids reappear, it could suggest that restoration efforts should include additional pest control measures. If recovery is slow, adjusting watering practices or fertilization routines to not overly stress the plants can further enhance their health and resilience against pests.
Step 3 – Trim Damaged Azalea Leaves for Recovery
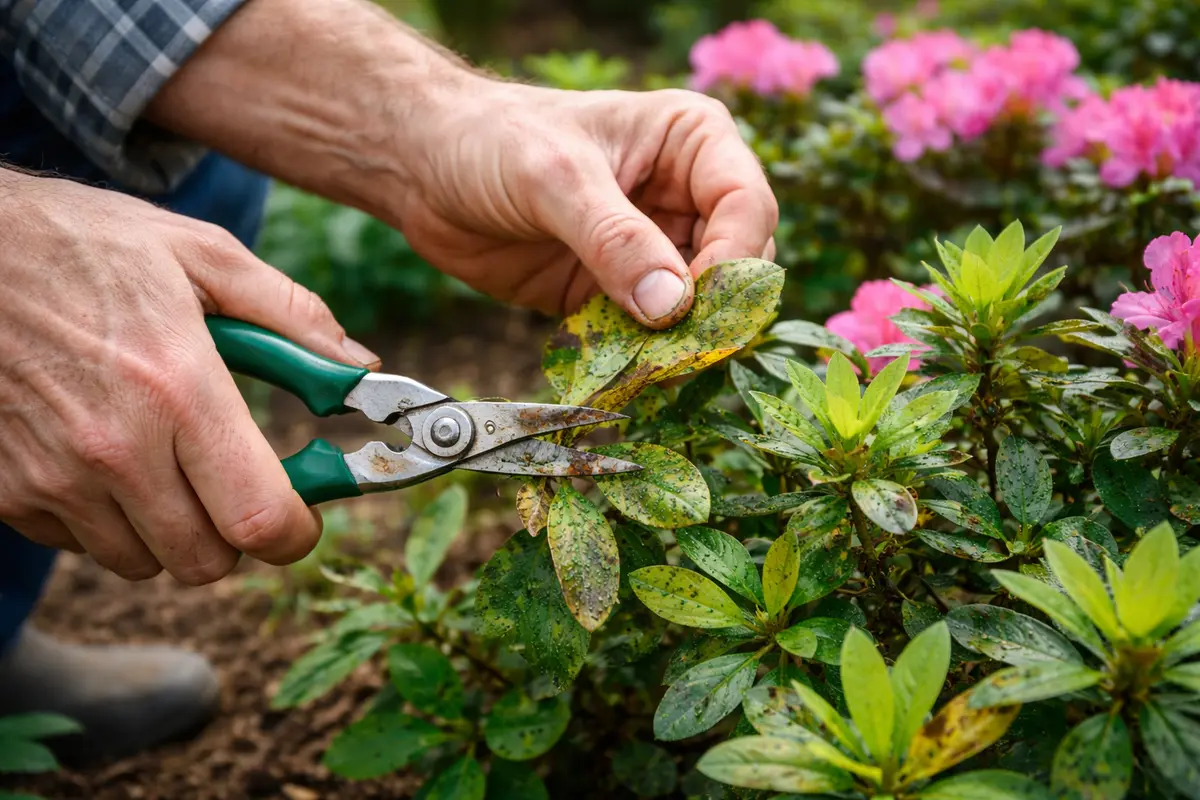
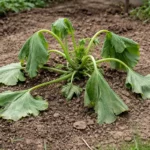
Trim back any heavily infested or damaged leaves on the azaleas to encourage new growth. This action fosters recovery by redirecting the plant’s energy toward fresh, healthy foliage. By removing infested leaves, you lessen the aphid population and prevent further stress on the plant. You will notice signs of rejuvenation as new shoots should begin to sprout within a couple of weeks. Timing and techniques matter here. Use clean, sharp pruning shears to avoid crushing healthy tissue and ensure a swift recovery as you proceed.
When you prune damaged foliage, it not only physically removes the pests but also reduces the stress on the plant. Ensure to cut above healthy nodes to encourage vigorous regrowth. Healthy plants are more resistant to pests and diseases; by focusing on new growth, you help your azaleas recover faster. It’s important to consider the overall health condition when pruning: if a leaf is only slightly damaged, it might be wiser to leave it intact to sustain necessary foliage for photosynthesis until the plant is stronger. If you notice that the pruned areas turn black or start to rot, this could indicate a fungal issue requiring immediate action to prevent further spread.
A common pitfall during recovery is over-fertilizing or over-watering, thinking that added nutrients will speed healing. In fact, too much fertilizer can lead to fertilizer burn, which stresses the plant even more, so avoid this during the initial recovery phase. If moisture levels are particularly high in your soil, consider limiting watering until the plant stabilizes and shows clear signs of recovery. Keep an eye out for new growth; a healthy azalea will typically show signs of vigorous leaf expansion within three weeks after pruning. If new shoots appear yellow or stunted, this may indicate a need for a change in care practices or soil composition. Additionally, ensuring proper drainage during watering can prevent potential root rot, which can easily occur if the plants are overly saturated.
Step 4 – Protect Azaleas with Companion Planting Techniques
Start by regularly applying a mixture of neem oil and water directly on your azaleas every 7-10 days during warm weather. This proactive action will create a barrier that effectively deters aphids, allowing your azaleas to thrive without pest interference. The typical mixture should consist of about 1-2 tablespoons of neem oil per gallon of water, ensuring thorough mixing before application to facilitate effectiveness.
High temperatures and dry conditions often trigger an aphid population surge, as these pests thrive in stress-induced environments. By keeping your azaleas treated with neem oil, the plants are less likely to attract aphids, addressing the root cause of infestations and providing a more resilient defense against future outbreaks. To enhance the treatment, you should consider adding a mild soap to the mixture to help the oil adhere to the leaves, further enhancing its protective properties.
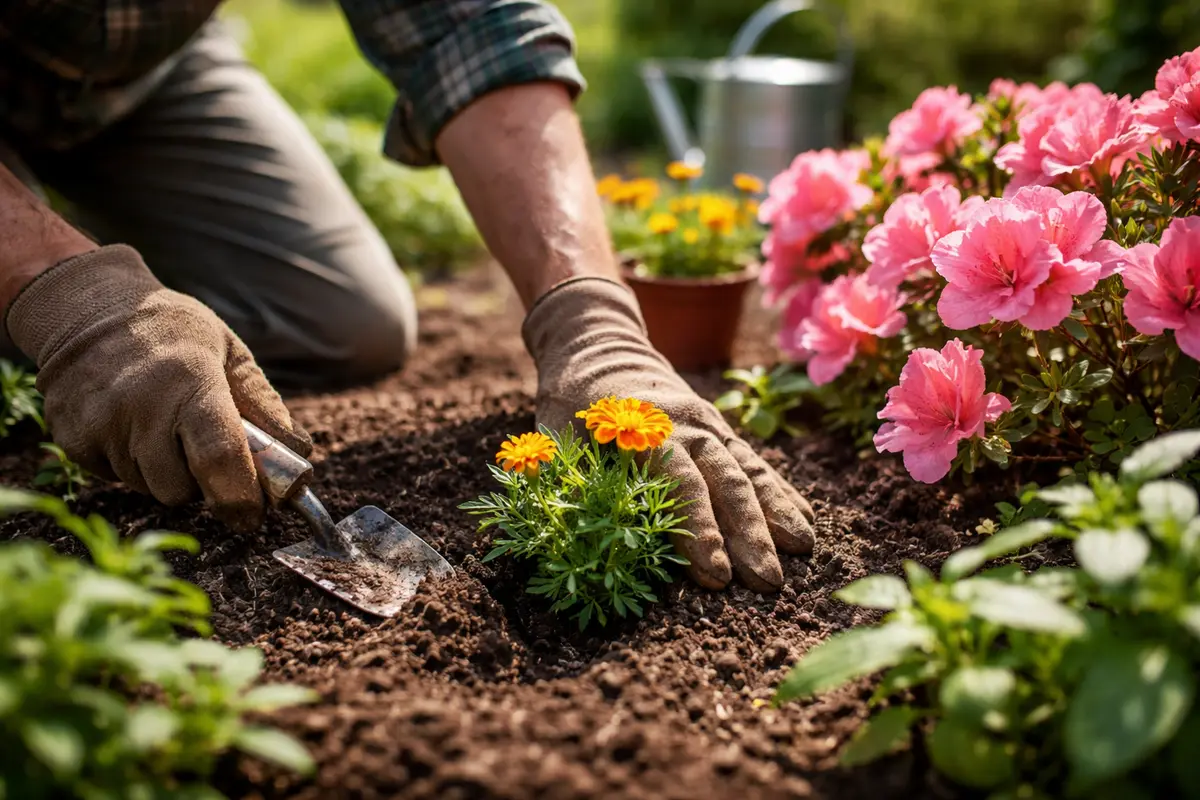
In addition to applying neem oil, consider introducing beneficial insects like ladybugs during peak aphid season, as they are natural predators. If you notice an increase in aphids despite your preventative measures, check for underlying issues such as lack of moisture or plant stress from heat. Incorporating companion plants that provide shade or improve humidity can further mitigate heat stress on your azaleas. Companion plants work by emitting scents that insects like aphids find off-putting, thus keeping them at bay. Additionally, certain companion plants encourage pollinators and beneficial insects, such as ladybugs, which thrive on aphids. This diversity in your garden can help maintain a balanced ecosystem, making your azaleas less attractive to pests. It may take a couple of growth cycles for the companion plants to establish effectively, so you should prepare a location in advance to allow for immediate planting.
Seasonal changes might affect when to introduce companion plants, so consider preparing a planting plan that aligns with the flowering times of your companion species. Early spring is a prime time to introduce these plants, taking advantage of cooler temperatures that help them establish before the heat of summer. Observe your companion plants for their health and effectiveness in pest deterrence; if they begin to show signs of aphid infestation themselves, it may indicate that your protective strategy needs reevaluation. Increasing the overall biodiversity of your garden space can reduce pest vulnerability across multiple plants, making your azaleas less susceptible to infestation.
Step 5 – Inspect Azaleas for New Aphid Activity Weekly
Start by checking your azaleas every few days for any signs of aphids, particularly on the undersides of leaves and new growth. Look for clusters of small, soft-bodied insects or the sticky honeydew they produce, which creates a shiny film on leaves. If recovery is evident, you should see new leaf growth and a reduction in the presence of aphids; recheck on a weekly basis to ensure these improvements continue.
A fully recovered azalea showcases vibrant green leaves, healthy buds, and no signs of sticky residue on the foliage, indicating that aphid populations have been effectively managed. In contrast, early signs of the problem returning include yellowing leaves or curled edges, often accompanied by a resurgence of sticky honeydew or black sooty mold. If leaves appear mottled and feel rough instead of smooth, take immediate action to reassess the situation.
If the aphid problem persists despite your monitoring and preventive measures, escalate your actions by introducing insecticidal soap or neem oil specifically formulated for aphid control. Adjust the application procedure as needed, ensuring the treatment is thoroughly covering the affected areas of the plant. If you still observe aphids after treatment, consider consulting a local garden center for targeted pest management solutions tailored to azaleas.
A fully recovered azalea should display vibrant, lush leaves without distortions, and your observation is key in maintaining this state. If leaves feel firm and robust, that generally indicates recovery. However, be vigilant for limp or drooping foliage, as these symptoms might emerge from hidden stressors linked to environmental factors, such as root rot from excess watering or nutrient deficiencies. Take detailed notes on any recurring patterns in your inspections; this will help you anticipate and manage future infestations, allowing you to adjust your strategies accordingly.
If you find new infestations despite prior treatment, consider reapplying the soapy water spray or integrating stronger pest control measures, such as neem oil or insecticidal soap formulated for vegetables. Note that natural solutions can gradually become less effective; monitoring aphid populations can help you tailor your treatment regimen as necessary. Pay close attention to application times; many pesticides can harm beneficial insects as well if applied indiscriminately. If recurrent problems arise without visible resolution, start examining underlying causes, such as soil health or light exposure, as these stressors might amplify susceptibility to aphids. Importantly, ensure that neighboring plants are also checked, as infestations can spread quickly in proximity if left unattended.
FAQ
How long does it take to see results after treating aphids on azaleas?
You should start to notice a decline in aphid numbers within 24 hours of treatment with soapy water. Full recovery and new growth can take a couple of weeks depending on the severity of the infestation and overall plant health. Make careful monitoring a priority to maximize recovery speed and adjust your strategies accordingly.
Can aphids spread disease to azaleas?
Yes, aphids can spread various plant diseases as they feed on sap. The damage they cause creates openings for pathogens, making plants more vulnerable to infections that can lead to severe health issues. The stress from aphid feeding can weaken the plant’s immune response over time, increasing susceptibility to fungal and bacterial infections.
Should I remove all affected leaves from my azaleas?
It is advisable to remove heavily infested leaves but not all, as healthy leaves are crucial for the plant’s productivity. Focus on trimming back only the worst-affected parts to encourage stronger, healthier regrowth. Evaluate the overall plant health to determine how much foliage removal is necessary to restore balance without sacrificing the plant’s energy reserves needed for recovery.