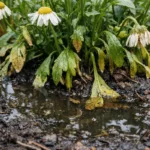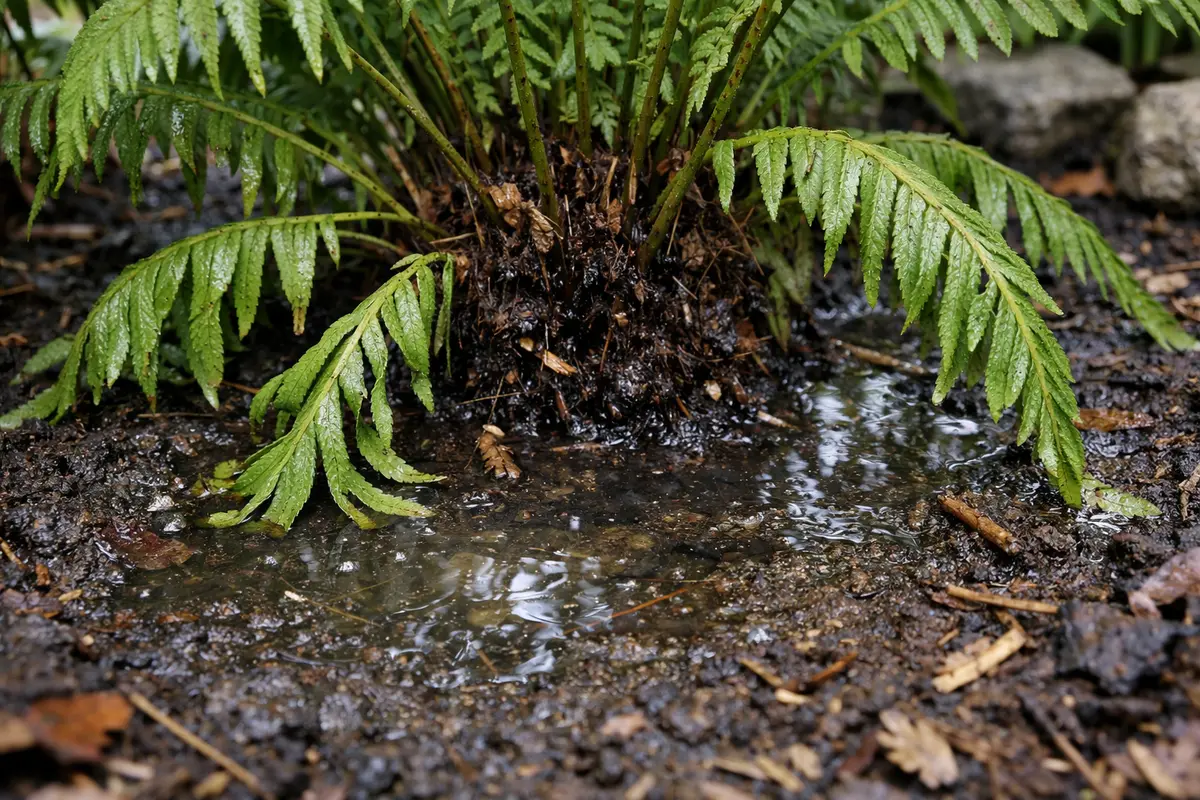
You may notice your ferns drooping and losing their vibrant form after a heavy rain or excessive watering, which is why you need to know how to fix drooping ferns after overwatering. This drooping is often a sign of root damage or waterlogged soil, leading to wilting leaves and an overall lack of vigor. If left unattended, this issue can worsen, setting the plant back and making recovery harder to achieve, but fixing it is possible now by checking the soil moisture and improving drainage.
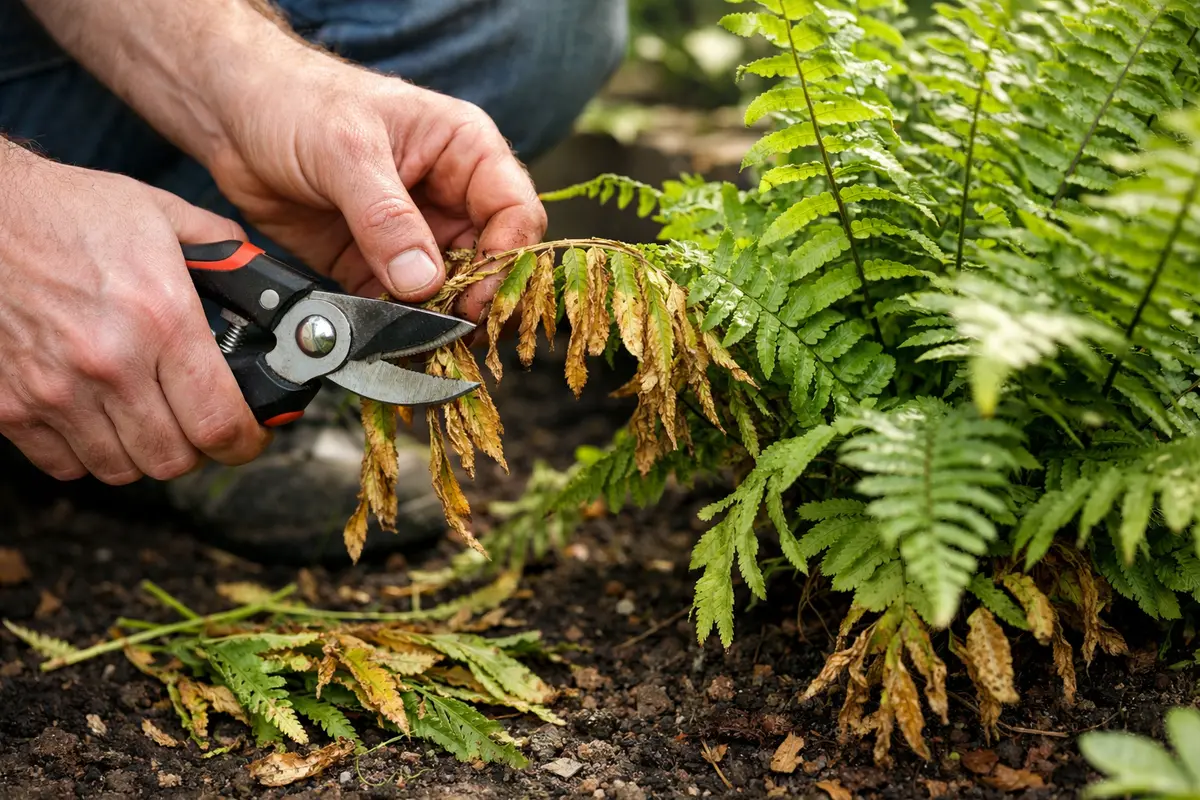
Step 1 – Trim Overwatered Fern Leaves Immediately
Start by carefully removing the fern from its pot and gently shaking off excess soil to allow the roots to breathe. Place the fern in a well-ventilated area with indirect light while you assess the roots; you should notice a decrease in the dripping water from the leaves as they begin to dry out.
Acting quickly is crucial because ferns are sensitive to overwatering, which leads to root rot and fungal infections. If not resolved swiftly, the damaged roots cannot uptake water efficiently, causing the foliage to continue drooping despite the excess moisture. Within a few hours, you should start seeing some improvement in the leaf firmness, indicating a response to the changes made.
One gardener noticed a drastic difference after removing their fern from a soggy pot and replacing it in a drier, aerated medium just in time, which halted further decline. Alternatively, many gardeners overlook the importance of changing the potting mix right away; without this step, issues can worsen, leading to irreversible damage. If the leaves remain limp after soil removal, check for root rot and consider trimming away any blackened roots.
Acting quickly is crucial with ferns because overwatering can lead to root rot, which deprives them of essential nutrients and airflow. If left unchecked, the plant’s ability to absorb water and nutrients diminishes further, resulting in accelerated drooping and potential plant death. A fern that has begun to droop severely may exhibit yellowing fronds, while one that is treated promptly could show immediate signs of perkiness.
In a recent gardening workshop, a participant ignored drooping fronds for over a week, only to discover riddle root rot requiring extensive trimming and less manageable recovery. Conversely, another gardener noticed the droop early, acted swiftly, and was able to restore their fern back to shape within days. If you see a fern wilting, but the soil remains soggy, check for root health to avoid further issues.
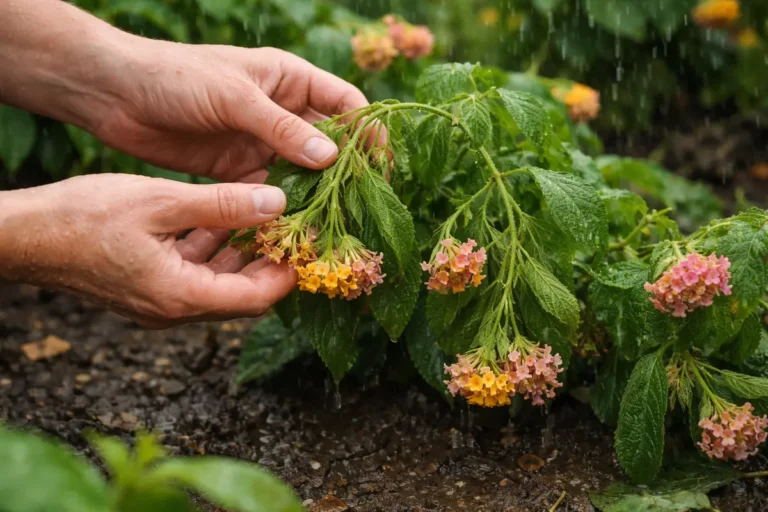
Pruning the affected leaves is crucial because it removes parts of the plant that cannot recover, ensuring the rest of the fern can focus its energy on healing. When ferns become overwatered, their leaves often droop due to a lack of oxygen around the roots. This can lead to wilting, yellowing fronds, and ultimately, root rot if left unchecked. Ensure you use clean, sharp scissors or gardening shears to prevent any further trauma to the plant during this process, as this minimizes stress and infection risks. If you notice not only limp but also glistening leaves, that’s a sign of excessive moisture, and those fronds require immediate attention.
One common mistake gardeners make at this stage is waiting too long to prune the dying leaves. They may think that the leaves will recover or that cutting them could harm the plant further. However, taking swift action improves airflow around the remaining healthy foliage and promotes quicker recovery. If you are unsure about which leaves to cut, focus on those that are completely brown or have a mushy texture; those are unlikely to bounce back. If you notice fronds that appear slightly yellow but are not limp, consider leaving them for now, as they might still contribute to the plant’s recovery. Always remember to make clean cuts; rough edges may lead to infection, prolonging recovery time.
Step 2 – Assess Soil Moisture Levels Around Ferns
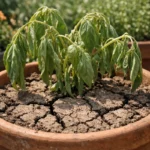
Check the soil moisture around the ferns immediately using your finger or a soil moisture meter. You will feel whether the soil is excessively wet, which indicates that water retention is the problem. Press your finger about an inch into the soil; if it feels soggy, it confirms overwatering. Alternatively, using a meter can provide a clearer reading of the moisture levels, ensuring more accuracy in diagnosing the issue. If you discover the moisture meter reading close to saturation, that’s your signal to address drainage issues.
It’s essential to assess soil moisture because saturated soil prevents air from reaching the roots, leading them to suffocate. Healthy fern roots need oxygen to function correctly, and if they’re submerged in waterlogged conditions for too long, they begin to decay, causing the plant to droop even further. If the soil is still damp a week after watering, this is a clear sign that the drainage is insufficient or that the watering schedule needs adjusting. Check if water is sitting at the bottom of the pot, as stagnant water can compound the issue, leading to a higher risk of root rot. If you notice a sour, musty smell emanating from the soil, this immediately suggests that root decomposition has begun, necessitating immediate action.
If you discover that the soil emits a sour smell, it’s a clear sign of root rot beginning to set in. In that case, consider repotting the fern into fresh, dry soil after carefully removing damaged roots to offer the plant a better chance of recovery. This event often happens when the pot lacks drainage holes or the soil has become compacted over time, reducing aeration capability. Being proactive with drainage checks and avoiding consistently wet conditions can significantly improve your fern’s recovery potential. If needed, also inspect the potting mix to see if it has become too organic-heavy, as this can also retain excess moisture.
Step 3 – Enhance Fern Soil to Aid Recovery
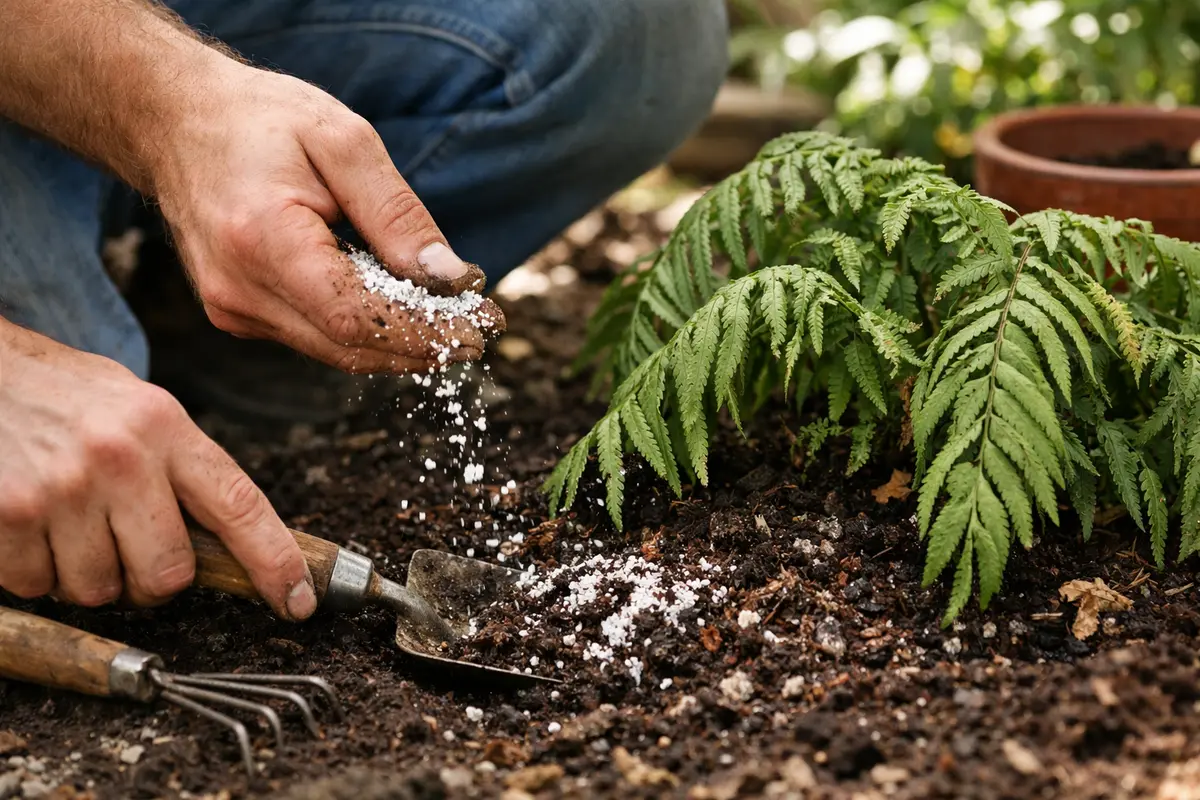
Start by gently removing your ferns from their pots and inspecting the roots for rot. Trim away any brown or mushy roots using clean scissors, then replant in fresh, well-draining soil. Provide adequate light and water only when the top inch of soil feels dry; within days to a week, you should see new fronds slowly unfurling, signaling recovery. To prevent overwatering, adopt a habit of checking moisture levels weekly and adjust your watering schedule according to seasonal climate changes.
Recovery generally takes one to three weeks, during which healthy fronds will emerge as signs of revitalization. If your ferns are still drooping after this period, examine your watering habits and ensure that excess water is draining properly. In winter, decreased light can contribute to moisture retention, making it crucial to reduce watering frequency to avoid recurrence of drooping leaves.
A common mistake during recovery is immediately overcompensating with water once the soil feels too dry. If you notice leaves turning brown on the edges despite regular watering, check the pot size; smaller pots retain heat and moisture longer, leading to uneven moisture distribution. Adjust the container size based on the severity of the original overwatering to help mitigate future issues.
Improving the soil structure is vital for recovery because it allows excess moisture to drain away from the roots while still providing the necessary environment for the ferns to thrive. This combination of aeration and moisture control creates an optimal balance to promote root health and overall vigor. Regularly monitoring the drainage capacity of your soil amendments ensures that it performs effectively over time, and reviewing the moisture levels frequently can help guide your watering habits. Frequent checks help you determine the right timing for watering, ideally when the soil surface has dried out completely.
A common mistake during recovery is failing to adjust watering habits. Many gardeners continue with the same frequency, not realizing that overwatering can easily recur if the soil remains compacted or clay-heavy. Switching to a watering schedule that allows for thorough drying of the soil between watering will ultimately help extend the life of your ferns. If the fern was previously used to heavy watering, consider watering less frequently and only when the top inch of the soil feels dry — typically every 1-2 weeks depending on environmental factors like humidity and light exposure. If you find that the ferns stay soggy for more than a few days, look for alternative pots that offer improved drainage. Materials like terra cotta can also enhance airflow and help to wick moisture away more effectively compared to plastic alternatives.
Step 4 – Inspect Fern Fronds for Wilting Signs Regularly
Monitor the ferns every 3-5 days to check for new signs of health and recovery. You should observe firmer fronds and new growth emerging within a week, indicating that your ferns are responding positively. These signs include greener leaves, developed fronds, and a general increase in leaf turgidity. If new growth appears healthy, this further strengthens the likelihood of successful recovery, confirming that the ferns are regaining their strength and vitality. When assessing the fronds, look for any discoloration or unexpected texture, which can hint at lingering issues.
A fully recovered fern will show new, vibrant leaves with no signs of wilting or discoloration. In contrast, early signs of the problem returning may include browning edges or drooping fronds again. Such indicators suggest that you may need to reassess your watering and soil conditions. During this phase, you should also check for pests or other stressors that could hinder recovery; for instance, spider mites can thrive in overly dry conditions, adding another layer of stress to your fern. If you spot small webbing or stippling on the leaves, it’s time to consider applying an insecticidal soap or similar treatment if infestations are significant.
If signs of the issue return despite following the recovery steps, you may need to change your watering habits entirely and consider repotting the fern in a well-draining soil mix that matches its needs. This fallback method will prevent recurrence and ensure long-term health for your ferns. Remember, if the soil stays damp for several days after you’ve made adjustments, that may indicate a need to switch pots for better drainage capacity and airflow. Additionally, using pots made of breathable materials like terracotta can enhance evaporation, preventing over-saturation. Especially after introducing new soil, be aware of your fern’s changing response; sometimes, an initial bounce back may mask deeper-rooted issues.
FAQ
How long does it take for ferns to recover after overwatering?
The recovery time for ferns can vary, usually taking about 1-2 weeks to show signs of improvement. If the conditions are corrected quickly, you may see new growth within a week. However, recovery can be slower if the roots have sustained extensive damage or if further overwatering occurs. If the plant seems to stagnate even after adjustments, reevaluate both the watering schedule and the soil conditions. In some cases, if the roots have started to rot, you may face a waiting period that extends beyond two weeks, especially for larger ferns that require extensive root systems.
Can overwatering spread any diseases to my ferns?
Yes, overwatering can lead to root rot and other fungal diseases, which can spread rapidly and affect healthy parts of the plant. It is crucial to act immediately to remove affected areas and improve drainage. Once fungal infections take hold, they can infect adjacent plants if not tackled promptly and thoroughly. Maintain vigilance by regularly inspecting the leaves and base of the plant for any signs of fungal growth or pests. A common scenario involves noticing new fungal formations around the base of the plant, indicating that treatment should not be delayed.
Should I remove all affected fronds from my fern?
You should remove the most severely damaged fronds, but avoid taking all of them as some leaves might still contribute to recovery. Focus on trimming those that are brown or limp to allow the healthy parts to flourish. Leaving a few viable fronds can significantly aid the plant’s ability to photosynthesize and recover. It’s also beneficial to regularly monitor these cut areas for any signs of disease or rot that might indirectly affect the remaining healthy foliage. If you notice any discoloration developing on adjacent healthy fronds, reassessing their health with a closer inspection becomes essential.