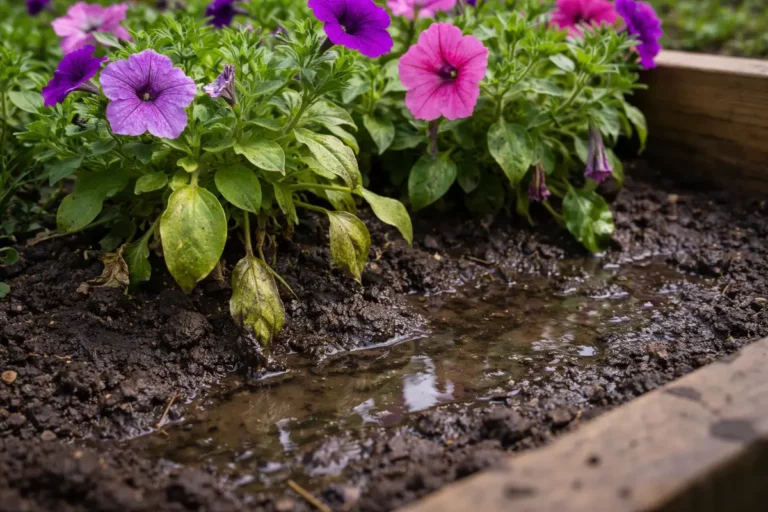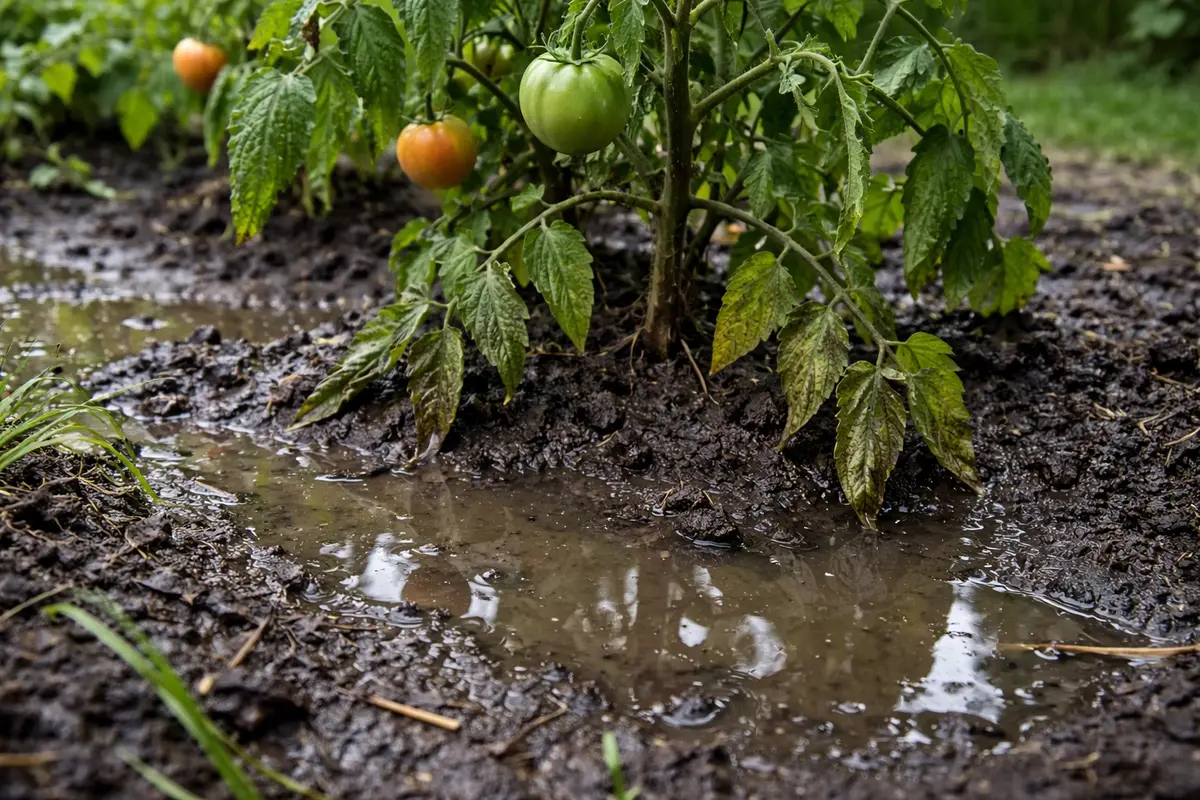
You may notice that after heavy rain, your tomato plants have developed mushy roots and drooping leaves, which is why you need to know how to fix soggy soil around tomato plants after heavy rain. This excess moisture can lead to root rot and cause the plants to weaken, resulting in yellowing or even leaf drop. If left unattended, the problem gets worse and can lead to more damage, ultimately stalling growth. Fortunately, you can improve the situation by monitoring drainage and checking the soil composition to ensure your plants thrive.
Step 1 – Drain Excess Water from Tomato Beds
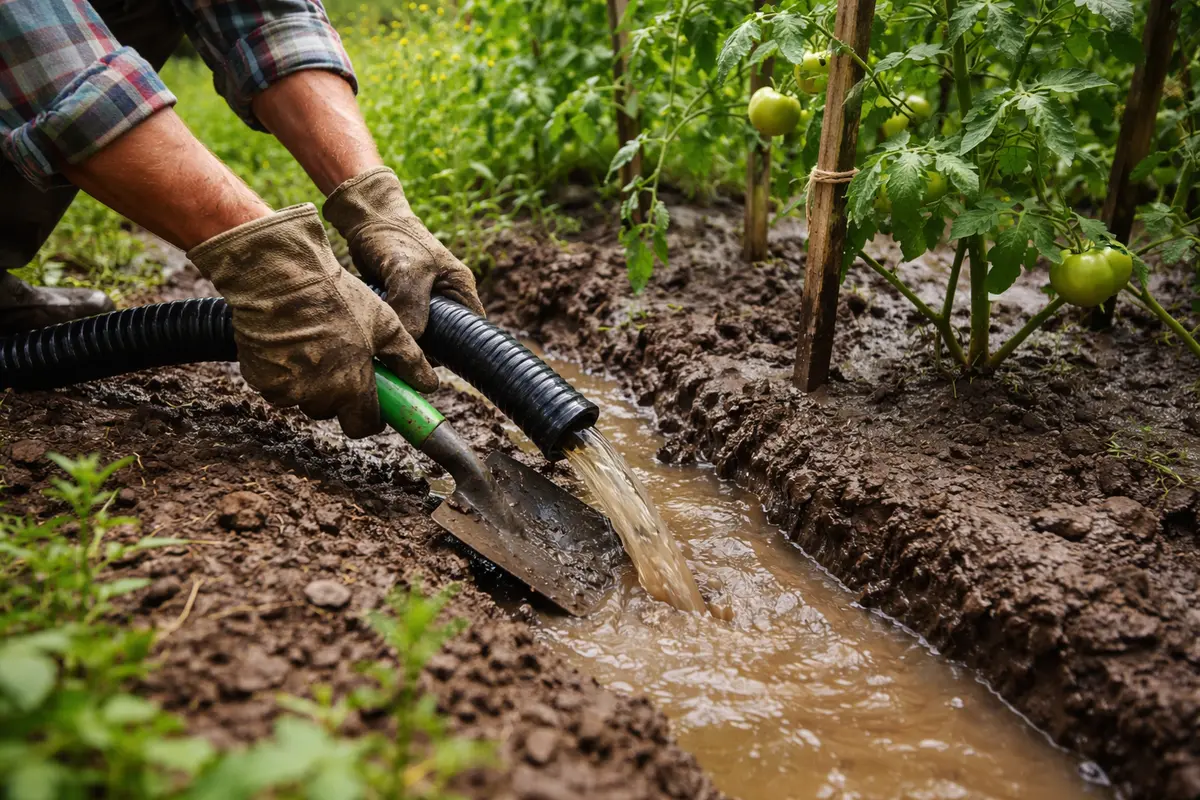
Start by removing excess water around the tomato plants immediately. You will notice the soil starting to feel less saturated within a few hours after the drainage action. Use a garden spade or shovel to create small trenches that can channel water away from the plants, or utilize a siphoning method if water accumulation is severe. To achieve effective drainage, direct the trenches approximately 6-12 inches away from the base of the plants. This will not only help in immediate drainage but also prevent water from pooling near the roots.
Excess water can create a suffocating environment for the roots of your tomato plants, which need oxygen to function effectively. By actively draining the soil, you reduce the risk of root rot and enable the plants to regain access to vital nutrients. Healthy tomato plants thrive when their roots are not submerged in water for extended periods. If you’ve noticed that the soil is still overly moist after drainage efforts—typically after 6-8 hours—it may indicate that your soil composition is not conducive to proper drainage, leading to the necessity for amendments such as perlite or sand to facilitate better water flow through the soil matrix.
A common mistake gardeners make at this stage is waiting too long to address the waterlogged soil, thinking it will resolve on its own. If you see soil pooling around your plants, act swiftly to prevent long-term damage. Delaying action can lead to mushy roots, disease proliferation, and stunted growth, risking the vibrancy of your crop. If there is still standing water 24 hours after your initial drainage effort, this indicates ongoing issues with soil drainage and may require gravel or drainage tiles as a more permanent solution.
Step 2 – Evaluate Soil Saturation Causing Soggy Conditions
Check the moisture levels in the soil surrounding your tomato plants with your finger or a moisture meter. It’s recommended to stick your finger about 2 inches into the soil; if it feels wet and muddy, it’s time to consider amendments to improve drainage. If the soil feels dry at this depth, wait a day or two before making any adjustments, as the roots might still be finding their balance.
Understanding soil saturation is crucial because overly wet soil indicates poor drainage, which can prevent oxygen from reaching the roots. This suffocation can lead to conditions like root rot, where the roots die off due to the lack of oxygen. Additionally, watch for physiological symptoms in your plants, like yellowing leaves that begin to drop off and wilting despite adequate soil moisture, which indicate a stress level from moisture imbalance. If the soil maintains excessively damp conditions for too long, consider shifting to a different drainage strategy, such as raised planting beds or incorporating drainage fabric into your garden layout.
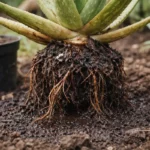
If the soil appears muddy and emits a sour smell, it may indicate anaerobic conditions, which can foster diseases like fungal root rot. In this case, consider amending your soil with organic matter like compost to improve drainage and promote microbial activity. Add roughly a 1:3 ratio of compost to soil to increase aeration. Always remember that the condition of your soil is critical to your plant’s health, so pay keen attention to these signs. If a foul odor and blackened roots are observed, indicating a severe condition, you first need to immediately remove affected roots and then take increased aeration measures, such as loosening the topsoil and integrating fresh compost multiple times during the growing season.
Step 3 – Add Organic Matter for Tomato Recovery
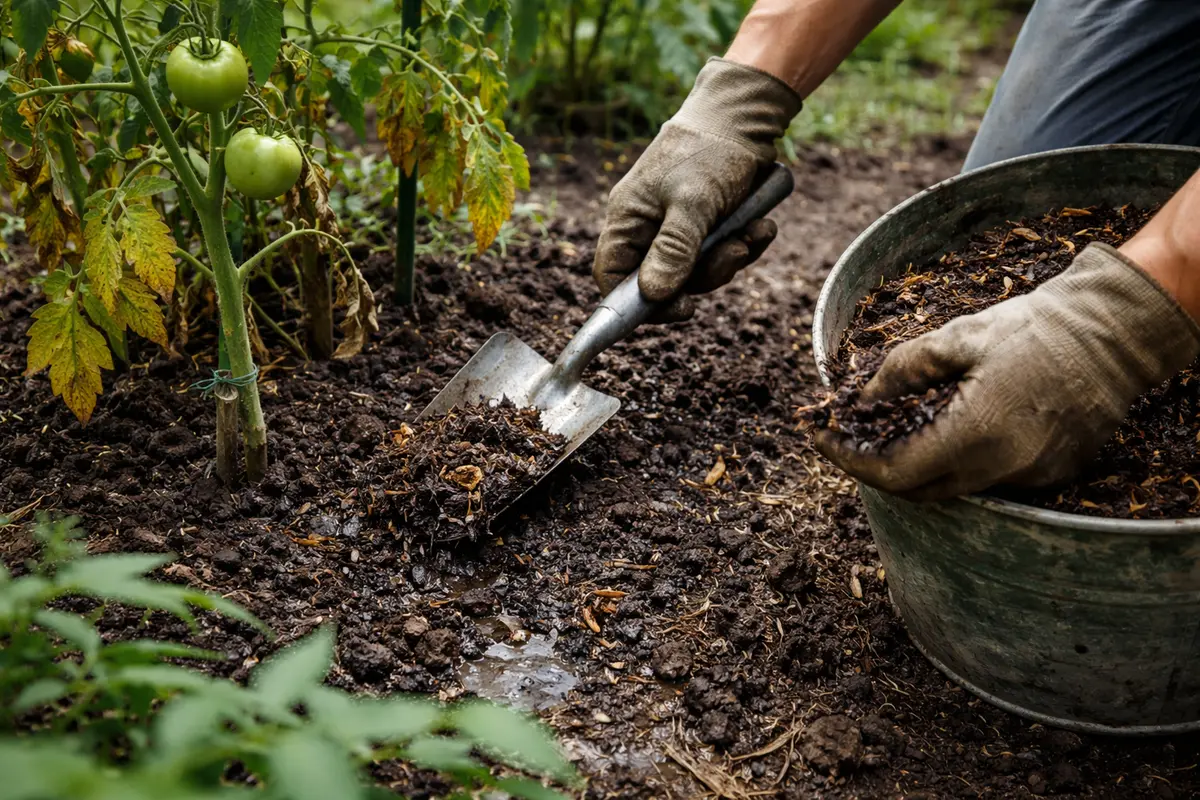
Start by gently aerating the soggy soil around your tomato plants using a garden fork or a shovel. Work the soil to a depth of about 6 inches to improve drainage and encourage air circulation. In a few days, observe that the water begins to dissipate, and green shoots may emerge more vigorously as the plants breathe easier.
Recovery from soggy soil typically takes about one to two weeks, depending on your region’s climate and soil composition. If conditions remain warm and dry, tomato plants will show signs of new growth, such as lush, green leaves and solid stems. On the contrary, continual oversaturation will lead to wilting and yellowing foliage; if you notice this, check for proper drainage and consider adjusting your watering practices.
Avoid overwatering or over-fertilizing during recovery, as this can lead to root rot and further stress the plants. Timing your interventions is crucial, especially if the plants are showing signs of distress; wait until the soil is adequately dry before resuming your regular watering schedule. If you find leaf edges browning instead of new growth appearing, reassess your nutrient levels to ensure they meet the plants’ needs without causing excess moisture buildup.
Organic matter, such as compost, improves soil structure and drainage, which is essential for nutrient circulation. By adding it to the soil, you create a more favorable environment for the roots to function optimally. Additionally, compost enhances nutrient availability and microbial life, nurturing plant growth and resilience after periods of stress. Incorporating compost also offers the added benefit of holding moisture during dry periods, thus balancing the soil’s capacity to retain water without becoming soggy. As a guideline, mix in compost every four to six weeks to consistently improve soil health.
A common mistake during this recovery phase is overwatering the plants after adding compost. This can lead to renewed problems in recovery since the soil must remain aerated to allow roots to breathe effectively. Adjust watering schedules to ensure moisture levels are balanced, focusing on keeping the soil consistently damp but not saturated. If new growth appears stunted after adding compost and the soil is still too wet, consider reducing water input and allowing more time for the soil to stabilize. If you observe that root development is still subpar even after amendments, inspect the health of the compost used; if it was too high in nitrogen or lacked microbial activity, it could inhibit root vigor.
Step 4 – Mulch Around Tomatoes to Prevent Soil Oversaturation
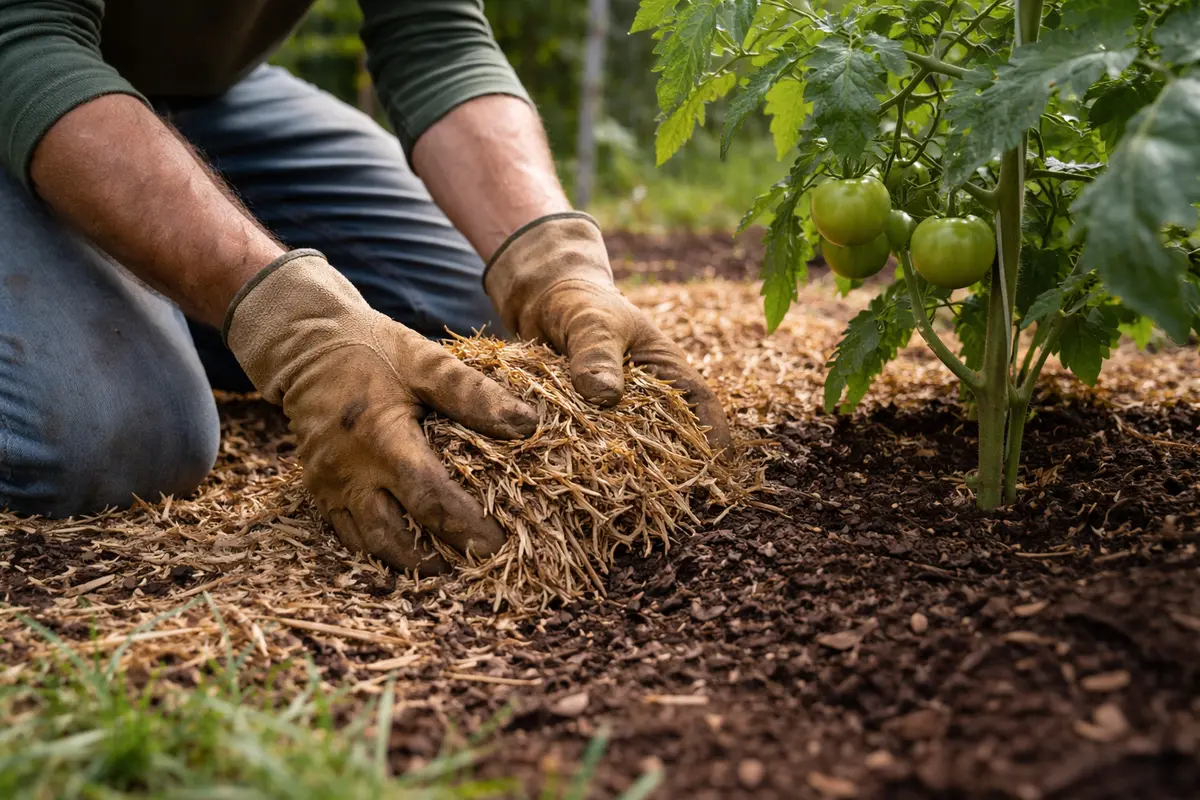
Apply a 2-3 inch layer of mulch around your tomato plants to help regulate moisture levels in the soil. This practice not only reduces evaporation during dry spells but also prevents excess water from accumulating during downpours, leading to healthier plants. Organic mulch materials such as straw, leaves, or wood chips not only retain moisture but can also break down to enrich the soil further as they decompose. Make sure to leave a small gap around the base of each plant to avoid creating a humid microclimate at the stem.
Mulching serves multiple purposes, including retaining soil moisture and preventing weed growth, which can compete for nutrients. An adequate layer of mulch creates a microenvironment that helps tomatoes thrive, particularly during periods of less rainfall, keeping conditions optimal for their growth. This method also reduces the risk of soil oversaturation during heavy downpours by acting as a protective buffer against extreme moisture levels. Keep in mind that applying too thin a layer, such as under 2 inches, might expose the roots to fluctuating moisture conditions.
During extreme weather seasons, such as heavy rain, you might consider using heavier mulching materials like wood chips that create a thicker barrier. This provides better moisture control and stability during significant rain. In cooler seasons, maintaining this mulch layer becomes essential as it protects the soil from temperature fluctuations, which could affect root health. Check for signs of deterioration or compacting regularly—if the moisture under the mulch looks excessively damp or if the material appears mushy rather than fibrous, this may indicate the mulch is too dense, limiting air flow. If you observe plants struggling despite mulching efforts, reassess both the thickness of the layer and the material used to ensure optimal moisture retention without suffocation.
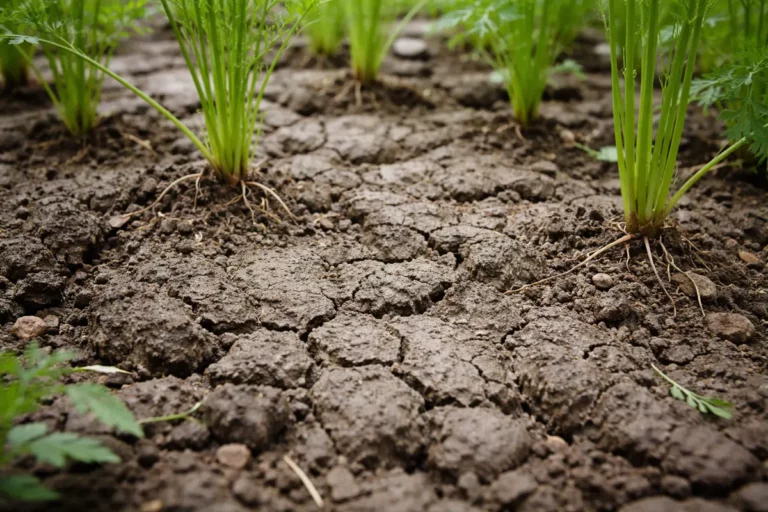
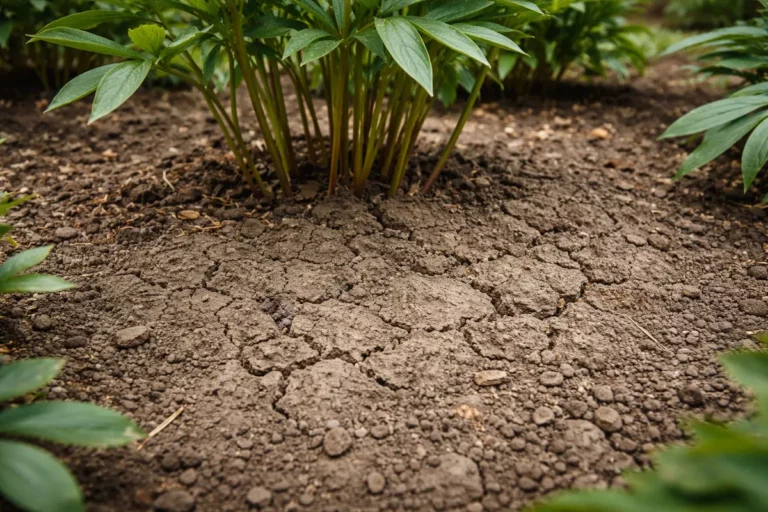
Step 5 – Check Soil Texture for Compaction Issues Weekly
Inspect the soil texture around your plants every week to ensure it remains loose and well-aerated. You should see that the soil crumbles easily in your hands or with a garden fork, indicating proper drainage and aeration, which is crucial for root health. Use tools like a soil probe to get a deeper read; if the soil feels hard or compacted to about 6-8 inches deep, you’ll know further steps will be necessary to avoid long-term damage.
Regularly checking the soil texture allows you to identify any compaction issues early on. Compacted soil restricts root growth and access to essential nutrients and water, which are crucial for tomato plants. If compaction is observed, particularly after heavy rains, consider aeration methods such as tilling, where you can break it up without disrupting the plant roots. Also, using a garden fork can help aerate the soil effectively without significant disturbance. If your soil seems particularly dense, you may also benefit from mixing in sand or perlite, ideally at a ratio of 1 part sand to 2 parts native soil, to enhance aeration and drainage.
If the compaction persists despite your aeration efforts, it may be time to reassess your planting method. Consider using raised beds to better control soil conditions or incorporating more organic matter into your soil to improve overall texture and drainage. Notably, if you find roots circling the surface due to hard soil, this is a clear signal that compaction issues need to be addressed swiftly. If you’re still concerned and your plants continue to decline after implementing these steps, consult a local gardening expert to explore alternative soil amendments, or potentially relocate your tomatoes to a well-draining area for better care.
FAQ
How long does it take for tomato plants to recover from soggy soil?
Recovery times for tomato plants can vary, but you should start to see improvement within a week of applying corrective measures. Early signs of recovery include perking up of leaves and new shoot development as roots regain health. Consistent monitoring of soil moisture and health will further aid in this recovery process; be attentive as overwatering can reverse this progress.
Can soggy soil spread diseases to other plants?
Yes, soggy soil can lead to root rot and other diseases that may affect nearby plants, especially if they share the same soil or root zones. It’s essential to control moisture levels and ensure good drainage to mitigate the spread of disease. If other plants exhibit similar symptoms, immediate action should be taken to amend soil conditions; this may involve treating the roots of affected plants with fungicide if no physical damage is observed.
Should I remove affected parts of my tomato plants?
Yes, you should trim away any visibly affected or dead leaves and stems to promote healthy growth and prevent the spread of disease. Regular checks can help identify issues early, allowing for prompt action that keeps your plants thriving. Should significant sections of the plant become infected, or if the entire plant displays symptoms, consider assessing overall health and whether additional interventions like replanting are required for better results.