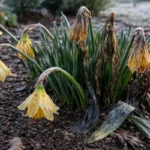
You may notice your once-vibrant potted aloes showing signs of distress during the cold winter months, which is why you need to know how to prevent root rot in potted aloes in winter. The roots can begin to rot, leading to mushy and yellowing leaves that signal trouble. If ignored, this condition gets worse and can weaken the plant, but you can improve the situation now by checking for proper drainage and adjusting your watering schedule.
Step 1 – Trim Affected Aloe Leaves Quickly
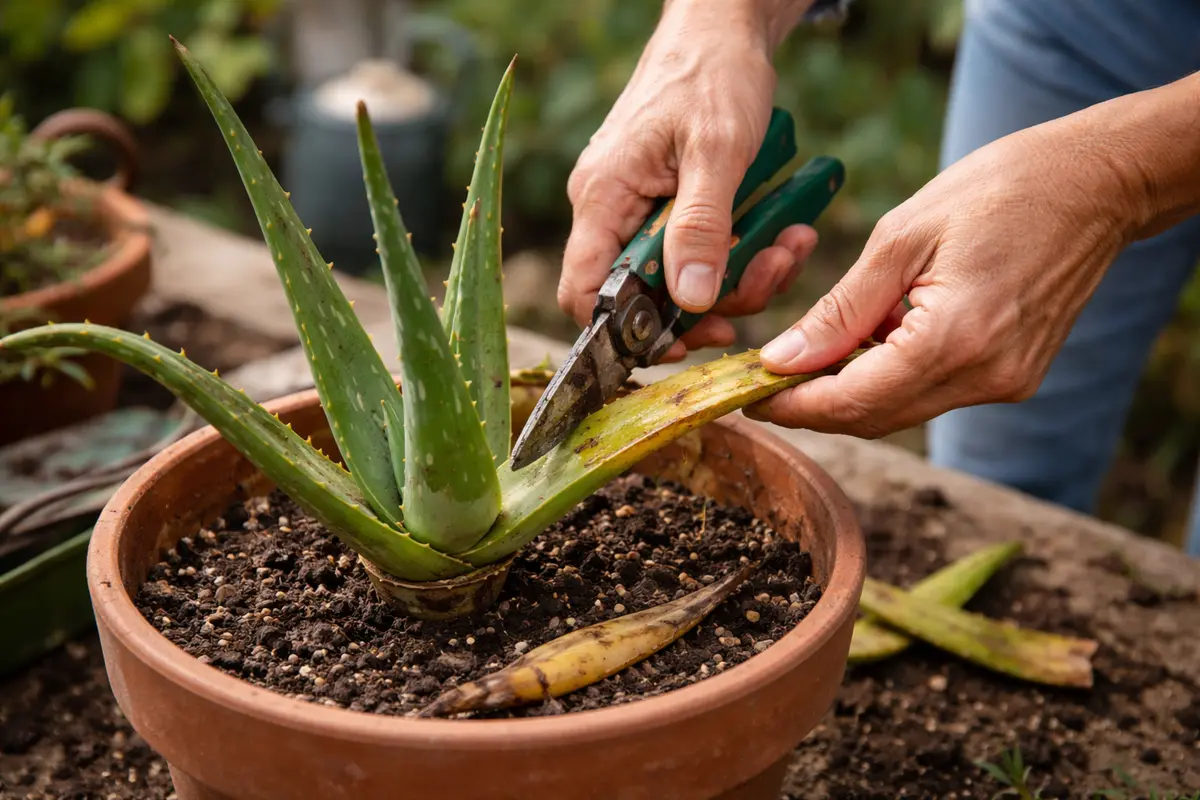
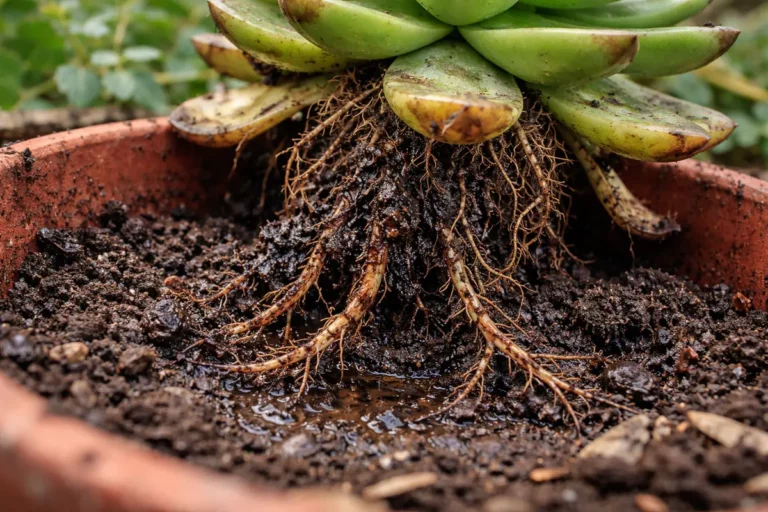
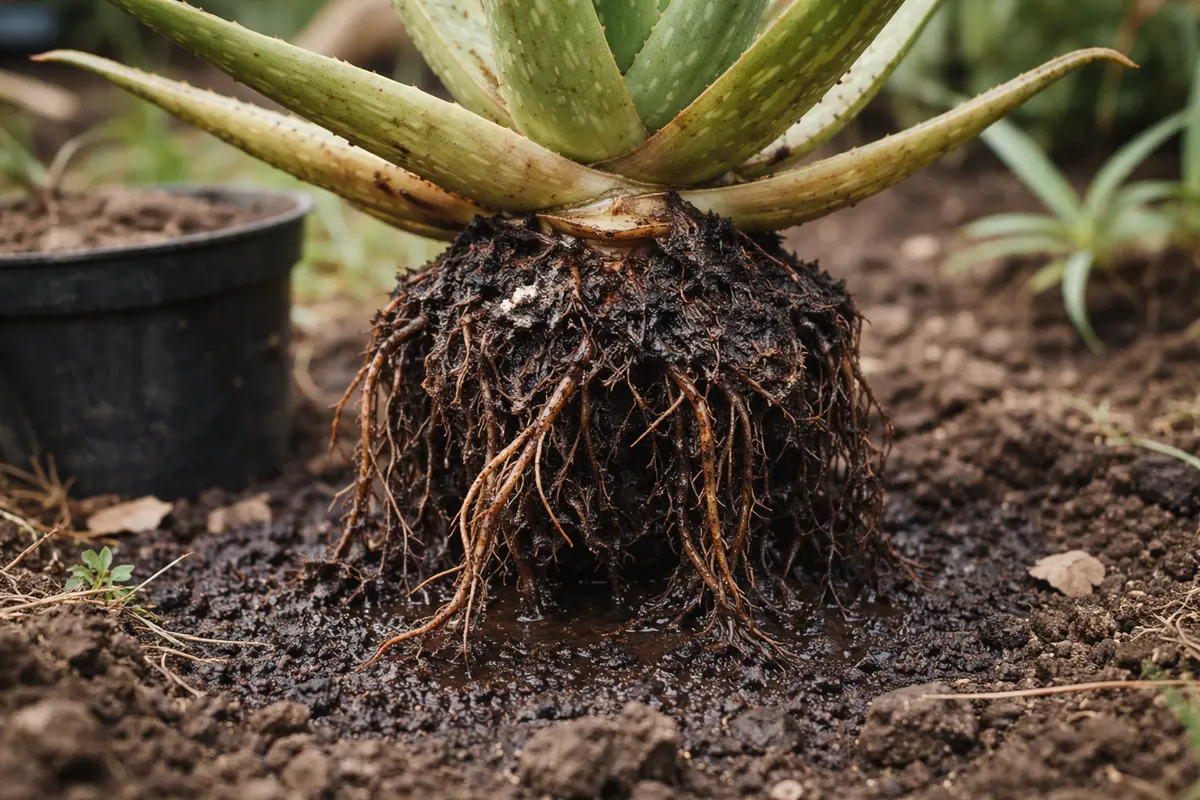
Start by removing your aloe from its pot and inspecting the roots for signs of rot, such as a brown, mushy texture. If you detect any areas that look unhealthy, trim them away using sterilized scissors. You should notice an immediate improvement in airflow around the remaining roots, which helps prevent further rot.
Acting fast is crucial because aloe plants are particularly susceptible to root rot in winter, when the cooler temperatures slow down their metabolism. If you delay in addressing potential rot, the affected roots can continue to decay, leading to more extensive damage and an inability for the plant to absorb water and nutrients properly. If you see yellowing leaves in tandem with wilting, prioritize checking for rot to avoid further decline.
A common mistake is to wait until symptoms exacerbate before taking action; a gardener might only notice browning leaves and neglect the roots until they are mushy and significantly damaged. One gardener learned the hard way that pulling out the plant immediately after spotting early wilting allows for swift recovery compared to letting the plant linger with compromised roots.
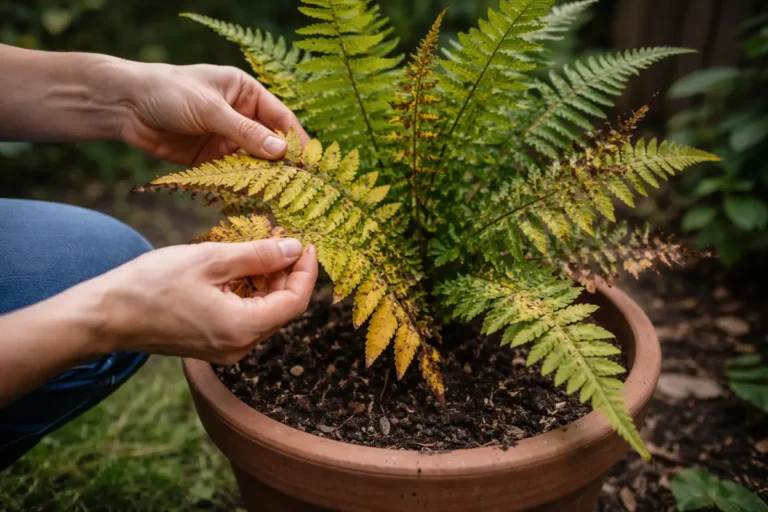
Quickly removing damaged leaves is essential because it prevents further stress on the plant and helps redirect energy towards new growth. In cases of root rot, affected leaves will likely appear mushy or discolored due to the plant’s inability to transport nutrients properly. Notably, healthy foliage will feel firm and resilient, contrasting sharply with the soft and limp texture of damaged leaves. Acting fast can limit the spread of rot to the healthy parts, enhancing the aloe’s chances of recovery. Check for any additional hidden damage at the leaf bases and inside the crevices.
A common mistake is delaying this action, hoping the plant will revive on its own. If you wait too long, the rot can spread to healthier parts, making it much harder for the plant to recover. This is often where enthusiasm to save the plant leads to inaction; gardeners frequently overestimate the ability of the aloe to fight off rot. In my experience, cutting back on damaged sections immediately can make a noticeable difference in their vitality within a few days as the plant focuses its energy on healthy growth. For severe infestations where many leaves are affected, sometimes it’s best to cut back drastically to allow remaining parts to regenerate strong, new growth.
Step 2 – Examine Soil for Heavy Moisture Issues
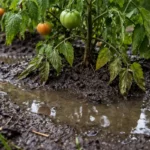
Next, check the soil moisture levels thoroughly. If the soil feels excessively wet or looks waterlogged, you will need to amend it to allow for better drainage. One effective way to check is by inserting your finger into the soil up to the first knuckle; if it feels soggy at any depth, action is required immediately. A crucial sign is if you observe water pooling at the surface, which indicates inadequate drainage.
Heavy moisture often results from improper potting soil mix or inadequate drainage holes, which restricts airflow to the roots and promotes root rot. Aloe plants thrive in well-draining soil; therefore, the retention of excess moisture inhibits their health and can lead to permanent damage. In practical terms, observe your current soil: if you notice large clumps that stick together without crumbling, this is indicative of poor drainage. Addressing this promptly helps to alleviate the stress on the roots, allowing them to recover and breathe. If roots are suffocated in wet soil, they will begin to rot, evident through darkened roots and smells that can signal imminent failure.
If the soil smells sour, do not hesitate to remove the plant from its pot and replace the soil entirely. This action is crucial because lingering bacteria and fungi can proliferate, worsening root rot. A key sign to look for is the visual appearance of grey or black areas on the soil surface, often indicating overwatering. If you observe healthy-looking roots upon removal, gently shake off excess soil and inspect closely for any dark, mushy areas, which should be trimmed away. If, however, you find the soil remains slightly damp but not waterlogged, consider simply adjusting your watering routine instead of repotting. In cases of minor overwatering, just allow the top inch of soil to dry out completely before re-assessing moisture levels, but be vigilant as any change in weather could alter soil moisture rapidly.
Step 3 – Repot Aloe with Fresh, Dry Soil Mix
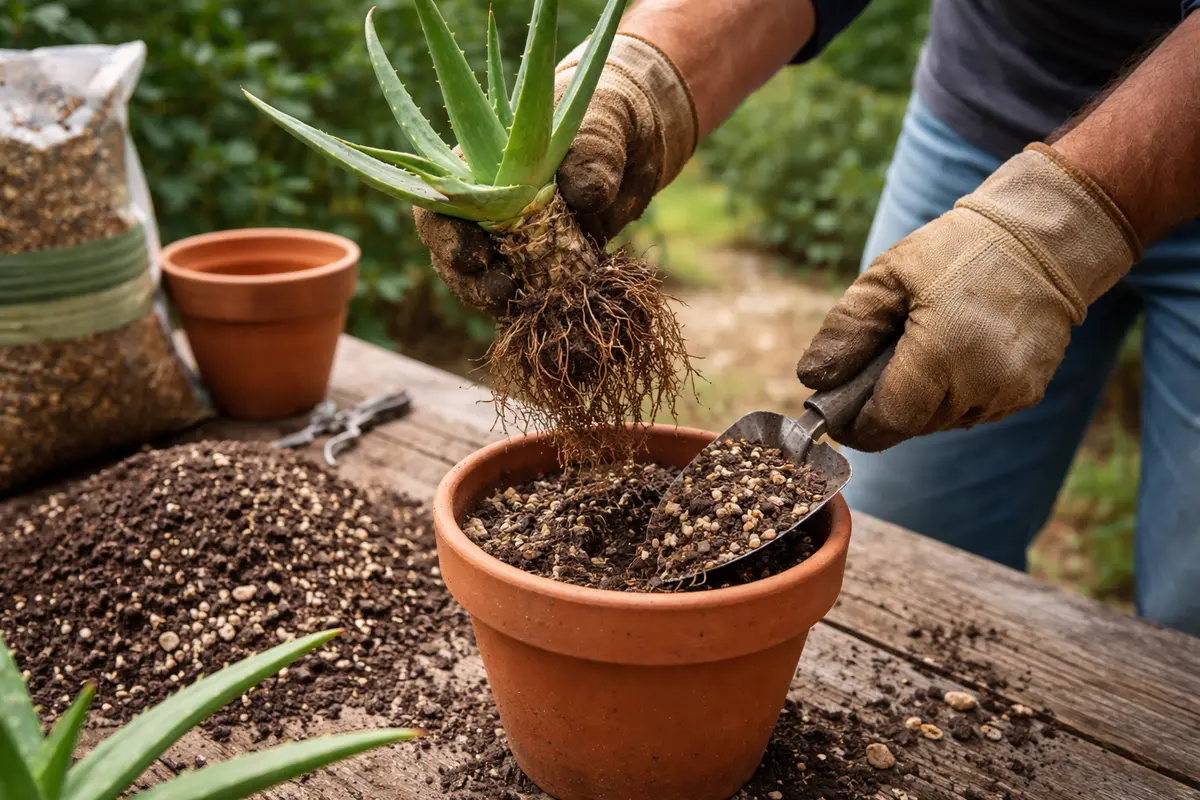
Start by repotting your aloe into fresh, well-draining soil and ensure the pot has proper drainage holes. Within a few weeks, you should notice the leaves firming up and any previously mushy spots beginning to heal, indicating the plant is on the right track to recovery.
During the recovery period, which can take several weeks to a few months, you should observe new, healthy growth at the tips of the leaves or even the emergence of offsets. Factors like consistent but moderate warmth and bright indirect light can accelerate this regrowth, while excessive humidity or colder temperatures will hinder progress. If the plant remains limp and unresponsive, check the moisture level of the soil to ensure it’s not too wet.
Avoid the mistake of overwatering while the aloe is recovering; providing too much water can create further root rot issues. Instead, only water when the top inch of soil feels dry to the touch. If the leaves start to yellow again, check the soil compaction; it might be time for another gentle repotting to ensure adequate aeration.
When repotting, use a cactus or succulent mix as it provides better drainage and prevents excessive moisture retention. Fresh soil enhances nutrient availability and ensures the roots can breathe properly. It’s crucial to avoid using the same contaminated soil, as it can reintroduce pathogens to the plant. After repotting, avoid the temptation to water immediately; allow the roots to settle for a week to minimize shock. This waiting period is vital, as the plant needs time to adapt to its environment without stress from water logging.
A mistake during repotting is over-compensating with fertilizer to speed up recovery; this can further stress the plant during a delicate time. It’s essential to wait at least two to three weeks before fertilizing, as this allows the plant to adjust to its new environment. You should also keep the new pot in indirect sunlight to avoid shocking the roots, which helps them recover more effectively. Providing a stable environment is critical; any sudden changes in light or temperature can cause additional stress. Furthermore, ensure the pot has multiple drainage holes and is at least one size larger than the previous one to encourage healthy growth; consider a terracotta pot for its natural moisture-wicking properties that help maintain balance.
Step 4 – Water Sparingly During Winter’s Cold
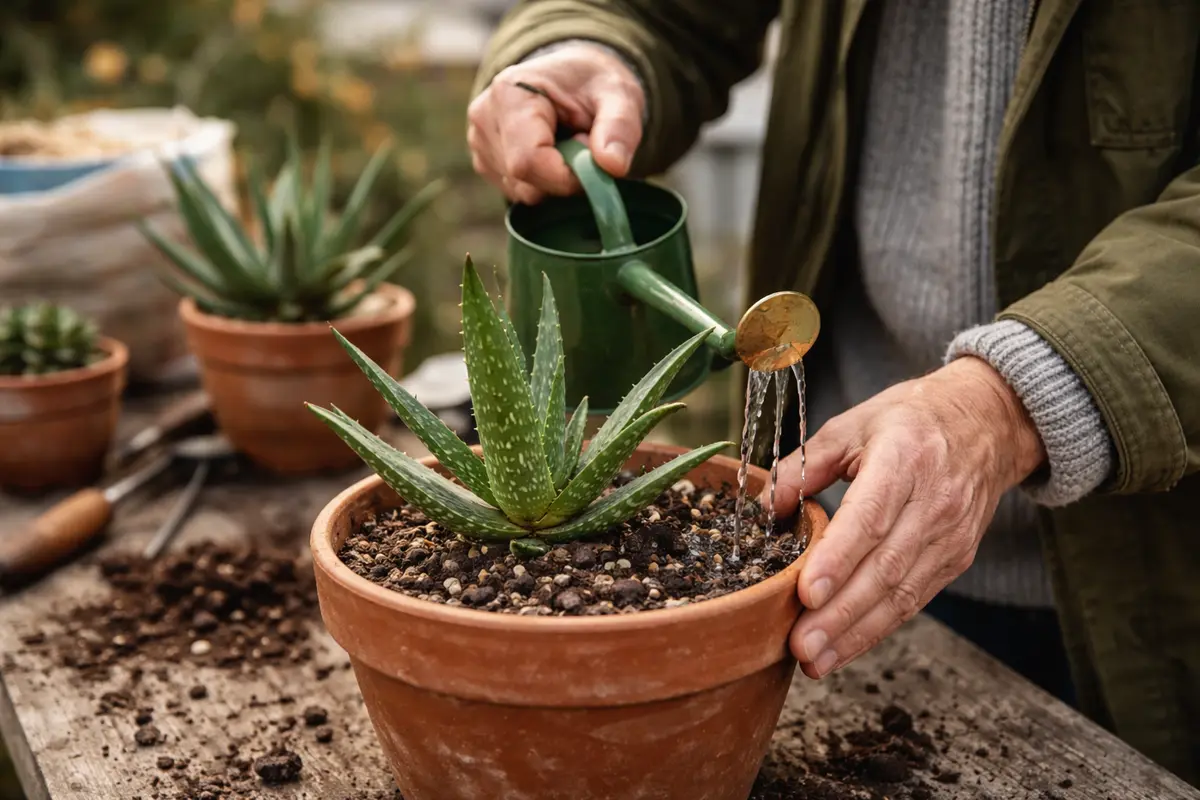
Water your aloe sparingly during the winter months to prevent future occurrences of root rot. You will establish better moisture control, as the soil remains drier, allowing the plant to breathe and absorb nutrients effectively. Consistently observing the soil moisture before watering is fundamental; the top inch of soil should be completely dry before proceeding and gauging the weight of the pot can also offer insight; a light pot typically indicates the soil is dry enough to water.
In winter, the lower temperatures slow down the water absorption and evaporation rates, which means the plant will need less water. To prevent root rot, adhere to a strict watering schedule, allowing the soil to dry out completely between waterings. If the temperatures are below 60°F, reduce watering frequency to once every three weeks, ensuring that any excess water has an immediate opportunity to drain. Notably, adjusting your routine based on temperature fluctuations is vital—colder conditions require adaptations in care. If you notice condensation on the pot or soil surface, delay watering until you can confirm dryness at deeper levels.
A pitfall here is using a fixed watering guide year-round without adjusting for seasonal changes. If you find yourself watering too often, you might see the symptoms returning quickly—always gauge the dryness of the soil before deciding to water. If you notice water accumulating in the saucer, pour it out to avoid re-soaking the roots in moisture. This is particularly crucial after rain or storms, as it can lead to exacerbation of rot if the plant is exposed to prolonged dampness. Keeping a watchful eye on the tail end of winter can alert you to any signs of overwatering or excessive dampness.
Step 5 – Inspect Aloe Roots for Signs of Rot Weekly
Start by monitoring your potted aloes weekly during winter, checking for signs of waterlogged soil or unhealthy root conditions. Focus on the moisture levels by feeling the top inch of the soil; if it feels damp or soggy, hold off on watering until it dries out. Recheck the soil moisture every five to seven days to prevent excessive dampness that encourages root rot.
A fully recovered aloe will have firm, plump leaves with a vivid green color, while early signs of returning issues include leaves that appear translucent or mushy, often signaling internal damage. If you notice any soft spots developing again, this stark contrast to its previously healthy state can indicate that root rot is beginning to resurface, which is critical for swift action.
If root rot symptoms return despite your careful monitoring, take immediate action by repotting the plant in fresh, well-draining soil to eliminate the infected portion of the roots. Should the problem persist within a few weeks, consider treating the aloe with a fungicide specifically designed to combat root rot diseases to prevent further degradation.
A fully recovered aloe will show signs of new growth, firm-textured leaves, and vibrant color. Regular inspections will help you stay ahead of any potential recurrence of root rot, allowing you to address any issues promptly. Be vigilant about checking for any unusual odors, which often indicate bacterial growth; if you detect any signs of concern, such as slimy roots or unusual smells, be prepared to isolate the plant again. This vigilance can make a difference between ongoing issues and a healthy plant.
If the problem returns despite your best efforts, you’ll need to consider re-evaluating your overall care regimen, including soil type or potting conditions. It may be beneficial to utilize a fast-draining potting mix or even experiment with a terracotta pot, which helps wick away excess moisture. You may also need to consult a professional if the issue persists; sometimes, the root rot could signal deeper issues that require expert diagnosis beyond what DIY care can achieve. Observing consistent symptoms over several cycles suggests it may be time to change your approach altogether; highlighting any seasonal trends can further help mitigate these issues over time.
FAQ
How long does it take for aloe to recover from root rot?
The recovery time for an aloe from root rot varies, but typically you can expect to see improvements within two to four weeks if conditions are corrected. New healthy growth is a good sign that recovery is underway; however, patience is essential as rushing the process may lead to setbacks. Monitoring growth closely and providing optimal care during this period helps facilitate a smoother recovery.
Can root rot spread to other plants nearby?
Yes, root rot can spread through soil that contains fungi and bacteria. If the infected plant is not isolated, there is a risk that the pathogens can travel to neighboring plants through the shared soil or underground roots, making prompt action vital for all nearby plants. Preventive measures, such as keeping separate pots and practicing good hygiene in your gardening setup, will reduce these risks.
Should I remove all old roots when repotting?
Yes, it’s advisable to trim away all visibly rotten or mushy roots when repotting. Healthy roots appear firm and white; removing only the damaged areas allows the plant to focus on recovering with the remaining healthy roots. Careful examination at this stage is critical to ensuring long-term health, as any unnoticed rot can establish itself all over again.