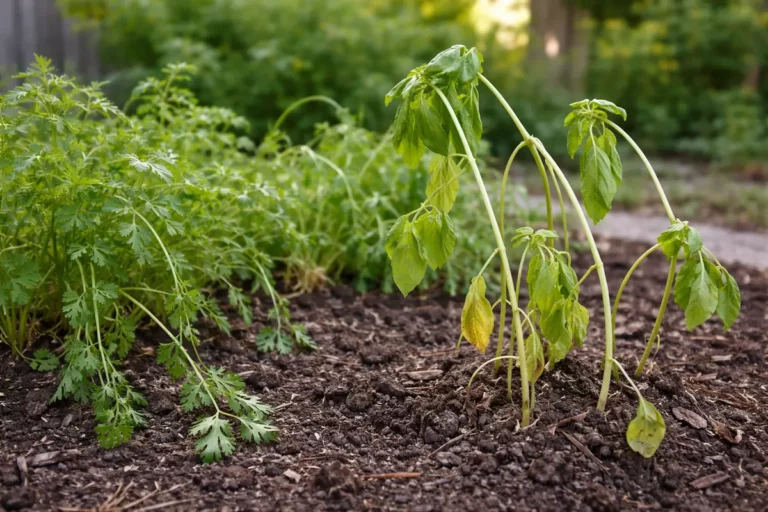
You may notice drooping stems on your indoor peace lilies during winter, which is a clear sign that you need to know how to fix drooping stems on indoor peace lilies during winter. This drooping is often caused by a combination of low light levels and inconsistent watering, leading to wilting and overall poor health. Ignoring this problem can lead to more damage and even stall growth, but fixing it is possible now by adjusting your watering routine and improving the plant’s light conditions.
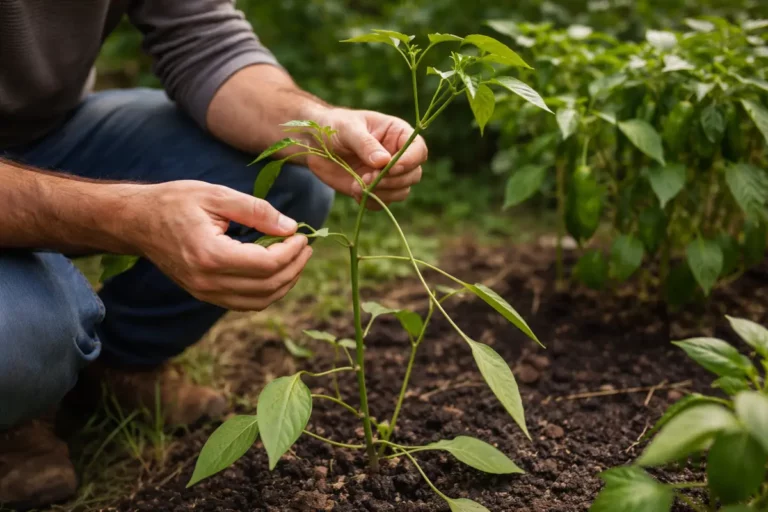
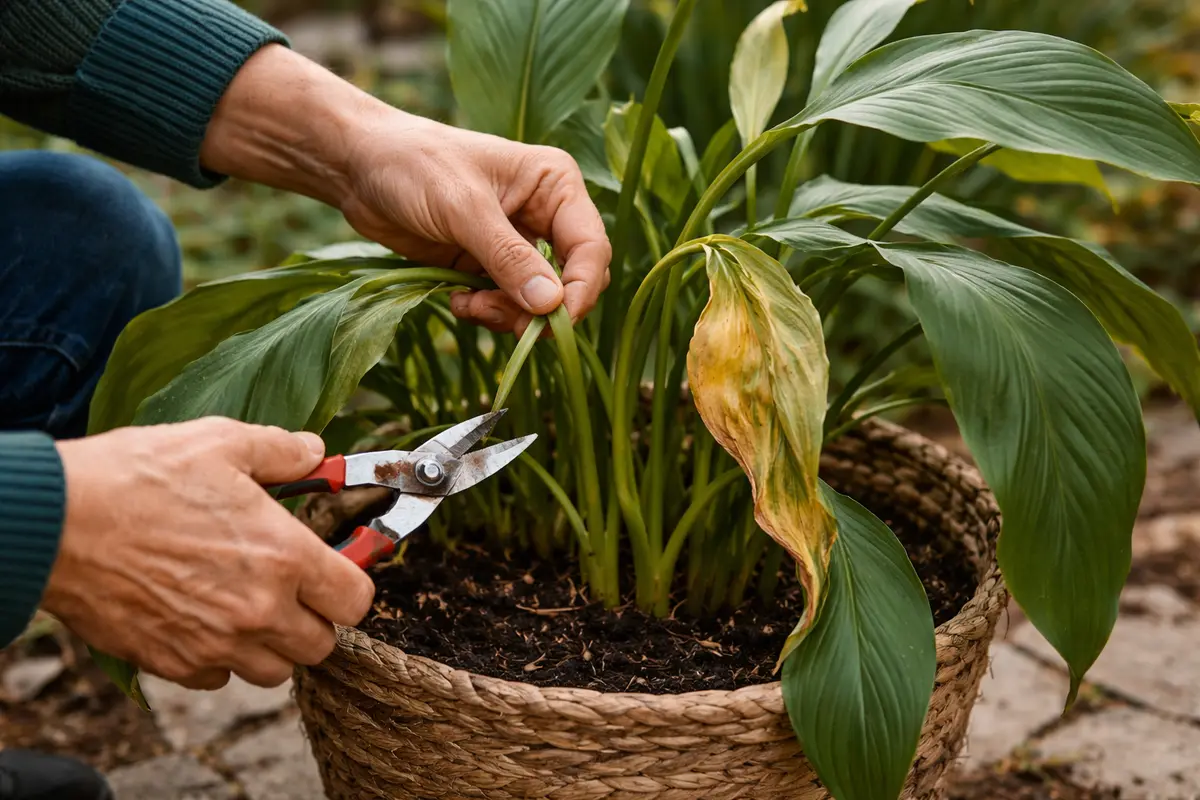
Step 1 – Prune Peace Lily Stems Immediately
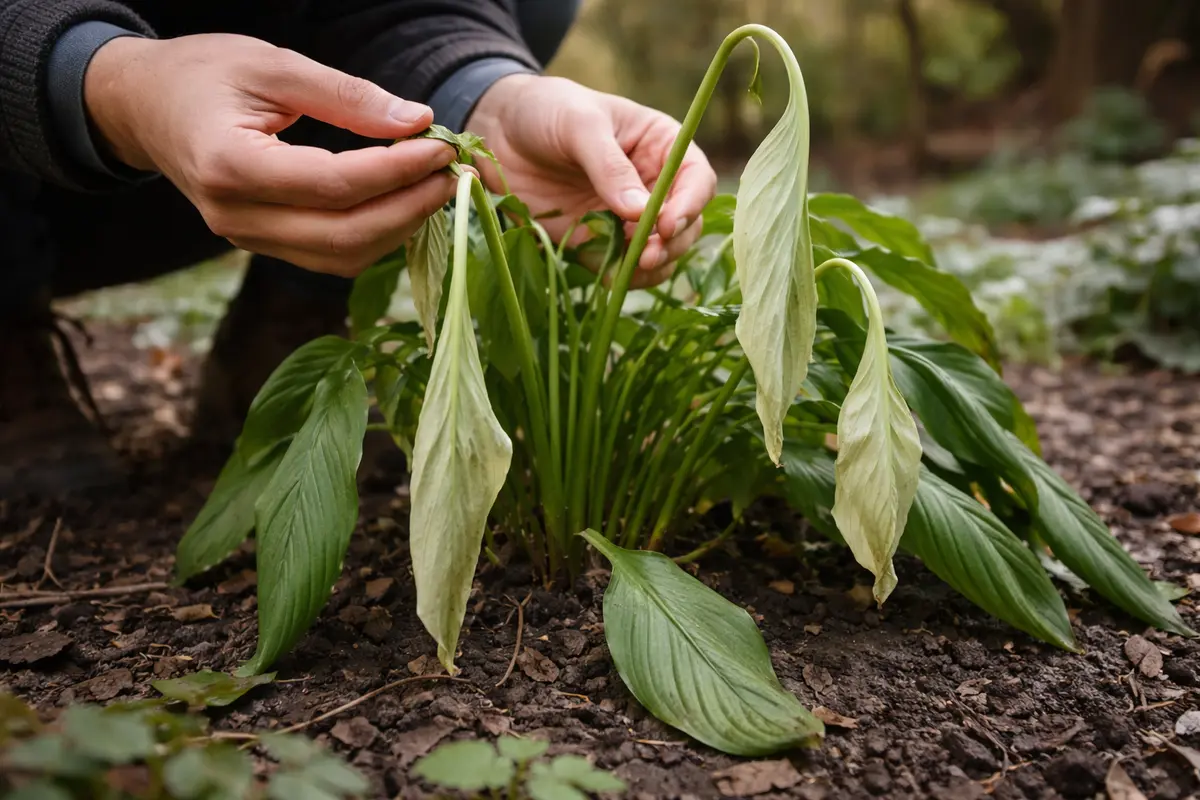
Start by gently propping up the drooping stems of your peace lily with stakes or small supports to prevent further bending and damage. Additionally, adjust the plant’s placement to a brighter location, without direct sunlight, which should result in the leaves looking perkier within a few hours as they respond to the light change.
Acting quickly is essential because peace lilies can experience wilting due to inadequate light during winter months, which affects their water intake and leaf turgor pressure. If you delay addressing drooping, the roots may become stressed and rot from overwatering, leading to an irreversible decline. Keeping the plant out of low-light conditions maintains cell turgidity and overall resilience.
A gardener once waited too long to address their peace lily’s drooping stems and later discovered the roots had begun to rot. By that time, they faced a more challenging recovery process with limited options to restore the plant. If a peace lily’s leaves are still supple but drooping, address the environment first; if leaves are crisp, check the soil moisture immediately.
Acting quickly is crucial because when peace lilies experience insufficient water, they become stressed, which leads to drooping stems. If you delay addressing this issue, the roots may begin to suffer irreversible damage, resulting in prolonged wilting and potential plant death. Observe carefully: a well-hydrated peace lily will exhibit bright, upright leaves, while one in drought shows drooping and yellowing, indicating further distress; if wilting continues, check for root rot or compacted soil.
For example, a gardener noticed drooping stems but waited too long to water. By the time action was taken, root rot had set in, and much of the plant was beyond recovery. A common mistake at this stage is assuming the plant will bounce back on its own, risking loss if not promptly watered and assessed for underlying issues.
Pruning lets the indoor peace lily conserve energy for its viable leaves and roots, which is essential for recovery and delivers observable improvement. Removing these drooping stems redirects the plant’s resources effectively, often translating into visible perks in the healthy foliage within just a few days. An important point to remember is that failing to prune could lead to stagnation in the plant’s growth, worsening the health of the entire plant and increasing susceptibility to pests and diseases. The weakened parts can harbor pathogens that thrive in less-than-ideal conditions, making quick action crucial. If the drooping stems appear very limp or discolored, pruning them promptly can help prevent further decay and infection.
A common mistake many gardeners make is to wait too long to prune, thinking the stems will recover on their own. This delay can lead not only to further stress on the plant but can also mask underlying issues like insufficient light or excessive watering. This often happens when the initial signs are overlooked, allowing the situation to deteriorate. When the stems droop excessively, it often indicates that the plant has exceeded its tolerance thresholds. If, upon pruning, you notice that the plant still exhibits drooping or limp stems, this might indicate that multiple factors are at play — such as environmental stressors or poor soil quality — requiring additional intervention to ensure your peace lilies’ recovery.
Step 2 – Diagnose Overwatering Issues in Peace Lilies
Check the soil moisture to determine if overwatering is affecting your peace lily. You should notice excess moisture or soggy soil, which can contribute directly to stem drooping. Measuring the moisture by inserting your finger about two inches into the soil helps confirm this; if it feels soggy or squelches when pressed, it indicates overwatering. Correcting this issue may involve adjusting your watering schedule to allow the soil to dry out slightly between waterings, ideally allowing the top two inches of soil to become dry to the touch before the next watering. Thus, if your peace lily was watered heavily just before drooping appeared, reducing your watering frequency to once every 10-14 days will likely yield positive results within a week.
Overwatering can suffocate roots, preventing them from absorbing oxygen and nutrients vital for the plant’s efficiency. When the soil remains consistently moist and does not drain properly, roots can begin to rot; this is often characterized by a persistent yellowing of the leaves. To assess the situation, feel the soil; if it is compact or emits a sour, musty smell, it indicates that water has pooled, and the roots might have drowned, which restricts their function. If soil conditions are not addressed quickly, the drooping can become a chronic issue, making recovery difficult. Under these circumstances, it may also be necessary to inspect the drainage holes at the bottom of your pot; if they are blocked, water will accumulate and worsen root suffocation.
If your peace lily has been placed in decorative pots without drainage holes, this can exacerbate the problem. Consider removing the plant from its pot to check if any root rot has set in, which is often characterized by brown, mushy roots versus healthy white or firm roots. If you notice signs of rot while inspecting the roots, it’s crucial to trim away the affected areas with sterile scissors to prevent further infection. Additionally, if you find that the soil still smells sour after addressing explicit watering habits, it may be time to completely change the soil to revive your peace lily. After such heavy interventions, consider lifting the pot into a tray of dry pebbles — this enhances drainage and aeration by allowing excess water to escape the pot rather than pooling around the roots. This method is especially effective if the container retains moisture longer than anticipated, so pairing it with your new watering routine can significantly help.
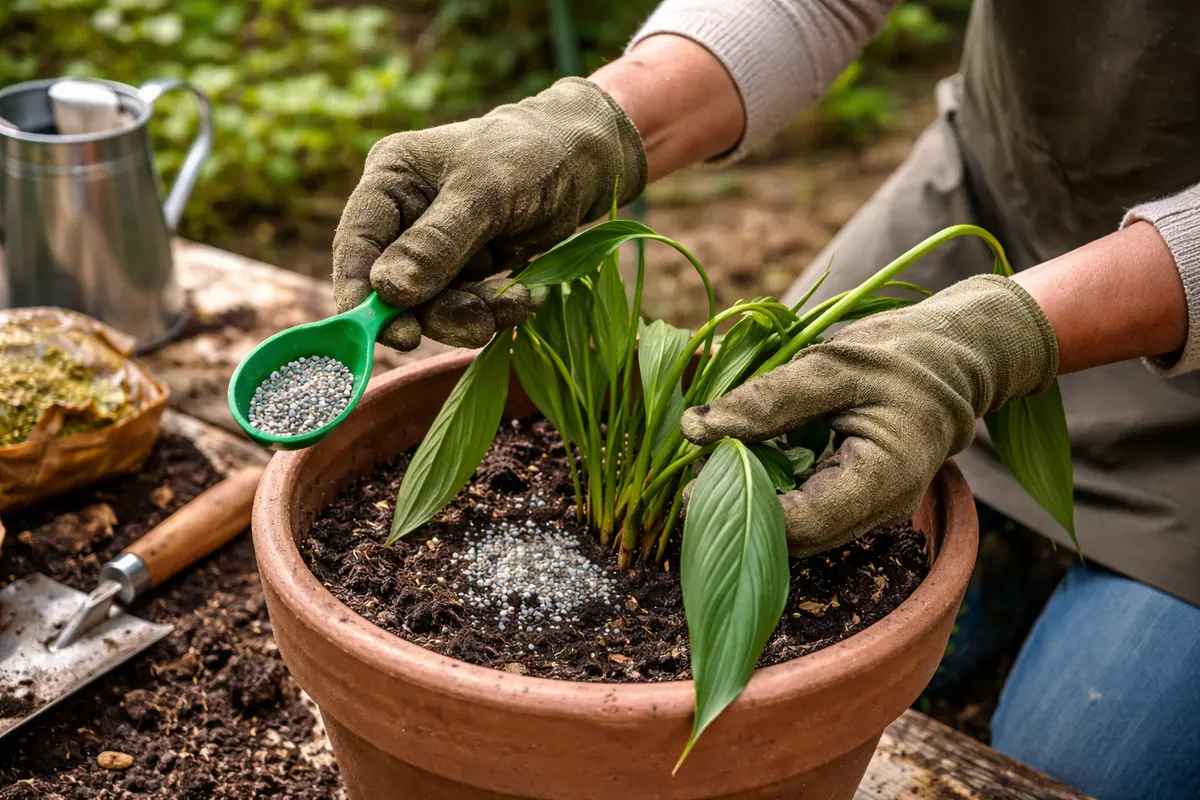
Step 3 – Revive Peace Lily with Nutrient Boost
Start by gently rehydrating the peace lily if the soil is dry, ensuring water drains out of the pot’s bottom to avoid soggy roots. Visible improvement should occur within a few days, as the stems begin to upright and the leaves regain their rigidity. To prevent future drooping, establish a routine of checking moisture levels weekly during winter, ensuring that the plant does not remain in dry soil for extended periods.
Recovery can take anywhere from a few days to two weeks, depending on the extent of dehydration. Consistently low humidity levels may trigger reoccurrence of drooping, particularly if the plant is located near heating vents or in overly dry rooms. If the leaves remain limp despite proper watering, check the root system for signs of rot that could necessitate further intervention.
A common mistake during the transition from recovery to prevention is over-watering in an attempt to accelerate recovery. If the soil remains consistently wet, it risks suffocating the roots and causing leaf yellowing. Instead, monitor the top inch of soil; if it feels moist but the plant appears droopy, examine the environmental conditions before adjusting your watering schedule.
Recovery can begin to show results within a couple of days as the root system rehydrates, but if the stems continue to droop despite regular watering, it may indicate an ongoing issue like low humidity or inadequate light. Peace lilies thrive in higher humidity; therefore, it’s crucial to maintain a humidity level of at least 40-50%. If not this humidity, check that your peace lily is still receiving indirect light throughout the day.
A common mistake during the recovery-prevention phase is overwatering immediately after noticing drooping stems, which can lead to root rot. Instead, assess the plant’s environment first: if the leaves appear yellow or mushy, that’s a sign of too much water, whereas if they remain vibrant but droop, a lack of moisture is likely. Adjust your watering habits based on observed symptoms to maintain balance and prevent recurrence.
If you opt for a balanced fertilizer, select one with an NPK (nitrogen, phosphorus, potassium) ratio of 20-20-20 diluted to half strength, as directed on the package. Over-fertilizing can lead to leaf burn, a problem that often manifests through browning leaf edges or tips. An observable sign of this issue could be yellowing leaf tips or edges alongside browning, especially if this softens while the rest of the foliage appears sharp and green. To avoid such pitfalls, ensure you mix distilled or rainwater with the fertilizer, as tap water often contains chlorine and other chemicals that can harm the delicate balance needed for effective nutrient uptake. Proper dilution, in particular, supports gentle absorption, especially during the stressful winter months.
Commonly, gardeners forget to fertilize during winter, erroneously thinking their plants are dormant and don’t need nutrients. However, inadequate nutrients can weaken peace lilies, leading to chronic symptoms, including drooping leaves, reduced leaf size, and stunted growth. A false sense of security can often manifest when the plant appearance seems to stabilize temporarily; this should prompt further assessments of nutrient levels. A proactive approach, combined with light adjustments, can effectively enhance your peace lily’s overall vitality during its resting phase. Timing is crucial; for instance, applying fertilizer near the end of December or the beginning of January can assist in offsetting nutrient shortages, ensuring the plant is ready to resume active growth as spring approaches. Make it a habit to check nutrient levels monthly to encourage consistent plant health.
Step 4 – Inspect Leaves for New Drooping Signs
Monitor your peace lily for any new drooping signs every 3-4 days after implementing the previous steps. Observe improvements such as firmer stems and new leaf production, which typically signifies that recovery is taking hold. Regular assessments are essential for ensuring that previous issues remain under control and for identifying new problems before they escalate significantly. A clear improvement in vigor will be a visible reward for your diligent care and proper adjustments. In a well-maintained peace lily, new growth should emerge around the tip of the central stalk if conditions improve.
A fully recovered peace lily will exhibit vibrant, upright foliage and robust leaf integrity, indicating that the plant is regaining its strength and coping better with its surroundings. In contrast, yellowing leaves or softening stems during your observational periods may signal that your interventions are insufficient, thus calling for deeper inquiries into the plant’s environmental conditions. Adjustments such as improved ventilation or augmented lighting play a significant role in recovery; symptoms like soft stems could suggest that the plant does not receive adequate circulation or becomes exposed to cold drafts. Pay particular attention to changes in lighting or air circulation; if symptoms worsen within a week of your interventions, the peace lilies may not be receiving adequate light or humidity levels.
If the drooping reappears despite diligent care, investigate surrounding factors that could affect its performance. Common issues include low light locations, air drafts from opened windows, sudden temperature shifts caused by heater vents, or undetected pests. For instance, placing peace lilies near heating vents can cause rapid drying and exacerbate stress levels. Adjusting the plant’s placement closer to a diffused light source while maintaining consistent humidity with a pebble tray filled with water can help remedy this situation. If symptoms persist, also monitor for pests like spider mites or aphids, which can siphon nutrients and further compromise the plant’s robustness. If more than one stem appears weak, reassess both watering and lighting immediately.
FAQ
How long does it take for peace lilies to recover from drooping?
Recovery can typically take about one to three weeks if the proper care steps are followed consistently. You should notice visible signs of improvement — such as new stem growth or revived foliage during this period — particularly as you adjust environmental conditions. A quick tip is to take photographs from the same angle periodically; this creates a visual record of progress that can help you track recovery over time. If no noticeable changes appear after three weeks, reevaluating all care factors may be necessary, potentially consulting with local horticultural experts for specific recommendations.
Will overwatering continue to spread problems in my peace lily?
Yes, overwatering can lead to root rot and other diseases that spread throughout the plant. Monitoring soil moisture closely and ensuring proper drainage is crucial to prevent this issue from worsening. If you notice any signs of mold on the soil surface or a persistent sour smell, those symptoms indicate a worsening condition, necessitating immediate action to prevent loss of the plant. Investigate the potting medium as well; using a more suitable mix — one specifically designed for peace lilies or tropical plants — can prevent future mishaps and improve drainage significantly.
Should I remove all drooping leaves from my peace lily?
It’s best to remove only the visibly drooping leaves while keeping healthy ones intact. This selective pruning allows the plant to maintain its strength and energy to foster recovery. Removing too many leaves at once can stress the plant further and hinder its ability to bounce back. Instead, focus on pruning the most affected areas with each session to encourage new growth while preserving the overall vitality of your peace lily. Timing your pruning to coincide with other restorative measures often enhances the recovery process significantly, as the plant can better allocate its resources to the remaining healthy portions.