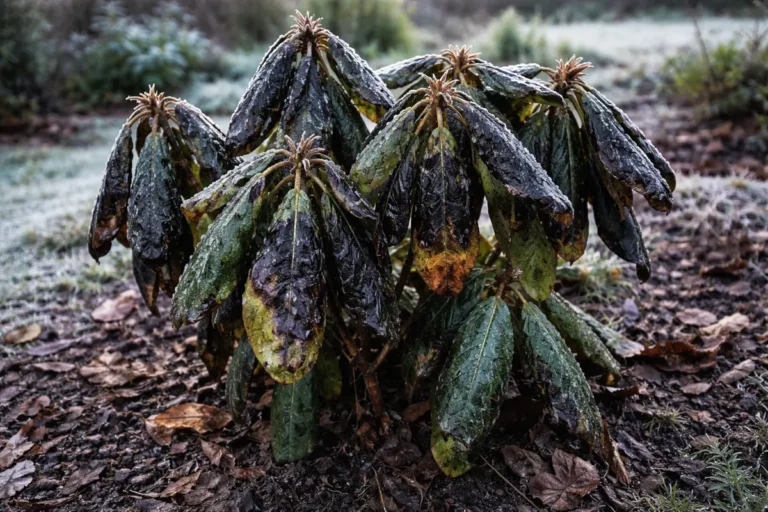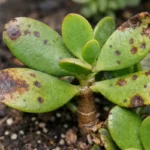
You may notice unsightly black spots on your tulips after frost damage, which is why you need to know how to fix black spots on tulips after frost damage. These spots occur when freezing temperatures compromise the plant’s tissues, causing localized tissue death that leads to discoloration. If left untreated, this condition can worsen, spreading to other leaves and weakening the health of the entire tulip plant. Taking immediate action is crucial to stabilize and enhance recovery, allowing the tulips to flourish again with proper care and adjustments in your gardening routine.
Step 1 – Cut Back Damaged Tulip Leaves Immediately
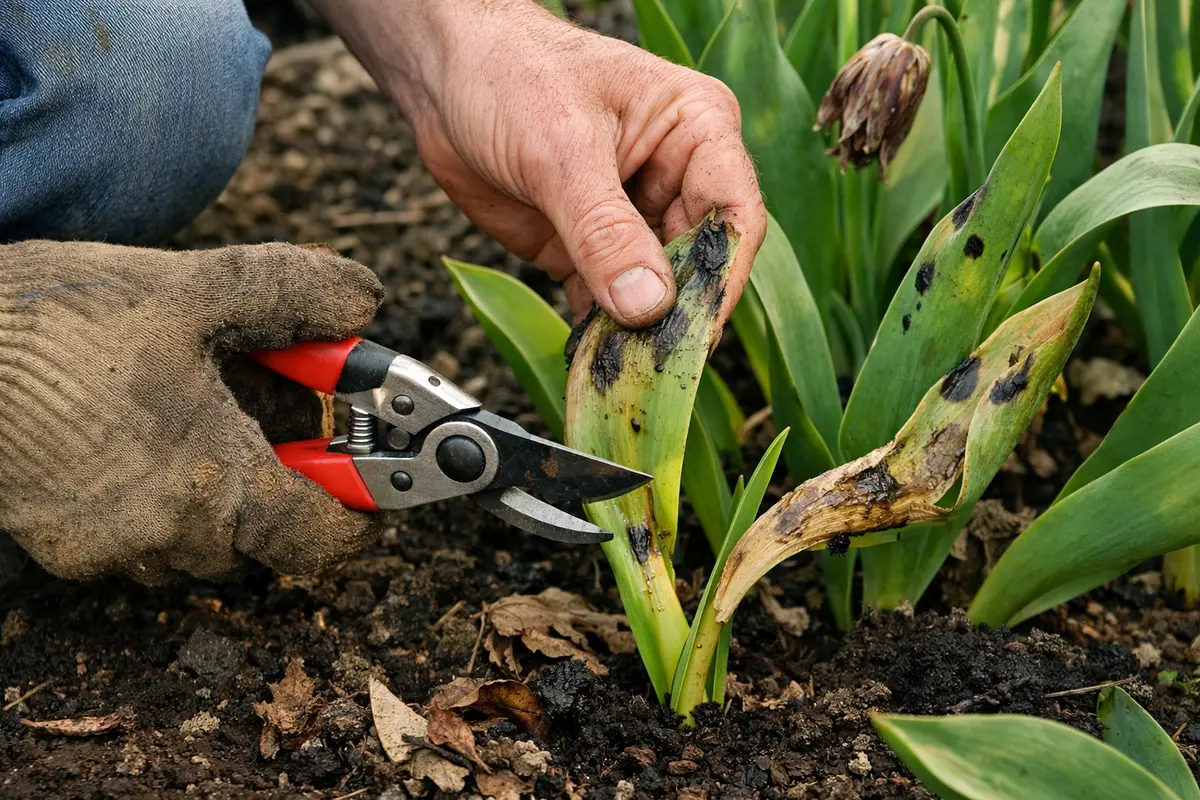
First, prune away any leaves showing black spots, cutting them at the stem to prevent further fungal spread. After pruning, you should see healthier leaves emerging in the coming days, as this action reduces the chances of disease progression and allows the plant to redirect its energy towards recovery.
Acting quickly is vital for tulips affected by frost damage because delaying action can lead to increased susceptibility to disease, like fungal infections thriving in damaged tissues. If you allow black spots to persist, the underlying tissues will weaken, and the bulbs may not recover properly, risking their chances for future blooms. If you notice wilting rather than firmness in the tulip leaves, check for moisture levels; if they’re overly wet, consider adjusting your watering habits.
A gardener once neglected to remove frost-damaged leaves and ended up with extensive fungal growth on their tulips, resulting in a poor bloom season. Conversely, another gardener promptly pruned and applied a fungicide, leading to a robust recovery and vibrant flowers later in the season. Many often hesitate at this stage, mistakenly thinking trimming might further stress the plant, while in reality, timely removal is essential for a healthy regrowth.
Acting quickly is essential because frost-damaged leaves can become conduits for disease. The longer you leave damaged leaves on the plant, the more susceptible it becomes to fungal infections and further dieback. Additionally, black spots can inhibit photosynthesis, obstructing recovery by preventing the plant from efficiently converting sunlight into energy. Once the damaged leaves are cut, the plant seems to “breathe” easier, as any lingering stressors are removed. If you notice any wilting or browning on adjacent leaves, those too may need to be pruned to prevent further spread of damage. Monitor the cuts for any indication of oozing or decay, which could suggest that infection is entering the plant. Healthy leaves adjacent to damaged ones can become susceptible if the affected areas are not promptly managed.
Many gardeners make the mistake of delaying pruning, hoping the plant might recover on its own. However, this procrastination can lead to more extensive damage, as affected areas often worsen in the days following frost exposure. If you see any slime or oozing around the leaf bases, it’s critical to remove those leaves immediately to stop further spread. Additionally, if adjacent leaves exhibit curling or wilting, this indicates that damage may have penetrated to the underlying bulb. By acting swiftly, you can mitigate the progression of damage and curb any risk of rot that could develop from dead material lingering on the plant. Waiting too long can turn manageable damage into a scenario requiring invasive intervention.
Step 2 – Diagnose Frost Impact on Tulip Bulbs
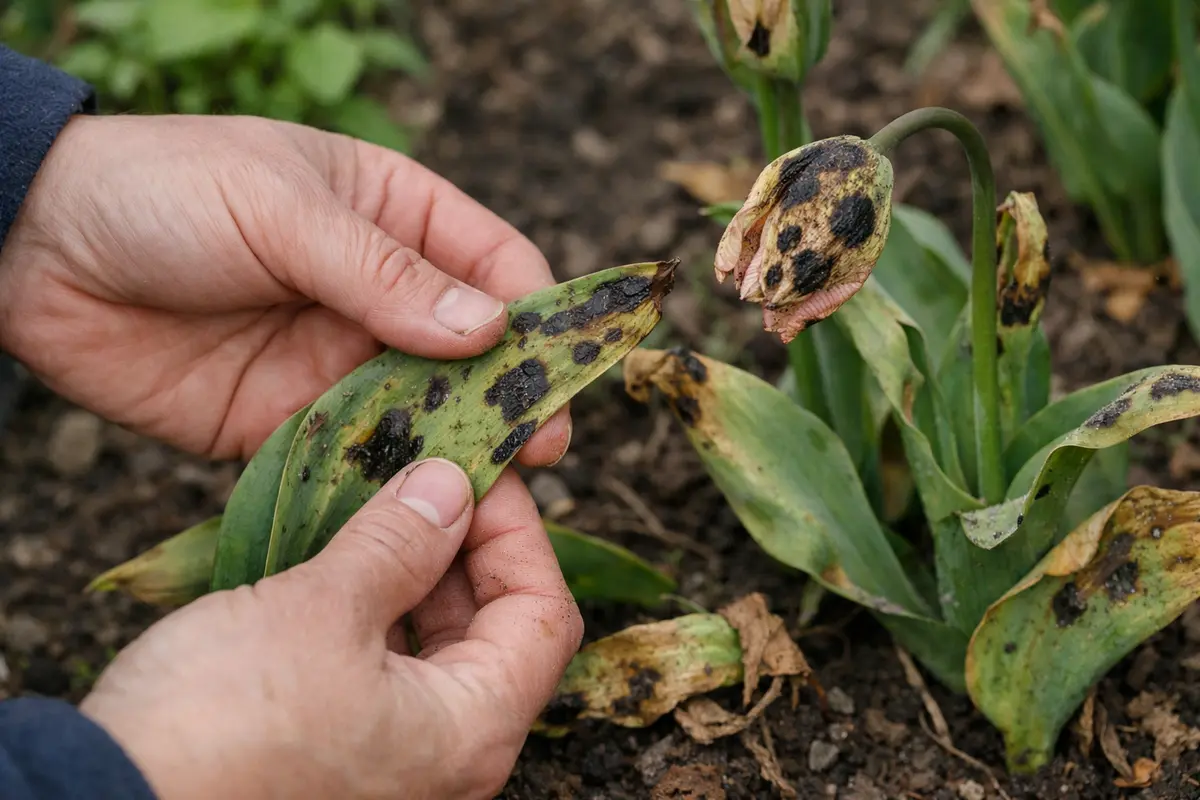
First, inspect the affected tulips closely to identify if the black spots are concentrated on the leaves or stems. Remove any damaged foliage with clean, sharp scissors to promote airflow, and you should begin to see improved plant appearance within a few days as healthier tissue is exposed.
The black spots indicate fungal infection, which often occurs after frost damage, creating wounds on the plant that allow pathogens to invade. The moist conditions following a frost encourage the spread of fungus in the soil, leading to visible issues above ground on the plant’s surface. If your tulips show signs of browning at the edges, this suggests a more severe tissue injury from the cold rather than a mere fungal issue.
If the soil smells sour, it points to poor drainage that could exacerbate fungal infection; amend with sand or compost to improve aeration. Conversely, if you notice white, powdery patches rather than black spots, it might suggest a fungal disease like powdery mildew, requiring different treatment methods involving fungicides.
The condition of the bulbs directly ties to the moisture levels in the soil. Frost can create conditions that promote inadequate drainage and subsequent root rot. If tulip bulbs are compromised, nutrient absorption becomes ineffective, which can result in further widespread damage over time. If you catch an acrid odor emanating from the bulbs, this often suggests active botrytis or rot, necessitating immediate attention. Handle the bulbs with care, as rough handling can cause further damage during your inspection. A gentle squeeze should suffice; if you cannot easily penetrate the skin with light pressure, the firm texture suggests the bulb is still viable. If the flesh feels overly pliable, it’s crucial to act before the entire plant succumbs to rot.
If the soil emits a sour smell, it could indicate the presence of anaerobic bacteria from excessive moisture. In such cases, improvement of drainage is necessary; adding organic matter like compost or perlite can promote healthy soil conditions. If rot appears extensive, consider removing the bulbs and replacing them with fresh strains that are more resistant to frost damage. As you assess the surrounding soil texture, look for compaction that retains excessive moisture too long. Proper aeration is critical; ideally, soil should dry out within a few hours of watering to prevent dieback. Frequent checking is essential. If other plants in the area show similar stress, this may indicate broader soil health issues that require reevaluation of your gardening approach. Testing the drainage by watering the area and observing how quickly the water recedes can provide further insight.
Step 3 – Fertilize Tulips to Encourage Growth After Frost
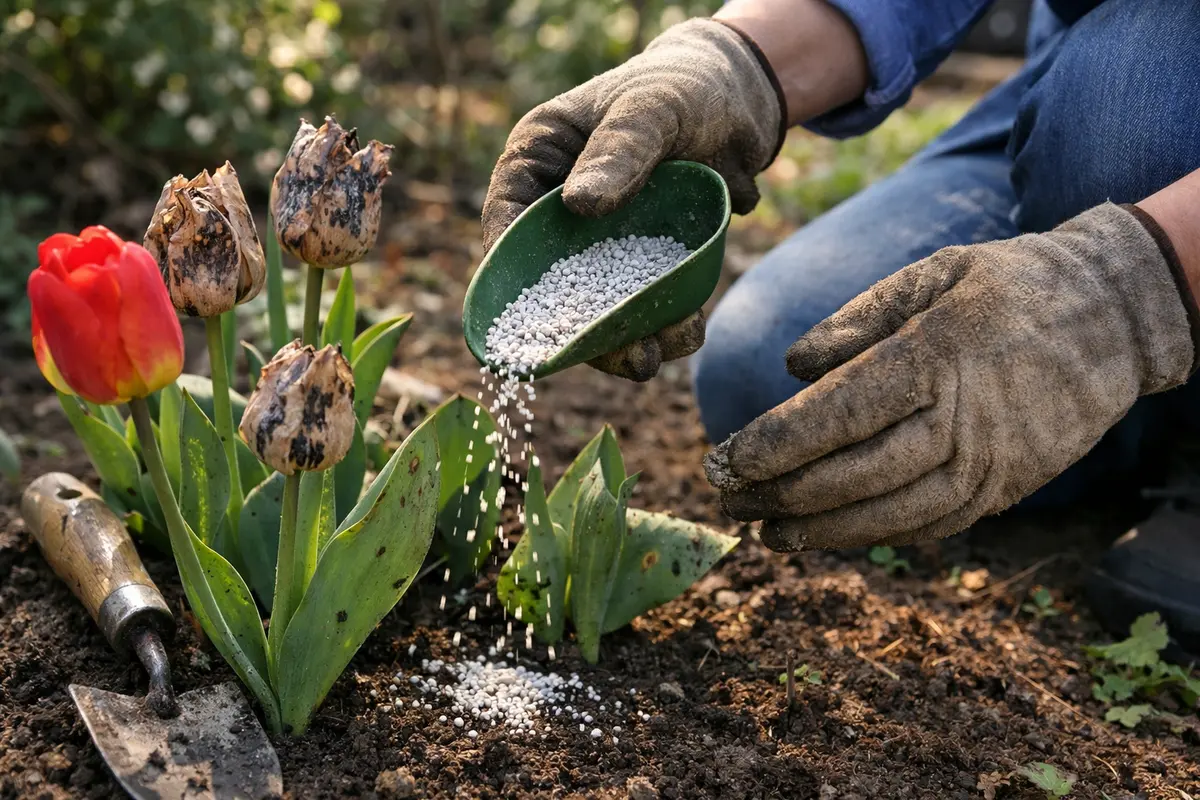
Apply a balanced fertilizer specifically designed for flowering plants. Within a week, you should see an increase in new growth, indicating a positive response to the nurturing. This nutritional boost supports the tulips while enhancing their ability to withstand the stress from frost damage. Opt for a fertilizer with higher phosphorus content to promote root strength and blooming capability, ensuring you adhere to label instructions to avoid over-fertilization, as this could damage the already compromised plants. It’s best to apply fertilizer during the early morning or late afternoon when temperatures are cooler, reducing nutrient evaporation. Another best practice is to water the soil lightly prior to application to reduce root burn, which can occur when fertilizer comes in direct contact with the bulb.
The rationale behind fertilization is straightforward; post-frost, tulips may lack essential nutrients that were washed away or rendered unavailable due to root damage. Using the right nutrients is vital for recovery, aiding in reconstructing the bulb’s strength. Always follow the recommended application rates—over-fertilizing can do more harm than good. Apply the fertilizer at the base of the plant while avoiding contact with the leaves, as this can lead to burning and additional complications. A helpful practice is to lightly water the area after fertilization to ensure the nutrients penetrate down to the roots effectively. Expect noticeable growth within a few weeks if the conditions are right; however, if growth stagnates, the fertilizer may have been ineffective due to underlying problems.
A common mistake gardeners make is rushing to fertilize before fully evaluating the condition of the bulbs and the soil. Applying fertilizer when bulbs are still rotting or the soil remains overly saturated renders the effort futile, as the damaged bulbs won’t absorb nutrients efficiently. Prioritize confirming that drainage is adequate and bulbs are firm before proceeding to fertilize. Following the initial application, repeat every four to six weeks for consistent growth, but monitor for signs of progress. If no new growth appears after fertilizing, it may signal deeper issues such as continued bulb damage or soil infraction. In such cases, it may be beneficial to consult with a local gardening service for tailored advice. Adding a layer of mulch can also help retain soil moisture while providing gradual nutrient release. When feeding is uneven, plants may show your petunia plants turn yellow in.
Step 4 – Inspect Tulip Leaves for New Black Spots Weekly
Start by checking your tulips at least once every few days for signs of improvement or any return of black spots. Observe the foliage for new growth that is green and vibrant, which indicates recovery, while also keeping an eye out for any re-emergence of dark patches or wilting leaves. If you notice these early signs of trouble, recheck the plants weekly to assess changes and take prompt action.
A fully recovered tulip will display healthy green leaves, firm in texture and free from any discoloration, while early signs of a problem returning could include soft, blackened patches or a general yellowing of the leaves. If leaves start appearing shriveled or limp, particularly with spots forming again, it indicates that the issue is not yet resolved. If the foliage feels brittle and shows dark streaks, that’s a clear signal to investigate immediate causes.
If the black spots return despite following these care steps, remove the affected leaves promptly to prevent further spread and consider applying a fungicide tailored for tulips. Monitor the conditions of your garden as well; if heavy moisture persists or your soil drains poorly, introduce better drainage solutions or adjust your watering schedule to ensure the tulips are less stressed.
A fully recovered tulip will exhibit vibrant green leaves, firm stems, and no signs of black spots, indicating it has returned to optimal health. In contrast, early signs of the problem returning include yellowing leaves or new black spots forming, accompanied by a soft, mushy texture on the affected areas. If the leaves appear crisp but are still developing small black speckles, you need to reassess your treatment regimen.
If the problem returns despite your care, consider applying a fungicide specific for fungal infections on tulips, ensuring even coverage on the affected areas. If the black spots persist after treatment, escalating the issue may require removing and destroying the affected plants to prevent further infection in the garden.
The recovery trend should showcase vibrant foliage and increased growth. By committing to regular monitoring, you can detect early signs of trouble, such as slight discolorations that might escalate if ignored. If everything remains stable, anticipate the upcoming blooms as your tulips complete their recovery from frost damage. Conversely, if the leaves revert back to exhibiting dark spots, this usually signals lingering issues such as moisture retention or environmental stressors that continue to affect your plants. It’s critical to evaluate environmental factors, including your watering schedule, ensuring excess moisture doesn’t become a new threat. If deterioration occurs despite diligent measures, troubleshooting your soil conditions for compaction or poor drainage may be warranted.
If new black spots appear despite all preventative measures taken, it may suggest ongoing environmental stress. Reexamine your watering practices, confirming that overwatering or standing water near the bulbs isn’t an issue. For example, if recent rain has left puddles close to your tulips, that excessive moisture can foster reinfection. Should the black spots persist, consider consulting with a local gardening expert for deeper insights on mitigating the problem, especially regarding potential treatments or necessary soil amendments. A common oversight is neglecting to assess the impact of nearby plants; check if aggressive root systems in surrounding flora are competing for nutrients and moisture, adversely affecting the health of your tulips.
FAQ
How long does it take for tulips to recover from frost damage?
Recovery can take anywhere from a couple of weeks to a month, depending on the severity of the damage and environmental conditions. With proper care, you should begin to see new growth within a week or two as the plants stabilize and regain energy after recovery efforts. However, patience is key, as some bulbs may require additional time to respond, especially if rot has occurred. If substantial growth is not observed within a month, further action should be considered, such as soil amendment or bulb replacement, especially if environmental factors are continually unfavorable.
Can black spots on tulips spread to other plants?
While black spots primarily result from frost damage, they can indicate compromised plant health that may attract pests or diseases, leading to further problems in your garden. To prevent this escalation, maintain good cultural practices, ensuring your tulips have ample space and resources to flourish. Pay close attention to any other unusual leaf discoloration or changes in texture, as these may signify the early stages of fungal infections impacting adjacent plants as well. If the symptoms spread to nearby species, targeted treatments tailored to the specific plants in question may be necessary. Regular cultural practices, such as removing debris and ensuring proper air circulation, can help reduce the risk.
Should I remove all affected parts of the tulips?
Yes, removing severely affected leaves and portions of the bulbs is advisable to prevent disease spread among your plants. Always assess the health of the bulbs before pruning, ensuring that you leave the healthy parts intact to support future growth. This targeted pruning can help preserve the plant’s energy for healthy areas, enhancing its overall recovery potential. Additionally, take the surrounding environment into consideration; if neighboring plants show signs of similar distress, it may be worth reevaluating your cultural practices in that location to avoid further issues. Keeping track of the removed plant debris is essential as well; proper disposal can minimize the introduction of pathogens back into the garden. Regularly monitoring the garden for potential stressors also helps ensure ongoing plant health.