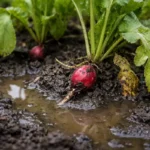
You may notice your garlic plants showing signs of trouble during the humid summer months, which is why you need to know what to do when garlic bulbs start rotting in the ground. This usually manifests as mushy spots on the bulbs, often caused by excess moisture and fungal infections. If left unattended, the problem can spread and weakens the plant, but fixing it is possible now—just inspect your garlic, remove any affected bulbs, and adjust your watering practices to improve drainage.
Step 1 – Dig Up Rotting Garlic Bulbs Immediately
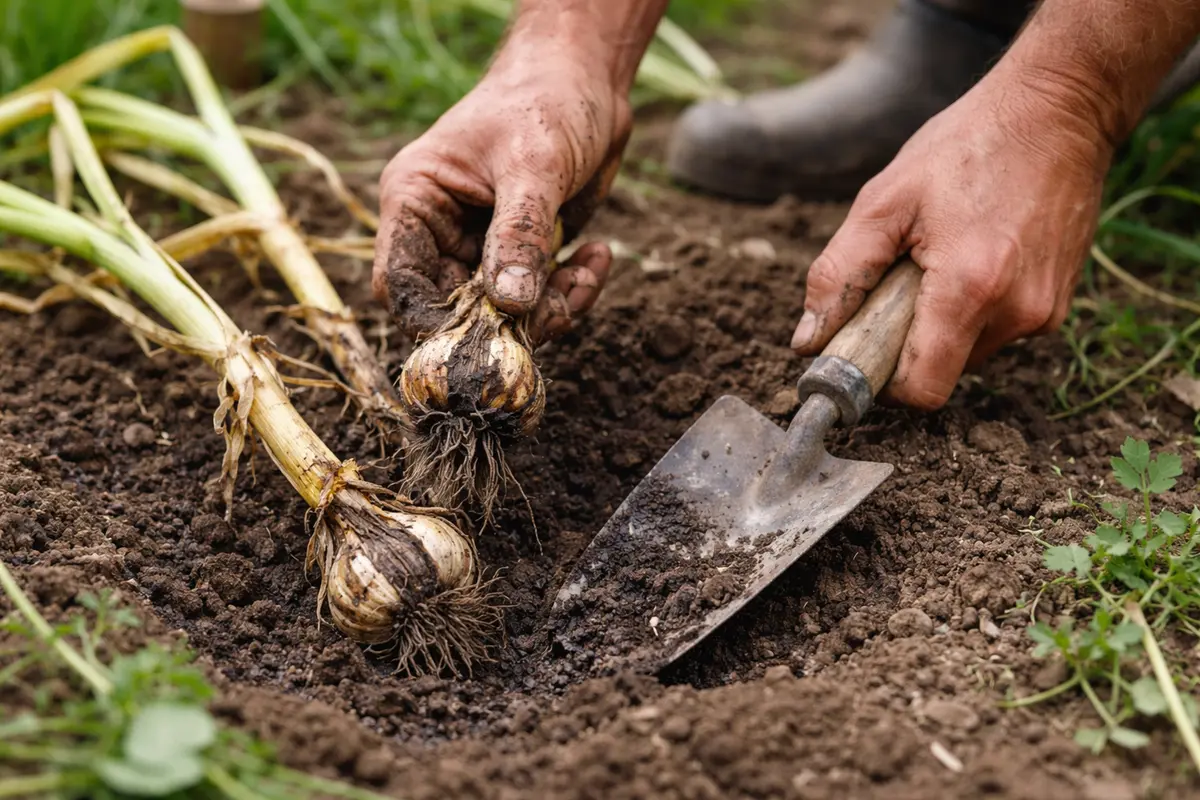
Begin by digging up any garlic bulbs that show visible signs of rot or deterioration. You will see that the removed bulbs may have soft spots, discoloration, or a foul smell, indicating that the rot has set in. Getting these bulbs out of the ground minimizes the risk of spreading any diseases that may be present in the soil or affecting neighboring plants. Ideally, aim to do this within 24 hours of noticing the first signs of rot. Every hour counts, as these pathogens can multiply rapidly, especially in warm and humid conditions.
Quick action is vital when dealing with rotting garlic bulbs. Garlic is particularly sensitive to moisture levels, and prolonged exposure to wet conditions can cause the bulbs to break down. If rot is left unchecked for too long, it can quickly spread to other bulbs and plants, intensifying the problem and potentially destroying an entire crop. This can lead to significant yield losses, making immediate intervention crucial. The symptoms can escalate beyond simple rot, leading to broader fungal issues in your garden that can impact multiple crops if not addressed promptly.
Gardeners often hesitate, thinking they can wait for the conditions to improve or that the rot may not be as severe. This is a common mistake; acting too slowly can cause all nearby garlic to become affected, leading to a total loss of harvestable bulbs. You should also inspect the surrounding soil for excessive moisture, as this is often a primary contributor to garlic bulb rot. If the soil feels overly saturated and retains water, it may indicate a deeper problem needing urgent attention. An ongoing moisture issue can compromise other plants as well, leading to a widespread garden problem.
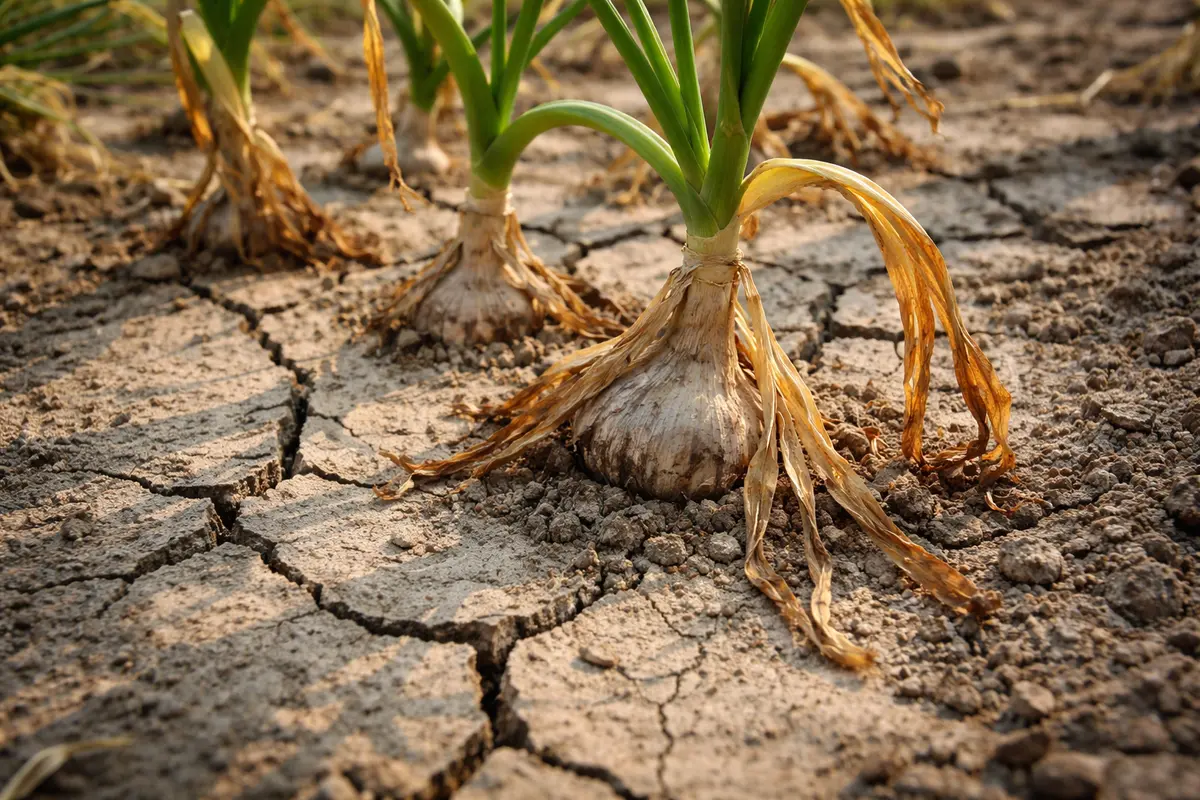
Step 2 – Diagnose Excess Moisture Affecting Garlic
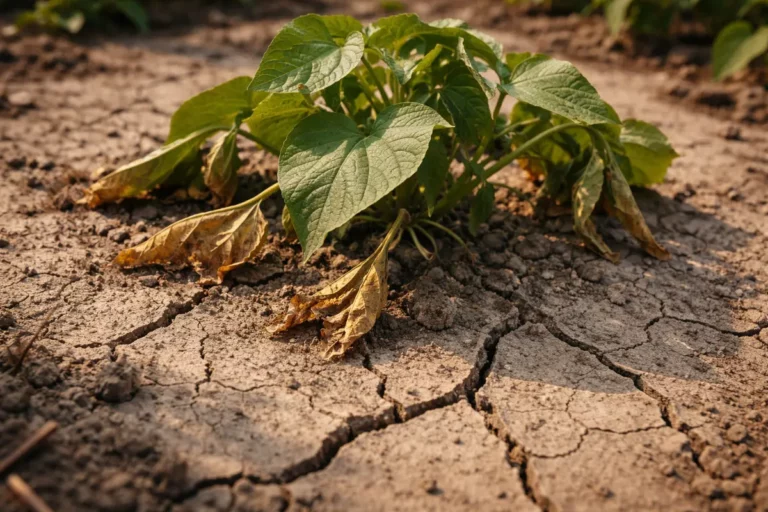
Inspect the surrounding soil for signs of excess moisture or poor drainage immediately after lifting the rotting bulbs. You will notice a muddy consistency, and the soil may appear waterlogged or compacted, indicating drainage problems that can exacerbate bulb rot. Identifying the root cause is essential for effective correction, as moist conditions combined with poor airflow create environments conducive to further decay. Recognizing these moisture levels early can prevent more extensive damage to the garden ecosystem.
When garlic bulbs experience consistently high moisture levels, they can suffocate and begin to rot. Roots that are submerged in waterlogged soil struggle to absorb necessary nutrients, leading to the deterioration of the bulbs. Monitoring moisture is crucial, especially right after heavy rain, since this is when damage is most likely to set in. Check for obvious signs like pooling water and compacted soil, which suggest inadequate drainage. If any garlic plants are close to areas where water typically accumulates, they should be flagged for danger.
If the soil has a strong sour smell, this indicates anaerobic bacteria, which can lead to further rotting and may even signal ongoing fungal growth. In such cases, you must improve drainage by amending the soil or resorting to raised beds to prevent future incidents. If you find that your garlic is planted in clay-heavy soil and is prone to water retention, this calls for a different strategy: consider planting in a well-draining mix amended with compost to improve both structure and aeration. Use a shovel or fork to test how well the soil drains; dig a hole, fill it with water, and see how long it takes to absorb, as a slow rate could indicate severe drainage issues that need addressing.
Step 3 – Treat Soil with Fungicide for Garlic Recovery
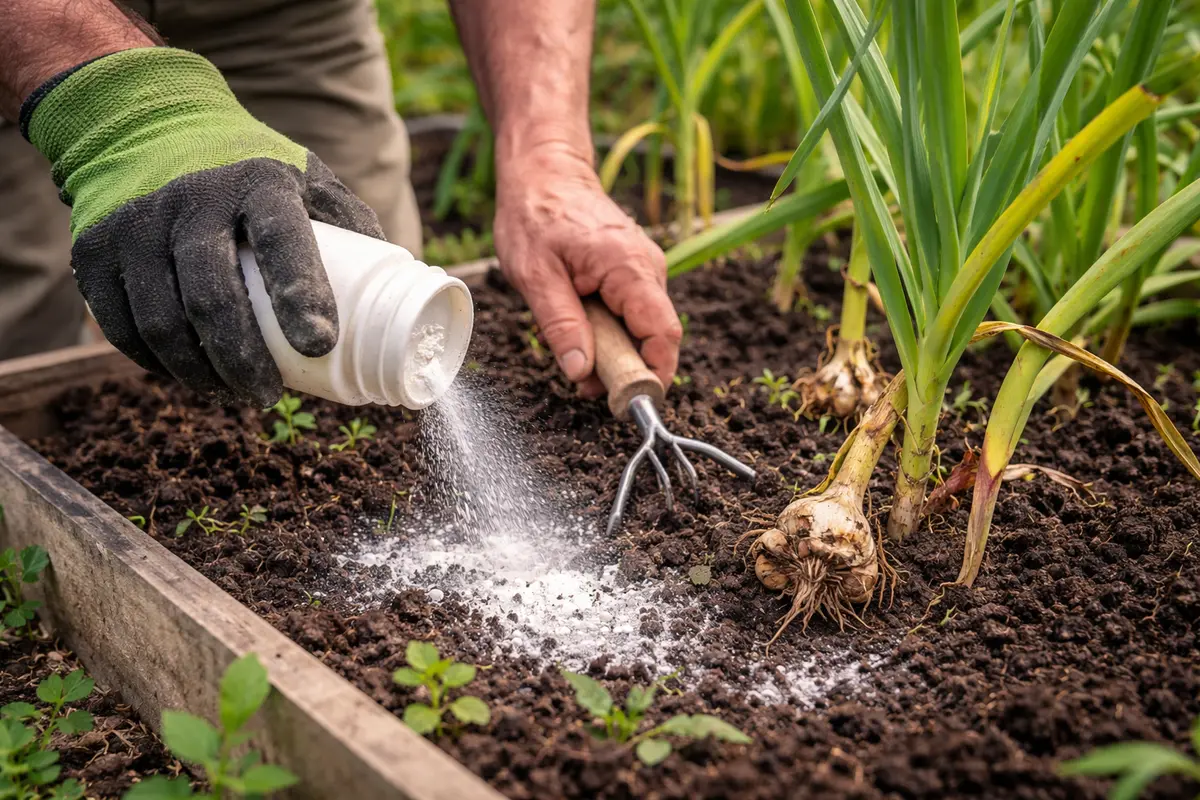
Apply a fungicide to the affected areas of your garden right after addressing moisture levels. You will see a decline in rot signs within a few days, and the remaining garlic bulbs that were not rotting can start to recover. This step provides an essential protective measure against further fungal infections. Be sure to select a product specifically designed for garlic and follow label instructions concerning application rates and methods. The active ingredients in the fungicide can target specific pathogens more effectively.
Fungicides can help eliminate the pathogens responsible for rot, restoring a healthier environment for your garlic bulbs. By targeting specific fungal infections, such as Fusarium or Botrytis, you can create the necessary conditions for recovery, especially if any bulbs remain viable. Over time, as the fungicide works, you will notice firmer bulbs and the absence of foul odors. Keep an eye on treatment efficacy; if there’s no visible improvement after a week, it may be time to reassess the fungus and consider whether a different treatment might be more effective. This assessment helps ensure that you’re not wasting time on ineffective solutions while potentially jeopardizing your remaining crop.
A common misstep during this phase is over-applying the fungicide, which can cause undue stress to the plants. A diluted application is often more beneficial, particularly with weaker plants that may not tolerate high concentrations. If signs of rot persist, it might be necessary to change your crop rotation strategy. If you often see rot occurring season after season in the same location, it’s worth considering rotating garlic to an entirely different part of the garden or using a cover crop in between to disrupt the cycle of pathogens. Just ensure that any new location or cover crop does not harbor similar disease issues, to avoid repeating the same mistakes.
Step 4 – Adjust Watering Schedule to Prevent Rot
Start by ensuring your garlic is planted in well-draining soil to prevent rot. Improved drainage allows excess moisture to escape, resulting in firmer bulbs and a healthier root system as they grow. When establishing your garlic plot, select soil with good drainage characteristics or amend with organic fibers that improve moisture retention without creating conditions conducive to rot.
Garlic bulbs often rot due to prolonged exposure to waterlogged conditions, a common issue in heavy clay soils or areas with poor drainage. By amending your soil with organic matter, you enhance aeration and ensure that water can flow freely, thereby addressing the root cause of rot effectively. If you notice mushy bulbs, check the soil moisture levels; if it feels soggy, adjust your watering schedule. When watering, ensure that cycling between dry and moist phases occurs to allow roots to breathe; usually, watering once a week suffices but can vary with local rainfall.
During the rainy season or in particularly wet years, consider using raised beds to promote drainage further. This added elevation reduces water accumulation around the bulbs, ensuring they remain dry and reducing the risk of rot compared to standard planting methods. Overwatering is one of the most common causes of bulb rot in garlic. Enforcing a more conservative watering strategy helps reduce moisture levels, allowing roots adequate oxygen and preventing any chance of fungal re-infection. Observing conditions, especially after rain, is essential; if the forecast predicts substantial rain, check moisture levels first. Additionally, a good rule is to only water when the top inch of soil feels dry to the touch.
Consider adding a layer of mulch around your plants to help retain moisture without over-saturating the soil, especially during drier spells. If you experience unusually heavy rain when bulbs are maturing, vigilant monitoring for excess moisture should be part of your prevention routine. Adjust your watering practices based on seasonal changes and forecasted weather to ensure plants get what they need without drowning. If your location has a historically high rainfall, consider implementing a drip irrigation system to better control water delivery and prevent saturation. Assess the forecast regularly; if heavy rains are expected, it may be beneficial to set up temporary drainage solutions, like trenches, to redirect excess water away from your garlic plants.
Step 5 – Inspect Garlic Leaves for Signs of Decline
Start by checking your garlic bulbs weekly for signs of rot. Look for soft or mushy spots on the bulbs and inspect the base for leaking fluids. If you notice these symptoms, carefully dig around the bulbs to examine their condition further and recheck every few days for any changes.
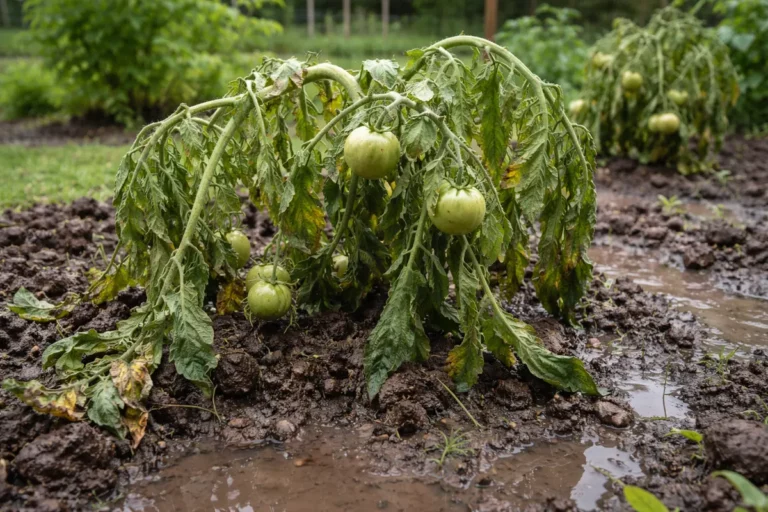
A fully recovered garlic plant has firm bulbs with a smooth, papery skin. In contrast, if signs of rot return, you may find a darker, collapsing texture and any signs of foul odors at the base. If your plant looks dehydrated despite regular watering, check for any brown or wilted leaves that may indicate root rot.
If the problem persists, remove affected bulbs immediately to prevent spread. Reassess soil drainage and consider enhancing it with organic matter or mulch. Escalate to using organic fungicides if you continue to see persistent decay despite these adjustments.
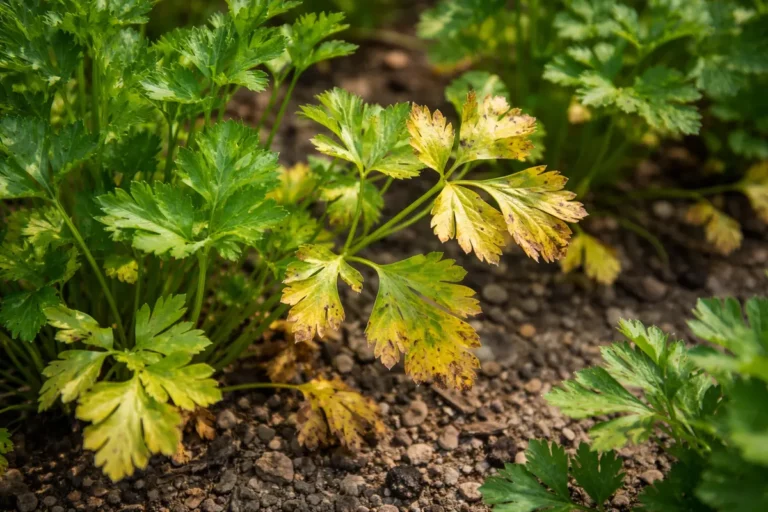
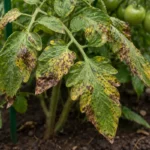
A fully recovered garlic plant shows firm, plump bulbs with smooth skins and vibrant green foliage, while early signs of returning problems often include yellowing leaves and a discolored, spongy texture on the bulbs. If the outer layers of the bulbs feel soft or are starting to develop dark spots, this indicates that the rot may be returning. If the foliage is wilting but the bulb feels firm, continue monitoring, as recovery may still be underway.
If the problem returns despite your efforts, consider changing the soil or moving the garlic to a drier location to improve drainage conditions. In severe cases where rot persists, you should remove the affected bulbs entirely to prevent spreading, and if the issue continues, seek advice from a local gardening expert or extension service.
Healthy garlic foliage typically appears vibrant green and firm, while wilting or yellowing can indicate a recurrence of rot or other problems. Regular inspections help you catch even the faintest hint of a return of rot. Signs of recovery should include robust, upright leaves that don’t show signs of distress. Compare healthy garlic plants within close proximity to your struggling plants; if one shows strong growth and the other wilting, it might suggest localized problems such as soil quality or water retention. If the garlic leaves are growing but still show signs of distress, it could mean inadequate nutrients or ongoing water issues.
If you notice a recurrence despite your efforts, it might be wise to change your planting location for garlic next season. Excessive humidity, a re-contaminated soil source, or lack of proper airflow are frequent culprits when bulbs fail to thrive again. Ensure that your garden layout allows for good air circulation between plants, and avoid overcrowding, which can exacerbate moisture issues within planted areas. Should issues persist even after adjusting all elements, consider consulting with an agricultural extension office for localized advice and solutions tailored to your regional conditions. Connecting with other gardeners in your community can also provide valuable insights and strategies they employ to combat similar problems.
FAQ
How long until garlic bulbs recover from rot?
Recovery from rot can take several weeks, depending on the severity of the infection and the effectiveness of the measures you’ve implemented. Expect to see visible signs of recovery, such as fresh leaf growth and bulbing, within two to four weeks after treatment. Keep in mind that if no positive change occurs in this timeframe, it may be necessary to reassess your strategy and consider more aggressive treatment or even soil amendments for longer-term improvements.
Can rot spread from one garlic bulb to another?
Yes, rot can easily spread from one affected bulb to others, especially in moist conditions. If you do not remove the infected bulbs promptly, the pathogens can infiltrate the surrounding area, compromising healthy plants. Make it a habit to check bulbs in succession; if one is affected, others nearby may also be at risk and should be carefully assessed to prevent widespread damage.
Should I remove all the affected garlic bulbs immediately?
Yes, you should remove all visibly affected garlic bulbs immediately to limit the risk of spreading rot to surrounding plants. This action minimizes the chances of any further deterioration and allows for implementing treatment methods to save any remaining healthy bulbs. After removal, ensure that your tools are disinfected to avoid further cross-contamination; this simple act can make a significant difference in the success of subsequent treatments.