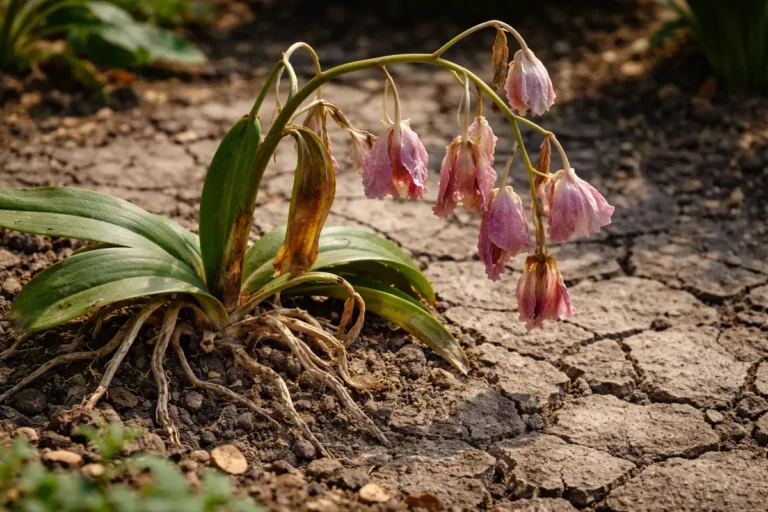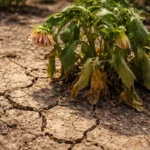
You may notice that during the hot summer months, your once-vibrant black-eyed susan plants are showing signs of distress, which is why you need to know why are my black-eyed susan leaves turning yellow in summer. This yellowing of the leaves can be a sign of stress from factors like inadequate watering, nutrient deficiency, or pest issues, leading to potential damage. If left unaddressed, the situation can worsen, leading to more damage and ultimately weakening the plant, but it is possible to fix it now by inspecting the soil moisture, adjusting your watering routine, and monitoring for pests.
Step 1 – Inspect Black-Eyed Susan Leaves Promptly
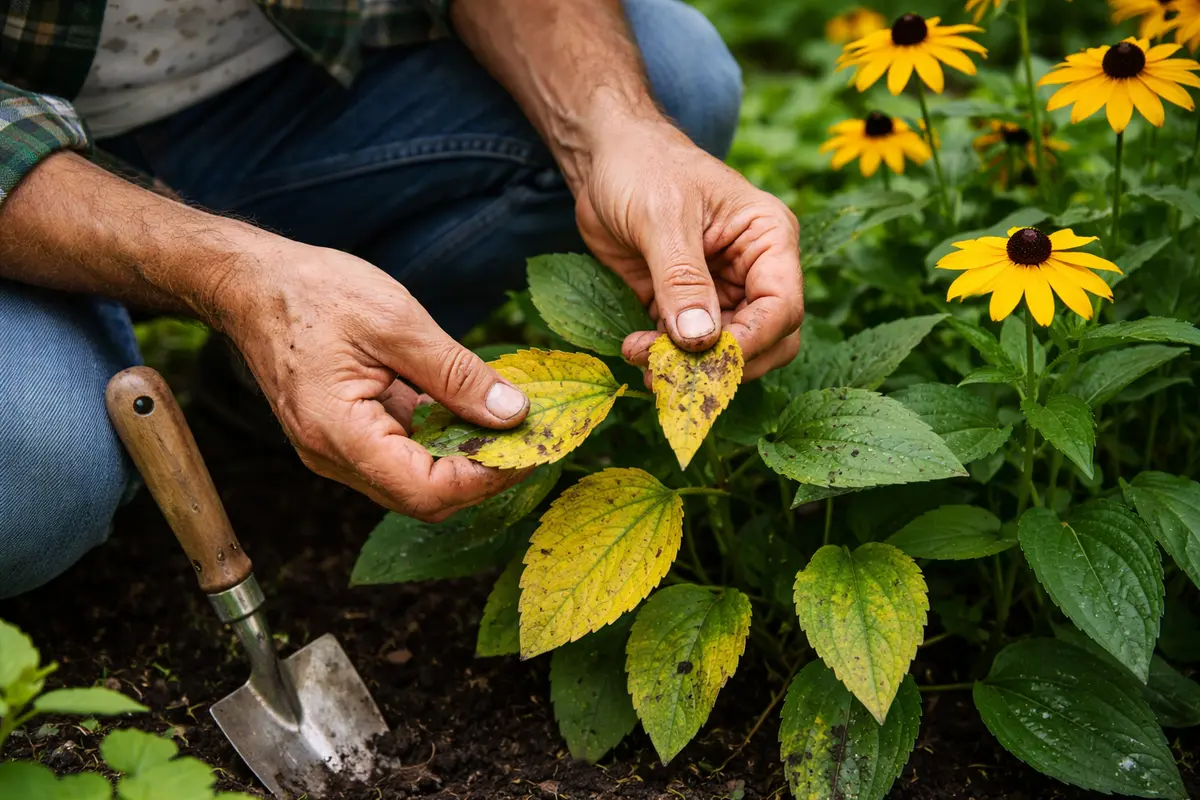
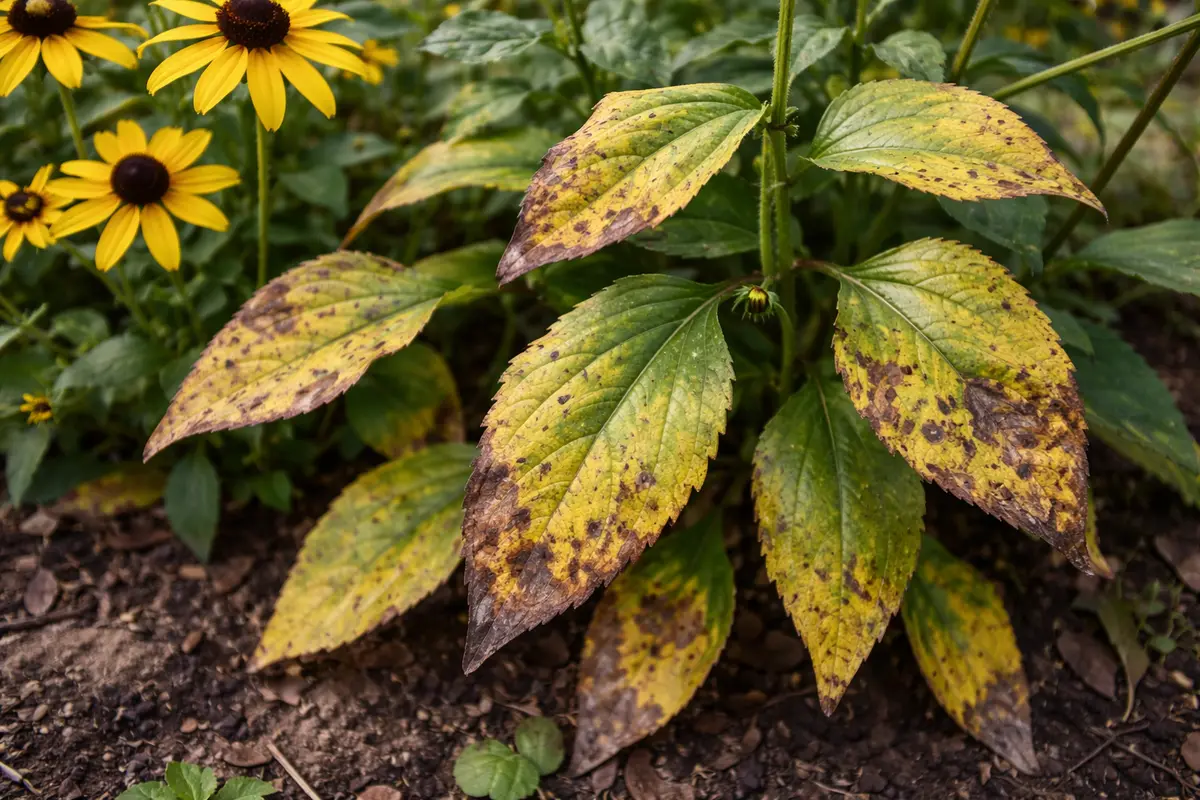
Begin by examining the undersides of the black-eyed susan leaves for pests. You should see clearer foliage within a day after this inspection, as you’ll be able to identify any visible infestations that may be causing yellowing. This initial check is crucial for determining whether damaging insects, like aphids or spider mites, are present. Be meticulous; move leaves and examine them closely, as pests often hide well. Pay particular attention to the leaf axils where pests tend to congregate, as well as the stems leading to the leaves.
Pests tend to suck moisture and nutrients from the leaves, leading to discoloration and weakness, which can rapidly spread if not diagnosed timely. For black-eyed susans, the earlier you catch insect infestations, the more effective your control measures will be, as leaves that remain infested not only suffer but may weaken their overall growth. Consider using a magnifying glass if necessary; it may reveal tiny pests that are difficult to spot at a glance. Keeping a vigilant eye helps mitigate further complications and casualties within your garden.
Many gardeners often overlook the inspection phase, hastily applying treatments without confirming the presence of pests. This can lead to wasted resources and unnecessary stress on the plant. If you notice curled or mottled leaves, this is a signal to take action quickly—examine your plants thoroughly before treatment to avoid causing more harm than good. If no pests are found, you might need to look into other causes of yellowing, as misdiagnosis can complicate the recovery process. A practical approach is to document the plant’s symptoms weekly to identify patterns or changes, allowing for a more accurate diagnosis over time.
Step 2 – Diagnose Nutrient Deficiency in Leaves
First, check the soil moisture level around your black-eyed susans. If the soil feels dry more than a few inches down, water deeply to ensure the roots are receiving adequate moisture. After watering, observe if the leaves begin to perk up and regain their vibrant green color within a few days.
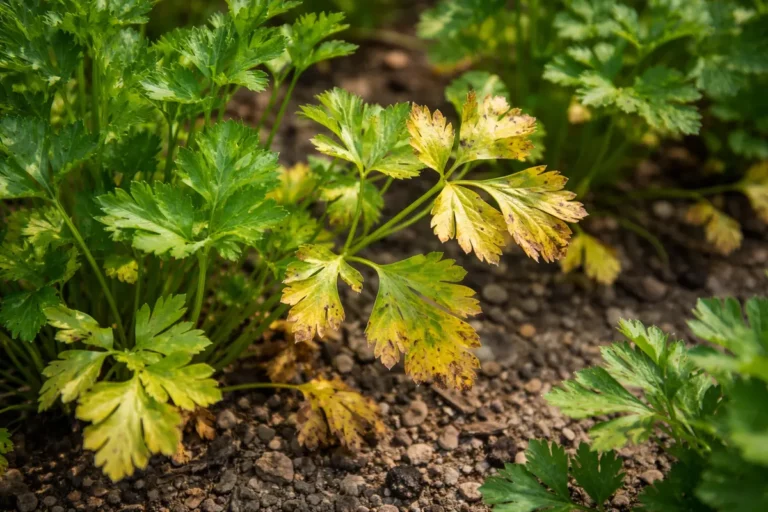
Yellowing leaves can indicate that the plant is stressed due to underwatering, which limits the plant’s ability to absorb essential nutrients from the soil. When soil is too dry, the roots cannot take up water efficiently, leading to a deficiency in nutrients like nitrogen. In contrast, if the leaves are yellowing but the soil feels excessively moist, root rot might be the issue instead.
If the soil smells sour, indicating potential root rot, avoid watering further and consider improving drainage by amending the soil with perlite or sand. Alternatively, if you observe yellowing leaves but no signs of root rot, such as a foul smell or mushy roots, check for pests like aphids that may be stressing the plant.
The yellowing of black-eyed Susan leaves often results from insufficient water supply, causing stress to the plant. When soil moisture is low, roots struggle to absorb vital nutrients, leading to chlorosis, where leaves lose their green pigments. If your plant appears wilted and the soil is dry, address the moisture issue immediately; if the leaves are yellow but the soil is moist, check for signs of root rot. When inspecting for rot, look for a foul smell near the roots and a dark, mushy texture that signals decay.
If the yellowing coincides with spots or a mushy texture on the roots, suspect overwatering instead and allow the soil to dry out before watering again. Alternatively, if nearby plants are also showing similar symptoms with healthy roots, nitrogen deficiency could be the culprit; test your soil and amend as needed to restore balance. Regular soil testing is essential to remain informed about the nutrient profile, as nutrient imbalances contribute significantly to unhealthy plant appearances.
These deficiencies often occur in compacted soil or poor-quality potting mixes, causing roots to struggle in accessing essential nutrients needed for chlorophyll production. For example, nitrogen is vital for vegetative growth, and its absence will result in stunted plants with pale foliage. To correct this, use a soil test kit to determine existing nutrient levels and pH. If the results indicate deficiencies, amend with an appropriate fertilizer that releases essential nutrients gradually. This proactive approach boosts nutrient availability in the soil, facilitating a healthier growing environment and supporting vibrant plant development.
If soil tests reveal high pH levels or salt buildup, this could also hinder nutrient absorption. A common mistake at this phase is to overlook the pH balance, which can lead to nutrient lockout. In such cases, consider applying a balanced fertilizer tailored for flowering plants or mixing in organic compost to boost beneficial microorganism activity. If your plants exhibit yellowing leaves alongside poor growth, act promptly to amend the soil and enhance nutrient levels to stave off irreversible damage.
Step 3 – Water Deeply to Revive Fading Plants
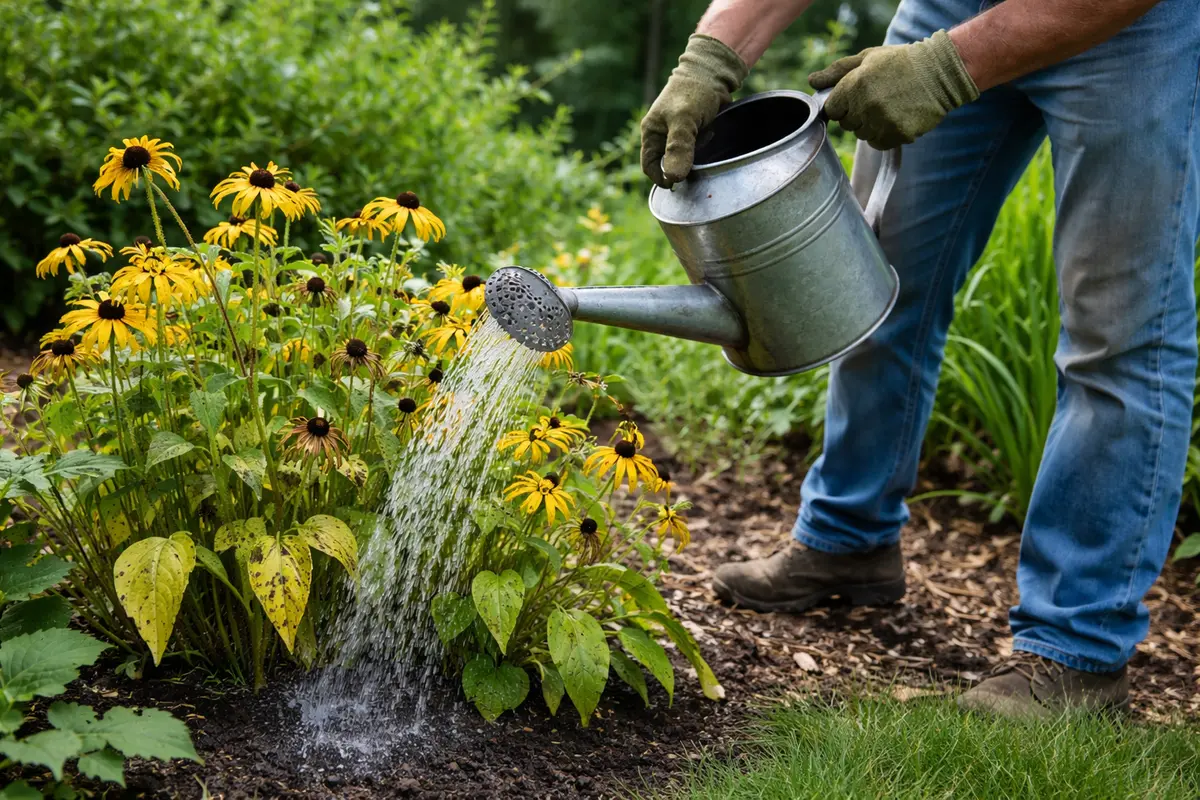
Water your black-eyed susans deeply to help revive them from stress-induced yellowing. After a thorough watering, you should notice leaves perking up and returning to a brighter green within a few days as soil moisture reaches the root zone. This deep watering method ensures that your plant accesses the water it needs to reinvigorate its growth. During particularly hot spells, consider checking the soil moisture more frequently and water at dawn or dusk to minimize evaporation losses—this timing is essential to maximize absorption.
Deep watering is crucial, especially during the summer when transpiration rates increase, pulling moisture away from the soil. Black-eyed susans thrive when their roots can access sufficient moisture, which is vital to their recovery and overall health. If there’s insufficient water, root systems may dry out, leading to permanent damage and reduced flowering potential. So, applying a good soak can stimulate much-needed hydration and recovery. Aim for at least an inch of water per week, either from rainfall or garden irrigation. If deep watering consistently fails to restore green foliage, check for surface roots that may be exposed to the air and potentially drying out.
A common mistake gardeners make at this stage is to water frequently but in small amounts. Shallow watering may not effectively reach the roots, resulting in weak and stressed plants. Monitor the moisture level; if it feels dry more than 2 inches down, it’s time for a deep soak. Consider the time of day and the temperature when watering; if temperatures are high, roots may be ineffective at water uptake. If you see new growth appearing shortly after, this indicates the plant is recovering well, providing a visual marker of your successful intervention. If you observe yellowing returning, check for environmental stressors like heat fluctuations or proximity to hot surfaces that may require adjustment in care.
Step 4 – Mulch Around Black-Eyed Susans in Summer
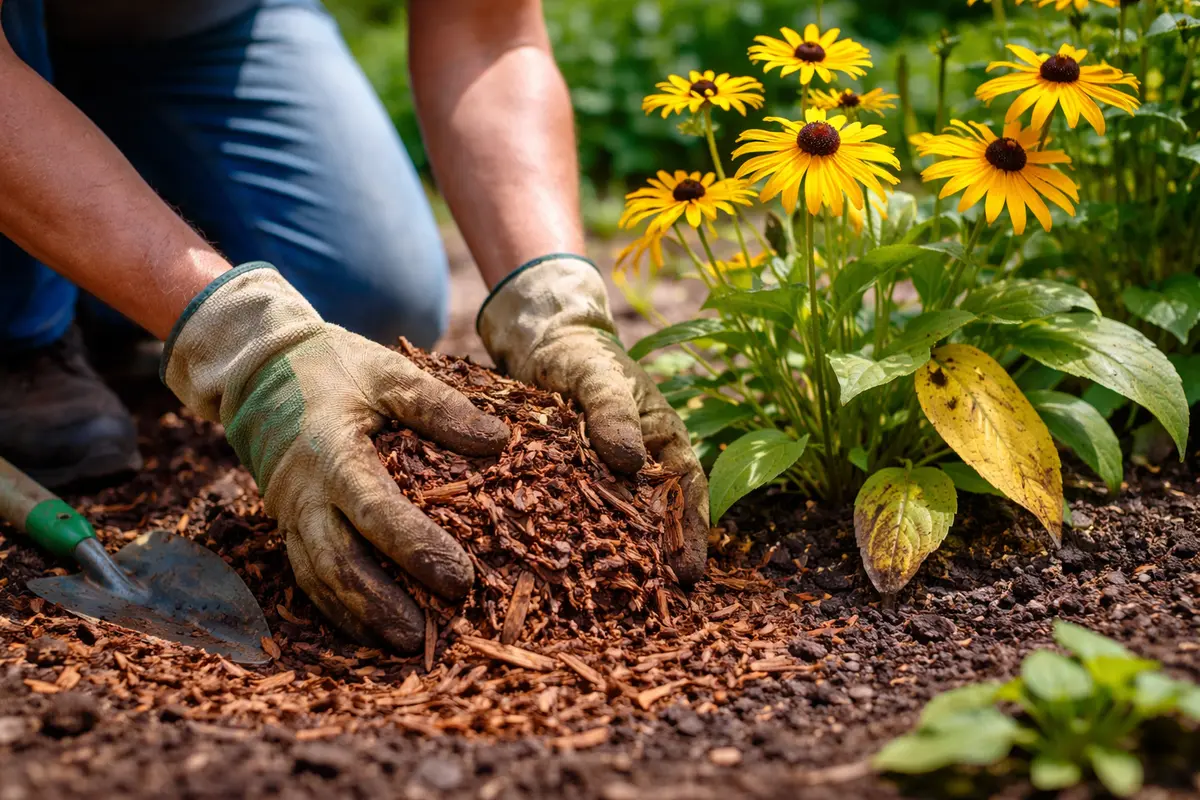
Apply a layer of organic mulch around your black-eyed susans to help conserve soil moisture. This will slow down evaporation and keep roots cool during the hot summer months. A 2 to 3-inch thick layer of mulch can make a significant difference in maintaining soil moisture and reducing weed competition. The visibility of moisture retention can be assessed by how quickly the soil dries: less frequent drying indicates effective mulch usage. Observe how often you need to water; if it’s not as frequent after mulching, you’ve likely achieved the desired moisture retention.
Mulching acts as an insulating barrier, blocking weeds that compete with your black-eyed susan for nutrients and water while also reducing the surface temperature of the soil. This technique is particularly effective in preventing the recurrence of yellowing leaves, as it helps prevent the soil from drying out too quickly—which can lead to stress on the plant. Additionally, inspecting your mulch regularly allows you to see how well it maintains moisture retention and adjust accordingly. By adopting this preventive practice, your plants will be better equipped to handle extreme summer conditions. Ensure that the mulch does not touch the plant stems directly, as this can lead to rot or pest issues.
If the weather anticipates an exceptionally dry season, reconsider your mulch type; using wood chips instead of straw or shredded leaves can improve durability. Regularly replenish your mulch layer to maintain effectiveness, especially after heavy rain or wind that may displace it. Observe the soil moisture retention after mulching can help you adjust your gardening approach; you might find it necessary to increase mulch depth or switch materials. If you notice fungal growth on or around the mulch, this could indicate excess moisture, necessitating improved airflow around your plants and potential re-evaluation of your watering strategy.
Step 5 – Check for Pest Activity Regularly
Next, check the soil moisture around your black-eyed susans by inserting your finger about an inch into the soil. If it feels dry, water the plants thoroughly, ensuring water penetrates the root zone. Observe the leaves over the next few days; they should start to regain their vibrancy if dehydration is the issue. It’s critical to stay vigilant, as pest populations can rapidly increase with warm weather, potentially reversing any recovery efforts you’ve made.
A fully recovered black-eyed susan will have bright green leaves with a firm texture, indicating proper hydration and nutrient uptake. In contrast, early signs of the problem returning include yellowing leaves that feel weak and limp. If the blooms start to droop and the leaves exhibit a dull texture, they may again be under stress from the same issues. Develop a routine checking schedule; inspecting your plants every week can help you catch problems early before they escalate.
If the problem returns despite following these steps, reassess your watering schedule and consider testing the soil for nutrient deficiencies. Treat any nutrient deficiencies with an appropriate fertilizer and water the plants adequately, ensuring you’re not over or under-watering. If issues persist after these adjustments, consult a local plant expert or extension service for further diagnosis. Employing integrated pest management techniques will be beneficial, as these methods encourage natural predators while minimizing chemical interventions. Regular monitoring allows you to catch any insect activity before it progresses to a more significant problem and helps maintain a healthy balance in your garden ecosystem. If pests are found, implement immediate control measures like insecticidal soap or neem oil to keep infestations in check.
If you find a resurgence of pests despite previous treatments, escalate your pest management strategy by employing organic insecticides or introducing beneficial insects like ladybugs that prey on aphids. This proactive approach ensures that your black-eyed susans remain strong and vibrant without continual exposure to damaging pests. Be vigilant in implementing these measures, as sustained vigilance is essential to maintaining pest control and ensuring that recovery remains steady and uninterrupted.
FAQ
How long does it take for black-eyed susans to recover from yellowing leaves?
Recovery time for black-eyed susans can vary, but you may start seeing green leaves return within one to two weeks after addressing issues like watering or nutrient deficiencies. Consistent care can further accelerate recovery, allowing for healthier growth to reestablish. If new growth appears, it is a strong indicator of improvement.
Should I remove yellowing leaves from my black-eyed susans?
Yes, removing yellowing leaves can improve air circulation and prevent the spread of diseases. This should be done gently, and it’s best to wait until you’ve confirmed the root causes to prevent further stress on the plant. Removing leaves too soon might lead to loss of essential nutrients being redirected to healthier areas and potentially expose the plant to more sunlight than it can handle.
Can overwatering cause yellowing leaves on black-eyed susans?
Absolutely, overwatering can lead to root rot and yellowing leaves since it restricts oxygen flow to the roots. The signs often include wilting despite wet soil. If you suspect overwatering, let the soil dry out before watering again and check drainage conditions to ensure proper moisture levels. If conditions do not improve, consider aerating the soil around the roots to enhance water and nutrient absorption further and improve root health.