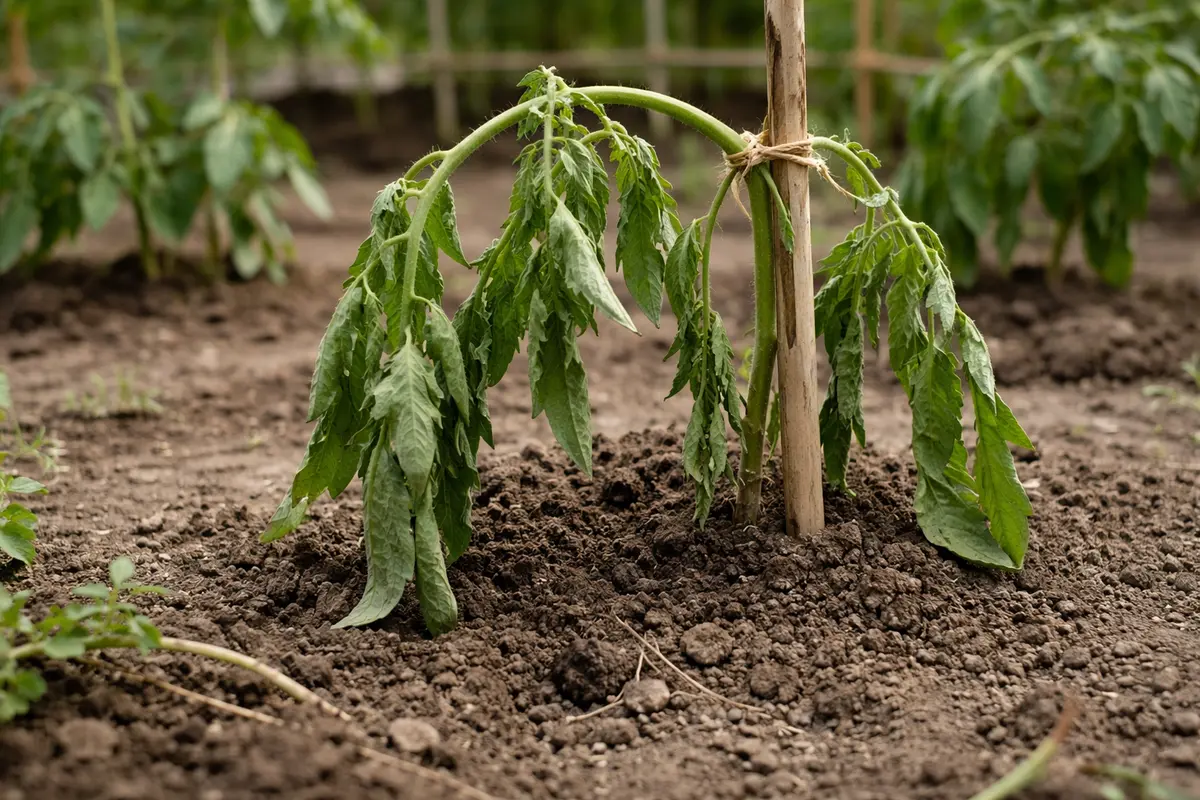
You may notice your tomato plants droop after transplant, especially during the hot days of summer, which is why you need to know what to do if tomato plants droop after transplant. This drooping occurs because the roots might be struggling to absorb enough water, leading to wilting and stress on the plant. If left unaddressed, the situation can worsen, ultimately setting the plant back in its growth, but it’s possible to fix it now by adjusting watering habits and improving soil drainage.
Step 1 – Trim Overly Long Tomato Stems
Start by relocating your drooping tomato plants to a stable spot with ample airflow and sunlight exposure. You should notice a slight improvement within a few hours as the plants begin to perk up, indicating a response to better environmental conditions.
Acting quickly is crucial because tomato plants, when stressed, can enter a state of shock, leading to root damage and stunted growth. If you delay in adjusting their placement, the lack of sufficient light and airflow can cause wilting to progress, leaving permanent damage that can hinder future yields. If you observe yellowing leaves alongside drooping, check the soil moisture, as it may signal underwatering.
In one instance, a gardener transplanted tomatoes too close to tall companion plants, resulting in drooping within days due to insufficient light. By promptly moving them to an area with more space, the plants recovered faster and produced a bountiful harvest. Conversely, many gardeners underestimate the importance of airflow, often crowding seedlings together, which can exacerbate drooping conditions and prevent recovery.
Rapid action is crucial because tomato plants can suffer from transplant shock, which disrupts their ability to uptake water and nutrients if not addressed swiftly. When you delay watering, the roots remain stressed, leading to further drooping and potential wilting as they may not be able to support the plant’s physiological functions. If the drooping is accompanied by a yellowing of the leaves, it indicates that the plant’s stress has progressed, whereas green leaves may suggest a recoverable state with prompt intervention.
A common scenario is when a gardener transplants in temperatures above 85°F without sufficient moisture, causing a rapid decline in the plant’s condition. For example, a colleague of mine lost half of his tomato crop last summer due to waiting too long to address leaf droop after a late transplant, highlighting the need for immediate attention. If the roots are too dry, check your watering technique and ensure the soil is evenly moist before planting.
Acting quickly is crucial because tomato plants experience stress during transplanting, and delayed hydration can lead to root desiccation. When roots dry out, they lose the ability to take up water and nutrients, causing wilting to progress into more severe damage. Conversely, if the soil is too wet, signs of root rot may develop, manifesting as dark, mushy roots instead of healthy white ones.
A gardener once delayed watering their newly transplanted tomatoes, assuming they had enough moisture. Within a few days, the plants were severely wilted, while their neighbor watered promptly, resulting in a thriving garden of upright plants. Avoiding over-watering is crucial; if you see yellowing leaves after watering, check for root rot before further hydration.
Acting quickly is crucial for drooping tomato plants because they are particularly sensitive to changes in moisture and nutrient levels. Immediate replanting into fresh soil will supply oxygen to the roots, reducing the risk of rot and stress. If left unattended, drooping can progress to severe wilting, where the plant’s cellular structure collapses, ultimately jeopardizing its survival. If stems are turning yellow, make sure to check for root rot as a contributing factor.
Timing in addressing drooping can make a significant difference. A gardener who ignored drooping leaves for a couple of days often faced complete plant collapse, while another who acted promptly after noticing similar symptoms enjoyed a bountiful harvest later in the season. If you see wilting but the soil remains moist, check the root system’s health right away to diagnose potential issues.
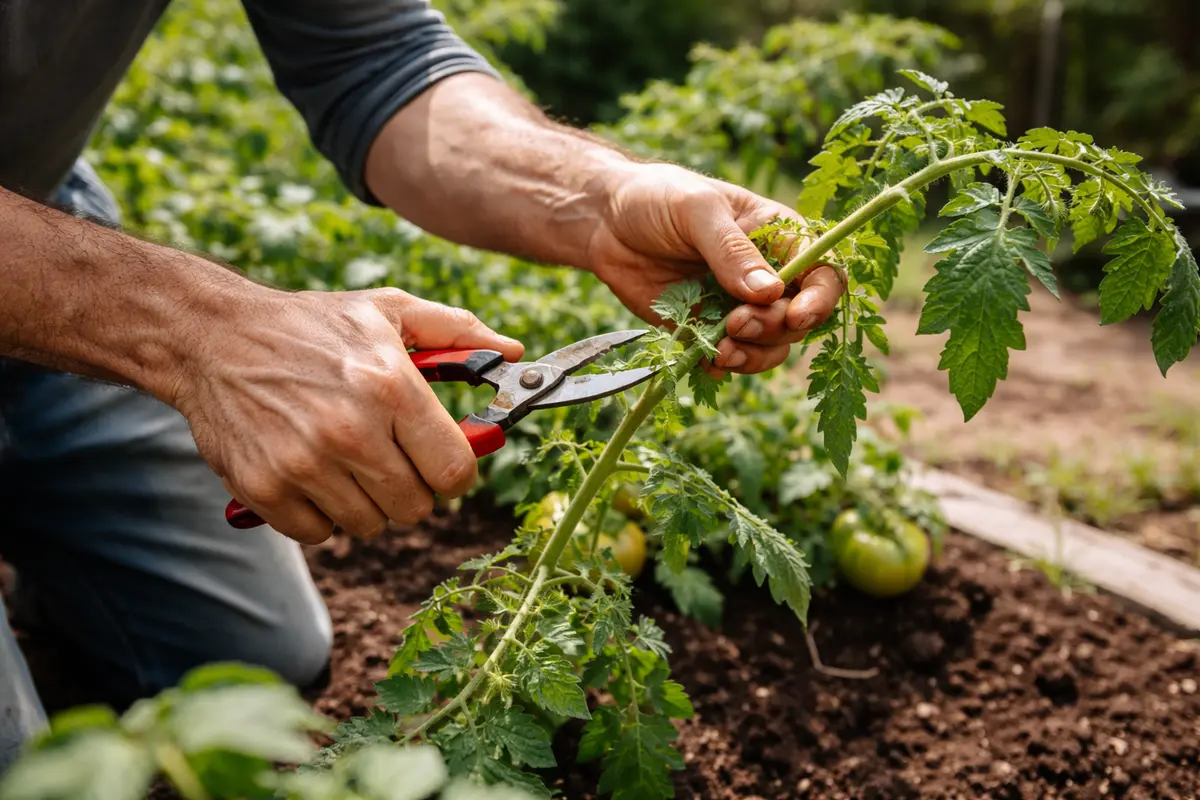
Trimming helps with energy conservation. If the stems are too long, the plant expends excessive energy trying to support them, leading to further drooping. This condition often worsens quickly, especially under warm or sunny conditions where plants may experience higher soil moisture loss. For instance, if the temperature exceeds 85°F (29°C) and the soil moisture is insufficient, the drooping can accelerate dramatically. Over time, if left uncorrected, the leaves may wither or start to brown, indicating an urgent need for intervention.
A common mistake is avoiding trimming, thinking it might damage the plant further. However, delaying this cut can lead to more severe drooping as the plant continues expending energy unnecessarily. In contrast, a quick trim not only alleviates immediate stress but helps refocus the plant’s energy on health and growth. Therefore, if the stems visibly sag or look sluggish, cutting them back can dramatically improve the plant’s appearance and vitality. Avoid removing more than one-third of the foliage at once since that risk can lead to excessive stress and decline.
Step 2 – Check for Soil Compaction in Tomato Bed
First, check the soil moisture level around your tomato plants. If the soil feels overly dry, thoroughly water the plants, ensuring that the water reaches the root zone. You should see the leaves perk up within a few hours, indicating an improvement in the plant’s hydration.
When tomato plants droop, it often signals drought stress, occurring when the roots cannot uptake sufficient water from the surrounding dry soil. In this situation, the plant’s tissues lose turgor pressure—the internal pressure that keeps cells firm—resulting in wilting leaves. Conversely, if the soil is waterlogged and muddy, overwatering is likely inhibiting root respiration, causing similar drooping symptoms.
If the soil smells sour, indicating a possible root rot scenario, stop watering immediately and improve drainage by adjusting the soil composition or transferring the plant to a drier location. If you observe yellowing leaves along with drooping, check for a nutrient deficiency, particularly nitrogen, which may require a different corrective liquid fertilizer approach.
Soil compaction prevents roots from sprawling out to absorb vital nutrients and moisture, crucial for the plant’s recovery from transplant shock. Low oxygen levels in compacted soil can also lead to poor root development, manifesting as drooping foliage. In cases of severe compaction, tomato roots may begin to rot due to the restricted oxygen. Moreover, soil that consistently remains hard can lead to shallow root systems, increasing susceptibility to stress during dry periods. If you notice that nearby plants are also struggling, it may indicate a broader issue affecting that specific garden bed.
If the soil smells sour when you dig down, this can indicate that poor drainage is compounding the issue. Poorly draining soil can create anaerobic conditions, weakening root structures. In such cases, you need to loosen the soil or amend it with organic matter to improve structure and promote better aeration. Treatment options can vary from aerating the soil gently with a garden fork to adding compost that enhances the texture and nutrient profile of the soil. If your compaction issues are not effectively resolved, consider implementing a raised bed approach to maximize drainage and encourage healthy root systems.
Step 3 – Water Tomato Plants to Revive Drooping
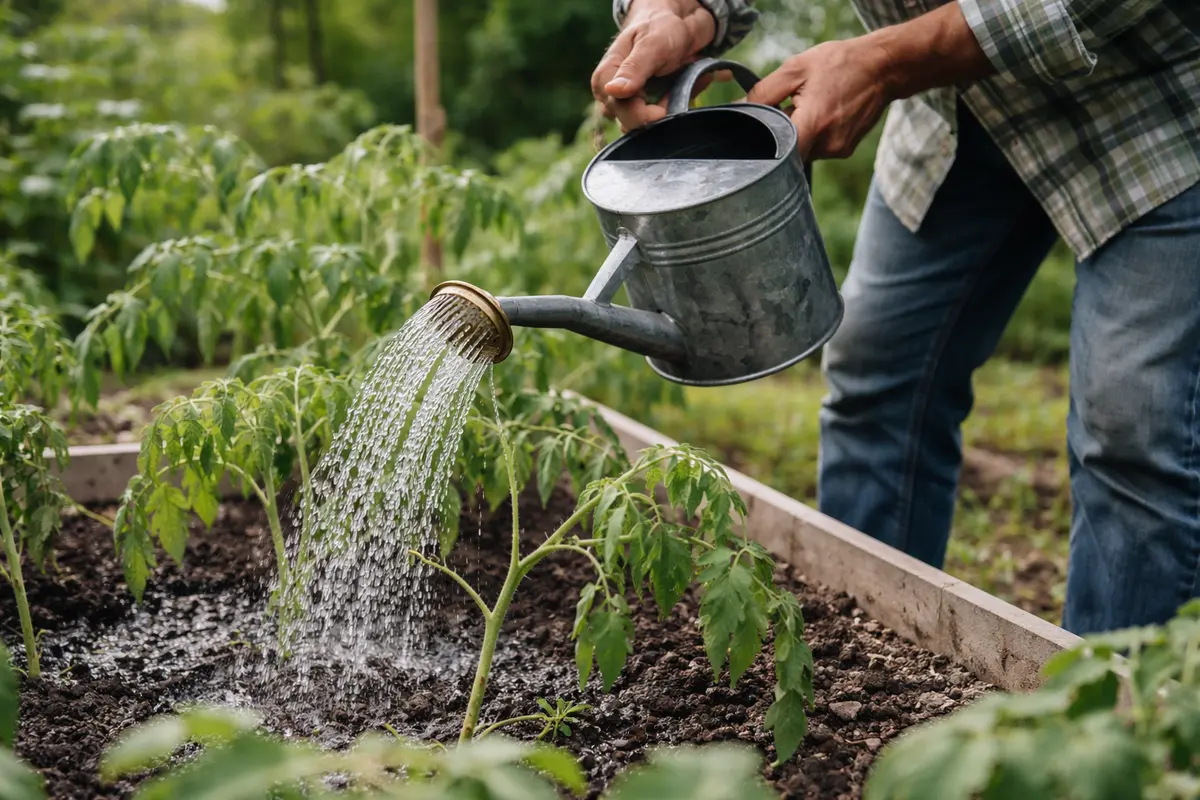
Water the tomato plants deeply to restore moisture in the soil around the root zone. Within a few hours, you should observe the leaves beginning to perk up, indicating recovery as the roots absorb the water. Aim for approximately 1 to 2 inches of moisture each week, adjusting according to the conditions and rainfall.
Once the decline stops and the plant begins to stabilize, continue monitoring the moisture levels to ensure adequate hydration. Check that the soil remains consistently moist but not soggy; if the leaves are darkening and the plant stands upright, that’s a positive sign of recovery. However, if the leaves turn yellow and drop off, reevaluate your watering habits, as inadequate moisture can lead to further stress.
A critical aspect during recovery is to avoid overwatering, which can suffocate the roots and lead to root rot. Assess the soil moisture before the next watering; if it feels moist a few inches down, pause watering and observe the plant for a couple of days. As recovery progresses, healthy plants will show firm, upright growth rather than limp, yellowing foliage. If the drooping returns despite your adjustments, check the drainage and root health, as this may indicate deeper issues.
Step 4 – Apply Mulch to Protect Tomato Roots
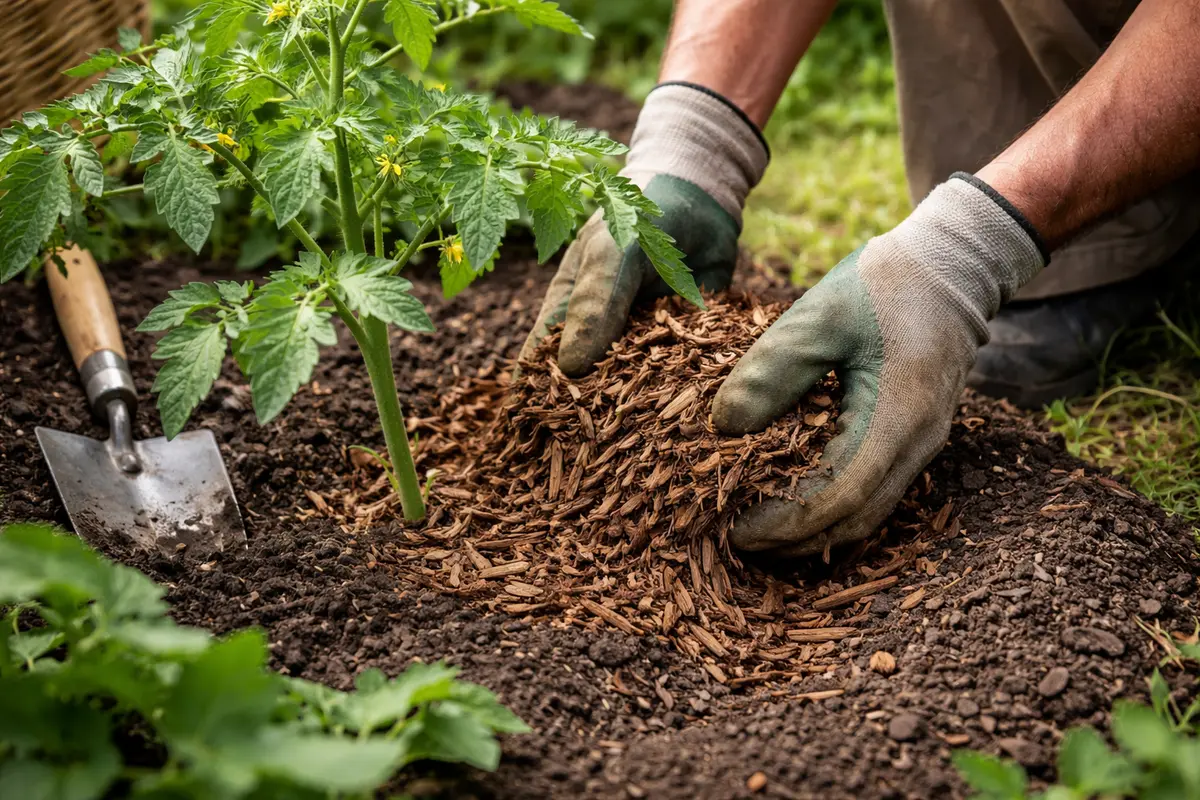
Begin by applying a 2- to 4-inch layer of organic mulch around the base of your tomato plants. This layer will help retain soil moisture, reducing stress and stabilizing the environment for healthy plant growth.
From here on, the retention of moisture will continually support the roots, allowing plants to thrive even during high heat. Consistent mulch coverage prevents water loss, ensuring that soil stays moist and helping to avoid the conditions that lead to drooping. If you observe your mulch layer thinning or becoming uneven, add more mulch as needed to maintain its effectiveness.
- Each week, assess your mulch depth after watering or rain events; replenish if it dips below 2 inches.
- At the start of hot weather, ensure you check mulch coverage and increase it if temperatures forecast above 90°F (32°C).
- Evaluate mulch condition every two weeks during growing season; replace any decomposed material to retain maximum moisture.
Mulch also acts as a buffer against temperature fluctuations. If you notice your plants wilting despite proper watering, check the mulch layer; inadequate cover can lead to rapid drying of the topsoil. Remember to leave a few inches of space around the stems to prevent rot from moisture accumulation. If the mulch touches the stems, inspect for signs of fungal issues as early treatments are crucial in preventing serious damage.
Step 5 – Inspect Tomato Foliage for Signs of Stress
Start by monitoring your tomato plants daily for the first week after transplanting. Observe the leaves for wilting or drooping, and check the soil moisture about an inch below the surface, ensuring it’s kept consistently moist but not waterlogged. Recheck these conditions every morning to notice any changes and adjust your watering schedule accordingly, as fluctuations can significantly impact recovery.
A fully recovered tomato plant will display firm, bright green leaves that perk up and stand upright, indicating they have regained turgor pressure. In contrast, if the drooping returns, the leaves may appear yellowish or limp, suggesting that the roots are still struggling. If the leaf edges begin to curl or turn brown while the stems remain weak, verify the soil moisture level—if it’s too dry or too wet, this could be affecting recovery.
If the issue persists despite proper monitoring and watering, consider checking for root-bound conditions or diseases like root rot. If the roots are compacted or show signs of decay, carefully re-transplant into fresh soil with better drainage. Should these methods fail, it may be necessary to consult a local extension service for further assistance or diagnostic tests.
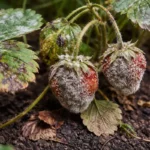
A healthy tomato plant will exhibit firm and vibrant green leaves. However, if the leaves begin to yellow or show signs of wilting, this indicates that the plant may still be struggling. Check not only for discoloration but also texture; fragile leaves may suggest systemic issues like nutrient deficiencies. Keep an eye out for signs of recovery, like new growth, which suggests that your interventions are working. Unusual spots or lesions could indicate pest or disease issues that warrant further investigation.
If signs of stress continue despite following these steps, consider revisiting your watering schedule or soil health. If the lower leaves are yellowing while the top ones remain lush, this can indicate nutrient deficiency or root issues. It may also be necessary to assess whether the plants are being affected by pests or diseases, as these conditions can compound drooping. Implementing a gentle fertilizer regime could aid in boosting any nutrient deficiencies. If deeper analysis reveals that your concerns are widespread, it may hint at a larger problem affecting multiple plants, necessitating advanced care strategies like soil testing or potentially integrating a pest management plan.
FAQ
How long will it take for my tomato plants to recover after transplanting?
Recovery times can vary based on the plant’s condition and the environment, but typically, you should see improvement within several days. If the plant starts showing new growth within a week, this is a positive sign of recovery. However, if continued drooping or yellowing persists, it may indicate a need for further intervention, such as improving soil conditions or checking for pests.
Can overwatering cause my tomato plants to droop?
Yes, excessive watering can lead to root rot, which prevents roots from absorbing nutrients and moisture effectively. If the soil remains soggy for extended periods, it may worsen the drooping of plants. Expect to see signs like a foul smell from the soil or browning edges on leaves, which are clear indicators that root health is compromised.
Should I remove droopy leaves from my tomato plants?
If leaves are severely drooping and damaged, it’s best to remove them. This allows the plant to redirect energy toward healthier leaves, promoting overall recuperation. However, avoid over-pruning, as this can stress the plant further; instead, selectively remove only the worst-affected leaves to help balance recovery efforts. Given that plants redirect nutrients to healthier foliage, focusing on healthier areas could also yield better productivity in the long term.