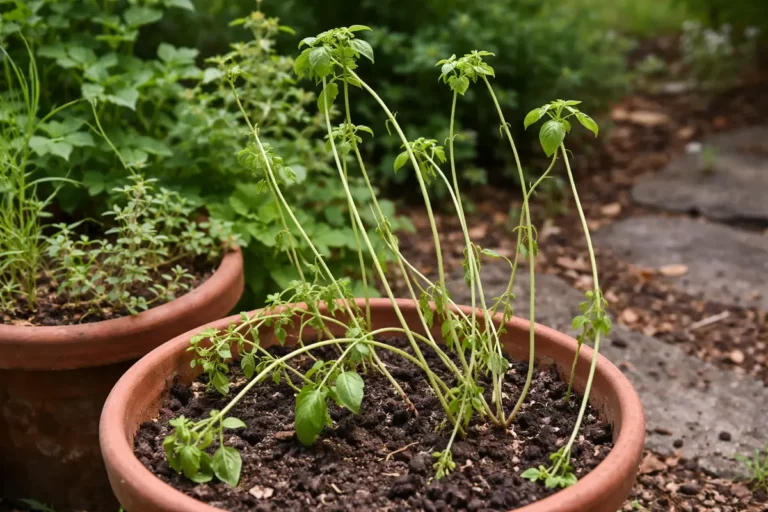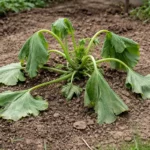
You may notice your corn plants becoming increasingly tall and spindly during low light conditions, a clear sign that you need to know how to stop leggy growth in corn during low light. This leggy growth occurs because the plants stretch towards the light, leading to weak stems and drooping leaves. Ignoring this issue only weakens the plant further and sets its growth back, but fixing it is possible now by adjusting light exposure and monitoring nutrition levels.
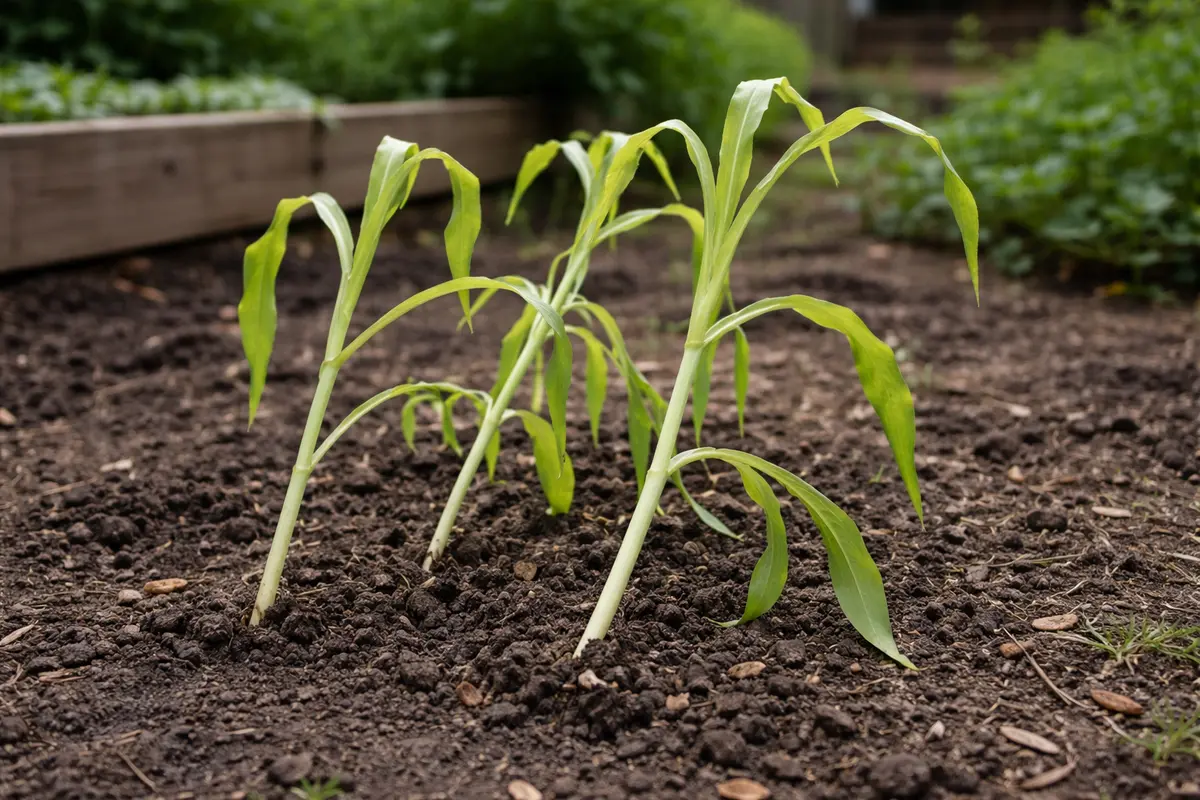
Step 1 – Trim Overly Tall Corn Stalks Immediately
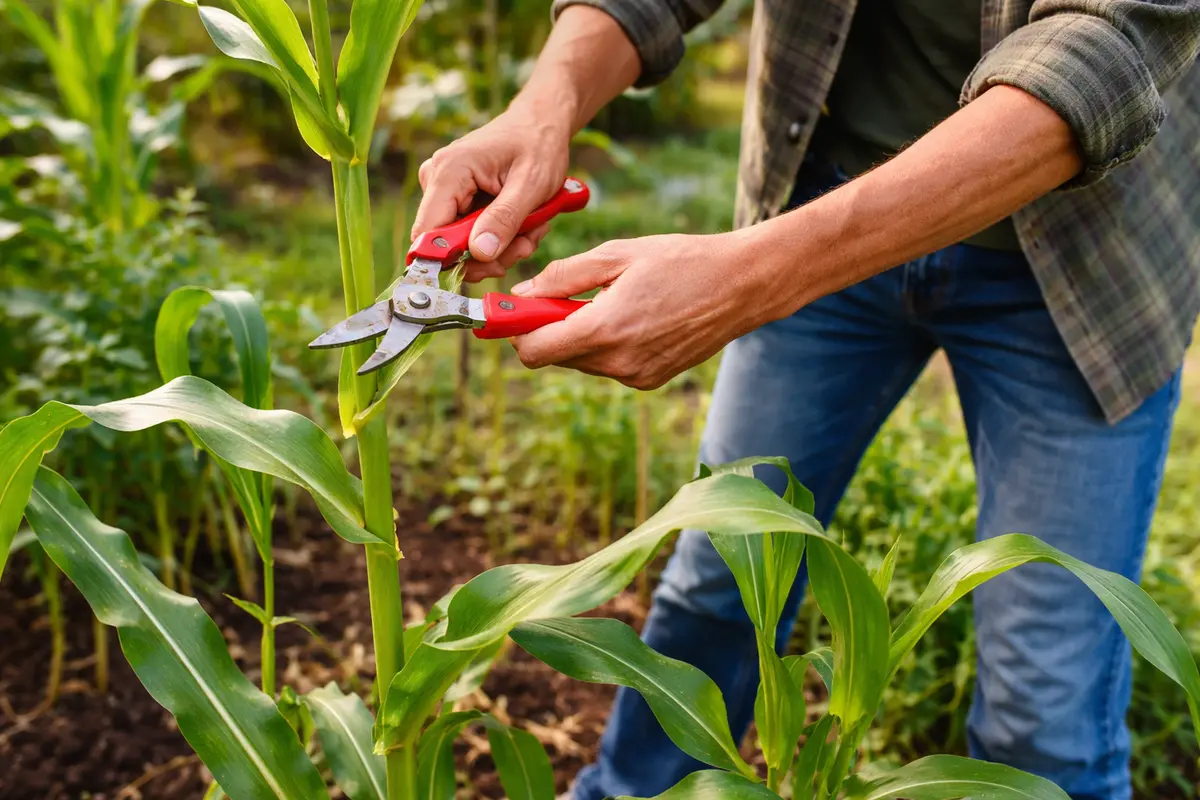
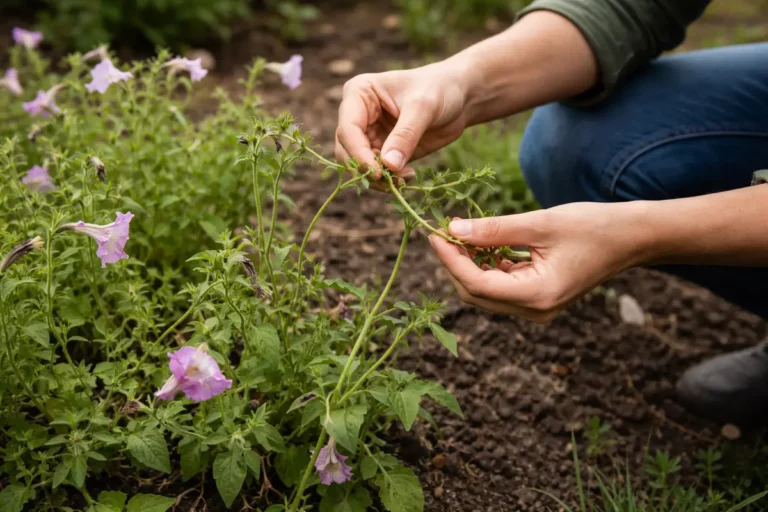
Begin by trimming the excessively tall corn stalks back to a height of about 4 to 6 inches above the soil. You will notice that the weakened stems are now shorter and more stabilized, allowing the growing points to be more manageable. This quick action limits further stress and helps prevent the problem from worsening. Trimming should occur ideally during the early morning when temperatures are cooler, as this reduces shock to the plant. If pruning is done at midday, the exposed areas can dry out rapidly, stressing the plant further. Aim for a humid day if possible, as moisture can also ease the recovery process.
Trimming back the corn directly addresses the symptoms of leggy growth by allowing the plant to redirect its energy into strengthening its base rather than extending upward. When corn reaches upwards due to low light, it can create hollow stems that won’t support the plant’s weight, lasting from the initial stretch toward the light. Immediate trimming helps the plant invest resources into developing robust roots instead of further elongation. Aim for leaving a few healthy leaves above the cut, as this will still allow some photosynthesis to occur while the plant recovers. If you’re unsure where to cut, look for the first set of normal leaves just beneath the stretch, as this area typically indicates stable growth conditions. If these above leaves appear tattered or yellow, it may signal a need for more nutritional support.
Many gardeners initially hesitate to trim their corn, thinking it could stunt growth; however, swift action can actually save the plant. If the top ear of corn has become too long and is sitting unevenly, you are more likely to see plants that topple over in the wind or fail to produce as many ears. Be sure to watch their stability after heavy rains or strong winds; just a slight breeze can topple a flower-heavy stalk. A critical point to assess is the soil conditions; if the soil is overly wet or compacted, the trunk may be more susceptible to bending. Be vigilant: if trimming does not stabilize the growth quickly, consider reevaluating the lighting conditions. If, after repeated attempts, the corn is still showing signs of weakness, it may be necessary to consider replacing some of the weakest plants to ensure a successful harvest and enhance air circulation around existing ones to prevent fungal diseases, which are often exacerbated by poor health.
Step 2 – Assess Light Levels Affecting Corn Growth
First, assess the light levels your corn is receiving and reposition the plants to a location that receives full sun for at least six hours daily. As you improve light exposure, watch for a decrease in leggy growth; the plants will begin to develop stronger stems and shorter internodes. If your corn is already in full sun and still showing poor growth, a more thorough inspection of the next variables is necessary.
Leggy growth in corn often results from insufficient light, causing the plants to stretch toward any available light source. In low light conditions, the corn plants invest more energy into elongating their stems rather than fortifying their root systems, which can lead to instability. This contrast can also be observed when comparing plants under bright light, where they maintain a more compact and sturdy form, indicating adequate growth conditions. Observe your plants over the day; if one side leans heavily toward the sun, it can indicate not only inadequate light but also that surrounding plants or structures are creating unwanted shadows that might be blocking sun exposure. If the light situation does not change, check the level of nutrients, as nutrient deficiencies can exacerbate these symptoms.
If the soil feels overly compact or retains excessive moisture, consider aerating it to promote healthier root development, which supports more balanced growth. In contrast, if the soil dries out quickly and cracks, ensure adequate watering, as it may be lacking sufficient moisture; improving drainage can also benefit plants suffering from both leggy growth and root stress. Assessing soil moisture should be frequent, particularly during hot spells, when evaporation rates rise. You should also ensure that moisture content retains a level of evenness; if it feels overly dry at the base yet wet at the top, a technique like mulching might help to moderate moisture retention.
This leggy growth stems from insufficient light levels, causing the plants to extend their shoots desperately. Corn photosynthesis, essential for energy and development, suffers when plants do not receive adequate light. The energy diverted towards producing long stalks can prevent the development of strong roots and are often symptomatic of other health issues if not addressed properly. Observing shadows as the sun moves through the day can help identify if the corn is adequately situated or if alternative options need exploration. If shadows persist around your plants, consider alternatives such as among the primary growth; corn is best grown in free space and away from obstacles that might interfere with light absorption. Observing the angles and intensity of light throughout the day also allows gardeners to optimize the arrangement of their garden beds. If you find your corn is competing for light with other taller vegetation or structures, it becomes vital to prune those surrounding obstacles to improve light penetration. In situations where adding a grow light is feasible, do so to counteract seasonal low light effects; selecting a spectrum that emphasizes red and blue wavelengths can benefit growth patterns more beneficially than general lights.
Step 3 – Fertilize Corn to Encourage Healthy Growth
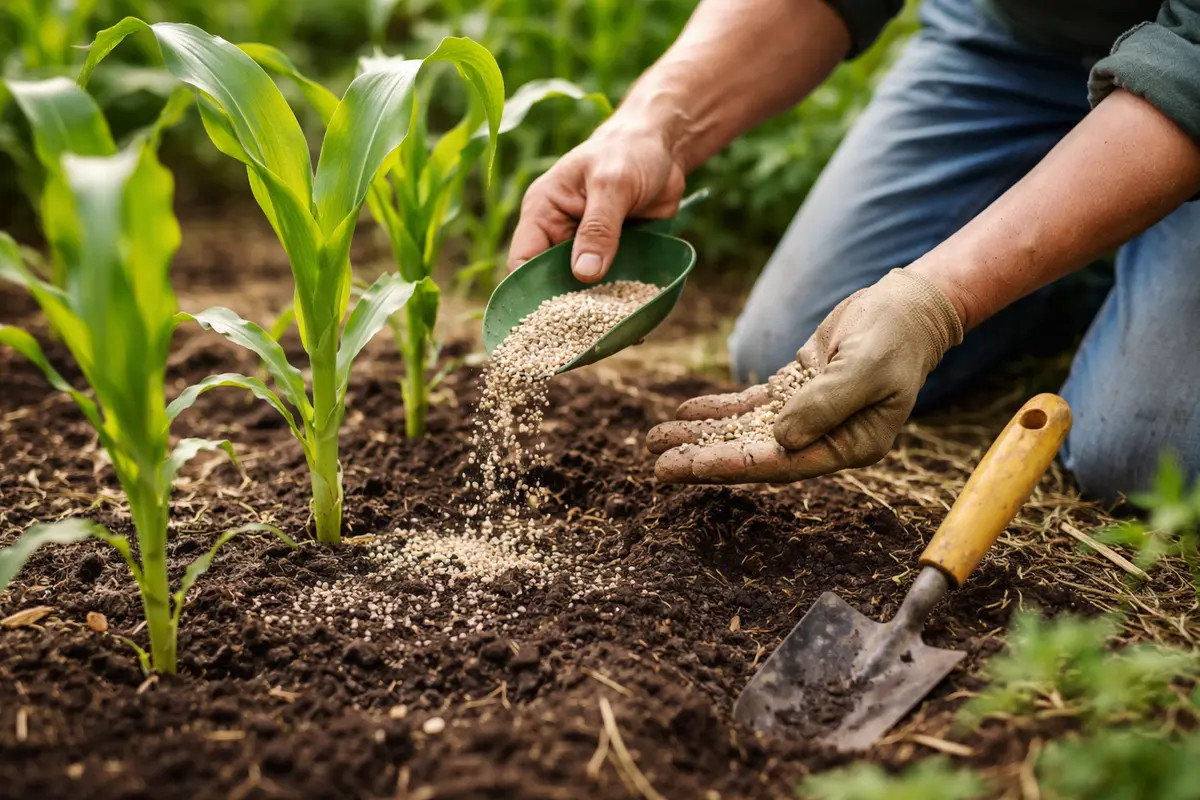
Apply a balanced fertilizer to your corn plants to promote robust growth, specifically targeting nitrogen-rich formulas. After application, you will observe a more vibrant green color in the leaves within one week, signaling that the plants are beginning to recover. This step is crucial as it supplies the necessary nutrients that are often depleted in leggy plants, allowing them to regain strength. Spread a granular fertilizer evenly around the base of the plants, taking care not to let it touch the stems directly to avoid burning; a gap of at least 2 inches from the stem is advisable. Thoroughly mix the fertilizer into the top layer of soil to enhance absorption. Additionally, keep an eye on surrounding plants as competition for nutrients can hinder overall recovery.
The infusion of nutrients, especially nitrogen, directly supports healthy leaf development and overall growth for corn. Since leggy corn has used most of its stored energy trying to grow upwards, fertilizing now helps establish a strong base. Regular soil testing can help determine if nutrient deficiencies persist, allowing targeted fertilization strategies to emerge, especially in soil types known for draining nutrients quickly. For best results, consider using a slow-release fertilizer to ensure nutrients are consistently available as the corn grows. Regular follow-ups can help gauge effectiveness; if leaves yellow after fertilization, adjustments may be needed.
While fertilization is critical, be cautious not to over-fertilize, as this can create a toxicity level that burns the roots. A common mistake is to expect instant recovery after fertilization; it may take several weeks to stabilize the overall health of the plants. During this time, also monitor watering habits to ensure soil moisture remains consistent, as overly dry or wet conditions can further hinder recovery. When monitoring the plants, look for any leaf curling, which can indicate stress from either too much or too little fertilizer. Observe how the plants respond weekly; if yellowing persists despite nutrient replenishment, it may indicate over-fertilization or root rot, requiring immediate remediation steps such as reducing fertilizer application and ensuring proper drainage, possibly through amending heavy soils with organic matter to promote aeration.
Step 4 – Watch Corn Leaves for Signs of Stress
Monitor your corn plants closely, checking them every few days for indications of improvement or distress in their growth. You should notice the leaves returning to a healthy green color and a firmer texture. If these signs are absent or new yellowing begins to appear, it may indicate that further intervention is needed. Keep a journal of your observations, noting any changes in color, texture, or growth parameters to track progress effectively; this documentation can also aid in pinpointing external factors that might be at play. Look for variations day by day; improvements might be subtle, such as increased thickness in stems or gradual greening.
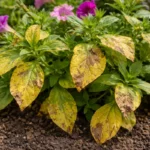
A fully recovered corn plant will have leaves that are vibrant green and firm, indicating that nutrient absorption is back on track. Conversely, if you see yellowing or wilting, it is likely a sign of nutrient deficiency or an issue with watering. Visual cues such as these can indicate a return of leggy growth and alert you to take corrective measures. Regularly feel the soil; if it becomes too compact or crumbly, it might be time to aerate so that roots can access more oxygen and moisture. Keeping a close watch on growth patterns can also inform other plants’ recovery schedules if you’re cultivating multiple crops. Simple finger tests can check soil moisture levels; if the first inch is dry, it’s time to water and consider the ratio of watering based on external conditions. After heavy rain washes nutrients, currant bushes have yellowing leaves in is possible.
If the situation does not improve despite your previous interventions, it may be time to escalate the issue. This could involve adjusting watering schedules based on how quickly the soil dries, testing soil pH to ensure it is suitable for corn, or even assessing weather patterns that could affect light availability. Monitoring growth through visual checks will help identify the best course of action in either maintaining the recovery or addressing new troubles that arise. Consider using pH test kits to gauge soil conditions, aiming for a pH between 5.8 and 7.0, which is ideal for corn growth. If pH levels are off, certain nutrients may become unavailable, further complicating recovery efforts—this may signal the necessity of further soil amendments or a switch to a liquid fertilizer that can be more readily absorbed.
FAQ
How long does it take to see improvements in leggy corn growth?
Typically, after implementing the aforementioned steps, improvements in leggy corn growth may be noticeable within a week. The combination of trimming, optimal light exposure, and fertilization should yield visible results in the form of greener leaves and sturdier stalks. If you don’t see changes within a week, it may indicate a more severe underlying problem and adjustments may be necessary; reconsidering the overall planting bed design could also yield better growing conditions.
Should I remove any damaged leaves from my corn?
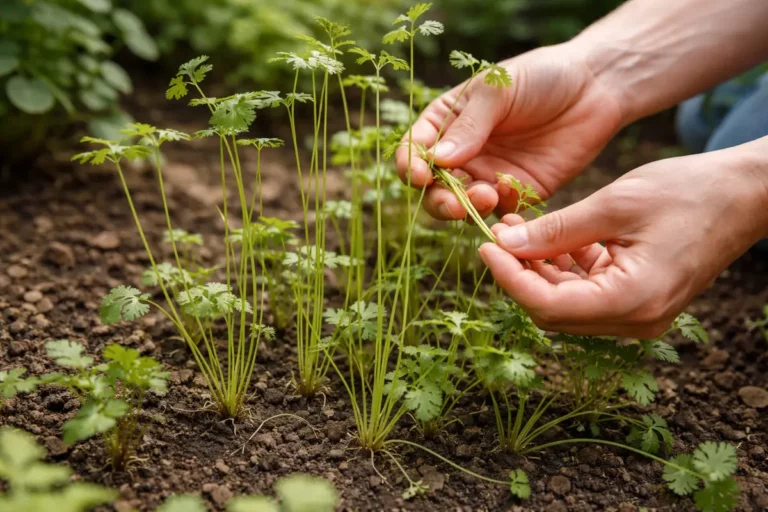
Yes, it is advisable to remove any severely damaged or yellowing leaves from your corn plants. This helps the plant redirect its energy toward healthy growth and can mitigate the spread of any potential diseases that may have caused the initial leggy growth. Always use clean, sharp scissors or pruning shears to prevent infecting the plant during the cutting process. Check the roots as well; examining the roots after trimming could reveal rot, indicating the need for further corrective action.
Can low light conditions affect corn production?
Absolutely, continuous low light conditions can severely impact corn production. Insufficient light not only leads to leggy growth but also diminishes ear formation, ultimately reducing the crop yield significantly. Evaluating surrounding foliage to reduce shading can significantly enhance productivity, especially prior to flowering and ear development. Additionally, implementing companion planting arrangements that optimize light use can be beneficial for maximizing your garden’s overall yield.