You may notice your sweet potatoes developing soft, mushy spots during the humid summer months, which is why you need to know what to do when my sweet potatoes are rotting in the ground. This often occurs due to excess moisture or poor drainage, leading to rotting and damage that stunts the growth of your plants. If left unaddressed, the problem gets worse, weakening the plant and leading to more damage, but fixing it is possible now if you check your soil drainage and remove any affected tubers.
Step 1 – Dig Up Rotting Sweet Potatoes Promptly
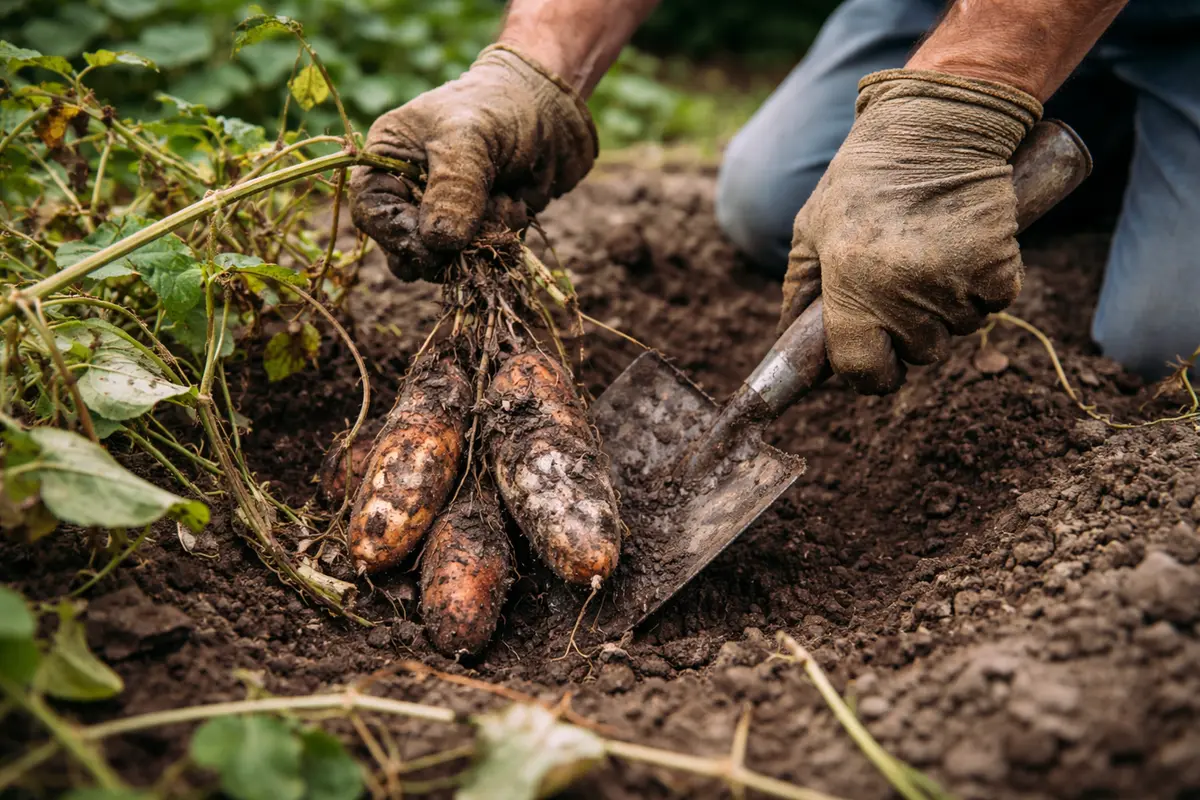
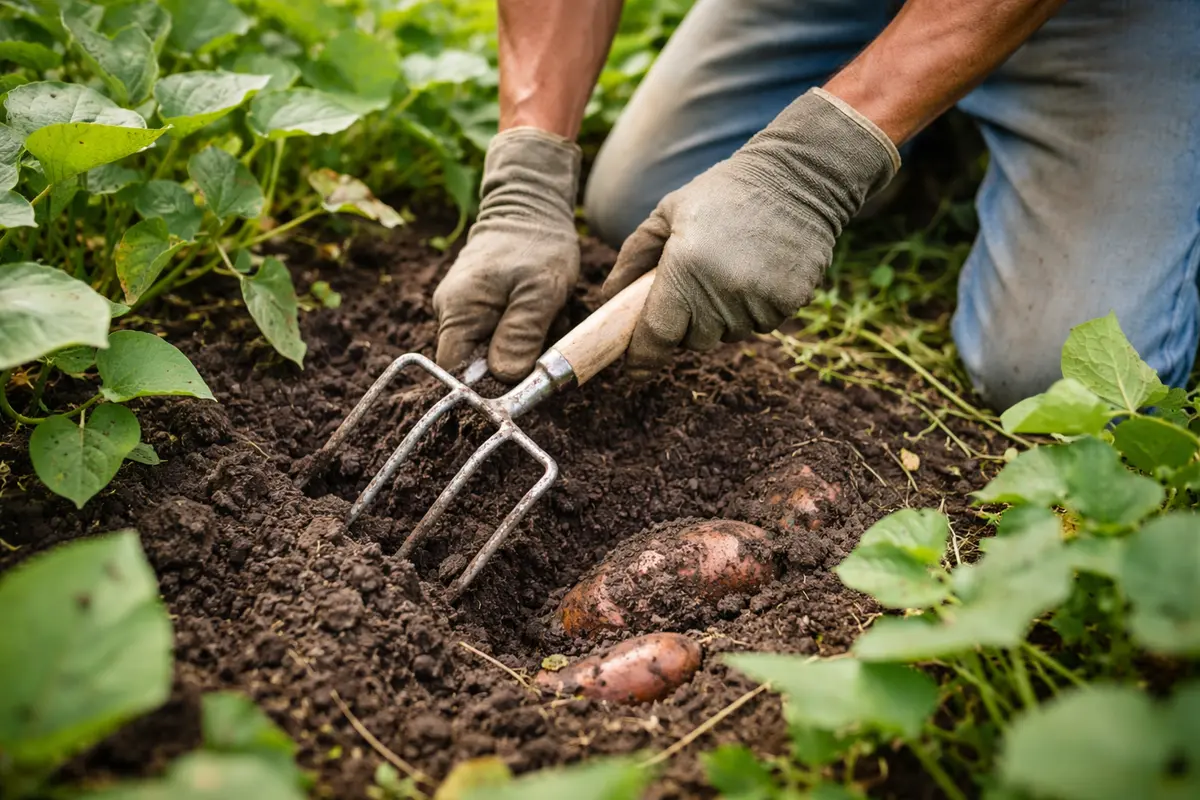
Dig up any rotting sweet potatoes immediately. You will see visibly damaged and soft potatoes that are leaking moisture within minutes of exposing them to the air. This visible decline signifies that the rot has taken a stronghold and requires immediate action to minimize loss. If you notice a few tubers showing signs of rot, thoroughly inspect the surrounding area for any potentially affected potatoes.
Acting quickly is crucial because the longer potatoes sit in wet soil, the more the rot can spread, affecting healthy tubers still buried. Sweet potatoes are particularly sensitive to overwatering as they thrive in well-drained soil. If you delay this action, the viable parts of your crop can quickly succumb to fungal infections or bacteria, potentially leading to a total loss. Typically, rotting can escalate from a single tuber to an entire harvest in less than a week when conditions are ripe for decay like excessive humidity and dampness.
Many gardeners mistakenly leave rotting tubers in the ground, hoping they will recover or questioning if the damaged produce should be removed. In my experience, this often leads to a complete loss of the harvest, as rot can spread to adjacent potatoes and degrade their quality. By quickly identifying and removing the affected potatoes, you halt the progression of rot and protect the rest of your crop. Always prepare to check for rot early, especially after periods of heavy rain, as symptoms can escalate rapidly due to the increased moisture levels in the soil. The smell can serve as an early warning; if you notice an unpleasant odor during inspections, it’s a telltale sign that you need to act quickly. Additionally, be on the lookout for a white or gray mold forming on the surface of the tubers, which can indicate developing rot.
Step 2 – Diagnose Soil Drainage Issues for Sweet Potatoes
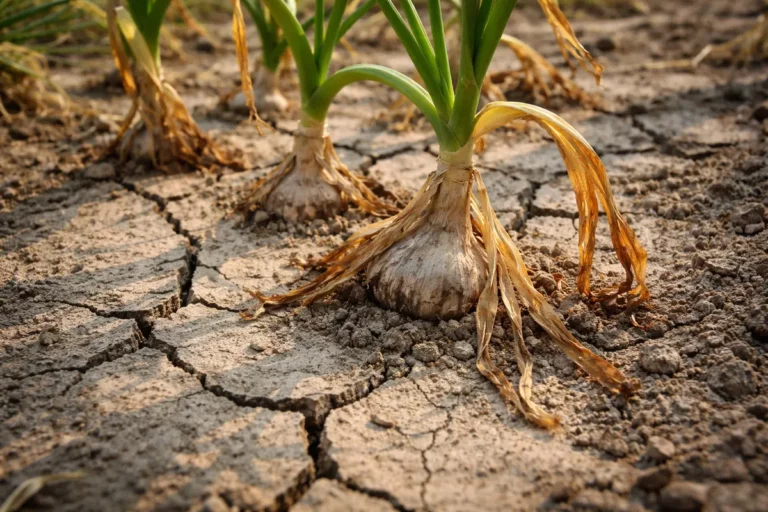
Check the soil drainage around your sweet potato plants. You will see that the soil either remains overly saturated or waterlogged, indicating poor drainage conditions. Press your palm into the soil; if it sticks and feels muddy, it’s time to reassess. Look for pooling water or persistent wetness around the root zone as these are clear indicators that your soil may be compromising your crop’s health. Keeping an eye on moisture levels in the surrounding area is key; if the ground is consistently soggy, it signals a drainage problem.
Analysis of your soil conditions is essential as heavy, compacted, or clay-heavy soil prevents excess water from draining away. Sweet potatoes require well-aerated soil to grow effectively, and standing water can lead to fungal diseases that contribute to decay. If you don’t correct the drainage issues, the risk of rot develops again, compromising future harvests. This includes monitoring for signs of not just rot, but also the health of surrounding plants, as sick or struggling plants can indicate wider soil issues. For instance, if other root crops in the vicinity are also suffering, your problem could be more widespread than just your sweet potatoes.
If the soil feels squishy or has a sour smell, consider amending it with sand or organic matter to improve drainage. Mixing in compost can also increase soil structure to facilitate better air circulation. Conversely, if the soil is crumbly and dry, it might indicate a lack of moisture controls, which could hinder growth. Always adjust your watering frequency according to the soil’s moisture content, ensuring that roots remain healthy without getting soggy. An additional check involves digging down about a foot; if you encounter standing water or an excessively muddy texture, this confirms the drainage issue. Should you find compacted soil at deeper levels, tilling can help alleviate this issue. If you discover areas where water is pooling, it’s time to rethink your planting strategy, possibly incorporating drainage ditches or raised beds for better path management.
Step 3 – Apply Nutrient Boost for Sweet Potato Recovery
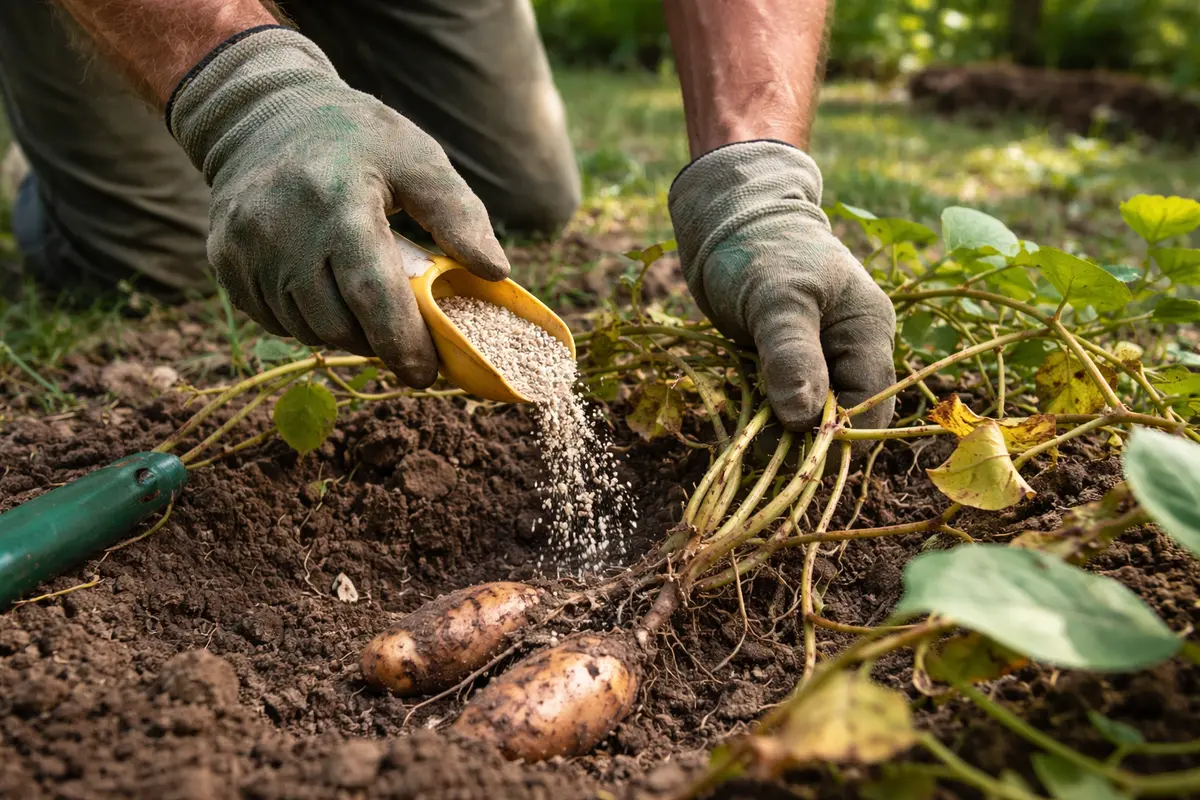
After addressing the rot, apply a balanced fertilizer to the soil around your sweet potatoes. You’ll notice new leaves emerging and healthier growth patterns within a week or two. Observing greener foliage indicates that the plants are responding positively to the enhanced nutrient availability, signaling that they’re on the road to recovery. If you notice stronger stems and more vigorous leaf growth, your plants are on the mend.
This recovery step is essential as the nutrients lost due to rot can hinder overall plant vigor. Fertilizer boosts the nutrient levels in the soil, allowing the plant to recover its strength and grow new foliage. Signs of improvement, such as greener leaves and sturdier stems, indicate that the sweet potatoes are benefiting from this action. Monitoring for this growth after fertilizer application is key to understanding your plants’ recovery timeline. If you notice that stems are growing back more vigorously and the tubers are starting to firm up, those are strong signs that your intervention is working.
A common mistake during this recovery stage is over-fertilizing, which can lead to nutrient burn and stress the plants further. Applying too much can cause foliage to turn yellow or even die off, which signals nutrient overload. Using a soil test kit can help guide your fertilization efforts, ensuring you apply an appropriate amount. If after a week you notice little to no change, consider adjusting the fertilizer type—switching to an organic compost might provide a more gradual nutrient release. Keep an eye on the weather too; if you experience heavy rains shortly after fertilizing, nutrients may wash away, necessitating a reapplication. Regularly check for symptoms of deficiency or over-application, such as leaf curling or discoloration, and be ready to adapt your strategy accordingly.
Step 4 – Prevent Rotting by Improving Soil Aeration
Start by harvesting your sweet potatoes as soon as they show signs of rotting by digging carefully around the plants. This action will reduce the risk of further decay and help you salvage any healthy tubers, preventing extended losses in your harvest. Additionally, once harvested, inspect the remaining tubers thoroughly to separate any that show initial signs of decay.
Sweet potatoes often rot due to excess moisture in the soil combined with high humidity, creating an ideal environment for fungal attacks. By harvesting early and ensuring proper drainage, you significantly decrease the likelihood of this moisture buildup, addressing the root cause of the problem. In contrast, if you notice your sweet potatoes thriving with firm skin and vibrant foliage, that indicates balanced moisture levels and good health. This contrasts sharply with those that appear soft or discolored.
During the rainy season, elevate your sweet potato beds or switch to raised planting to avoid saturated soil. Alternatively, applying mulch when the weather is particularly wet can help maintain soil moisture balance and prevent fungal growth around the roots of your plants. Soil aeration improves oxygen flow to roots, which is crucial for avoiding conditions that promote rot. Regularly amending your soil with compost or well-rotted manure helps maintain fertility while also contributing to moisture balance, minimizing the likelihood of excess water pooling around the roots. Establishing an effective aeration routine will significantly reduce the risk of rot returning, providing a consistent foundation for healthy potatoes. If soil feels compacted, consider using a garden fork to aerate it or establishing a crop rotation system to reduce further compaction. As a rule of thumb, always test soil structure before planting; if hard, compacted clumps form, that indicates the need for immediate attention. Additionally, incorporating drainage tiles can aid significantly in preventing localized flooding around root zones.
Step 5 – Inspect Sweet Potatoes for Signs of Rot Weekly
Check your sweet potato plants and harvested tubers for any signs of rot on a weekly basis. You should observe firmer textures in undamaged potatoes and generally healthy foliage. Regular inspections allow you to catch potential reoccurrences of rot early, providing opportunities for timely interventions that can protect your harvest. Aim to conduct these checks after watering sessions or heavy rainfall when conditions are most favorable for rot.
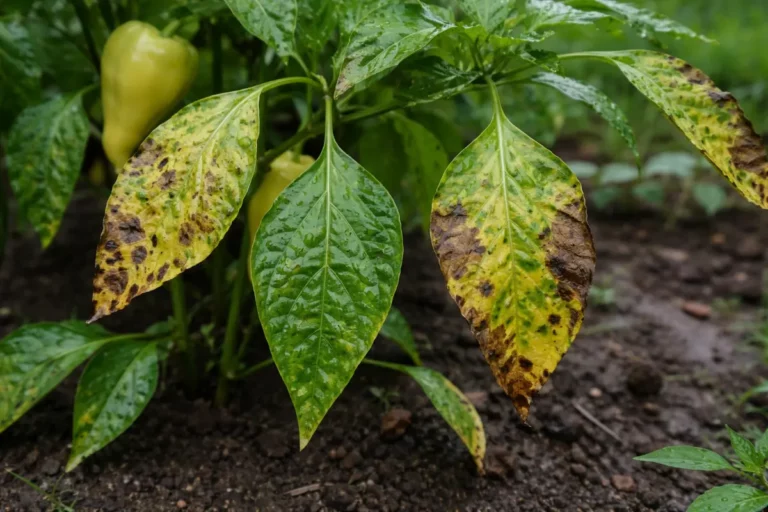
Look for indicators like a sour odor, dark spots on the skin, or soft textures, which signal that rot is either returning or still present. Early signs can be mitigated by ensuring good airflow around the plants, which is crucial for preventing moisture buildup that invites rot to thrive. If you notice any signs of decay, act quickly to avoid further spread. For instance, if one potato has started to rot, chances are nearby ones may also be affected; removing them promptly reduces the risk of a broader issue. Mark affected areas in your garden, so you can monitor their recovery separately.
If upon rechecking, you find signs of returning rot despite previously implemented steps, remove any damaged potatoes and apply a fungicide designed specifically for root crops. Ensure to follow labeled directions closely as over-application can lead to resistance and further issues. Additionally, consulting a local extension service for tailored soil analysis helps you better understand your growing conditions and adjust your treatment plan accordingly. Keeping a detailed log of your observations and treatments can illuminate patterns, helping to form a more proactive management strategy for future growing seasons. Regular log entries, such as weather conditions and plant responses, can also help fine-tune interventions.
FAQ
How long will sweet potatoes take to recover after rot?
After addressing rot, sweet potatoes can show recovery signs with new growth in about 1-2 weeks if the conditions are optimal, such as adequate drainage and appropriate fertilization. Proper care, including nutrition and drainage management, is necessary for faster results. Early intervention tends to yield quicker recovery responses, reducing long-term setbacks. If plants show no signs of improvement within this timeframe, consider reassessing your growth conditions.
Can sweet potato rot spread to nearby plants?
Yes, if left unchecked, rot can spread to adjacent sweet potato plants as pathogens or bacteria can move through moist soil. The potential for spreading intrudes upon your whole patch of potatoes. Quick removal of affected plants is crucial in preventing this spread from becoming a larger problem, as untreated rot can wreak havoc on your plans for the season. Be vigilant, especially during wet periods when dampness facilitates infection.
Should I remove all affected parts of the plant to ensure recovery?
Absolutely, thoroughly remove all visibly damaged parts to minimize the risk of rot affecting the remaining plants. This proactive approach is critical in protecting your crop from future rot issues and helps ensure the remaining plants stand a better chance of recovery. Remember to monitor for signs of declining health for weeks after your interventions, as sometimes roots can show delayed reactions to stress.