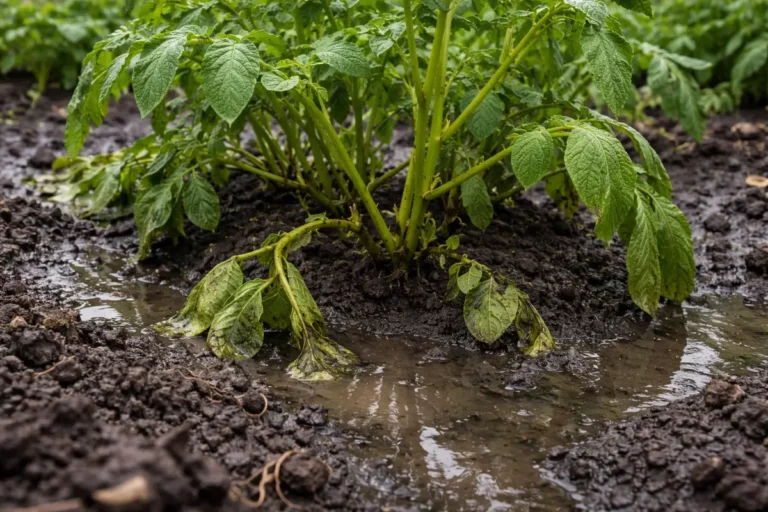
You may notice your sweet potato plants looking droopy or developing yellowing leaves after heavy rain, which is why you need to know how to stop root rot in sweet potato plants after rain. This condition arises when excess moisture causes the roots to become mushy and starts the rotting process. If left unaddressed, the problem gets worse and can spread throughout the plant, ultimately weakening it and leading to more damage. Fortunately, fixing it is possible now; you should check the soil for drainage issues and remove any rotting roots to improve the plants’ health.
Step 1 – Remove Excess Waterlogged Soil Around Sweet Potatoes
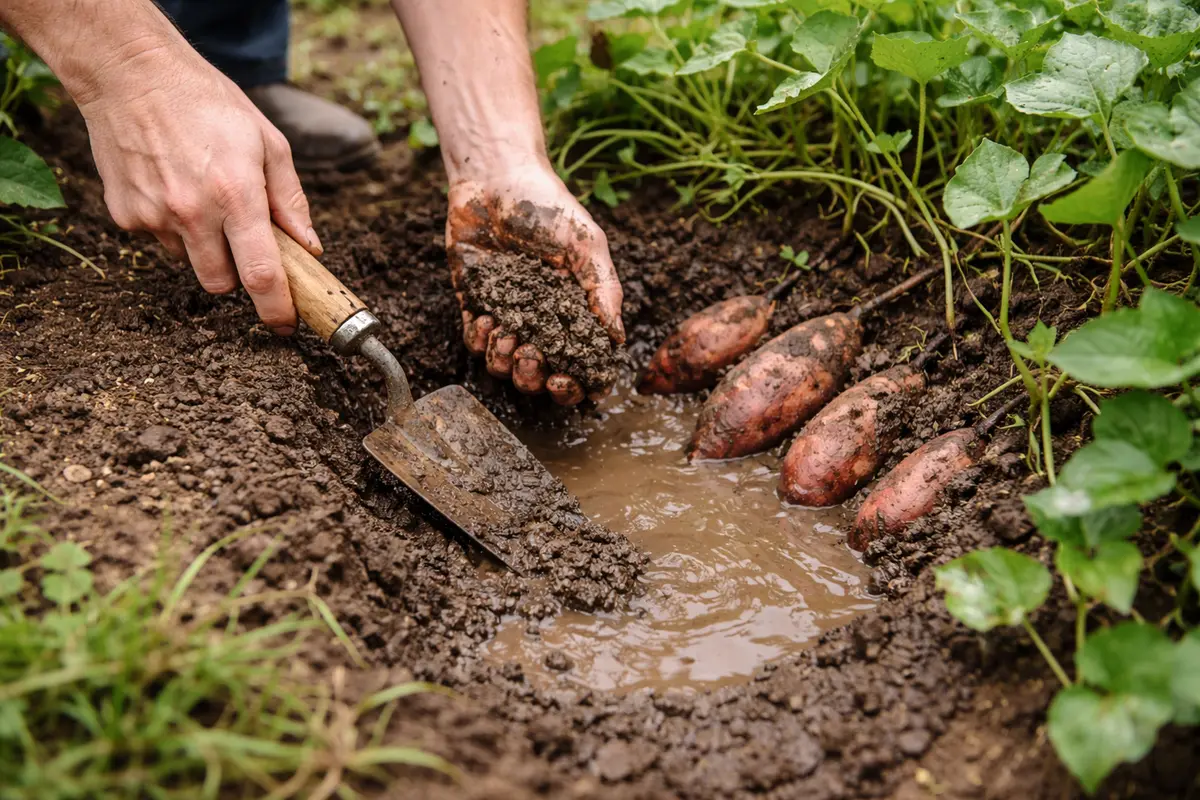
Start by gently digging around the base of your sweet potato plants to remove any waterlogged soil. You will notice the soil level decrease, which allows better air circulation and reduces moisture around the roots. Carefully extract the saturated soil with your hands or a trowel, avoiding damage to the delicate roots. The remaining soil should feel crumbly and loose, rather than compacted and soggy.
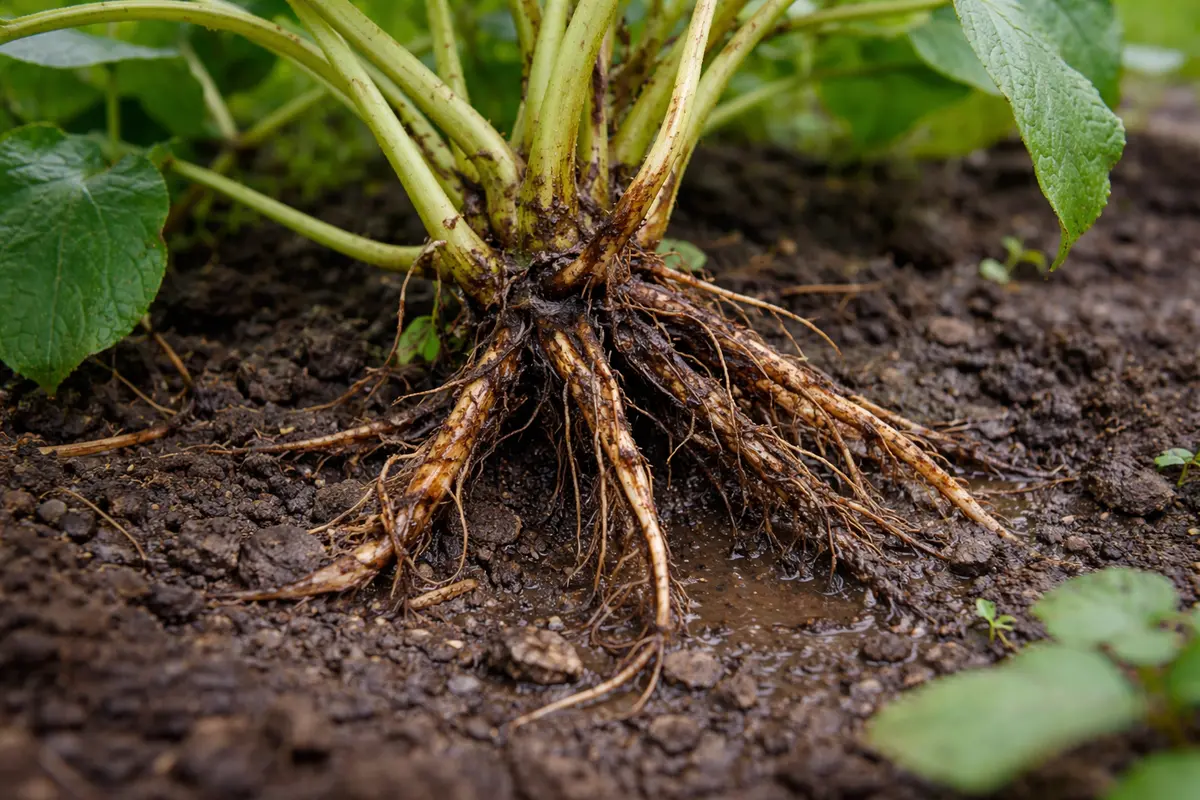
Excess moisture suffocates plant roots, making them more susceptible to rot-causing pathogens. By promptly clearing out the saturated soil, you considerably lower the risk of permanent damage to the roots. Healthy roots need oxygen to thrive; without it, decay sets in rapidly. During your inspection, check for roots that feel mushy or discolored; these indicators point to severe distress. If any roots emit a rotten smell or appear black, they are likely beyond saving, requiring immediate further action.
A common misstep at this stage is neglecting the damp soil, assuming it will dry out eventually. However, soil compaction worsens with saturation, leading to further deterioration. If your sweet potatoes remain in excess moisture, they can show signs of stress in as little as 48 hours, making your intervention critical. Also, assess the surrounding area for proper drainage; if it is flat or low-lying, it can exacerbate pooling conditions. Ensure your sweet potatoes are not planted in a bowl-shaped area that traps water.
Step 2 – Assess Soil Compaction Causing Root Rot
Begin by assessing soil compaction around your sweet potato plants to identify areas that may be affecting drainage. If the soil is compacted, you’ll notice a lack of aeration, preventing proper oxygen flow to the roots and exacerbating root rot conditions. Compacted soil often feels dense and hard, limiting water infiltration and leading to excess moisture around the roots.
When soil compaction occurs, it creates a barrier that sustains waterlogged conditions, ultimately suffocating the roots and inviting the growth of harmful bacteria. If your sweet potatoes are in compacted soil, the roots may be unable to absorb nutrients properly, leading to symptoms like wilting, yellowing leaves, or stunted growth. If you notice these signs but the soil feels dry, check for pests that might be affecting root health instead.
To correct soil compaction, use a garden fork or aerator to gently break up the soil around the plants, allowing air to penetrate and moisture to escape. This action can significantly enhance the structure of the soil and improve drainage conditions. Over time, you should observe healthier root systems, evidenced by robust plant growth and a return to vibrant foliage.
If you detect a sour odor from the soil during your assessment, this indicates severe anaerobic conditions due to prolonged water retention. In such cases, removing affected plants and adding organic matter, like compost, will help improve drainage and encourage microbial activity that can outcompete harmful pathogens. However, if the plants continue to wilt despite aeration, consider re-evaluating your watering schedule to ensure you are not contributing to further compaction and root problems.
In contrast, if the soil appears sandy but shows signs of wilting, this might suggest nutrient deficiencies. At this point, applying a balanced fertilizer can help rejuvenate the plants while also focusing on the soil’s compaction issues to support long-term health.
Keep an eye on moisture levels and air gaps in the soil as careful monitoring can prevent compaction-related problems in the future. Compacted soil dehydrates roots and limits nutrient intake, so implementing routine checks can safeguard against these issues, especially after heavy rainfall or in humid seasons. By ensuring proper aeration, you foster an environment conducive to healthy root growth and greater resilience against diseases.
Step 3 – Use Organic Fertilizer to Revive Sweet Potato Growth
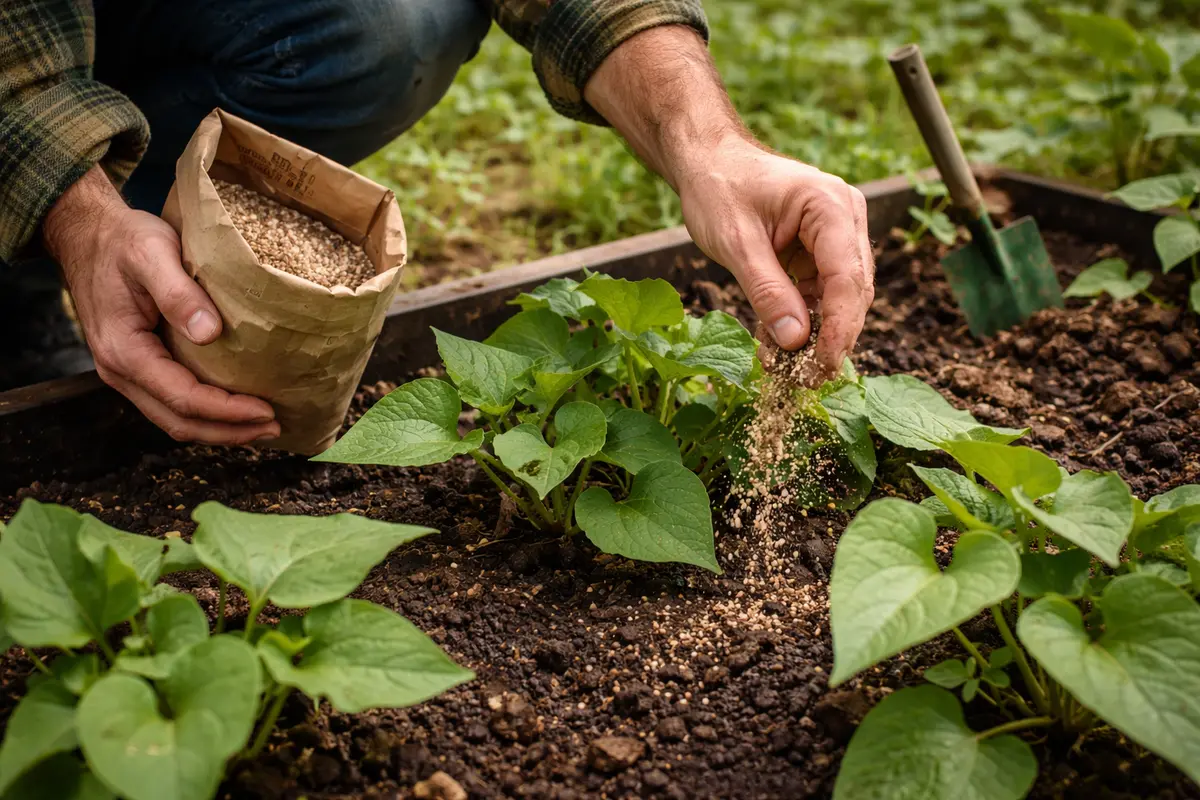
Start by applying a balanced organic fertilizer, such as compost tea or fish emulsion, to the root zone of your sweet potatoes. You will notice an immediate improvement in leaf color and overall vigor within a few days as nutrients stimulate new growth. Spread the fertilizer evenly around the base, avoiding direct contact with the stems to prevent burn. A good dilution is one part fertilizer to ten parts water, providing essential nutrients without overwhelming sensitive roots.
Recovery begins when your plants start showing a rich green color in the leaves, indicating they are absorbing nutrients effectively. If after a week the leaves are still yellowing or showing browning tips, consider adjusting your fertilizer concentration, as these may be signs of nutrient stress. Fertilizing helps replenish lost nutrients from overwatering and supports root repair.
From here on, monitor the plants closely for signs of recovery such as firm leaf texture and vibrant coloration. If you notice wilting or drooping leaves instead, this could indicate either over-fertilization or insufficient drainage. Use the fertilizer sparingly as the plants adjust to improved conditions. Watch for steady growth and greener foliage, confirming that the revitalization process is underway. If leaf tips begin to brown, reduce the fertilizer application immediately, as this signals a potential nutrient overload.
Step 4 – Water Sweet Potatoes Sparingly After Heavy Rain
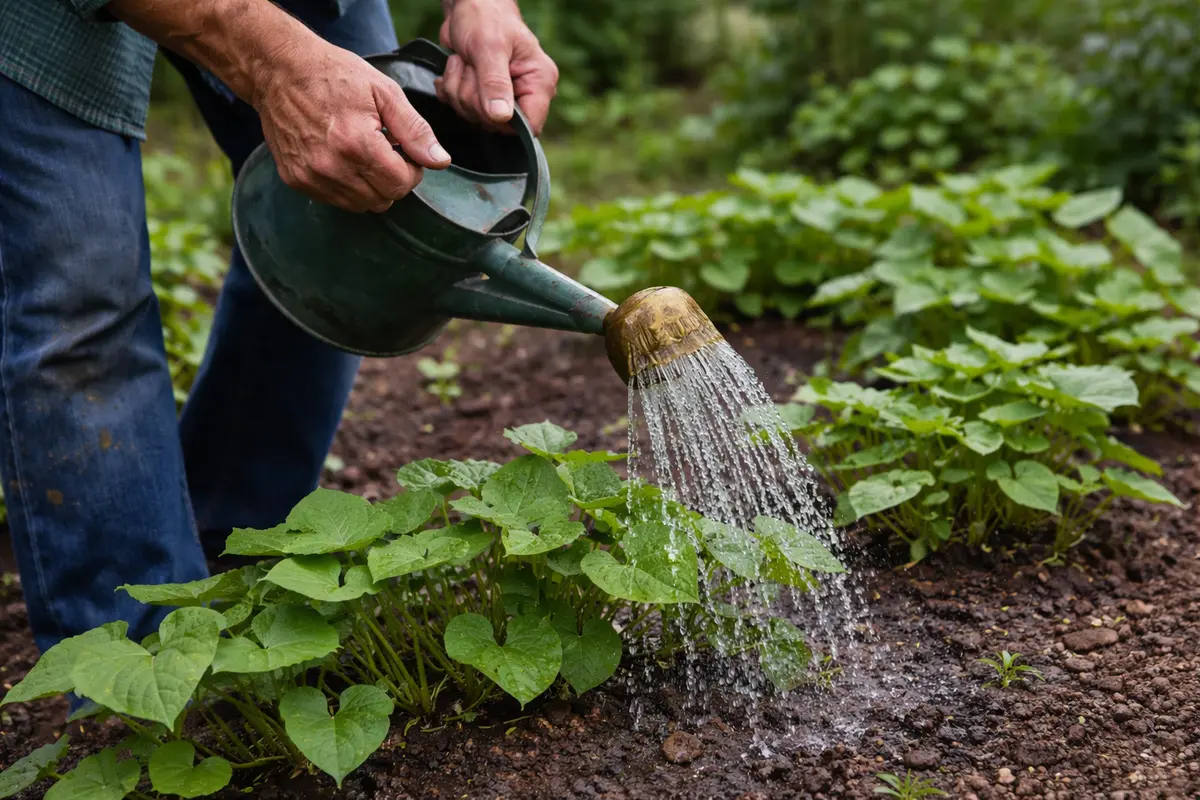
Start by reducing the frequency of watering to only when the top 2 inches of soil feel dry. This ensures that moisture doesn’t linger around the roots, promoting healthier root development and minimizing the risk of rot. For consistency, check the soil moisture levels with a meter twice a week after heavy rain.
From here on, avoid falling back into routine watering habits post-rain. If the soil appears damp, refrain from watering until a week has passed to prevent over-saturation. If, after seven days, the soil still seems moist, wait an additional few days before checking again. Implementing a system of deep watering only once every two weeks instead of shallow daily irrigation can further enhance drainage and reduce excess moisture.
Additionally, observe the leaves for any signs of wilting alongside wet soil; this indicates excessive moisture retention. If this occurs, be proactive and check for compacted soil, as it can hide true moisture levels and lead to false confidence. Consider using landscape fabric or a layer of gravel mulch to aid evaporation and keep the soil temperature regulated. Keeping a vigilant eye on your watering practices is essential to maintaining healthy sweet potato plants; neglecting moisture balance may lead to crop loss. Witnessing the experience of others struggling with overwatered sweet potatoes serves as a reminder of the critical nature of these prevention steps.
Step 5 – Inspect Sweet Potato Foliage for Signs of Stress
Start by monitoring your sweet potato plants within 24 hours after heavy rain. Check the soil moisture level by inserting your finger about an inch into the soil; if it feels overly saturated, observe the leaves for signs of wilting or yellowing. Recheck the moisture daily for a week to assess changes in soil drainage and plant response.
A fully recovered sweet potato plant displays vibrant green leaves that are firm and healthy, while early signs of root rot may include wilting leaves that are soft and discolored. If the plant’s stems begin to feel mushy near the base, that indicates a potential return of the problem; compare this to the sturdiness of a healthy stem that stands upright and resilient. If you notice curling leaves instead of the expected smooth texture, it’s time to take further action.
If the issues persist despite proactive measures, consider inspecting the root system by gently removing the plant from the soil to check for black, mushy roots indicative of rot. If the roots are still firm and white, replant and improve soil drainage with organic materials. Escalate the situation by applying a fungicide as a last resort if recovery remains elusive.
Regular checks will help you identify if the plants are bouncing back or if root rot remains a concern. Healthy plants exhibit robust dark green leaves that are firm to the touch; yellowing and softness typically signal ongoing rot problems that require further intervention. Each inspection should take about five minutes—dedicating this time helps ensure you can spot significant changes without over-stressing the plants. Keep in mind that drastic fluctuations in leaf texture could indicate broader systemic issues with the root system that need addressing.
If you notice that the plant shows no improvement after a week, it might be necessary to adjust your approach. Evaluating factors like soil drainage may lead to surprising insights, such as discovering additional water pooling around the base. Consider factors like rainfall patterns and changes in sunlight exposure that could affect moisture evaporation rates. Check for root system responses; if a significant number of roots are decayed, you may need to consider replanting new starts to ensure the overall success of your crop by allowing unaffected areas to thrive.
FAQ
How long does it take for sweet potatoes to recover from root rot?
Recovery from root rot can take several weeks, depending on the severity of the condition. With diligent care—particularly adjustments to watering and fertilization routines—you may begin to see signs of life within 2-4 weeks. During this period, consistent monitoring throughout the recovery process is critical to avoid exacerbating the situation with overwatering or insufficient nutrient supply.
Can root rot spread to other plants in the garden?
Yes, root rot can potentially spread to other nearby plants through contaminated soil or shared water. Keeping the affected area clean, isolating impacted plants, and ensuring good drainage can help minimize this risk. Additionally, practicing crop rotation and ensuring new plantings are not adjacent to distressed plants can reduce the chances of recurring issues associated with root rot. Soil health management—including monitoring for signs of fungus or pathogens—serves as a key defense against infections spreading garden-wide.
Should I remove affected roots when treating for root rot?
Yes, if you identify mushy or discolored roots, you must prune them away. This action prevents further decay and allows the healthy parts of the plants to flourish, facilitating a successful recovery. Always seal pruning tools with alcohol to avoid introducing pathogens to healthy roots, a problem common in the organic garden approaches. Ensuring sanitized tools minimizes cross-contamination risks, helping maintain the overall health of the garden environment.