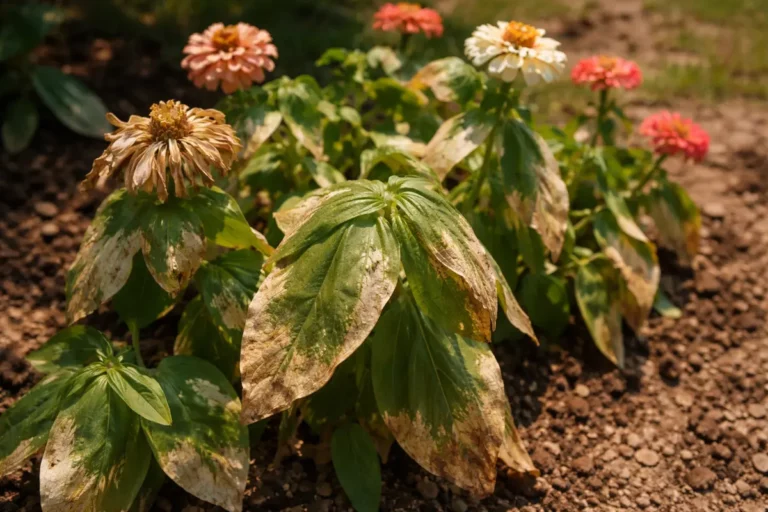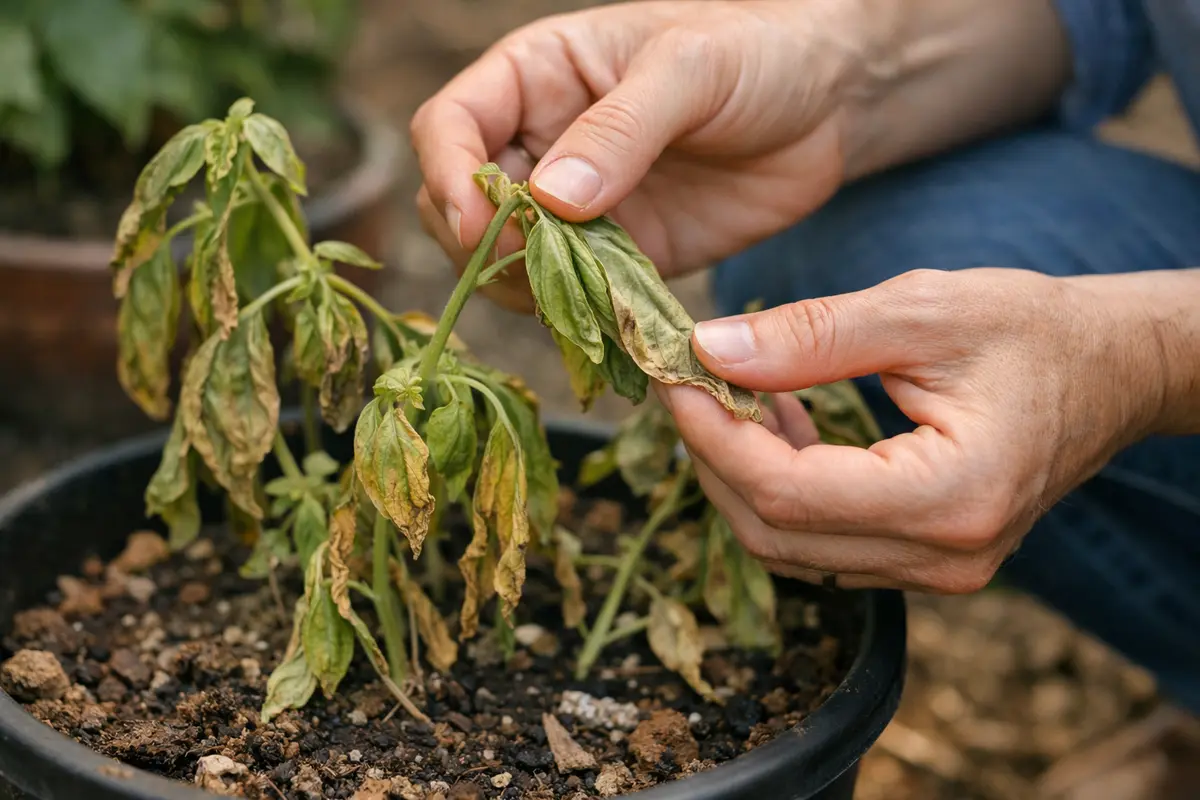
You may notice your potted herbs starting to show signs of distress, with drooping leaves and a lackluster appearance during extreme heat, which is why you need to know how to prevent wilting herbs in containers during extreme heat. This wilting occurs when the plants lose moisture faster than they can absorb it, leading to damage. If ignored, the situation gets worse, causing further wilting and stalling growth, but fixing it is possible now—just inspect the soil, adjust your watering routine, and provide some shade to help them recover.
Step 1 – Water Basil Containers Thoroughly Now
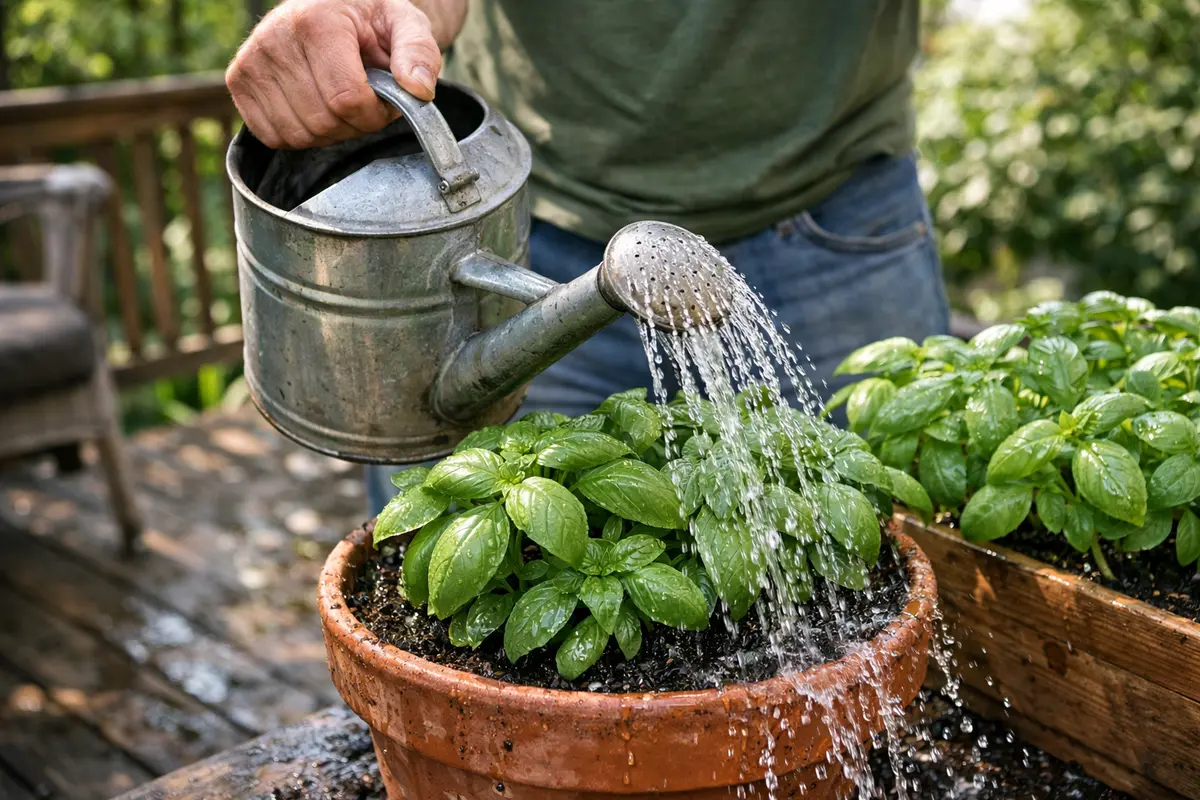
Water your basil containers deeply and thoroughly, saturating the soil until water drains from the bottom. You will see the leaves perk up significantly within a few hours, showing signs of recovery from dehydration. This immediate action is crucial as it stabilizes your plant, allowing it to absorb the necessary hydration and nutrients essential for survival. Aim to apply water until you can see it visibly seep out of the drainage holes at the bottom of the container, indicating complete saturation. A good approach is to water your containers until you achieve about 2-3 inches of water beneath the surface, which ensures the roots have access to moisture. When you do this correctly, plants often exhibit less stress-related wilting, as the roots can efficiently uptake water and nutrients after the immediate hydration.
Hot environments often cause rapid evaporation of moisture in the soil, which leads to wilting leaves and stress in basil. Basil plants thrive on consistent moisture yet become less resilient when faced with prolonged dryness. When you water deeply, you allow the roots to access moisture that may have evaporated during high temperatures, preventing further wilting. A good guideline is to check moisture levels consistently—this could mean watering every day or even twice daily during extreme heat conditions. If temperatures rise above 90°F, consider increasing the watering frequency and using mulch to help retain soil moisture. For example, during a recent heatwave, a gardener found that adding extra watering sessions in the morning and late afternoon dramatically improved the vitality of their basil plants.
A common mistake gardeners make at this step is to water only the surface of the soil, which is often insufficient. If you only wet the top inch, the roots may remain dry and unable to uptake water efficiently, resulting in continued stress. For optimal results, check the moisture levels at least 2 inches deep in the potting mix; if it’s dry, it’s time to water thoroughly again. Moreover, if you observe that the leaves remain droopy even after watering, it may indicate that the water isn’t penetrating deeply enough or that root damage may have occurred due to previous neglect. Additionally, be aware that overwatering can also lead to problems, so if the soil feels soggy after watering, you may have to adjust your watering routine. This often happens when containers become too dense and retain water poorly, creating a breeding ground for root rot. If you find this occurring, it may be time to reassess your potting medium.
Step 2 – Assess Container Drainage Issues Quickly
Inspect the drainage holes in your containers to ensure they are not blocked or clogged. If the water is pooling at the top, you will notice that the soil remains soggy and does not drain properly; this can lead to root rot. Addressing drainage issues is critical for the overall health of your basil, as it helps prevent the roots from suffocating in stagnant water. If you discover clogged holes, use a small stick or tool to clear them out, ensuring water can flow freely out of the container. If you find that the roots are entwined with drainage holes, gently pruning the tips can improve flow without sacrificing the plant’s integrity. In one case, a gardener discovered that simply pulling out a few intrusive roots allowed for better drainage during heavy rains, preventing a future flooding scenario.
Poor drainage can cause the roots to sit in water, restricting oxygen availability, and encouraging diseases like root rot. Well-draining soil is essential, particularly when temperatures rise, as this prevents excess water retention that could jeopardize the plant’s health and lead to suffocating conditions. Good drainage promotes healthier root systems that can help absorb water and nutrients more effectively, enhancing growth and vitality. If your soil has compacted over time, consider repotting with fresh, aerated soil that includes organic matter for better drainage. Additionally, you may add coarse materials like coconut coir to improve aeration within the soil. By creating a lighter, fluffier mix, you’ll enhance water retention while still ensuring adequate drainage.
If your container has thick roots or a compacted soil base, it may lead to localized flooding where water accumulates, resulting in a hostile environment for your basil. Adding perlite or sand to your potting mix can help improve drainage. If, during your inspection, you notice a sour smell emanating from the soil, this is a strong indicator that root rot may be present, indicating it’s time to consider repotting into fresh soil. Furthermore, if you find water standing even minutes after watering, check for signs of water-logged roots or soil and act immediately to improve drainage; this critical response can be the difference between saving your herb or potentially losing it altogether. An effective method is to lift the container after watering; if it feels heavier than usual without draining well, reassess the soil and amend if necessary.
Step 3 – Add Mulch to Retain Moisture for Herbs
Start by watering your container herbs deeply and thoroughly, ensuring that moisture penetrates the root zone. Look for signs of improvement, such as leaves regaining their firmness and vibrant color within a few hours. To prevent future wilting, establish a routine of watering early in the morning or late in the evening during extreme heat, ensuring even moisture distribution consistently.
Recovery after watering generally takes 24 to 48 hours, during which you should observe the transition from limp to perky foliage. However, if temperatures soar again without protective measures like mulching or shade, wilting may recur swiftly. If not watering deeply → check the soil moisture at the root level to ensure adequate hydration.
A common mistake when transitioning from recovery to prevention is over-fertilizing, thinking it will compensate for heat stress. Instead, if you’re dealing with extreme heat, prioritize water and avoid feeding young herbs, as new growth may become too tender. Adjust watering frequency based on heat severity; in prolonged heat waves, opt for lighter, daily moisture instead of a deeper soak every few days.
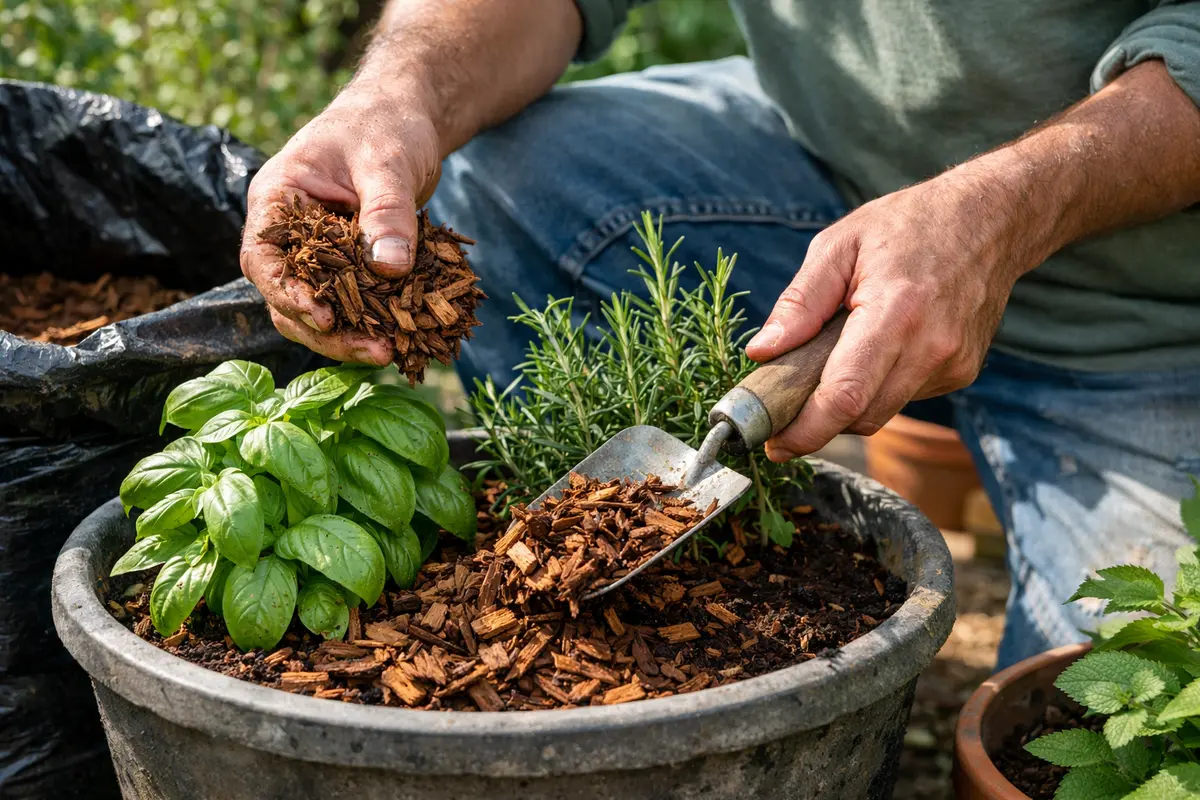
Herbs showing wilted foliage can often bounce back within 24 hours after thorough watering, especially if they are provided with indirect sunlight afterward. However, if temperatures remain high and the soil is allowed to dry out completely again, wilting may recur swiftly. If the soil appears crusty or dry even after watering, check for potential drainage issues that might hinder moisture retention. Also, when applying mulch, ensure that the layer is approximately 2-3 inches thick; this will create a protective barrier against evaporation and help regulate soil temperature, supplying the roots with an optimal growing environment.
A frequent mistake occurs when gardeners water heavily, expecting immediate revival, then neglect routine care. Adjust your watering habits based on heat severity; for example, on particularly hot days, exploring shade options or using mulch can be vital in maintaining moisture. If the leaves start curling instead of perking up, reassess soil moisture levels and drainage practices definitively. Mulching provides an insulating layer that conserves soil moisture and protects root systems from temperature fluctuations. Be cautious, though; applying too thick a layer can suffocate plants or harbor pests. You should also turn over the mulch occasionally and refresh it to enhance nutrient decomposition, preventing a hard crust from forming that could block water penetration. If you notice weed growth beneath the mulch, it’s time to reevaluate thickness and material to ensure that beneficial plant life thrives without competition.
Step 4 – Inspect Thyme for Signs of Heat Stress Weekly
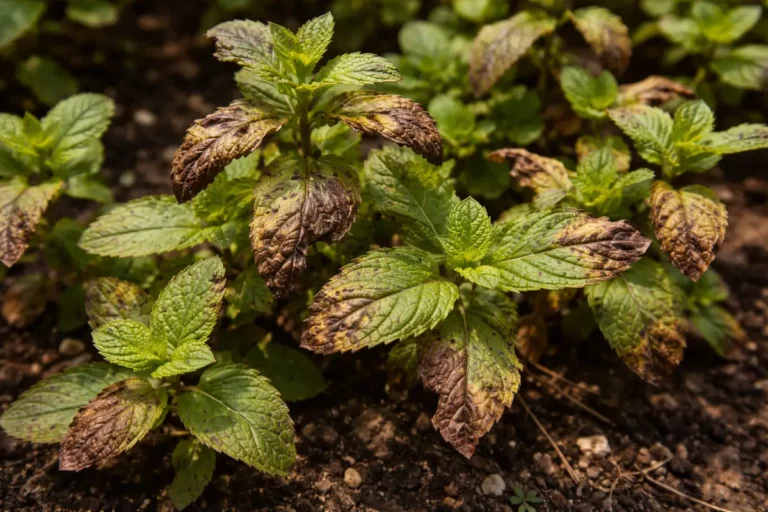
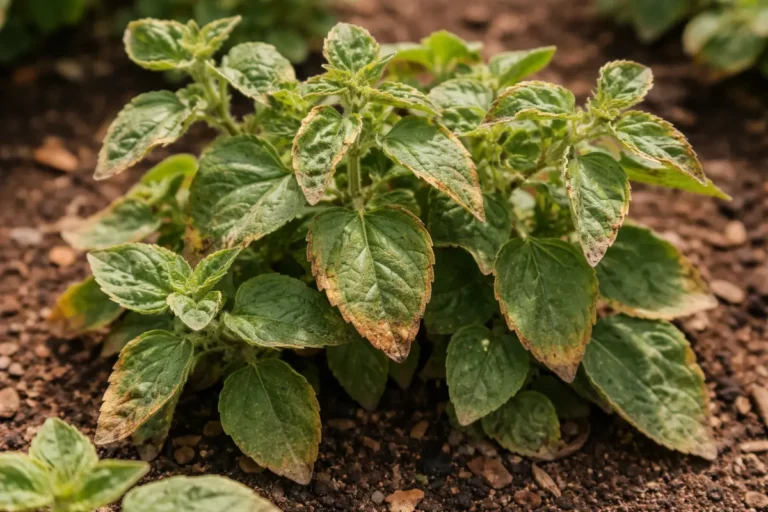
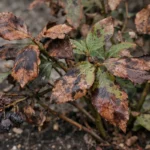
Check your thyme plants every week for any signs of heat stress, such as faded leaves, drooping branches, or a shift in color. Look closely: while vibrant green leaves indicate a healthy plant, any discoloration, particularly browning edges, is a red flag. Consistent monitoring of your herbs ensures you can catch any problems early before they escalate into irreversible damage. The best way to do this is by running your fingers through the foliage to feel for tenderness that may indicate distress or losing vitality. If you spot these symptoms during a weekly check, it’s essential to reduce direct sun exposure until conditions stabilize.
A fully recovered thyme plant should exhibit bright green leaves and sturdy stems, indicating adaptation to the growing conditions. Energy levels will appear higher, with new growth emerging, signaling that the plant is no longer under stress. Conversely, early signs of heat stress often include limp or brownish foliage, which necessitates immediate corrective action such as adjusting your watering schedule or ensuring that they are not overly exposed to direct sunlight. If you’ve adjusted conditions, but after a week the plant’s condition does not improve, consider the possibility of disease or pest infestation depleting the plant’s resources, which may require immediate attention.
If the stress appears to return consistently despite your interventions, it may be time to reassess their overall growing conditions. This includes reconsidering sunlight exposure during the hottest parts of the day and providing additional shade if necessary. For instance, moving containers to a part-shaded area can help mitigate the scorching effects of summer sun. Implementing a stricter watering schedule can help establish a stronger resistance against future heat extremes; monitoring for improvements will confirm the efficacy of any adjustments. Over time, these proactive measures will help strengthen your plants, making them more resilient to heat conditions as they optimize their operational capacity over time; consider rotation of pot positioning to give each plant their optimal sun exposure throughout the day.
FAQ
How long does it take for wilted herbs to recover?
Typically, deeply watered herbs can show signs of recovery within a few hours. However, full recovery may take several days, depending on the severity of the wilting and overall growing conditions. Factors such as the specific herb variety, soil composition, and environmental temperature also play a significant role in determining the time it takes for visible growth returns. If the roots were particularly stressed due to previous neglect, this could extend the recovery period, necessitating continued care and monitoring.
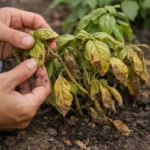
Should I remove wilted leaves from my herbs?
Yes, promptly trimming off wilted or brown leaves can help the plant focus its energy on developing new, healthy foliage. This practice is particularly crucial when wilting is severe, as removing dead material can help prevent the development of diseases and encourage renewed growth in healthier parts of the plant. Use sanitized scissors to ensure you do not introduce pathogens during this process, and perhaps take this opportunity to assess the overall health of your herb by inspecting for inconsistencies in the foliage. If brown leaves are a persistent issue, reevaluating environmental conditions may be necessary.
How can I prevent heat stress in my container herbs?
To prevent heat stress, ensure proper drainage in your containers, mulch to retain soil moisture, and monitor water needs closely, particularly during heatwaves. Regular inspections, along with timely interventions, can help you catch any initial signs of stress before they worsen. Additionally, adjusting the location of your containers to avoid direct midday sun can further safeguard your herbs from extreme heat conditions. If updates fail to yield healthy growth, consider rotating your herbs or adjusting the container composition with fresh soils to improve resilience against future heatwaves. Sometimes, using shade cloths or temporary shade barriers during peak sun hours can offer immediate relief to stressed plants.