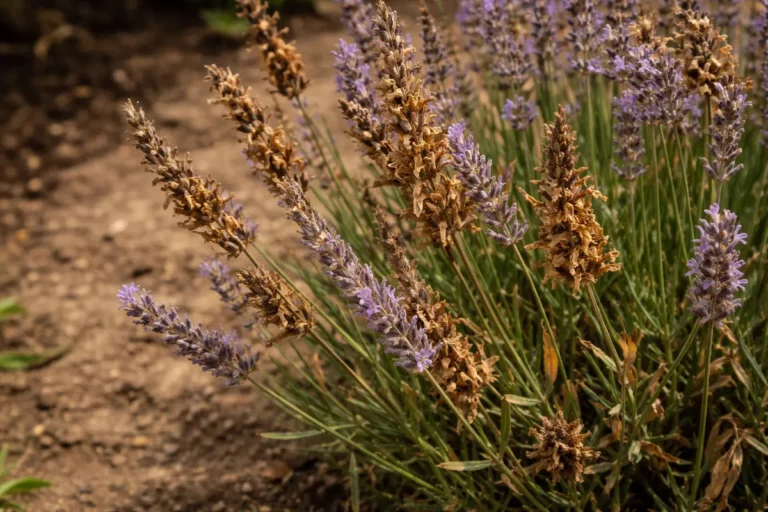
You may notice your herbs starting to look less vibrant and turning brown when they are kept in low light, which is why you need to know what to do when herbs turn brown in low light. This browning often results from inadequate light exposure, leading to wilting and discoloration that signals stress in your plants. If left unaddressed, the situation can worsen, making it harder to fix, but you can improve their health by adjusting their light conditions and checking their moisture levels regularly.
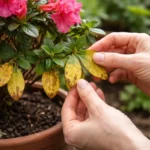
Step 1 – Trim Back Brown Herb Leaves Immediately
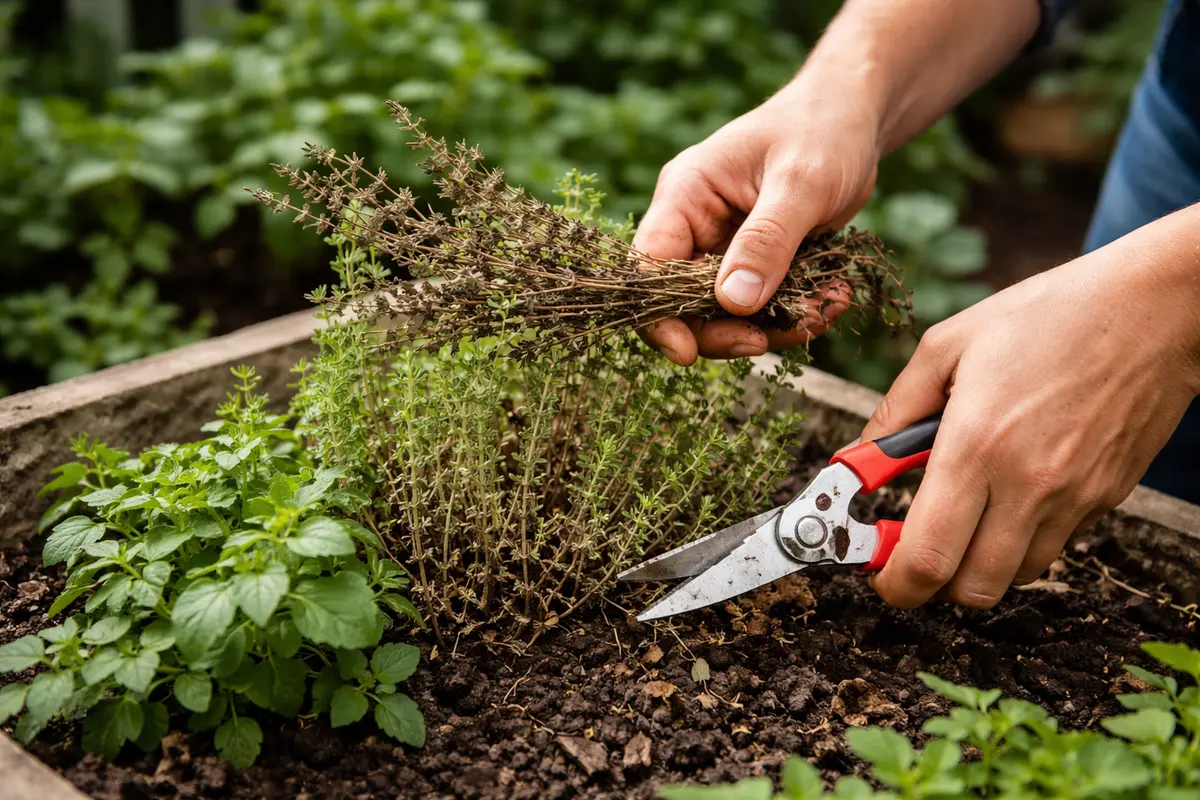
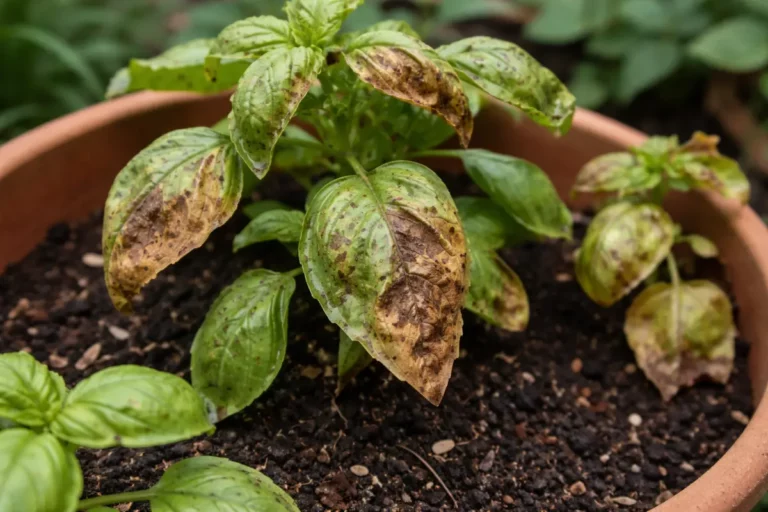
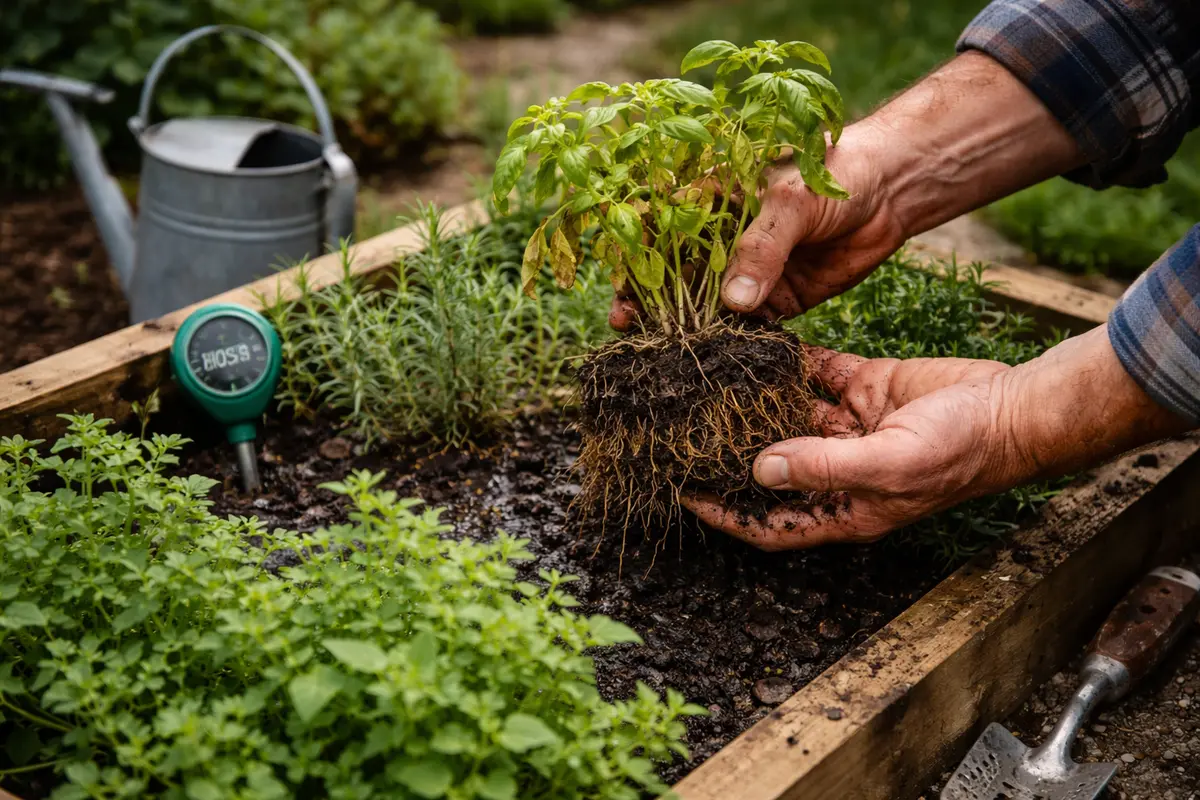
Start by trimming back the brown leaves of your herbs. This immediate action will stop the browning from spreading and redirect energy to healthier foliage. Assess the state of the remaining leaves; if they are visibly healthy, they will begin to perk up as they receive the nutrients they were previously diverting to the dying parts. Make precise cuts at the base of each brown leaf, not too close to the remaining healthy tissue, to minimize stress to the plant.
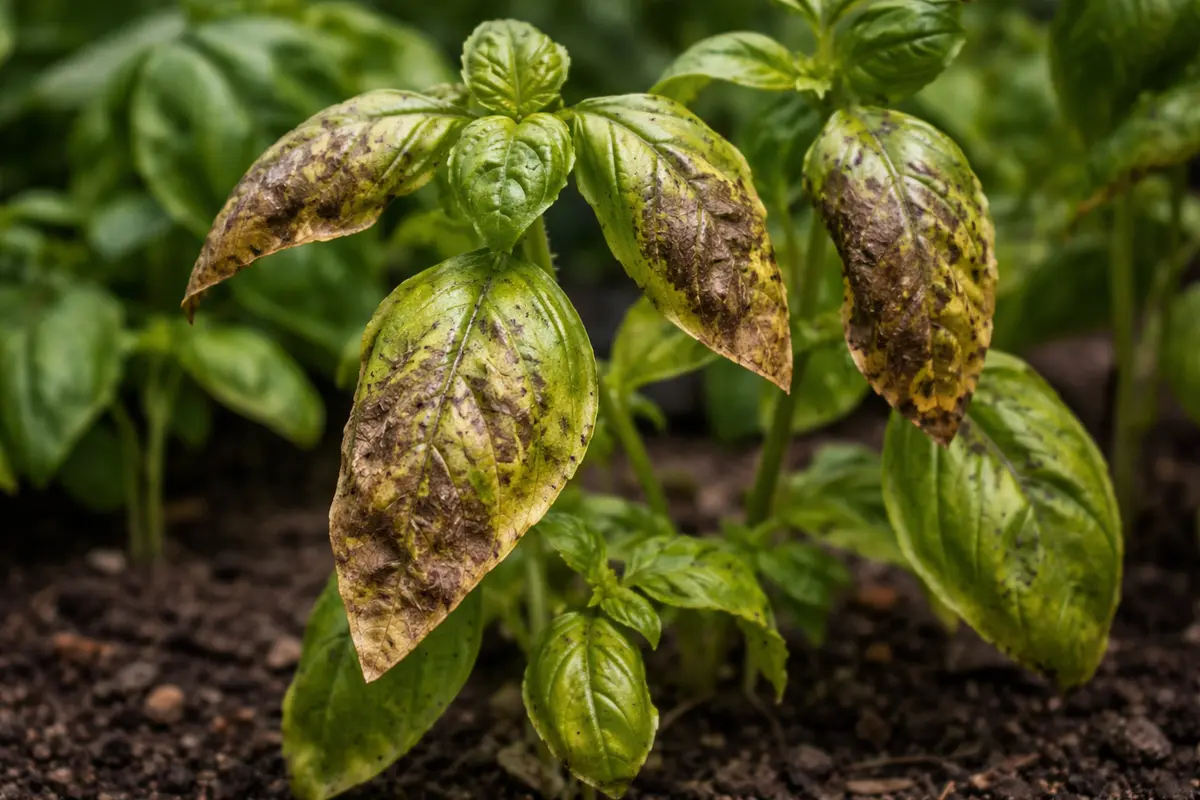
Acting swiftly is crucial because herbs like basil or parsley can quickly suffer from irreversible damage if left in low light for too long. If you notice that the browning is extensive and the greens are drooping, it indicates that the plant is struggling and could further decline. In this case, if the tips are soft to the touch or exhibiting significant discoloration, it’s a sign of severe distress that warrants immediate pruning to prevent the loss from spreading. Restore your plants’ energy by removing at least 50% of the browning tissue, which may stimulate new growth.
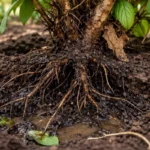
As you trim, look for any remaining healthy leaves that show vibrant color; these are the parts that can still thrive under improved lighting conditions. If browning continues despite removing the damaged sections, check for potential root rot by gently lifting the plant from its pot to inspect the roots for sogginess or discoloration. Healthy roots should appear firm and white; if they are brown and mushy, you might be dealing with root rot, indicating that the plant has been overwatered in the low-light conditions.
For example, a gardener once ignored the signs of browning and left the herbs in their low-light spot too long, resulting in substantial leaf loss before taking action. Many people mistakenly believe that adjusting water or fertilizer is enough while neglecting light requirements. This situation underscores the significance of prompt repairs; cutting back the brown tissue not only helps stabilize the plant but also fosters new, healthy growth. Be aware that if the remaining healthy leaves begin to wilt or yellow after trimming, you may need to move your herbs to an area with more light.
Ensure the new location provides adequate light, as this change will encourage the production of chlorophyll, which is essential for the plant’s recovery. Verify that the herbs are receiving at least six hours of indirect sunlight daily to kickstart the process of rejuvenation. If direct sunlight is unavoidable, consider using sheer curtains to diffuse the light and prevent any further leaf scorching.
Step 2 – Diagnose Low Light Impact on Herbs
Start by inspecting the light levels around your herbs to confirm that insufficient light is the problem. Use a light meter if available to accurately measure light intensity, which can help you ensure the area meets the needs of your herbs. Once the herbs are repositioned to a better-lit area, you should see a noticeable improvement in leaf color and health within 3-5 days, given the new light exposure is adequate. Low light levels hinder the plant’s ability to produce chlorophyll, resulting in browning leaves and overall stress.
The cause of browning includes not only inadequate light duration but also the quality of light. If you notice that your herbs are in a low-light spot but receive too much direct sunlight instead, that can lead to scorched leaves, which is different from the uniform browning seen in low light conditions. To correct the issue, relocate your herbs to an area where they receive the appropriate amount of indirect sunlight for at least six hours each day to promote recovery. This adjustment can help recreate the natural conditions herbs thrive in, reducing stress.
If the light levels are sufficient and browning persists, check for other issues such as pests or overwatering. For example, damp soil conditions combined with browning could indicate a fungal issue rather than strictly low light exposure. If the soil appears soggy and leaves are both browning and yellowing, it might suggest root rot. Always adjust your care routine based on your observations; act urgently to prevent further plant decline. If moving them does not resolve the browning, consider gradual increases in light exposure instead of abrupt changes, which may stress your plants further. Gradual adjustments can often make a significant difference in recovery without shocking the plant.
Step 3 – Water Herbs to Encourage Green Growth
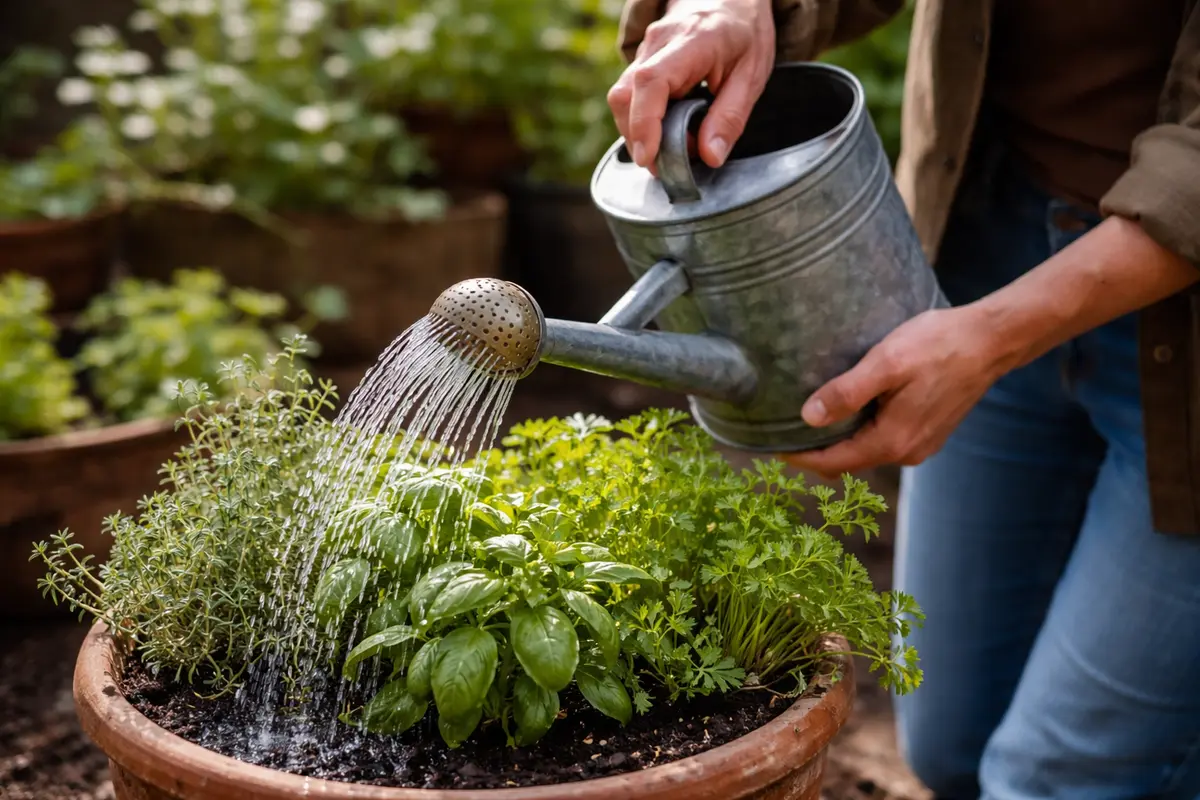
Begin by watering your herbs thoroughly, allowing moisture to penetrate at least 6 inches into the soil. You should see the leaves firming up and a resurgence of green color after about a week. This method helps the roots absorb essential moisture, counteracting the hydration stress induced by low light conditions. Ensure that your watering routine is consistent but not excessive; typically, herbs need watering every 7-10 days, depending on their size and potting medium.
Once you notice browning foliage, recognize that low light may be hindering water absorption. Deep watering will rehydrate the roots effectively, which can increase moisture retention within the plant. You can expect to see lush leaf growth return in response to this hydration. If your soil is sandy, you may need to give it additional time to soak, as it may require more water than heavier soils. This can prevent further moisture depletion and encourage healing in your herbs.
Remember to use quality soil with good drainage to avoid root rot, as oversaturation can cause more harm than good. Monitor the root condition; a mushy texture indicates overwatering, which can impede moisture uptake. If your plants still show signs of browning even after thorough watering, check the soil’s drainage capability. After this initial watering, make sure the soil surface is allowed to dry out before the next watering, preventing a swampy environment that could exacerbate any root issues.
Be cautious about overwatering immediately after adjusting light exposure, as it can create suffocating conditions for the roots. You’ll recognize this problem if the soil feels overly damp and the leaves droop with soft spots. Remember, a well-watered plant should feel firm with a slight elasticity in the leaves, signaling proper hydration. Additionally, consider using room temperature water; cold water can shock the roots and hinder recovery. Always try to observe your plants; if you notice brown tips again, fine-tune your watering schedule to allow sufficient drying time.
Step 4 – Limit Overwatering to Protect Herb Roots
Start by checking the soil moisture before each watering to avoid excess water. This prevents further browning and keeps roots healthy. Consistently inspect the top inch of soil; if it feels dry, you can proceed with watering. Establish a habit of checking moisture levels regularly, which could mean weekly in low-light conditions, adjusting if you notice temperature or humidity changes.
To establish a reliable routine, only water your herbs when the top inch of soil is dry, which can take about a week in low light. If the soil appears dry on the surface but soggy below, switch to a deeper watering method, applying water directly at the base. This way, you ensure proper root hydration while avoiding drowning the upper soil layer, which may still appear deceivingly dry.
Implement a weekly check of your plants’ leaves. If browning occurs despite following moisture routines, adjust your watering frequency by cutting it down. This shift encourages healthier foliage and root systems. Observe any change in leaf health—healthy plants will exhibit vibrant green foliage, whereas overwatered plants will show signs of distress, like leaf drop or wilting. Be patient and give your plants time to respond to this new approach; some may take longer than others based on their specific needs.
In winter, be prepared to reduce watering further to protect the herbs’ roots since lower light levels slow their growth. Consider utilizing pots with drainage holes and placing stones or activated charcoal at the bottom to improve drainage, which prevents over-saturation. This setup helps maintain an adequate moisture balance even if you slightly underestimate the watering needs in cooler months. If your herbs are still struggling despite adjusting the watering routine, check for additional factors such as pot size or soil quality that might contribute to poor drainage. Following these steps ensures a proactive approach to herb care, keeping your plants vibrant and healthy.
Step 5 – Check for New Growth in Weeks Ahead
Monitor your herbs weekly for signs of new growth and overall plant vitality. Look for fresh, green shoots or leaves as indicators of recovery within a couple of weeks. In the case of slow-growing herbs, extending the observation period might be necessary; tracking gradual improvements or newly emerging shoots can be vital for both seasonal adjustments and your approach to care. Documenting these changes may also help you understand their growth patterns better.
A fully recovered herb plant will exhibit strong, vibrant foliage without any signs of browning. You can identify this success by observing the surface texture of the leaves; they should feel firm and elastic rather than limp or discolored. If your herbs still show signs of distress after several weeks, it may be indicative of underlying concerns such as pest infestations, nutrient deficiencies, or even unsuitable soil conditions. Pay attention to environmental factors that could be impeding growth.
If leaves still feel soft or fail to exhibit luster, further action may be needed. Regularly assessing your plants in this way can help you catch any signs of recurring stress, like dehydration or lighting issues, early on, allowing for prompt action if necessary. Increased humidity or consistent airflow around the plants may further enhance robust growth; consider using a humidity tray or a misting spray if your environment is particularly dry. If new growth doesn’t appear within a few weeks, reassess your growing environment to ensure light conditions, watering frequency, and soil quality are adequate. Observe environmental shifts, like temperature fluctuations or drafts, that may impact your herbs.
Additionally, take a close look at the soil’s texture; compaction can prevent roots from absorbing moisture effectively. Sometimes, repotting into a larger container can give your herbs the space they need to thrive. If issues persist, you may want to consult a local gardening expert to analyze the specific problems affecting your herbs. Remember, maintaining a healthy herb garden is often more about monitoring and adjusting rather than sticking rigidly to a single care routine.
FAQ
How long does it take for herbs to recover after trimming?
After trimming brown leaves, you can expect signs of recovery within 1 to 2 weeks if the herbs are placed in a suitable light environment. Depending on the specific variety of the herb and the light conditions, healthy new growth should begin to emerge as the plants redirect their energy, particularly when given attentive care. Regular monitoring and adjustments during this period can lead to quicker recovery.
Can brown spots spread to other leaves on the herb plant?
Yes, if left untreated, brown spots can spread to other parts of the plant due to underlying issues like pests or diseases. Address the root causes promptly; proactive measures can mitigate widespread damage that would require significant intervention later on. Ensure that you maintain an eye out during your care routine for any mention of mold, pest activity, or nutrient deficiencies.
Should I remove all the brown leaves from my herbs immediately?
Not necessarily all at once—focus on the severely damaged leaves first. Gradual trimming allows you to assess health and adjust care without overly stressing the plant right away. This approach will also help in observing any developing growth patterns, allowing for better care strategies moving forward and a more controlled recovery process.