You may notice that the vibrant green leaves of your potted azaleas are turning yellow during the spring, which is a clear sign that you need to know how to fix yellowing leaves on potted azaleas in spring. This yellowing often occurs due to nutrient deficiencies or improper watering, leading to wilting and potential damage to the plant. If left unaddressed, these issues can worsen and weaken the plant, making recovery harder, but fixing it is possible now if you inspect the soil, adjust your watering schedule, and improve nutrient levels.
Step 1 – Prune Yellowing Azalea Leaves Immediately
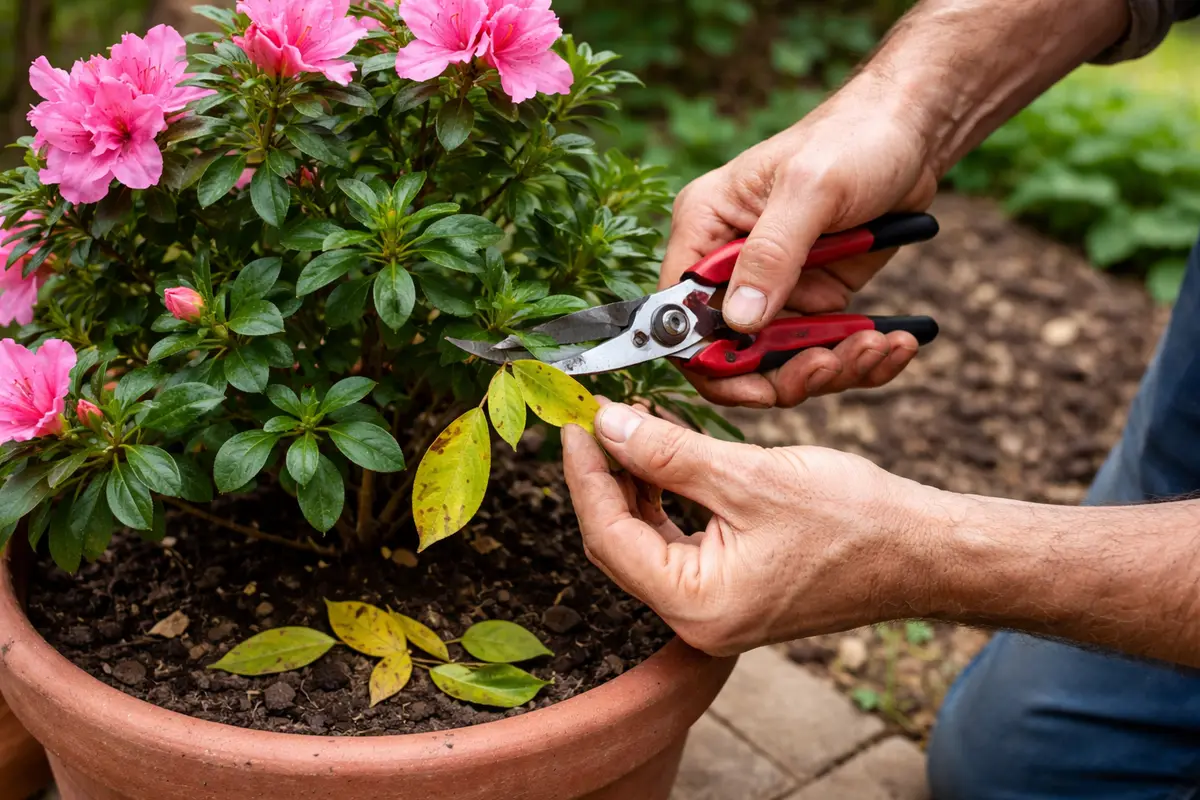
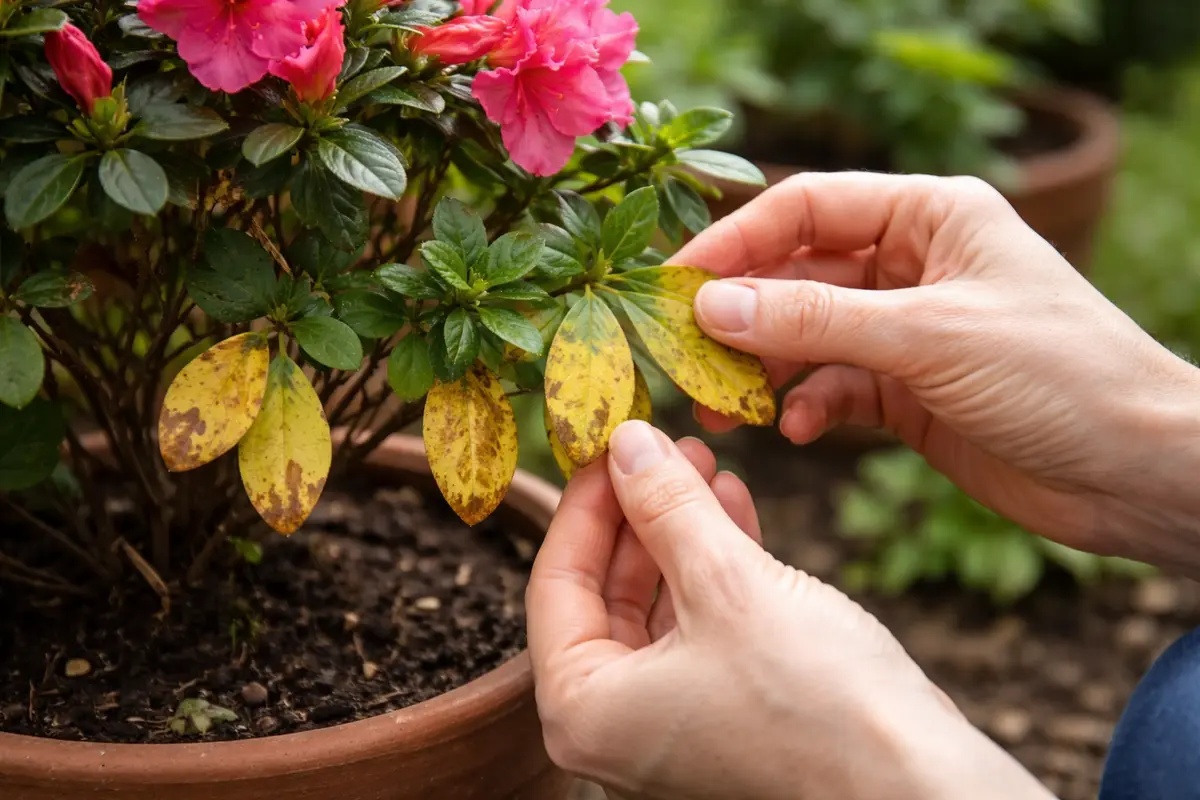
Begin by pruning away any yellowing leaves from the azalea plant. You will notice a more vibrant green color developing on healthy leaves over the course of a few days following this action. This critical initial step helps limit any potential spread of disease and stress to the remaining healthy foliage. Removing the yellow leaves prevents the plant from allocating energy to maintain them, allowing more resources to be directed toward parts that are healthy. If more than a quarter of the leaves are yellow, it may indicate a more serious underlying issue.
Pruning yellow leaves directly alleviates some of the strain on the plant, enabling it to redirect its energy toward healthy growth instead of attempting to sustain damaged leaves. Azaleas are particularly susceptible to stress from environmental factors, such as overwatering or insufficient light, which may cause leaf discoloration. If you delay pruning, the yellowing leaves can harbor pathogens, leading to disease spread and further inhibiting healthy growth. Regularly inspect the plant for new yellowing leaves and immediately prune them to maximize recovery chances.
A common mistake is to neglect pruning in the hopes that the leaves may recover. However, failing to remove affected foliage potentially prolongs the stress on the plant, making it harder for azaleas to regain their vigor. In particular, the longer the unhealthy leaves remain on the plant, the more significant the energy drain becomes. Additionally, ensure your pruning tools are clean and sharp to prevent any transfer of bacteria or fungus to the healthy parts of the plant. A dirty cut from tools can introduce pathogens into the healthy tissue, which may aggravate the situation. After each cut, disinfect the tools with rubbing alcohol to further mitigate this risk. If the yellowing persists despite consistent pruning, it may be a sign of nutrient deficiency or improper drainage that needs to be addressed.
Step 2 – Diagnose Nutrient Deficiency in Azaleas
Start by checking the moisture level of the soil surrounding your azalea. If the soil is consistently too dry, water it thoroughly until excess drains from the bottom of the pot. In just a few days, you should notice a reduction in leaf yellowing as the plant rehydrates and begins to recover its vibrant color. If the plant still appears stressed despite hydration, check for other factors that might be inhibiting nutrient uptake, as different elements may interact with the soil environment.
When leaves turn yellow, it often indicates that the plant is struggling to absorb essential nutrients due to inadequate moisture. In dry soil, the roots cannot uptake water and nutrients effectively, leading to chlorosis, which is the yellowing of leaves. Conversely, if your leaves are yellowing yet the soil remains overly wet, the roots may be suffering from root rot, a condition that inhibits their function. If you observe crisp, brown leaf edges instead of uniform yellowing, it could signify a nutrient deficiency such as a lack of potassium or magnesium, indicating that an ineffective watering schedule may have caused nutrient lockout.
If the soil smells sour or appears slimy, it indicates root rot. In this case, remove the azalea from its pot, trim away affected roots, and repot in fresh, well-draining soil. On the other hand, if you find that the soil is compacted and water is pooling on the surface, then aerate the soil to improve drainage and prevent further yellowing from hypoxia. Azaleas thrive in acidic soils (pH 5.0-6.0) that are rich in nutrients. If the soil is too alkaline or lacks vital nutrients such as iron or magnesium, the leaves can turn yellow—a condition commonly known as chlorosis. Regular testing and amendment of the soil are crucial to ensure these plants receive the necessary nutrients for their growth and vibrancy. A timely soil test can reveal pH imbalances, indicating when amendments should be made to optimize nutrient availability.
Additionally, if you observe interveinal chlorosis, where areas between the veins of the leaves yellow while the veins themselves remain green, that often indicates an iron deficiency in the soil. Applying a chelated iron supplement can remedy this specific issue, allowing your azalea to overcome the deficiency and rejuvenate its foliage. In extreme cases where nutrients are severely depleted, repotting with fresh, nutrient-rich potting soil designed for acid-loving plants may be necessary to restore the health of your azaleas. Keep in mind that when introducing new soil, you should assess the drainage properties to prevent future moisture retention issues that might lead to root problems once more.
Step 3 – Feed Azaleas with Balanced Fertilizer Mix
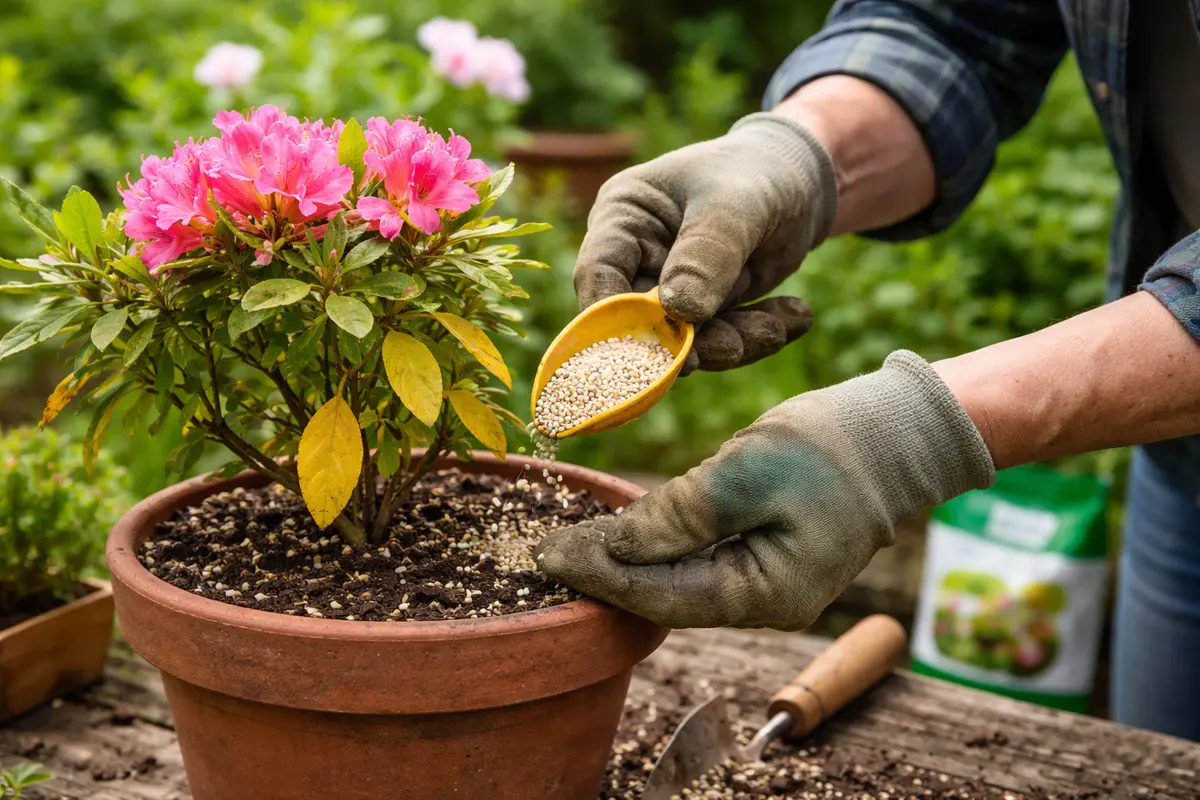
Apply a balanced, slow-release fertilizer focused on azaleas and rhododendrons to the affected soil. You will witness brighter and healthier green leaves beginning to emerge within a week or two of fertilization. Proper fertilization addresses any existing nutrient deficiencies while supporting new growth, allowing the plant to establish itself with necessary resources. Every couple of weeks, you should check for new growth and take note if it begins to appear robust and thriving; this reflects that the plant is responding well to your fertilization efforts. Alternatively, if growth remains stunted or yellowish, further investigation into the nutrient balance and environment may be warranted.
Fertilizing azaleas not only replenishes depleted nutrients in the soil but also supports sustained growth throughout the blooming season. Over-fertilizing, however, can lead to nutrient burn, where the leaf edges turn brown and crispy, which may exacerbate existing leaf discoloration. To mitigate this risk, adhere to package instructions regarding dosage and frequency—typically recommending application every 4-6 weeks during the growing season. It’s critical to note that fertilization should follow watering; applying fertilizer to dry soil can lead to lock-up, rendering the nutrients unavailable to the plant. Conversely, too much fertilizer can cause root shock, where the plant becomes unable to absorb nutrients properly. Thus, if you notice the plant’s condition worsening post-fertilization, it could be signaling a reaction to improper application.
A common oversight occurs when gardeners apply fertilizer without first assessing the soil conditions. This can lead to competitive nutrient uptake where the plant’s roots are damaged due to excess fertilizer input, sitting atop sections of soil that might still retain heightened moisture. As a precaution, ensure you perform a soil test to verify nutrient levels prior to fertilization. If the test shows low nitrogen levels, selecting a fertilizer higher in nitrogen may help promote healthy foliage growth. Regular fertilization combined with optimal watering practices will create a solid foundation for long-term plant success. Also, after fertilization, monitor the plants closely; if you notice an increase in yellowing again, it could mean the fertilizer mix was poorly timed with recent watering, creating nutrient lockout.
Step 4 – Inspect Azalea Leaves for Signs of Recovery
Recheck the azaleas weekly for any signs of improvement after implementing the previous steps. You should observe new leaf growth as well as color returning to the leaves within a couple of weeks. Regular monitoring will ensure the adjustments made are positively impacting the plant’s health and vitality. If the leaves remain yellow even after corrective measures, consider if new growth is appearing at a slower pace than expected. If stagnation continues for more than a week, it is essential to reassess soil conditions or watering frequency. Notably, if the new leaves that do emerge appear thin and weak rather than robust and healthy, it may indicate insufficient light levels hampering recovery.
As the azaleas start to recover, leaves should regain their vibrant green color, with new buds forming as an indication of strength returning to the plant. If yellowing recurs or worsens, your monitoring may signal underlying issues that haven’t been adequately addressed, such as lingering nutrient deficiency or moisture imbalance in the soil. It’s worth noting that if new growth appears stunted or overly slender, this could reflect insufficient light or ongoing root issues. Observing growth patterns can guide your next corrective actions, such as adjusting light exposure or soil conditions. This feedback loop is essential for adapting your care routine to meet the evolving needs of your azaleas as they recover.
If issues persist despite following the improvement steps, consulting a local extension service or plant specialist is recommendable. They can offer tailored advice based on your specific conditions and areas of concern. Developing a habit of regularly checking your plants will allow for timely interventions and foster healthier growth in your potted azaleas, ensuring that your spring blooms are both vibrant and plentiful. Setting a schedule for routine observations, particularly during seasonal changes, may catch any emerging problems before they spiral out of control. Noticing signs of stress early can lead to successful recovery and a more vibrant plant overall. This proactive approach ensures that you’re nurturing a resilient plant that can withstand the challenges of its environment.
FAQ
How long does it take for yellowing leaves on azaleas to turn green again?
Typically, with proper care, you can expect the azalea leaves to start regaining their color within one to two weeks. Consistent watering and timely fertilization contribute significantly to this rapid recovery. Monitoring environmental factors such as light levels and humidity can also speed up the process. If temperature fluctuations are frequent, consider relocating the plant to a more stable environment to help accelerate recovery. If recovery is not observed after three weeks, assess potential issues in soil conditions and nutrient content.
Can yellowing leaves spread to other plants?
If the issue is due to a disease or pest infestation, yellowing leaves can indeed spread to other nearby plants. Immediate action, such as pruning affected leaves and addressing the root cause, can prevent further problems. Keeping your azaleas well spaced can also help reduce the risk of infection spreading. It’s also advisable to keep a close eye on the overall health of neighboring plants, as signs of distress in one can often indicate a wider issue. Periodic checks for pests and fungal infections in neighboring plants can further help mitigate the risk.
Should I remove leaves that have turned yellow on azaleas?
Yes, removing yellow leaves is advisable because it helps the plant redirect energy toward healthier growth. This also limits the risk of disease spread, providing a cleaner environment for the plant. Remember that removing too many leaves can stress the plant further, so be judicious in your approach. If after pruning, the plant seems to struggle, adjust your approach and consider that less might be more when removing foliage. Always observe the plant’s reaction to your pruning to ensure it continues on a healthy recovery path.